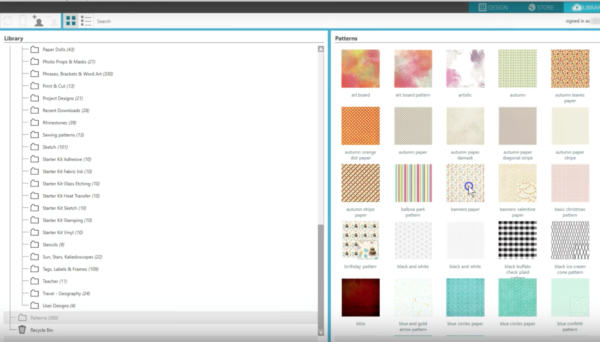
In this tutorial, you’ll learn about pattern fills, which can be found in the Fill panel. Open the Fill Panel that looks like a painter’s palette, and click on the third tab to find your fill patterns. Sometimes there is a slight delay the first time you open that tab, so just be patient.
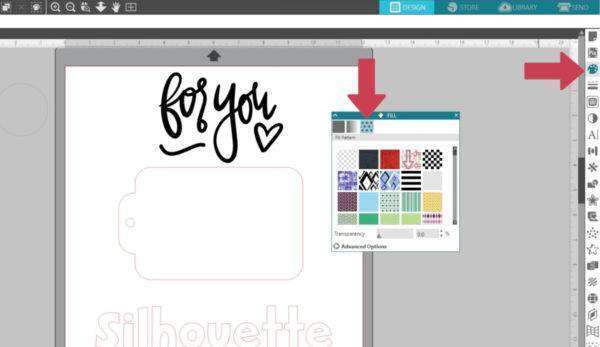
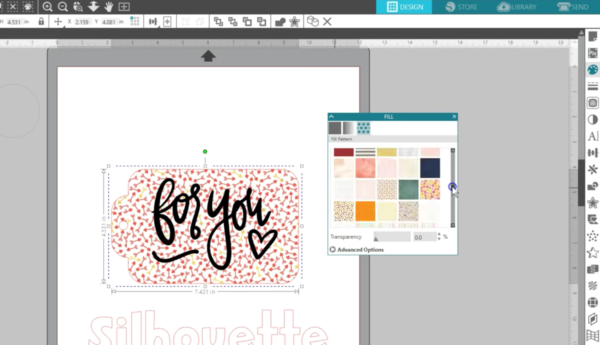
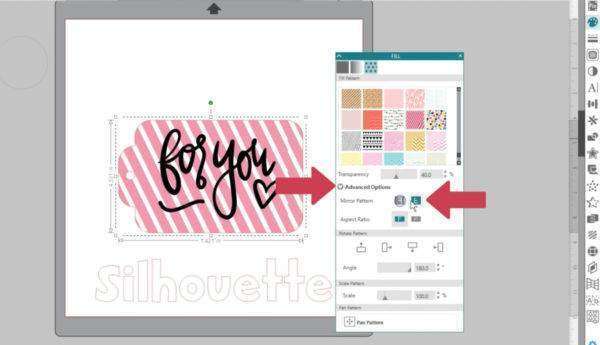
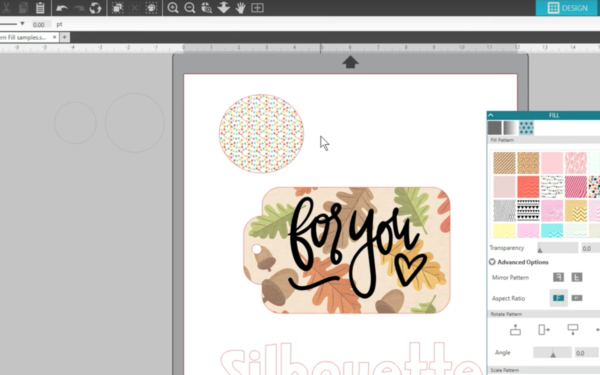
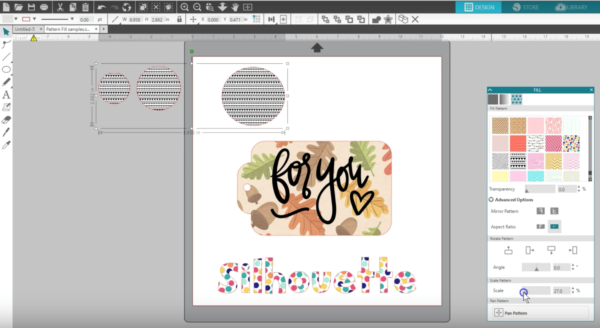
Any closed image can be filled with a fill color, a fill gradient, or a fill pattern. If your design doesn’t fill with a pattern as you expect it to, it’s likely due to a broken path, which can be fixed with point editing. Fill patterns and gradients are for projects that will be printed so you will see the patterns you select. We want to fill this tag with a cute pattern so that we can use it as a Print & Cut design. We will move the sentiment over the top but will only select the tag to watch it fill with a pattern. The top section of your patterns includes those that are already in Silhouette Studio®. If you purchase additional patterns from the Silhouette Design Store, you’ll find those patterns in the subsection called “Patterns.” Simply click on any pattern to see your selected closed shape fill with the pattern.
If the design is too bold, you can adjust the Transparency.
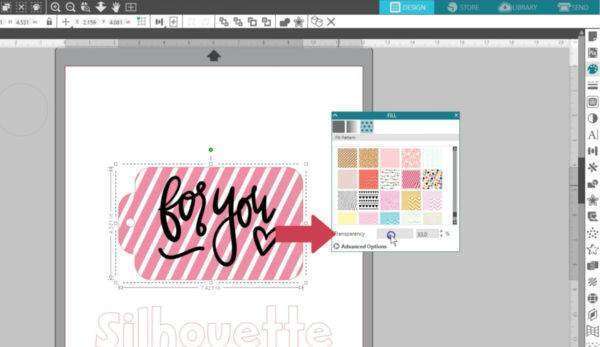
Now comes the fun part! Click on Advanced Options to see what else you can do with a fill pattern. You can mirror the pattern horizontally or vertically.
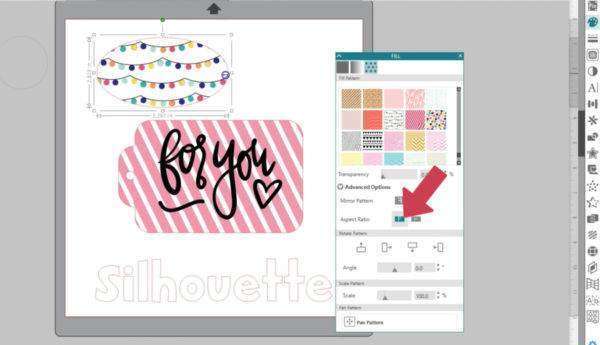
Let’s draw a circle and fill it with a pattern so you can see what happens with Aspect Ratio. If we leave it on Fixed and stretch my design sideways, the pattern keeps its same ratio and grows with the resizing.
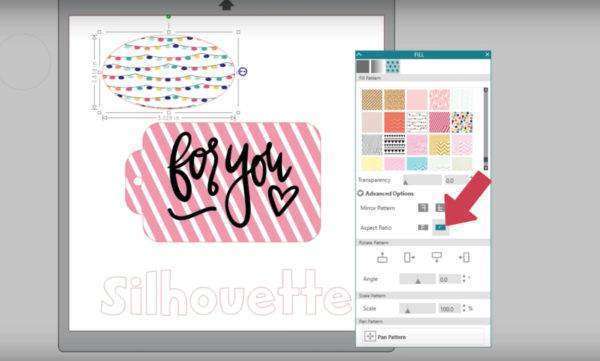
If I choose Stretch and resize my design sideways, the pattern will stretch to accommodate the new shape.
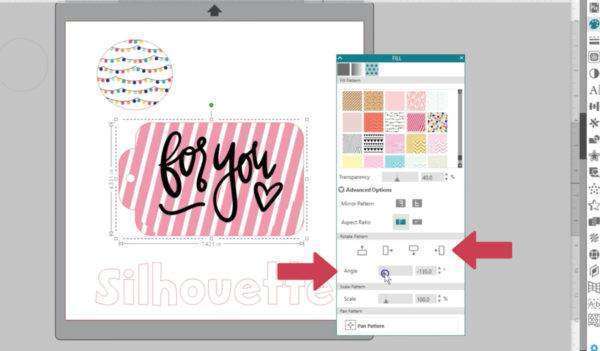
Rotate pattern lets you choose an angle to rotate the pattern to, either in fixed increments, or by using the slider or input for a different angle.
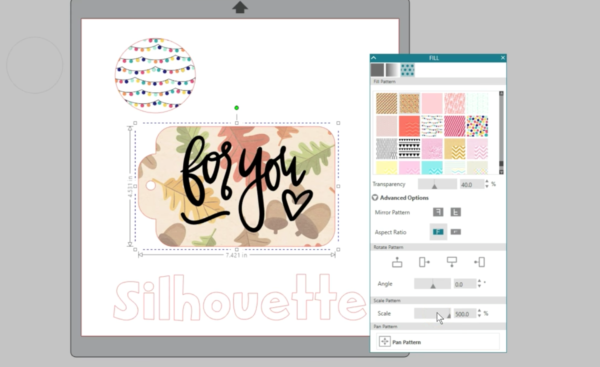
Scale Pattern lets you decrease or increase the scale to shrink or enlarge the design.
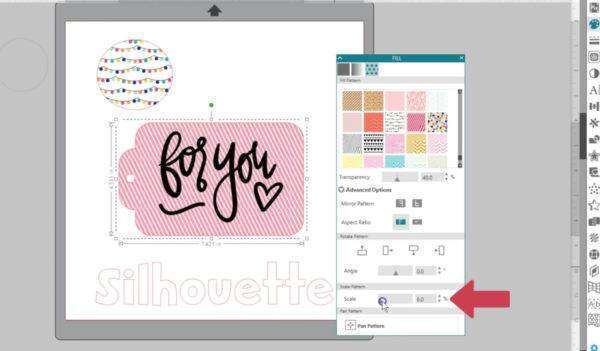
Not all patterns will look good with the scale below 100% because they might show edges of their tiles, but you can increase the scale up to 500% to see larger details in a pattern.
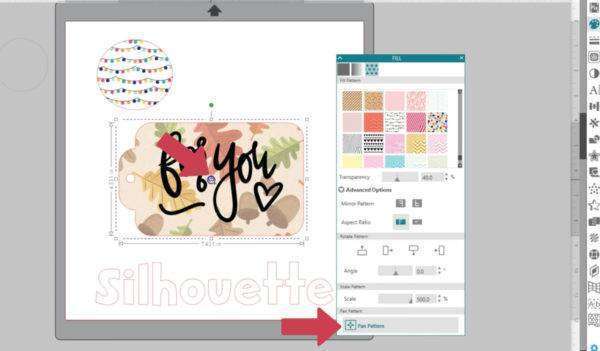
If you click on Pan Pattern, look for a four-pointed arrow to appear inside your pattern. Click and drag that symbol to move the pattern around and find a section with more design elements or colors that you want to show in your image.
Here are a couple more tips when working with pattern fills. If you want to find a specific pattern you’ve purchased, you can select the shape, go to the Patterns folder at the bottom of your cloud library, and click once on the thumbnail for the pattern you want.
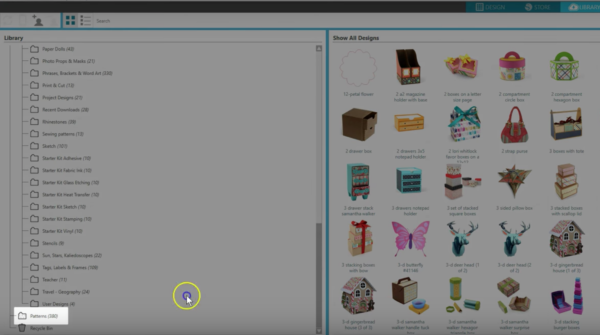
When you go back to the design page, you’ll see the selected shape has filled with that pattern.
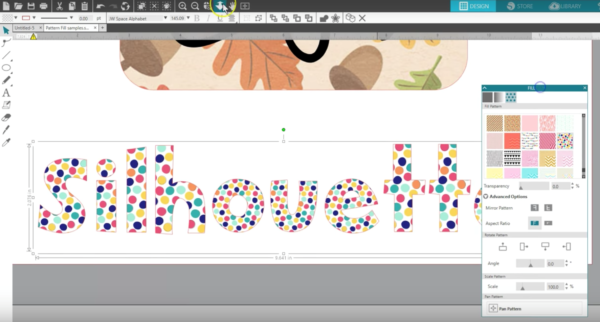
Finally, be aware when working with multiple shapes that are different sizes, which includes text, each object will take on the pattern at a scale set to that individual letter or shape. As we have this word typed out with the text tool and fill it with a polka-dot pattern, you can see the dots show up in different sizes for different letters.
The way to fix that is to simply click Weld for text.
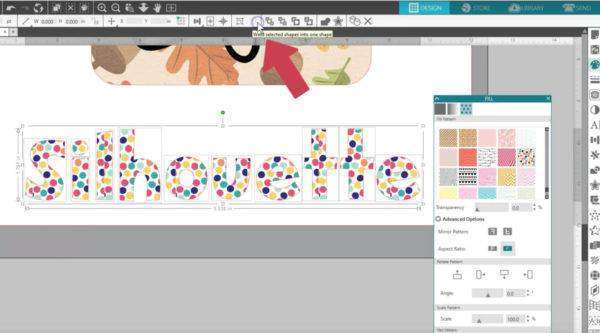
That also works for multiple shapes that are not overlapping, or right click and choose “make compound path”.
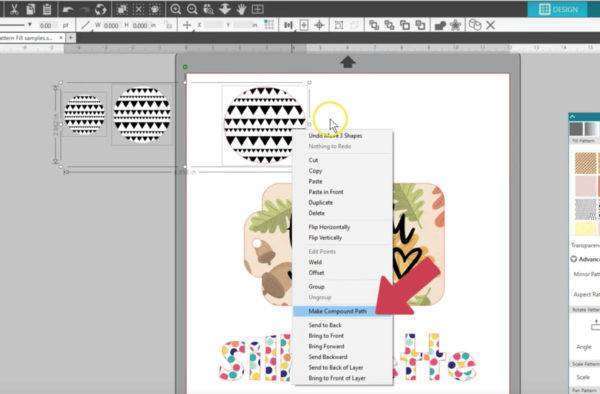
Now the pattern is treated like a single piece that you can scale and pan all at once, and the scale looks the same from letter to letter.
Patterns are a great way to add interest to your printable creations in Silhouette Studio®.