
Have you ever seen dried strawflowers? If you haven’t, do yourself a favor a do a quick Google search! They are so pretty and come in a variety of warm and sunny colors. We thought creating a paper version with some rolled flower designs would make a perfect spring project!
Supplies Needed:
- Silhouette Cameo® or Silhouette Portrait®
- Silhouette Studio®
- Silhouette Cutting Mat, optional
- Silhouette Cutting Blade
- Cardstock in various shades—we used a variety of warm colors
- Thick cardstock or chipboard for wreath frame
- Adhesive for paper
- Hot glue gun
- Design ID #302202, #302203, and #302211 for rolled flowers by Lori Whitlock
Step One: Formatting the Flower Designs
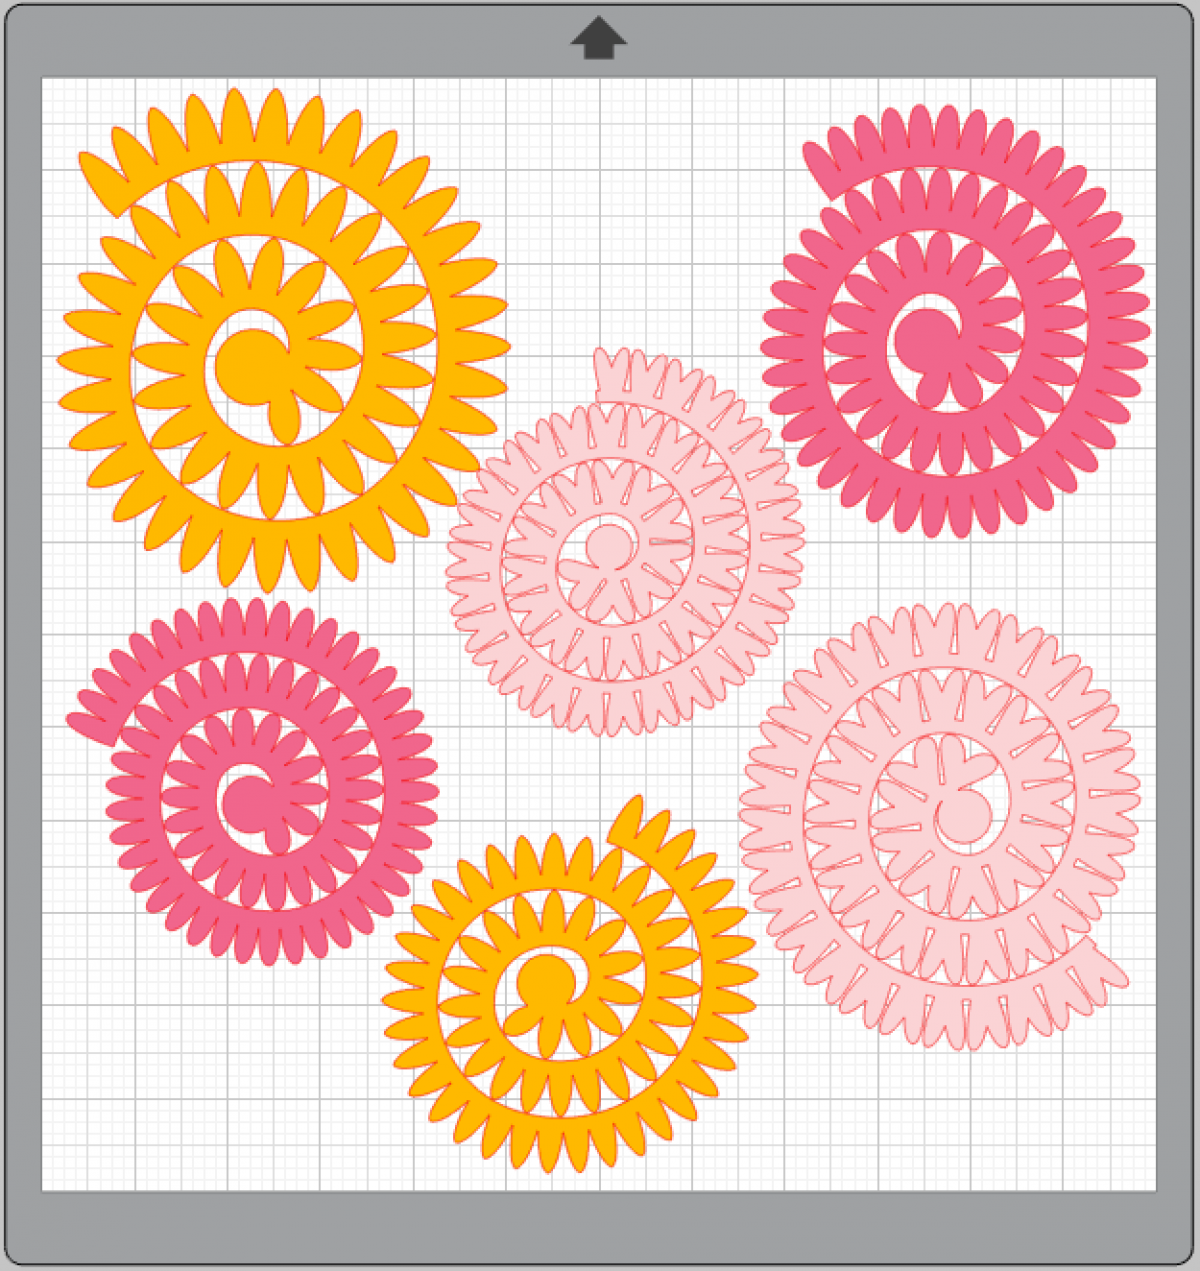
1. Insert your rolled flower designs into Silhouette Studio®. We’re using three different but similar designs.
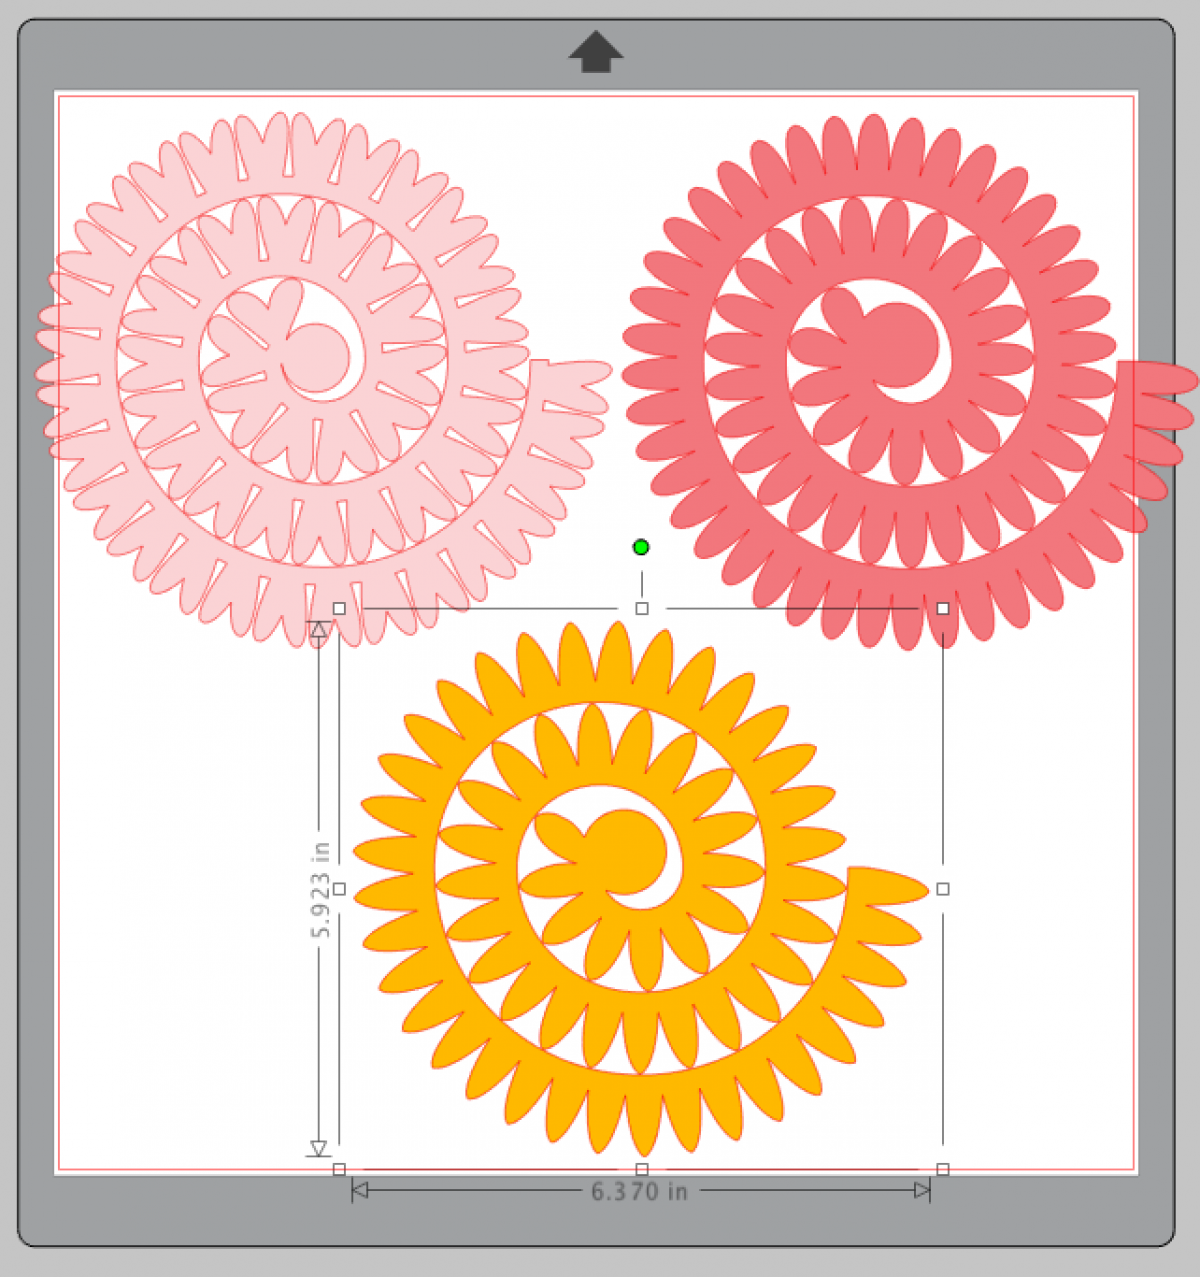
2. Adjust the size of the rolled flower files to dimensions between about 3.5 and 5 inches wide. We wanted to create a bit of variance in size, so we duplicated each flower design and adjusted the sizing slightly so we have 3 different flower designs, and 2 sizes of each.
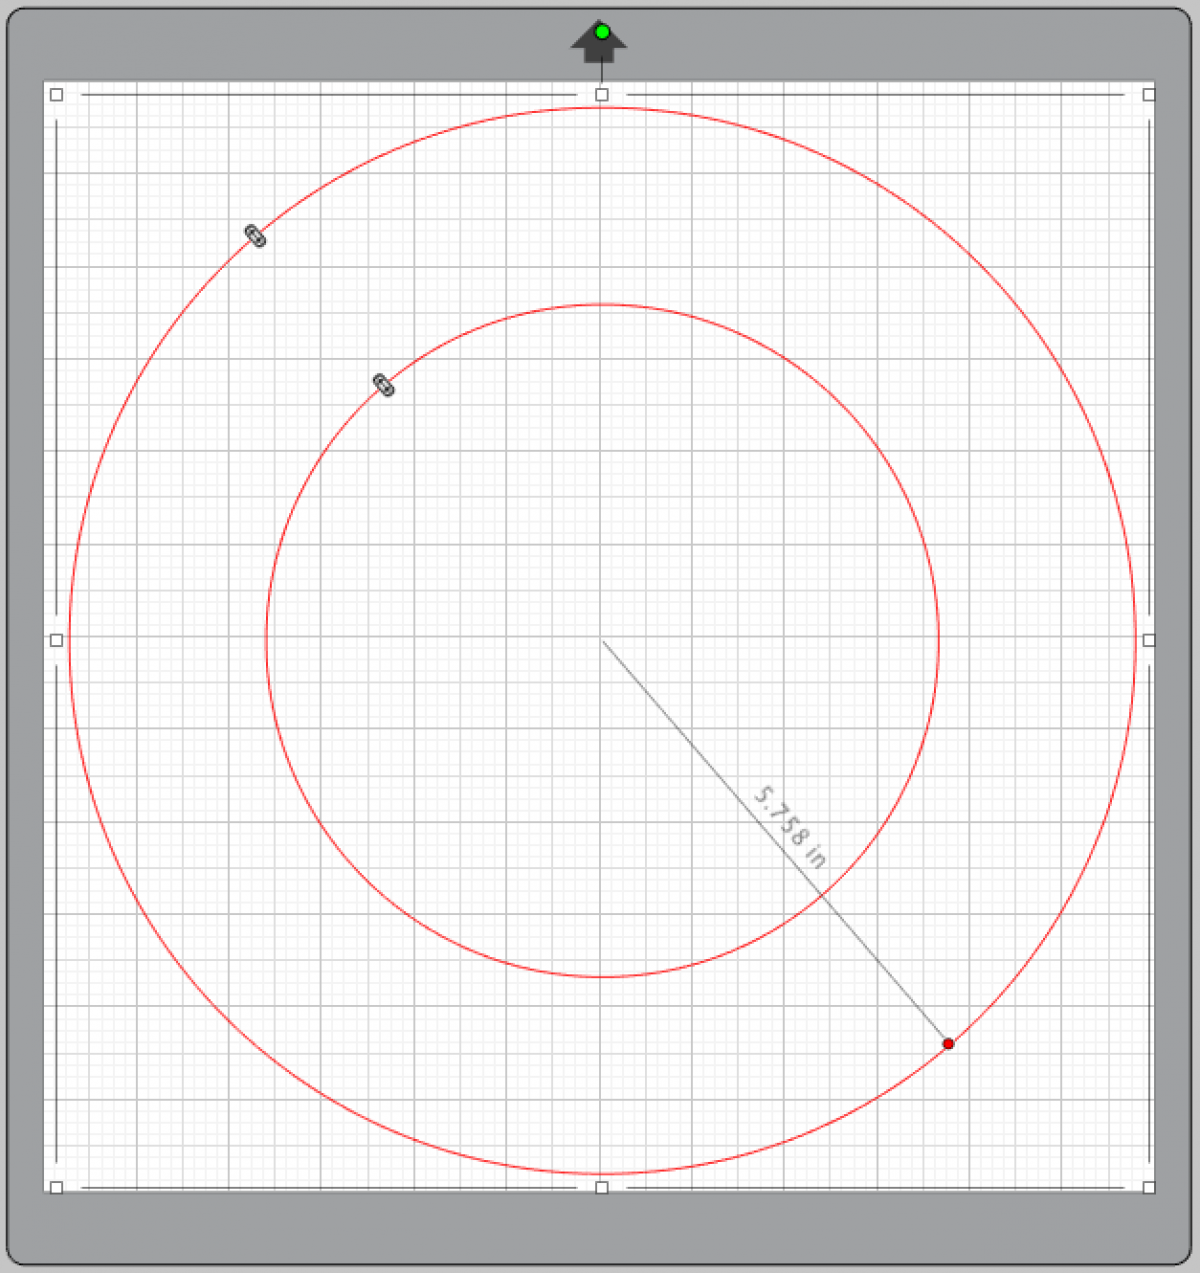
3. Now we’ll cut out a wreath frame. You’ll want to use very thick cardstock or chipboard so that it’s thick enough to hold the weight of the flowers. Create a circle with a hole in the center in Silhouette Studio®. The Flexishapes tool offer this exact shape, but you can also use two circles or purchase a design in the Silhouette Design Store. We created our frame to be just under 12 inches in diameter and about 2 inches thick. You can customize this to your desired dimensions or use a purchased wreath frame!
4. For this wreath, depending on the size of the wreath frame you use, you’ll need a LOT of rolled flowers! Cut out all your files from paper in various warm colors shades with the appropriate cut settings on your Silhouette cutting machine. It’s always helpful to do a test cut fist when it comes to cutting cardstock because there are so many different weights available in stores.
Step Two: Creating Your Rolled Flowers
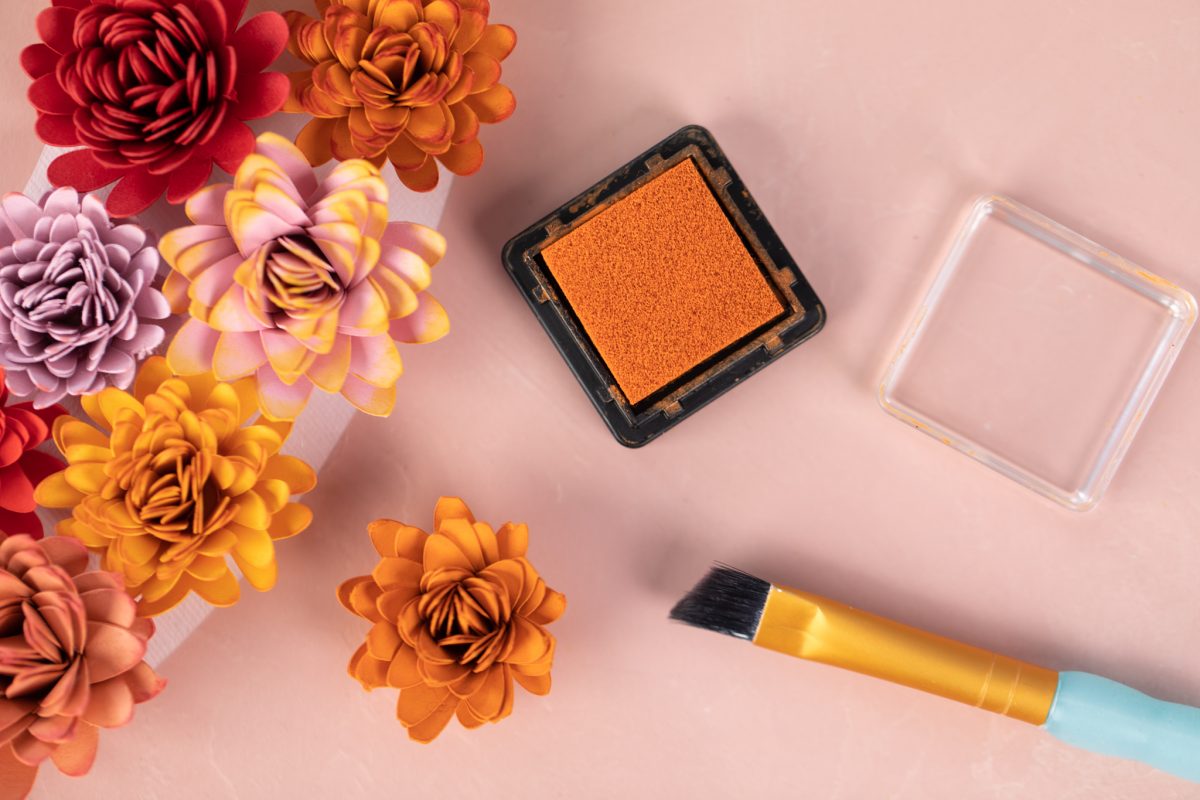
1. Once all your flower designs are cut, it’s time to roll them up! To begin, add some dimension to the flower by inking the edges of the flower.
2. Then beginning with the outer end of the flower, begin to roll up the flower tightly.

3. Once you reach the center, hot glue the rolled portion of the flower to the base.

4. Continue these same steps for all your flowers!
Step Three: Assembling the Wreath
1. Take your wreath frame and begin to hot glue your paper strawflowers onto the wreath.
2. Cluster the flowers fairly tightly together to cover the majority of the frame. Try to vary the colors of the flowers as you glue them to the frame to avoid creating clusters of the same color.

3. Once you’ve covered your whole frame, your wreath is ready to hang on your door and welcome in spring!

 Free Class - Shaker Card with the ES Mat
  Free Class - Foiled Gift Tags with the Heat Pen
Kelly Wayment
June 28, 2024
You can use it with vinyl as long as it is smooth and flat to allow the static charge to hold on to it. Rolled vinyl that wants to go back to its rolled shape will not necessarily work well, and it would need to be trimmed to fit the ES mat cutting area.
Kelly Wayment
June 28, 2024
Yes, you can use the heat pen while using the ES mat. 🙂
Yurii
March 2, 2024
Hello. May it be used with heat pen?
Thanks
Jerome
February 24, 2024
Hi, works this with the normal vinyl foils or only with printer papter etc?
Kelly Wayment
February 16, 2024
Once you’ve pushed the mat up against the rollers, just press the “Load” arrow button (bottom right on the display). Does a regular sticky mat load into the machine for you?
Michelle a goodall
January 24, 2024
Hello! I just got my new electrostatic mat and have watched every video i can find on it. However, what i can t find is why it wont feed into my cameo 5/ it slides right up the rollers but wont go any further. and yes- iam pushing the into button. help!