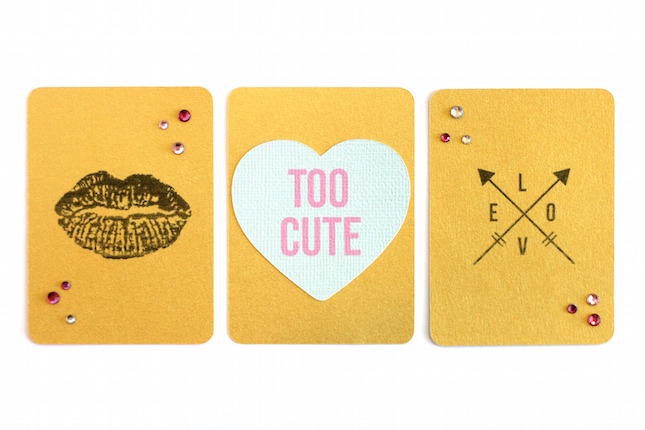
The CAMEO’s ability to Print & Cut designs is a feature I use often, so I was trilled to see that I can Print & Cut designs on Curio too! I’m going to show you how to use Print & Cut to turn this week’s free design into adorable Valentines. Oh, did I mention that you won’t even need glue? Let’s get started!
What you’ll need:
- printer
- gold cardstock
- white adhesive backed cardstock
- rhinestones
- rhinestone setter
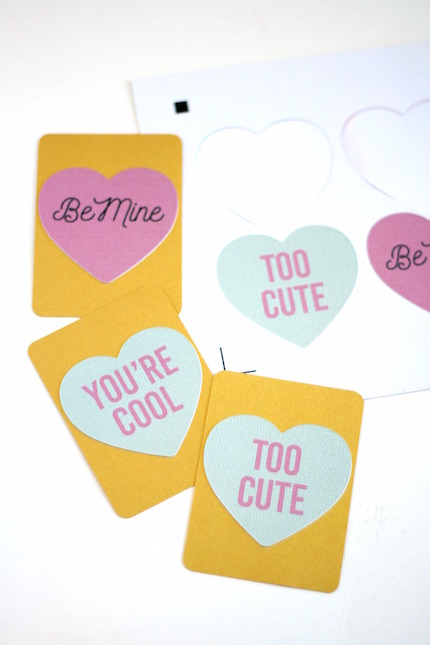
Step One: Print & Cut The Card Bases
Resize the design until the cards are as large as you’d like. Make sure you resize all the pieces of the design at the same time so they fit together correctly. Turn on the registration marks.
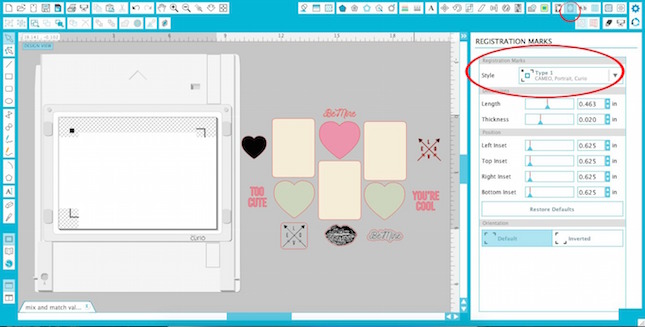
Arrange the black heart, love arrows, and lips onto the rectangular card bases. Open the “Fill Color” window and change the color of the rectangles to white.

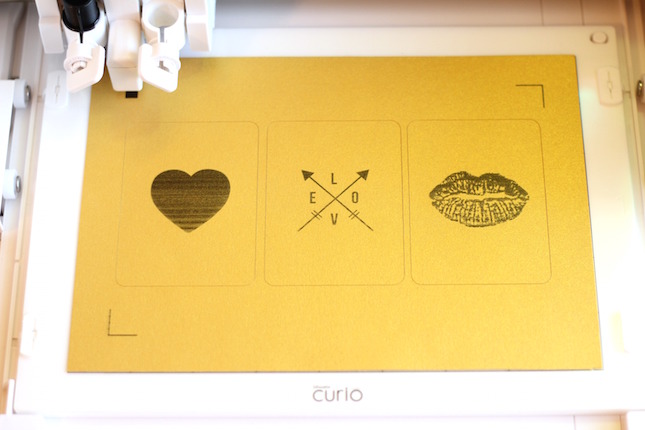
Print the page on gold cardstock. I find that my printer is more cooperative when I print on a full 8.5 in. x 11 in. sheet and then trim the paper to fit on the Curio mat.
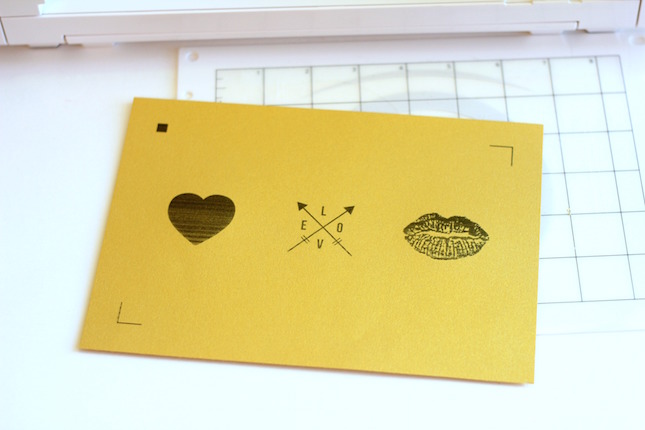
Place the printed page on the Curio mat. You only want to cut around the edge of the card bases so select the pieces and then choose “Cut Edge” as the “Cut Style”.
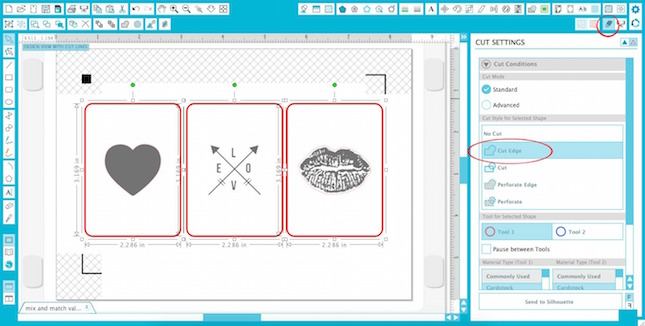
Select cardstock as the material type and make adjustments to the Curio platforms if necessary. Send it to cut.
Step Two: Print & Cut The Hearts
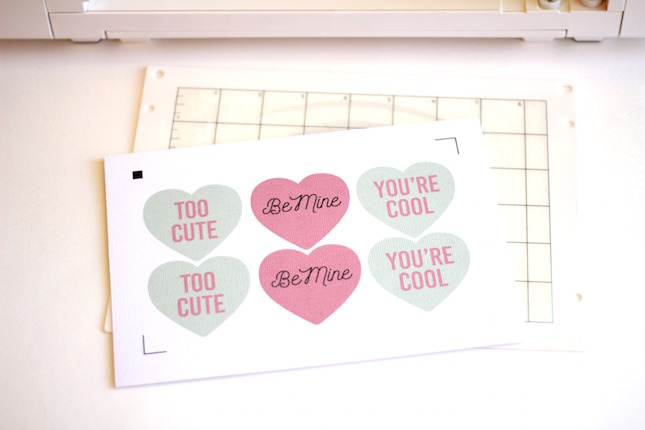
Put the phrases into the colored hearts. Now it’s ready to send to the printer. You could print these on printable sticker paper, but I used adhesive backed cardstock because I love the texture and thickness of it.
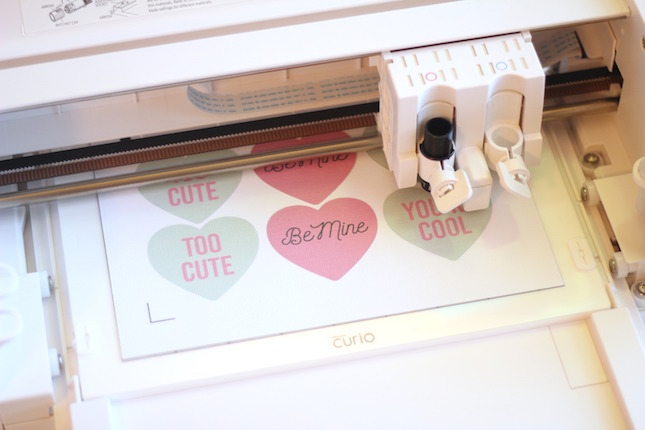
Place the printed page on the Curio mat. You only want to cut around the edges of the hearts, not the individual letters. Select all of the hearts and then choose “Cut Edge” as the “Cut Style” just like you did with the card bases. Select adhesive backed cardstock as the material type, adjust the blade, and send it to cut.
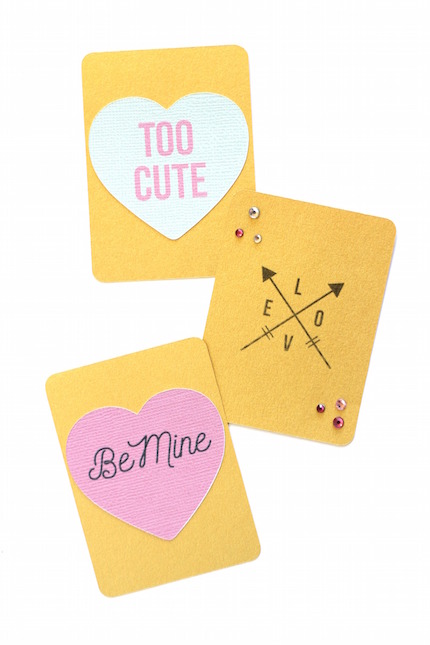
Step Three: Assemble The Valentines
The adhesive backed cardstock makes it oh so easy to attach the hearts to the valentines. Just peel it off the sheet and stick it on the cardstock.
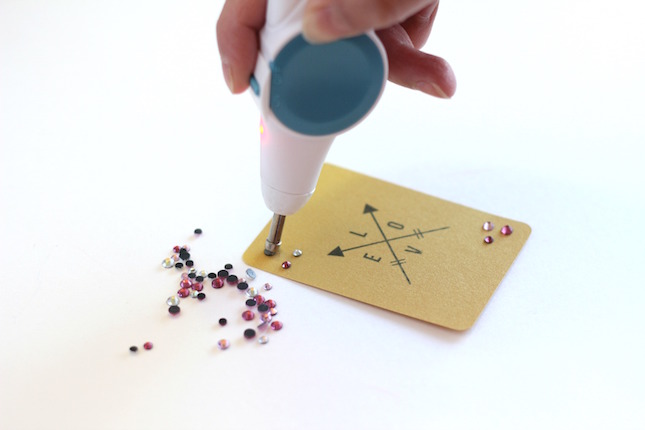
Step Four: Embellish With Rhinestones
There is no need to glue each rhinestone on. Silhouette rhinestones have a heat transfer backing so you can either iron them on or use the rhinestone setter. I highly recommend using the rhinestone setter because it’s so easy to use. Arrange the rhinestones on the card and use the rhinestone setter to lightly touch the top of each rhinestone until the adhesive melts and the rhinestone stays in place.
Handmade Valentines are such a thoughtful way to show you care!

Kelly Wayment
June 28, 2024
You can use it with vinyl as long as it is smooth and flat to allow the static charge to hold on to it. Rolled vinyl that wants to go back to its rolled shape will not necessarily work well, and it would need to be trimmed to fit the ES mat cutting area.
Kelly Wayment
June 28, 2024
Yes, you can use the heat pen while using the ES mat. 🙂
Yurii
March 2, 2024
Hello. May it be used with heat pen?
Thanks
Jerome
February 24, 2024
Hi, works this with the normal vinyl foils or only with printer papter etc?
Kelly Wayment
February 16, 2024
Once you’ve pushed the mat up against the rollers, just press the “Load” arrow button (bottom right on the display). Does a regular sticky mat load into the machine for you?
Michelle a goodall
January 24, 2024
Hello! I just got my new electrostatic mat and have watched every video i can find on it. However, what i can t find is why it wont feed into my cameo 5/ it slides right up the rollers but wont go any further. and yes- iam pushing the into button. help!