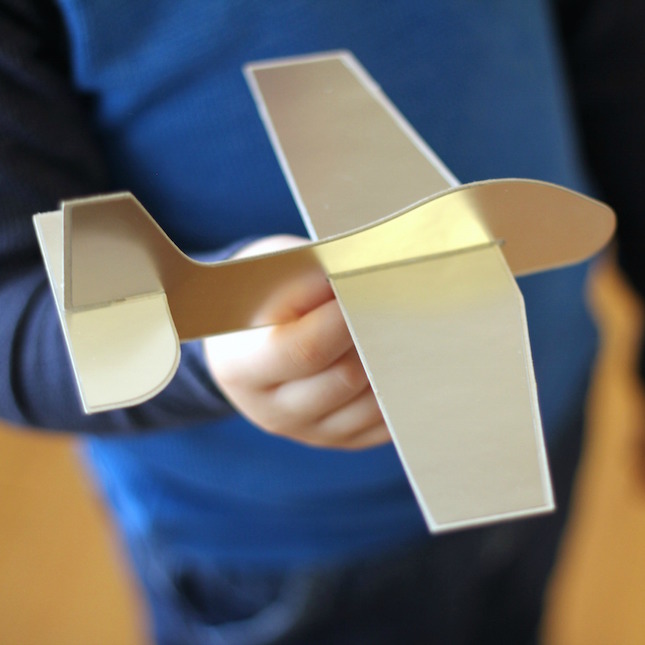
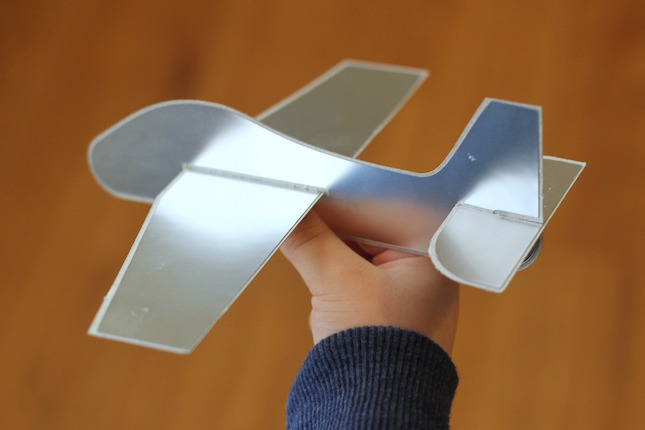
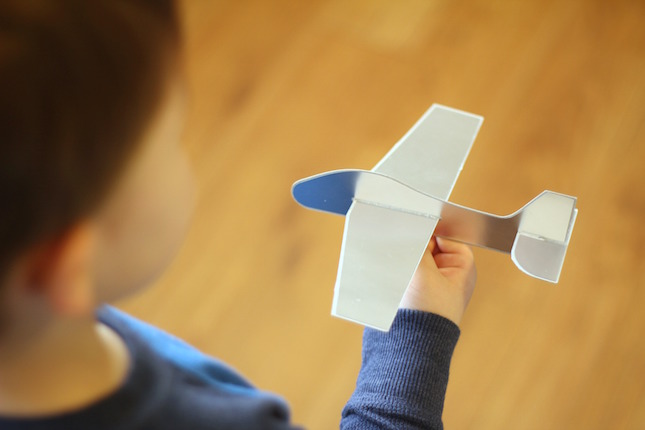
Creating this 3D airplane is as easy as it gets! It takes less than 5 minutes to cut and assemble since there is no glue or teeny tiny pieces involved. I even used printable silver foil to give it that shiny airplane look.
What you’ll need:
- Silhouette CAMEO®, Portrait®, or Curio™
- chipboard
- printable silver foil
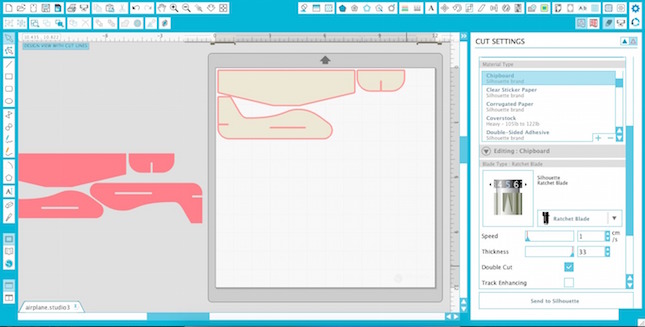
Step One
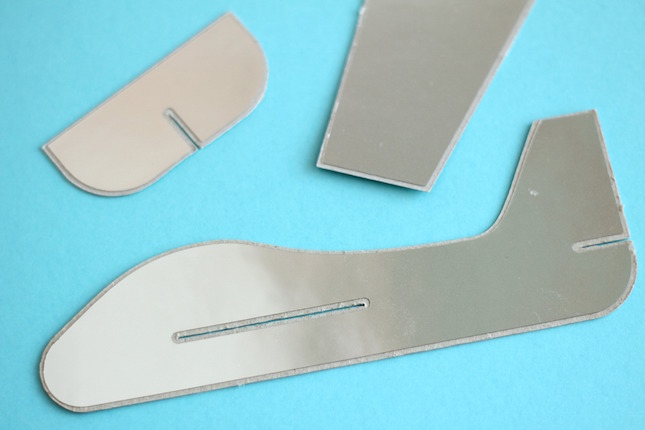
Ungroup the design and move the red shapes to the side. Cut the three tan shapes out of chipboard.
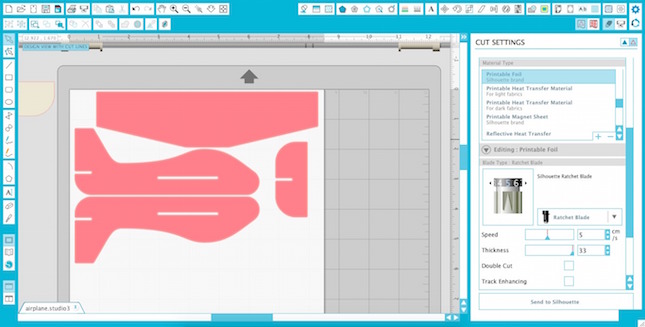
Step Two
Change your paper size to letter to fit the printable silver foil. Move the tan shapes off to the side and place the red shapes on your workspace. You’ll need to flip one of the shapes that goes on the side of the plane so it fits correctly. Cut these out of printable silver foil.
Step Three
Peel off the foil shapes and stick them on the corresponding chipboard shapes.
Step Four
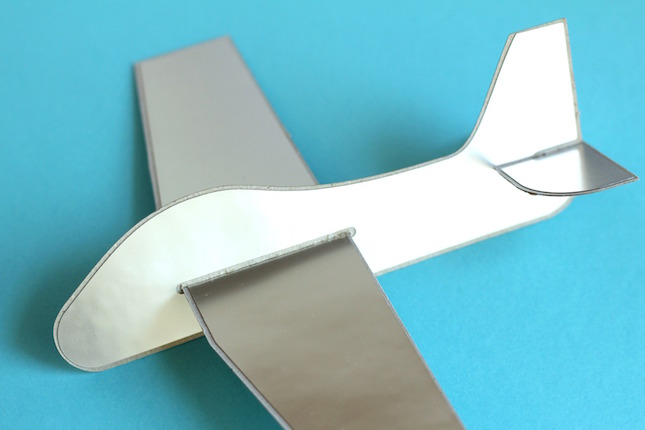
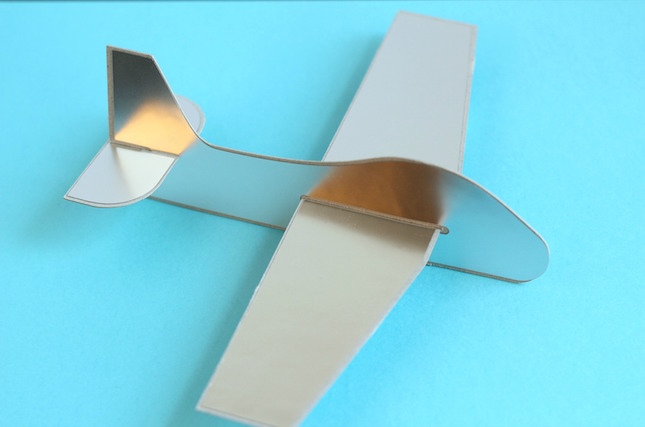
Assembling the airplane couldn’t be easier. Just slide the pieces in place with the silver foil facing up.
Since it’s made of chipboard, the airplane is sturdy enough for most kids preschool age and older to play with.
Kelly Wayment
June 28, 2024
You can use it with vinyl as long as it is smooth and flat to allow the static charge to hold on to it. Rolled vinyl that wants to go back to its rolled shape will not necessarily work well, and it would need to be trimmed to fit the ES mat cutting area.
Kelly Wayment
June 28, 2024
Yes, you can use the heat pen while using the ES mat. 🙂
Yurii
March 2, 2024
Hello. May it be used with heat pen?
Thanks
Jerome
February 24, 2024
Hi, works this with the normal vinyl foils or only with printer papter etc?
Kelly Wayment
February 16, 2024
Once you’ve pushed the mat up against the rollers, just press the “Load” arrow button (bottom right on the display). Does a regular sticky mat load into the machine for you?
Michelle a goodall
January 24, 2024
Hello! I just got my new electrostatic mat and have watched every video i can find on it. However, what i can t find is why it wont feed into my cameo 5/ it slides right up the rollers but wont go any further. and yes- iam pushing the into button. help!