Are you ready to design your own 3D shapes for your personal paper crafting? You totally can with the new Silhouette ModelMaker
I’m not a big fan of reading directions, so I dove right in to explore the basic features on my own. Within minutes I made a loveseat for my daughter’s peg dolls.* If you’re a rule-follower, you can check out the official manual.
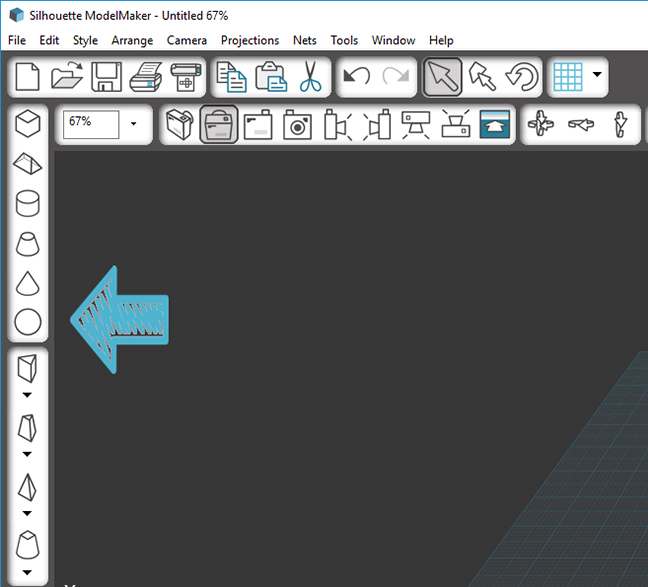
The first thing to note with the Silhouette ModelMaker is an easy-to-use toolbar for easy access to the standard 3D shapes you can create. They’re all listed in the left-hand menu.
FAVORITE FEATURE:
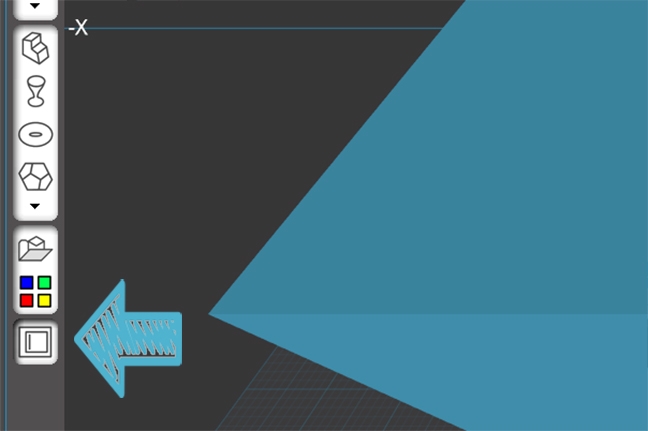
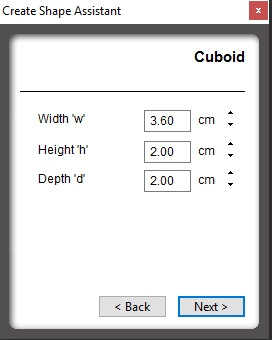
If you know the name of the shape and the dimensions, you can use my favorite feature, the Create Shape Assistant. It’s on the very bottom of the left- hand menu.
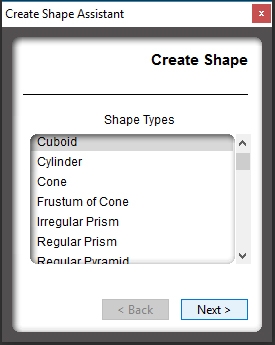
From here, select the shape to create and click Next.
Type in the dimension for your shape and click Next. Your shape will magically appear!
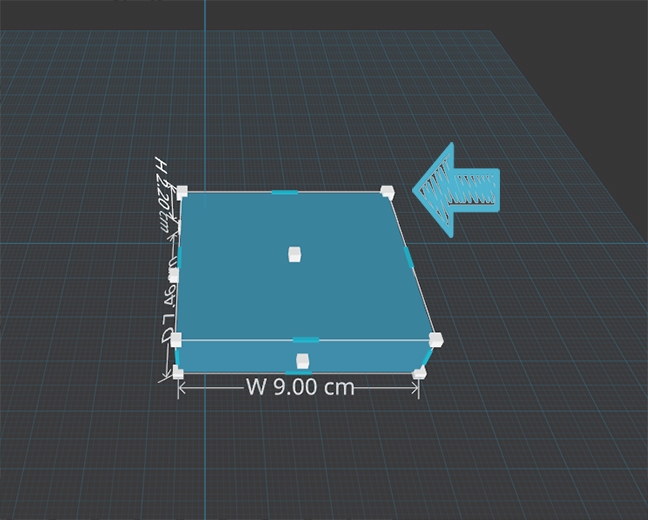
Of course, you can adjust the size directly on the model in the design view. Just click on the white handles that surround the shape and pull it to your desired size.
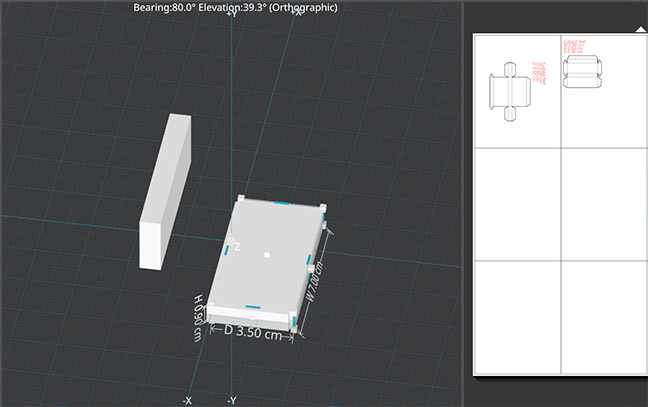
This is what my project looks like in Silhouette ModelMaker. The output preview is on the right, and you can see what the model will look like in two dimensions! So exciting!
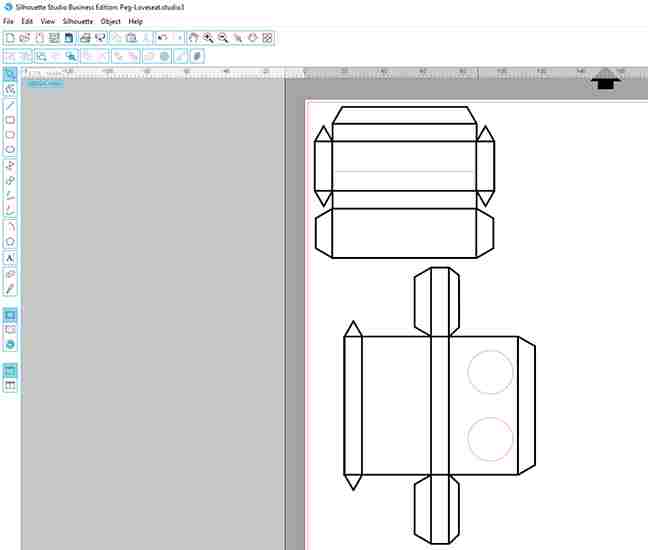
Silhouette ModelMakergives you the option to cut directly from the software, but I wanted to customize this project a bit further in Silhouette Studio®. Therefore, I opted to export as an SVG and finish editing there.
I used Silhouette Studio® to create a couple more cut lines, so that the back of the couch fit into the seat. Then I create some carefully calculated holes for the seat.
Then CUT!
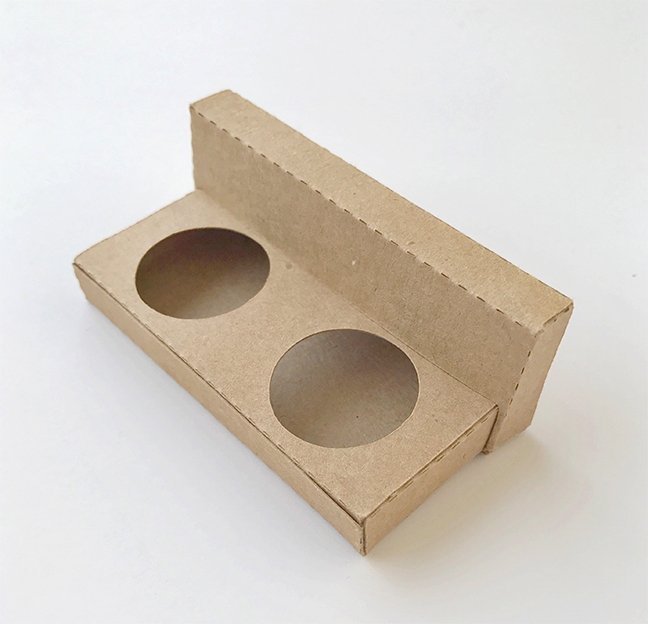
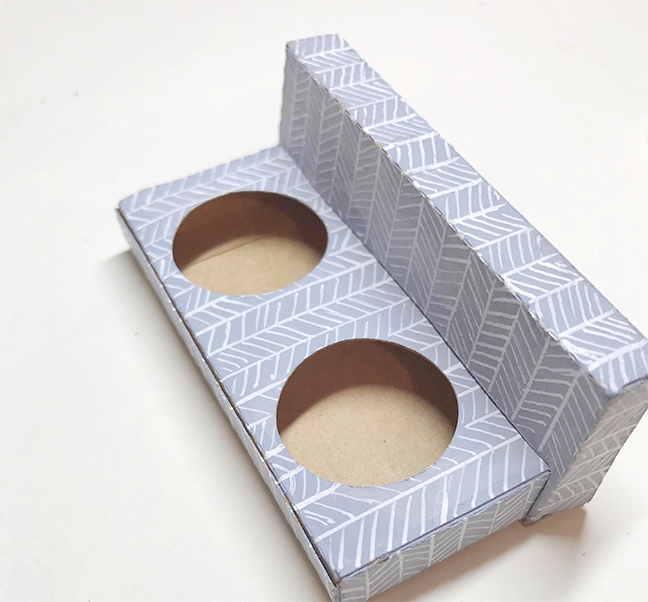
What came out blew away my expectations. I used a little glue to put the cuboid shapes together.
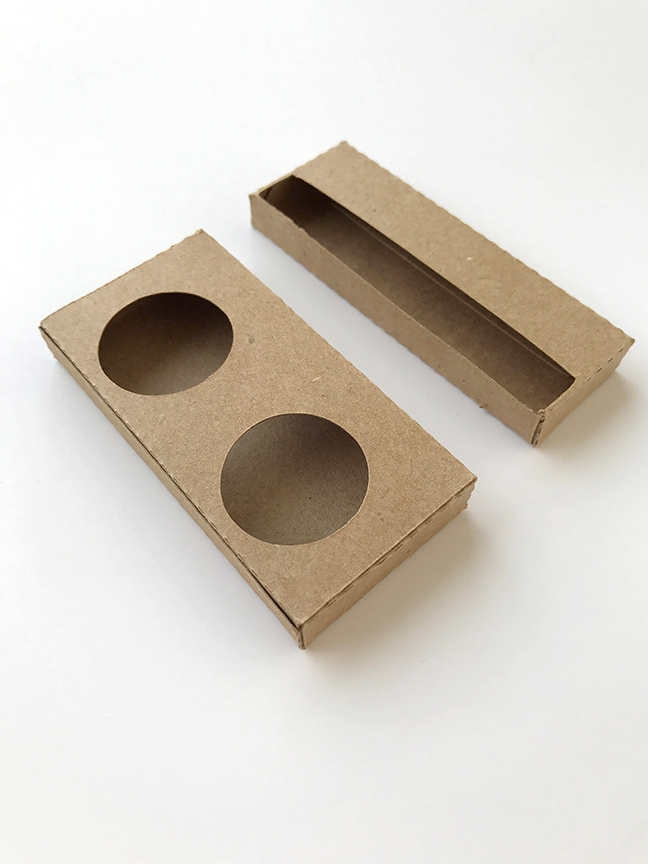
My careful calculations ensured a perfect fit between the seat and the couch back.
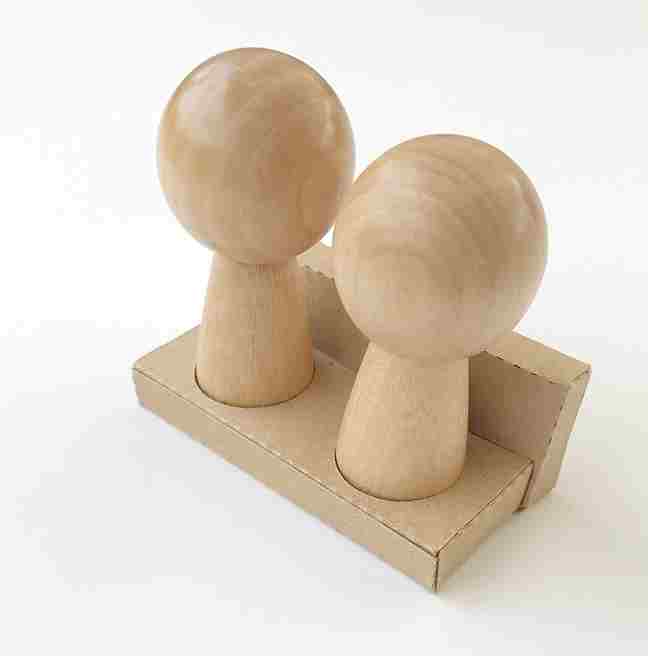
The peg people also fit perfectly into their seats (yay for simple math!).
I could have easily printed on colored cardstock or applied a pattern from the Silhouette Design Store, but if I was painting the people, why not paint the loveseat too!
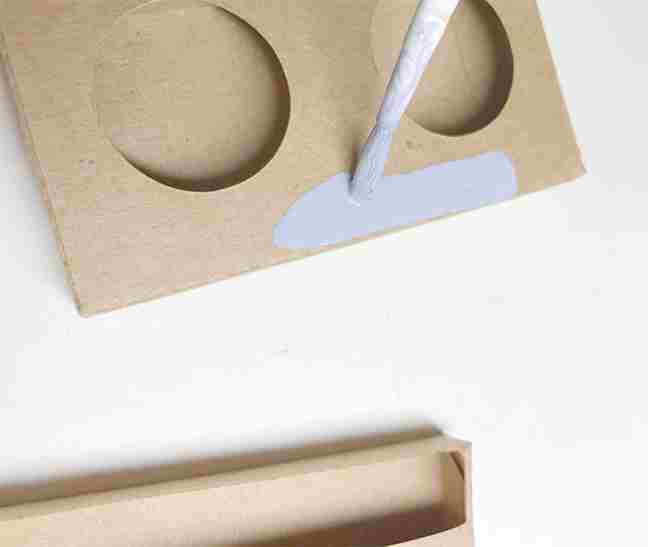
*Full disclosure on the project timeline: It took me a while to do the second grade math involved in measuring the space two peg dolls would take up on a loveseat. Designing, exporting to Silhouette Studio®, adding new cut lines, and cutting took fifteen minutes. Painting this design took fifteen minutes as well. I’m a slowpoke.
The possibilities are endless. I’m going to make a few more furniture pieces for my daughter. What will you make with your Silhouette ModelMaker?
Kelly Wayment
June 28, 2024
You can use it with vinyl as long as it is smooth and flat to allow the static charge to hold on to it. Rolled vinyl that wants to go back to its rolled shape will not necessarily work well, and it would need to be trimmed to fit the ES mat cutting area.
Kelly Wayment
June 28, 2024
Yes, you can use the heat pen while using the ES mat. 🙂
Yurii
March 2, 2024
Hello. May it be used with heat pen?
Thanks
Jerome
February 24, 2024
Hi, works this with the normal vinyl foils or only with printer papter etc?
Kelly Wayment
February 16, 2024
Once you’ve pushed the mat up against the rollers, just press the “Load” arrow button (bottom right on the display). Does a regular sticky mat load into the machine for you?
Michelle a goodall
January 24, 2024
Hello! I just got my new electrostatic mat and have watched every video i can find on it. However, what i can t find is why it wont feed into my cameo 5/ it slides right up the rollers but wont go any further. and yes- iam pushing the into button. help!