
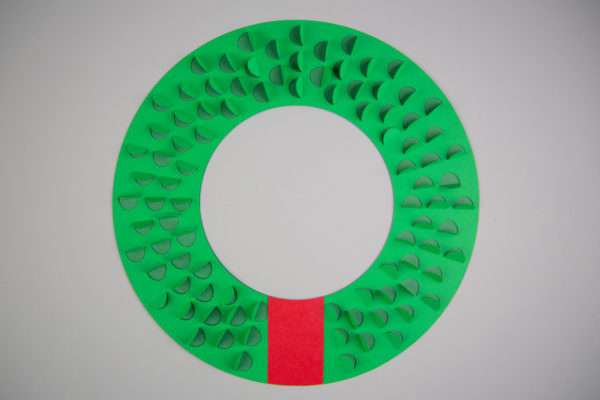
Today we’re going to show you how you can create this simple 3D Wreath project that you can easily cut, assemble, and display. Keep reading to view the tutorial below!
Supplies Needed:
- Silhouette CAMEO®
- Silhouette Cutting Mat
- Silhouette Cutting Blade
- Silhouette Studio®
- Cardstock – light green, dark green, and red
- Glue or double-sided tape
- Design ID #282041
Step One: Cutting the Design
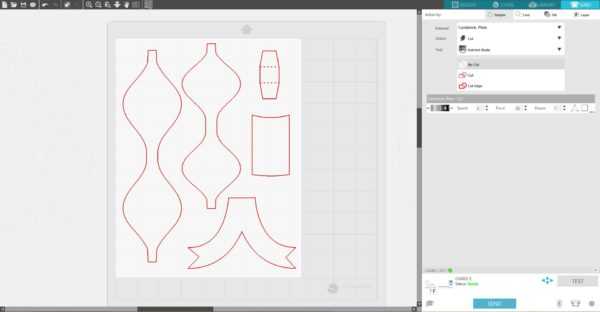
1. Download the 3D Wreath – Fold up Tabs design (Design ID #282041) from the Silhouette Design Store. Open it in Silhouette Studio® by locating it in your Library. Place the bow parts on the cutting area.

2. Place a sheet of red cardstock on the cutting mat and feed it into your Silhouette machine.
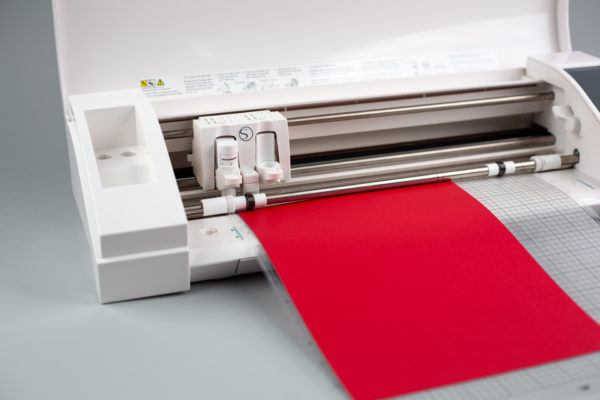
3. In the Send panel, choose “Cardstock, Plain” as your material type. Adjust your blade if necessary and send your cut job to your Silhouette machine.
4. Move that group away from the cutting area and repeat the same process with the top wreath piece and light green cardstock and bottom wreath piece with dark green cardstock.

Step Two: Assembling the Wreath
1. Take the top wreath piece and fold the tabs up.

2. Adhere the top wreath piece to the bottom wreath piece.

3. For the bow, use a pen or spatula to curl the long ribbon pieces up on both ends, in towards the middle.

4. Use a strong adhesive to attach the end pieces into the middle of the ribbon.

5. Adhere the smaller ribbon on top of the larger one.

6. Use the middle piece to keep them in place.

7. Stick the base piece of the bow onto the bottom of the wreath.
8. Adhere the hanging ribbon piece in place.

9. And then stick the bow on.

This simple wreath makes a great decoration to add to a door to use accent a table or other surface. Tell us where you are going to display your wreath in the comments below!