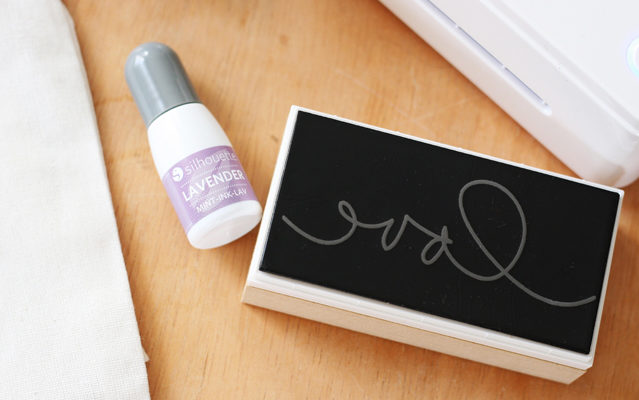
Brides, Grooms, couples of all ages—have I got something special in store for you. Brittany here, sharing some different ways you can use your Silhouette Mint™ to help make your wedding a custom DIY to die for.
From stamped flatware to personalized return address stamps, we’ll highlight a few and even share the full tutorial for this love stamped Lavender Sachet project at the very end. Bonus. Even if you’re reading this and your wedding is tomorrow (let’s hope not, but us crafters can’t be tamed), I’m certain there is a way to add a little hand-made touch to your big day.
Stamped Spoons by Brittany Sazonoff
First– Let’s talk about the magic that is the Silhouette Mint™ for those who are just joining us.
You guys, when I say magic, I mean blow your mind in the matter of minutes, magic. Also, how stinkin’ cute is it? The amount of things you’ll end up wanting to make stamps for will be an endless list. For now, I’ve narrowed it down to just a few.
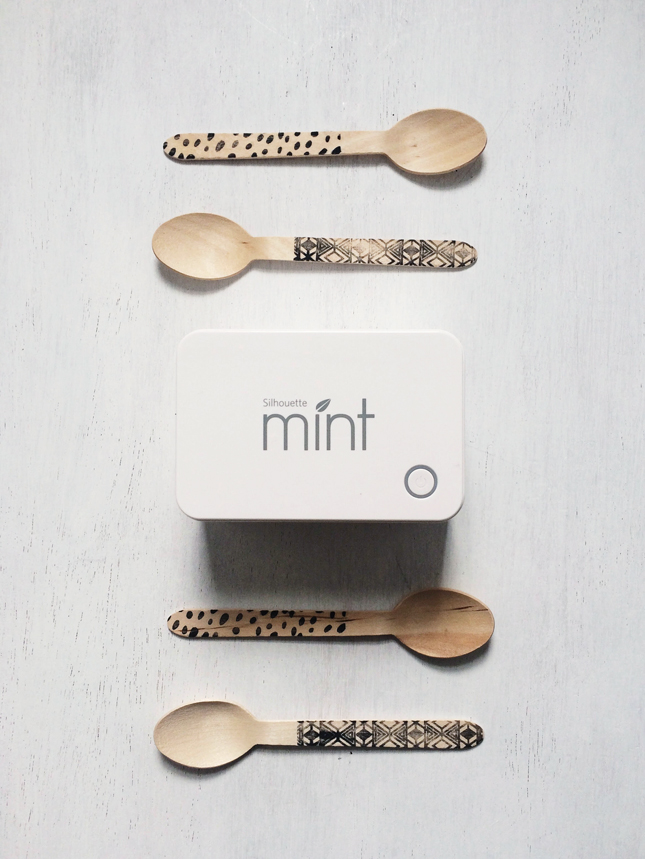
1. Flatware
One way to make your wedding standout—custom flatware. This has been one of my absolute favorite discoveries. Just think about the possibilities! We’re talking matching handle-stamped spoons as your guests walk up to the ice-cream bar, or cutlery catered to the kids table, stamped with a custom design. Just think! You can get the full tutorial for using two patterns on one stamp as shown above here.
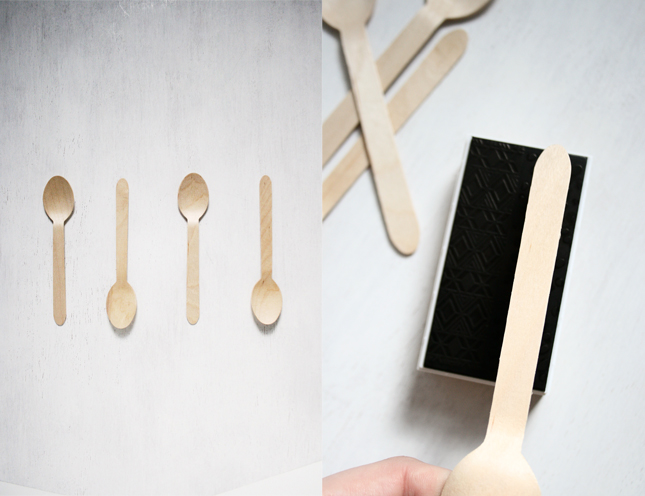
Stamped Spoons by Brittany Sazonoff
2. Seating Arrangement
Have a little fun by stamping a bordered shape, scroll or other design along a paper covered table at each place setting and writing in each guest name at their dedicated spot. This is a pretty above-the-top touch, but if you can pass it off to that little cousin with good handwriting and nothing to do, then it’s a pretty sure-fire way to make your wedding stand out. I loved when Dawn Nicole guest-blogged this idea on the Silhouette blog last fall, and think it would be an adorable addition to a big day.
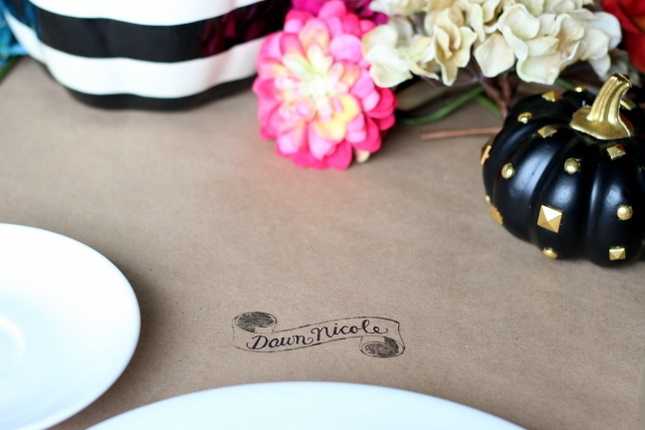
Guest Post: Dawn Nicole Designs
3. Return Address Stamp
One thing that comes with the wedding territory seems to be sending off a variety of information to your adoring guests. While I am big fan girl of the ol’ snail-mail, handing-writing 300+ return address could cause you enough stress to make you want to move from that location altogether. Worry not.
Not only can you create a completely custom return address stamp to honor you and your love, but another awesome part about creating a stamp using the Silhouette Mint™ is that its ink lasts for about 50 uses before needing to reapply ink.
Right? Adios, carpel tunnel!

Return Address Stamp by Brittany Sazonoff
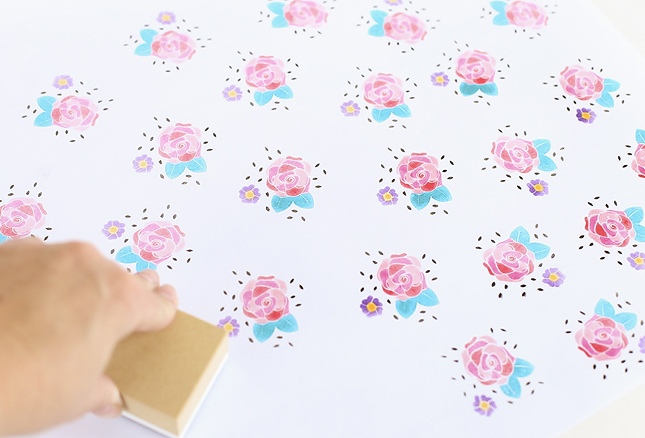
4. Giftwrap
Bridesmaids gifts or maybe even a table runner—use your custom stamp to create a pattern along a paper roll that you can use in your wedding in so many ways. Now, remember that part where the Mint™ creates long-lasting stamps? Well, here’s another magic moment—you can also apply different colored inks to different portions of the stamp and it will to continue to stamp in that colored design. I’m telling ya, magic.
Design Team member Marie Chorak has that full how-to here.
DIY Gift Wrap by Marie Chorak
5. Coasters
Cheers! Custom coaster! These are the tiny touches the can make your wedding eye catching.
Whether you add a custom stamp to some pre-bought coaster packs, or you find time in your I’m sure, already-full schedule to cut your own coasters out on your Silhouette Curio™. It’s another sure-to-impress mark! How big ya going here?

Stamped Coasters by Brittany Sazonoff
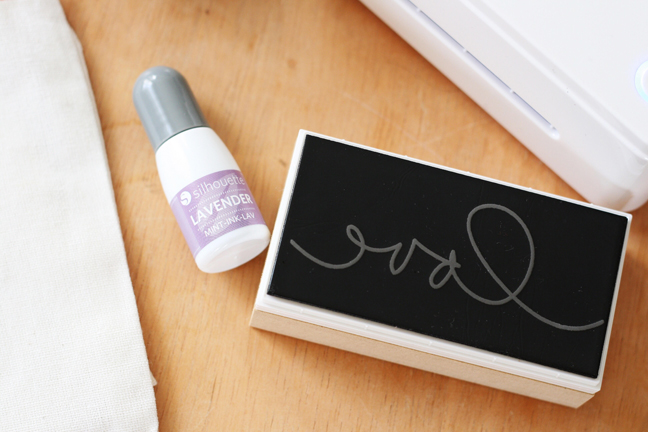
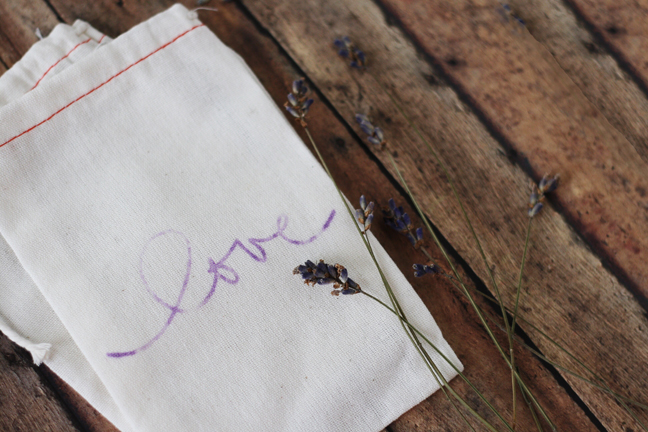
6. Stamped Lavender Muslin Bags
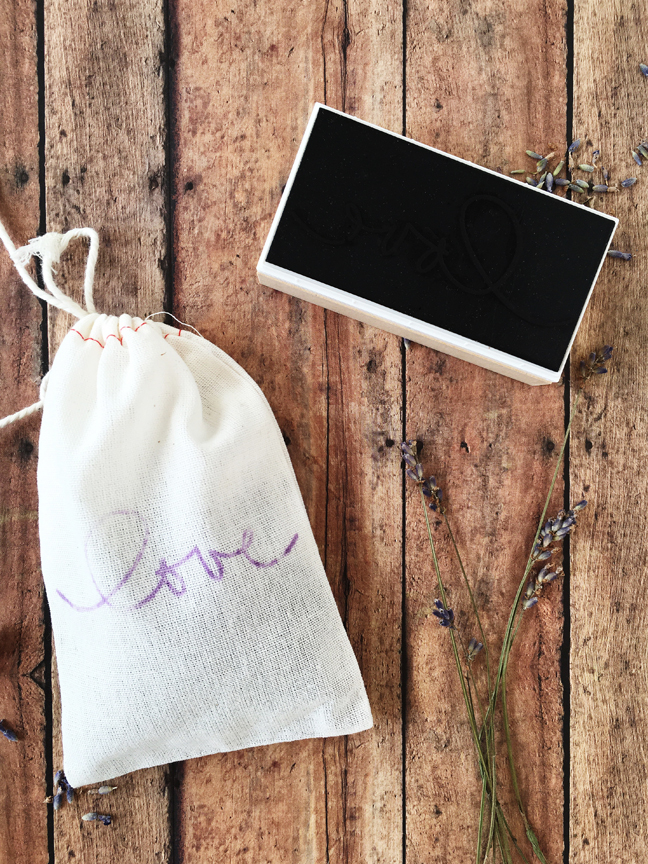
Yep, the Mint also stamps on fabric! For #6, we’re going to show you how to Mint these beautiful muslin bags that would make perfect wedding favor bags. For the light purple color, I would not suggest a fabric that will end up being washed. (But design team member Emily Dixon did try hand washing her decorative hand towels in cold water and soap—and the ink didn’t bleed! See her tutorial about stamping on fabric here.)
For these little wedding favors, the Mint adds a perfect touch. Fill the little bags with lavender, or maybe even candy, and have them set out for your guests to take as a little momento of your big moment.
Let’s begin!
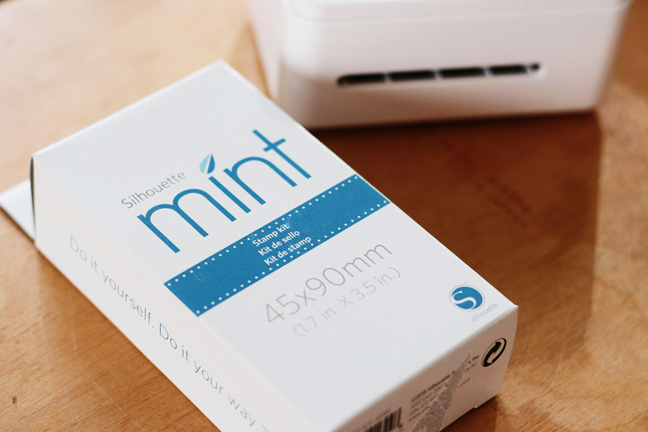
You Will Need:
- Silhouette Mint™
- Silhoutte Mint™ Stamp kit (45 mm x 90 mm)
- Sachets/Bags
- Lavender (or fill with candy)
Step One: Edit Your Design in Mint Studio™
Mint Studio™ makes creating a custom stamp pretty straight forward. Here’s how you do it!
(1) Open the design you would like to stamp atop your bags in Mint Studio™. I chose the Handwrittings: Love design from Karla Dudley. Design ID #8563.
(2) Select the stamp size you are using from the Stamp Settings panel and size your design accordingly.
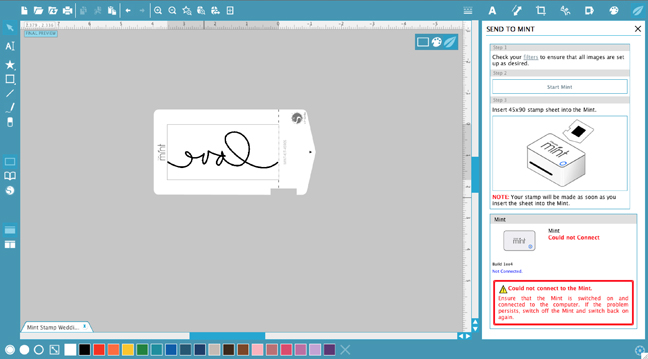
Step Two: Mint Your Stamp
(1) Click on the little mint leaf icon in the corner and press “Start Mint.”
NOTE: Have no fear—your stamp will appear reversed in this window and that is a-okay. It’s supposed to do that—otherwise your stamp would be backwards when you went to stamp it!
The dialog box on the right-hand side will guide you through the steps of inserting your stamp sheet into the Mint—and even give you a big red warning if things aren’t connected/turned on.
(2) Unwrap your stamp sheet in the back of the machine once you’re ready to mint.
The stamp sheet is pulled by the forces of magic through the Mint itself, and right out the front with your design in tow. Oooooo. Ahhhhh. But, seriously. Magic.
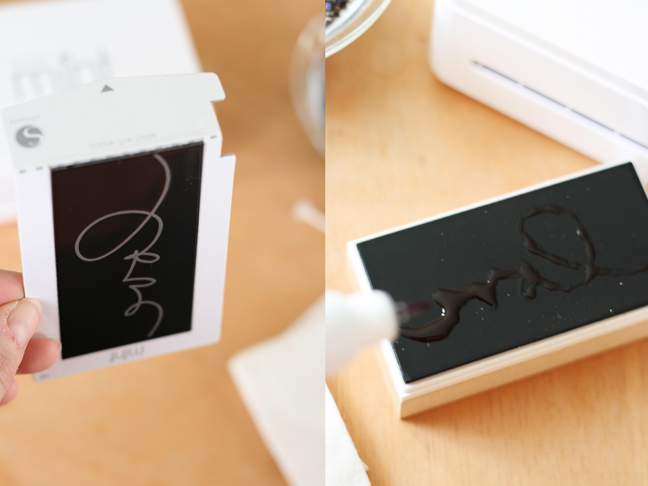
Step Three: Stick Stamp Sheet on Base
(1) Crack the cardboard casing along the dotted line and remove the black stamp pad completely from the stamp sheet.
(2) With your stamp block face up, remove the paper covering. A sticky base will be revealed.
(3) Stick your newly minted stamp sheet directly to the base.
With the color ink of your choice, fill the portions of your design in and allow it to sit for a couple minutes. There will most likely be excess ink after the time is up, but simply stamp your design over and over again on a scrap sheet of paper until you get a clear design and you’re set!
There you go! So many ways fun ways to add a personal touch to your Wedding, whether you have minutes or months! Hope to have sparked some DIY inspiration in all you beauts.
Now, go get married!
Kelly Wayment
June 28, 2024
You can use it with vinyl as long as it is smooth and flat to allow the static charge to hold on to it. Rolled vinyl that wants to go back to its rolled shape will not necessarily work well, and it would need to be trimmed to fit the ES mat cutting area.
Kelly Wayment
June 28, 2024
Yes, you can use the heat pen while using the ES mat. 🙂
Yurii
March 2, 2024
Hello. May it be used with heat pen?
Thanks
Jerome
February 24, 2024
Hi, works this with the normal vinyl foils or only with printer papter etc?
Kelly Wayment
February 16, 2024
Once you’ve pushed the mat up against the rollers, just press the “Load” arrow button (bottom right on the display). Does a regular sticky mat load into the machine for you?
Michelle a goodall
January 24, 2024
Hello! I just got my new electrostatic mat and have watched every video i can find on it. However, what i can t find is why it wont feed into my cameo 5/ it slides right up the rollers but wont go any further. and yes- iam pushing the into button. help!