
October has always been an important month for us here at Silhouette. In past years, we have brought awareness to breast cancer to help and support women in the fight against breast cancer. This year, we went bigger.
We have partnered with National Breast Cancer Foundation (NBCF) to bring about the Silhouette CAMEO® 3 Pink Edition. From now through November, a portion of sales from specially-marked boxes will be donated to NBCF in honor of National Breast Cancer Awareness month in October.
In honor of all the survivors, the fighters, and lives lost, we have also launched a special, FREE design! Below we will walk you through on how we used this design to customize our life while bringing awareness to breast cancer.
Supplies Needed:
- Silhouette CAMEO® or Silhouette Portrait® or Silhouette Curio™
- Silhouette Cutting Mat
- Silhouette Cutting Blade
- Silhouette Studio®
- Plain T-shirt
- Silhouette Metallic Heat Transfer – Pink
- Silhouette Smooth Heat Transfer – Pink
- Design ID #225720
Step One: Open The Design
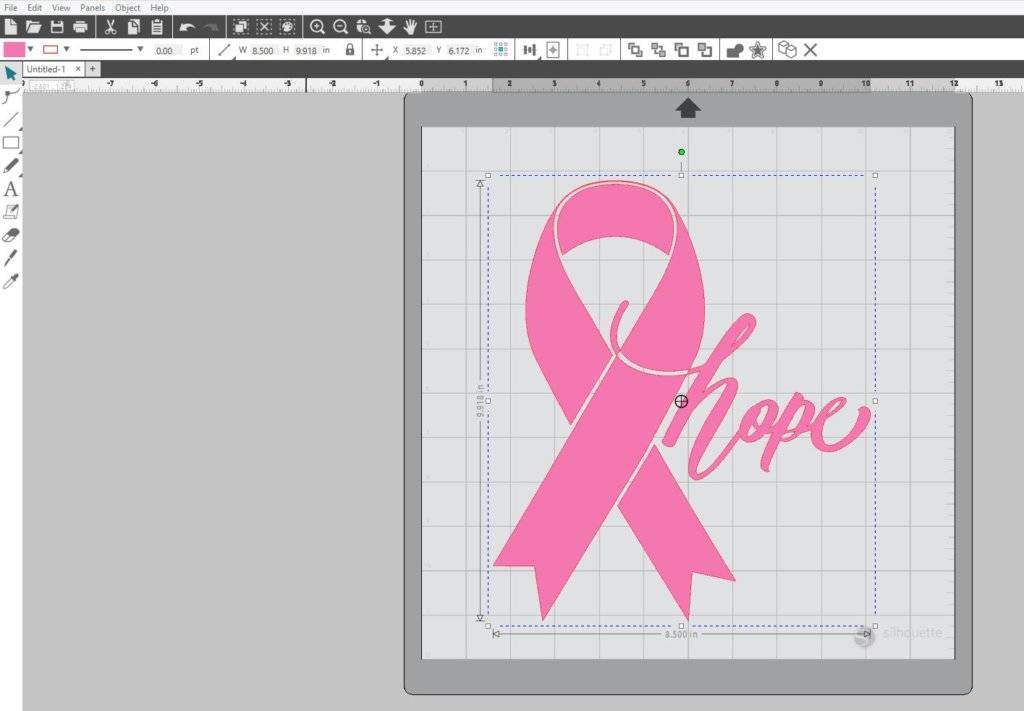
- Select the Page Setup Panel (this icon can be found on the toolbar on the right-hand side of your page) and adjust your page to the dimensions of your material or machine. In this case, we are using the CAMEO and our material is 12 in. x 12 in.
- Open Design ID #225720 in Silhouette Studio® by locating the design in your library.
- Now select the design and resize it to the size you want it to be. Adjust the size of the design by selecting it and dragging the outer corner to make it larger or smaller. We made our design 6.849 inches by 8.004 inches.
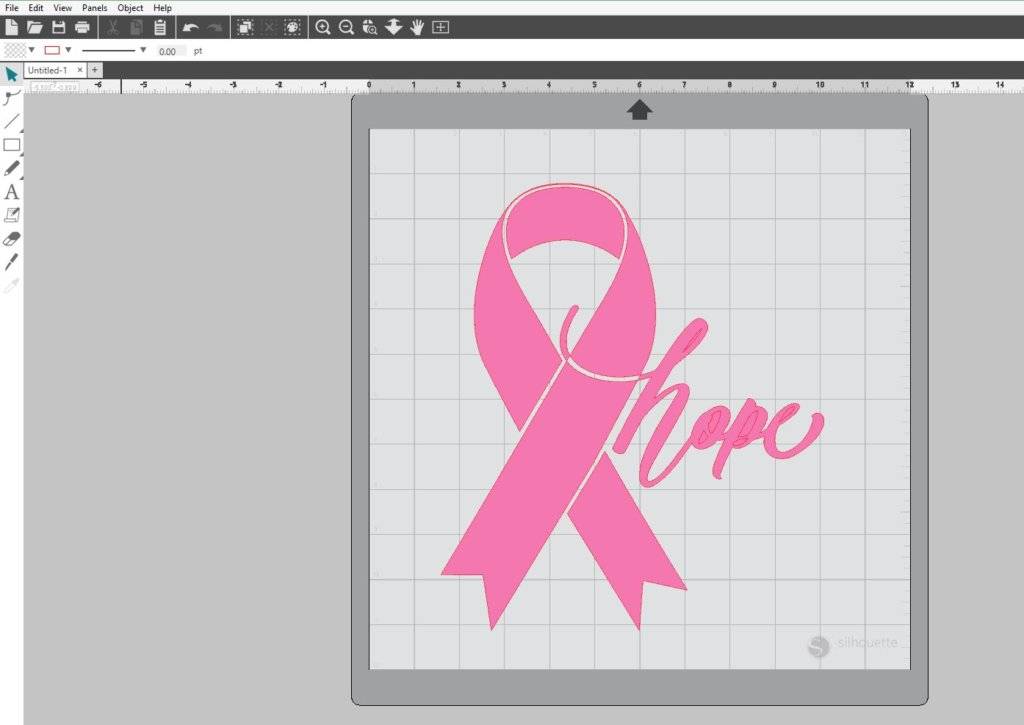
- For this design, we chose to make it several different colors. In order to do so, we will need to separate pieces of the design. You’ll notice that it is a compound path and not a series of shapes grouped together. In this case, we will want to release the Compound Path. To do so, select the design, right-click, and click Release Compound Path. It will then look like this:
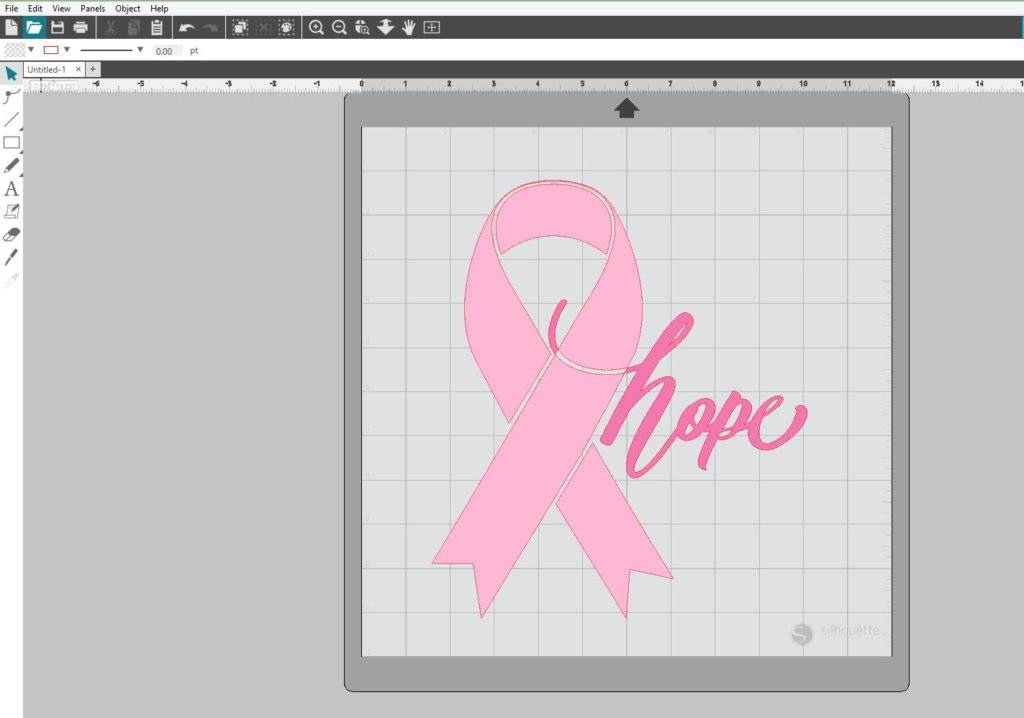
- Now comes the tricky part. Select pieces of the ribbon while holding down the shift key on your keyboard. Once all of the ribbon is selected, then right-click and select Group. Now set this piece off to the side.
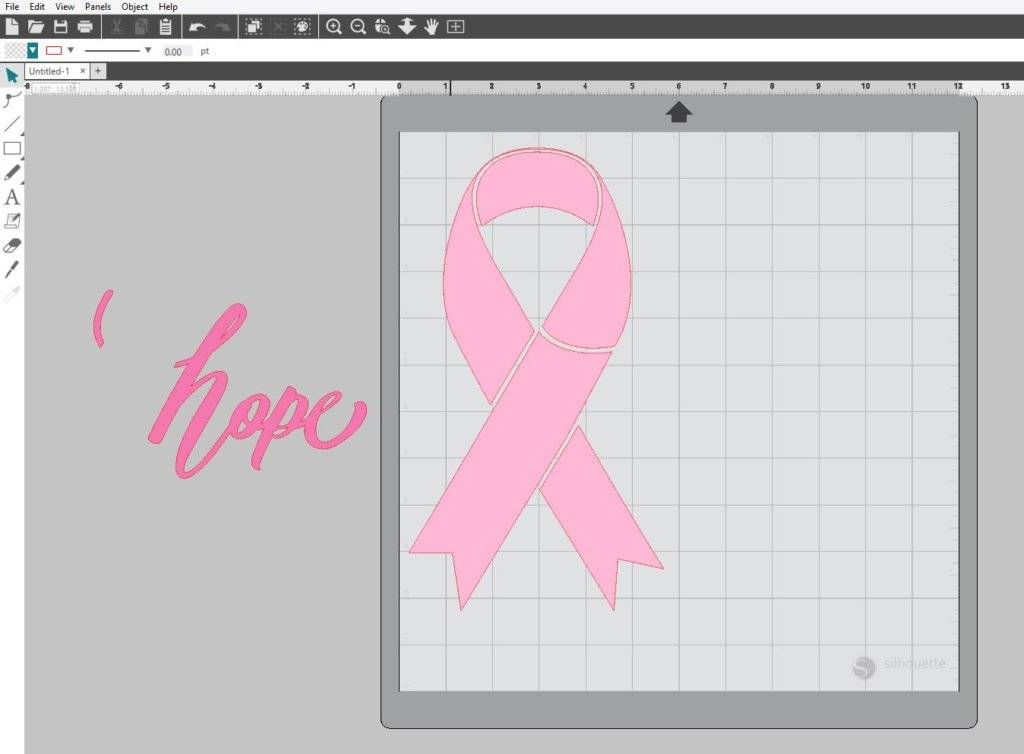
- Now simply, select all of the pieces of “Hope” and instead of grouping the design we want to make it a compound path again. With all pieces selected, right-click, and hit Make Compound Path. Once you are done, you are ready to cut out the design.
Step Two: Cut and Assemble
- To keep our designs organized we decided to color them so that we knew what was going to be cut out of what. First, we started with the ribbon.
- Place the “Hope” design off of your cutting mat. Load your heat transfer material into your machine. (Note: If you are using a CAMEO or a Portrait, you can load your material without a cutting mat.) You’ll notice that heat transfer material has a shiny plastic side and a matte side. You will want to place the heat transfer in the machine shiny side down.
- In Silhouette Studio®, select the Send tab in the upper right-hand corner. For material select the Heat Transfer, Metallic (depending on which heat transfer material you are using) cut setting. Adjust your blade to the cut setting and select Start.
- After your machine is done cutting, unload the heat transfer material from your machine and weed away unnecessary parts of the design.
- Repeat this process but with the “Hope” design.
- Once all pieces of the design are cut, place your weeded design on your shirt right side up.
- Leave the clear protective plastic on and iron your design onto your shirt. You may also choose to place a cloth barrier in between the design and the iron. Once the design is cooled, peel away the clear plastic (Tip: If you pull away the clear plastic while your design is still hot, it will warp the Heat Transfer and ruin your design.)

Nasze Naturalne
September 3, 2025
Your authentic voice really shines through in everything you create and share
Naszenaturalne
September 2, 2025
Really love your style
Kelly Wayment
June 28, 2024
You can use it with vinyl as long as it is smooth and flat to allow the static charge to hold on to it. Rolled vinyl that wants to go back to its rolled shape will not necessarily work well, and it would need to be trimmed to fit the ES mat cutting area.
Kelly Wayment
June 28, 2024
Yes, you can use the heat pen while using the ES mat. 🙂
Yurii
March 2, 2024
Hello. May it be used with heat pen?
Thanks
Jerome
February 24, 2024
Hi, works this with the normal vinyl foils or only with printer papter etc?