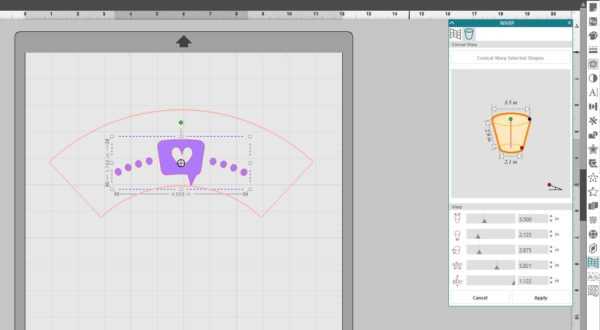
In this post you’ll learn about the Conical Warp Tool. This is available starting in Silhouette Studio® version 4.1, Designer Edition Plus and higher. The Warp panel can be accessed near the bottom of the panels on the right. Conical Warp is found in the second tab of the Warp panel if you have Designer Edition Plus or higher.
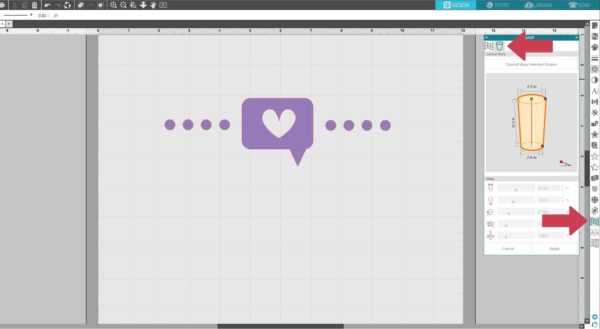
Select the design you want to apply to a conical shape, like to a tapered cup. Choose “Conical Warp Selected Shapes.” If you zoom out you can see a curved shape that represents your conical surface.
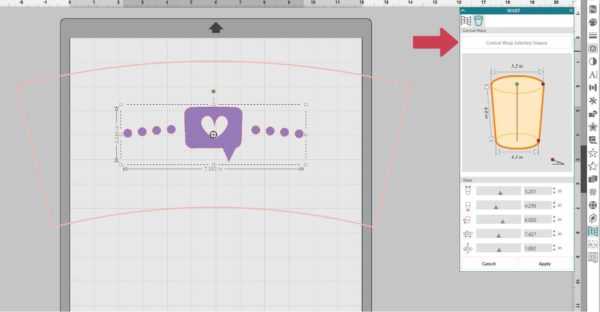
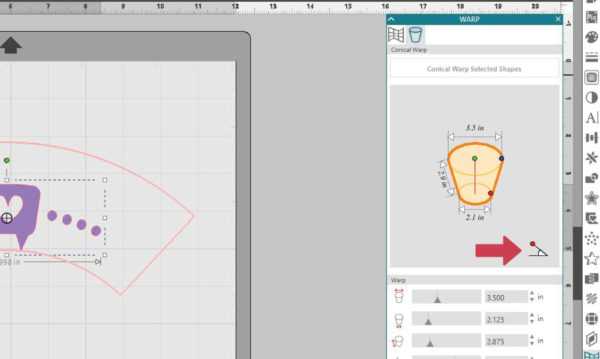
Drag the nodes in the diagram to adjust the shape.
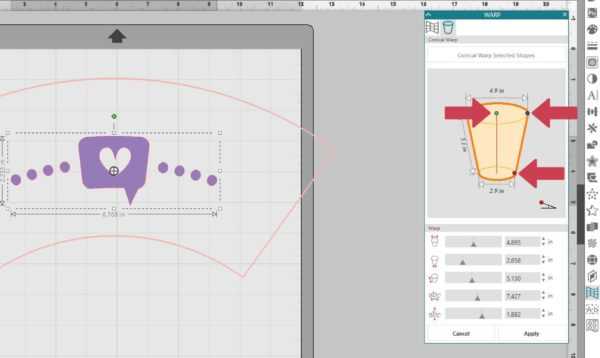
or use the sliders and input boxes below. I know my cup is 3 1/2” across the top, 2 1/8” across the bottom, and 2 7/8” tall. Hit Enter to accept.
You can change the view with this little angle slider.
If you want to make the design itself larger or smaller, don’t stretch it with the bounding-box handles. Instead, use the slider or input box in the panel. Use the bottom slider to position your design vertically.
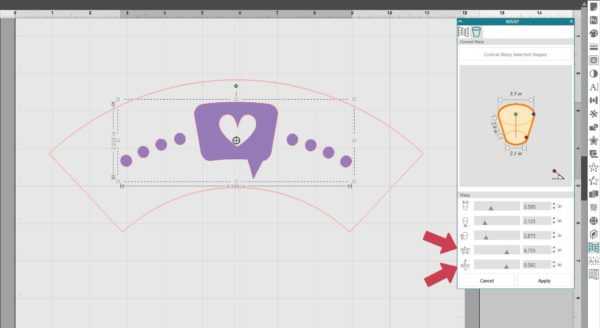
Once you click “Apply” you can no longer edit the conical warp. If you want to keep the ability to edit it further, just click off to the side when you’re done setting dimensions, and the curve preview will disappear.
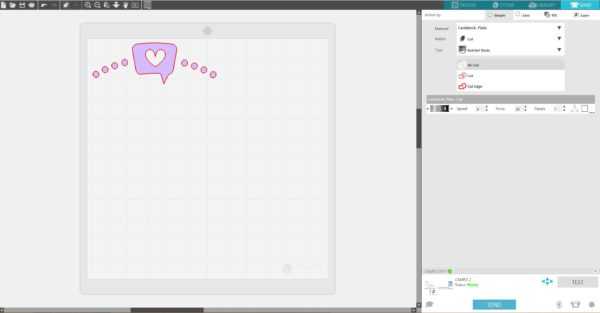
The outer curved border does not cut, as you can see in the Send panel. It just acts as a reference, so feel free to move your design close to the edge of the mat for cutting.
We hope you enjoy using the Conical Warp Tool that’s available in Silhouette Studio® Designer Edition Plus and higher!