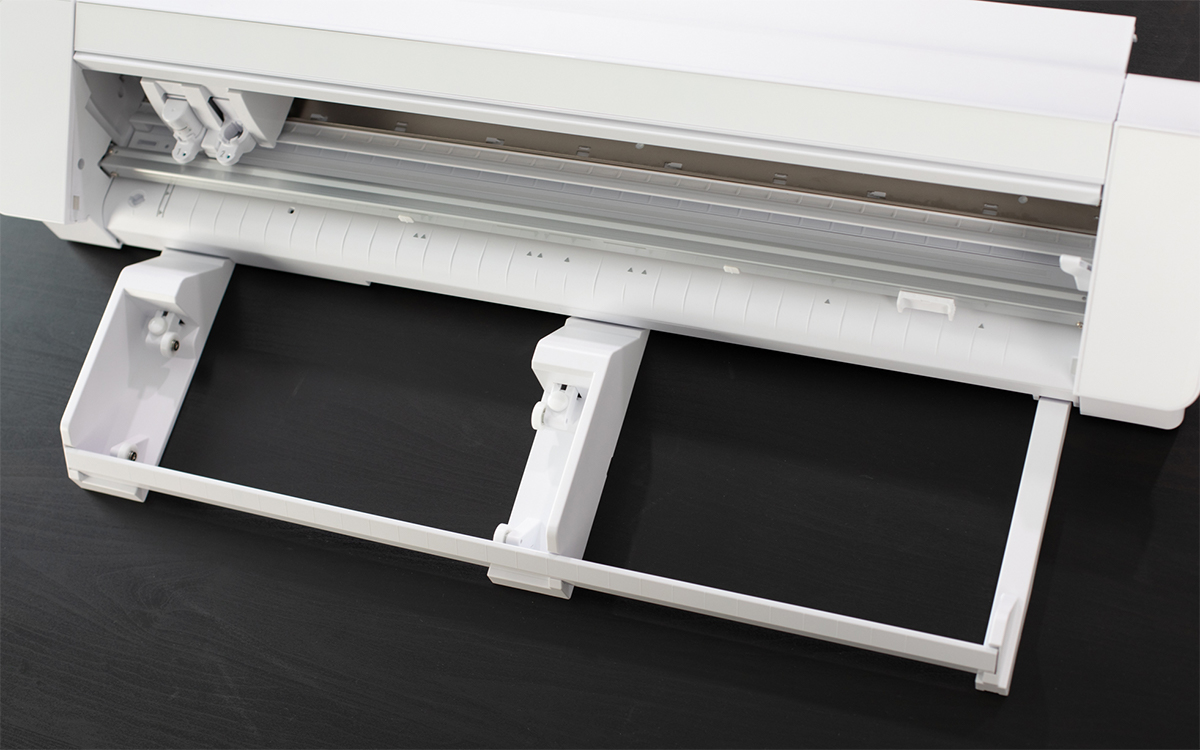
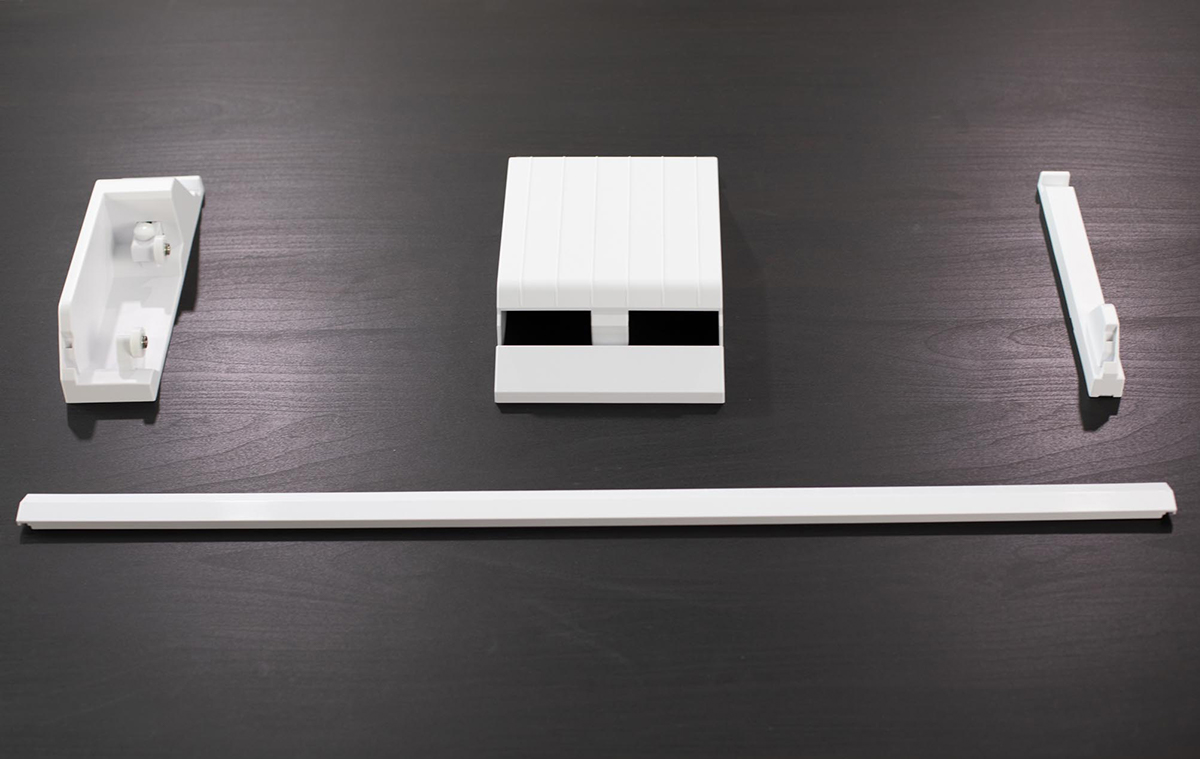
Below are the roll feeder pieces that come with the Cameo Pro. In addition to those pieces, there is also a piece that you can use to support your cutting mat when you need it.
Assemble the Roll Feeder
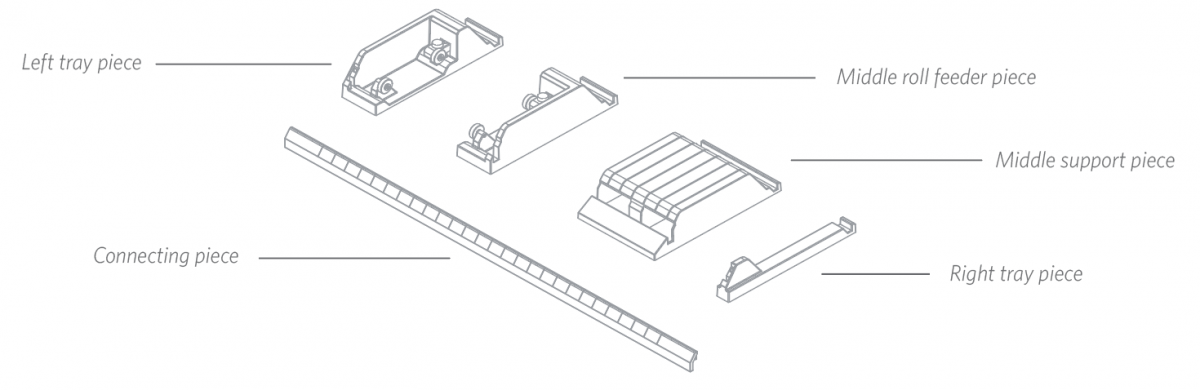
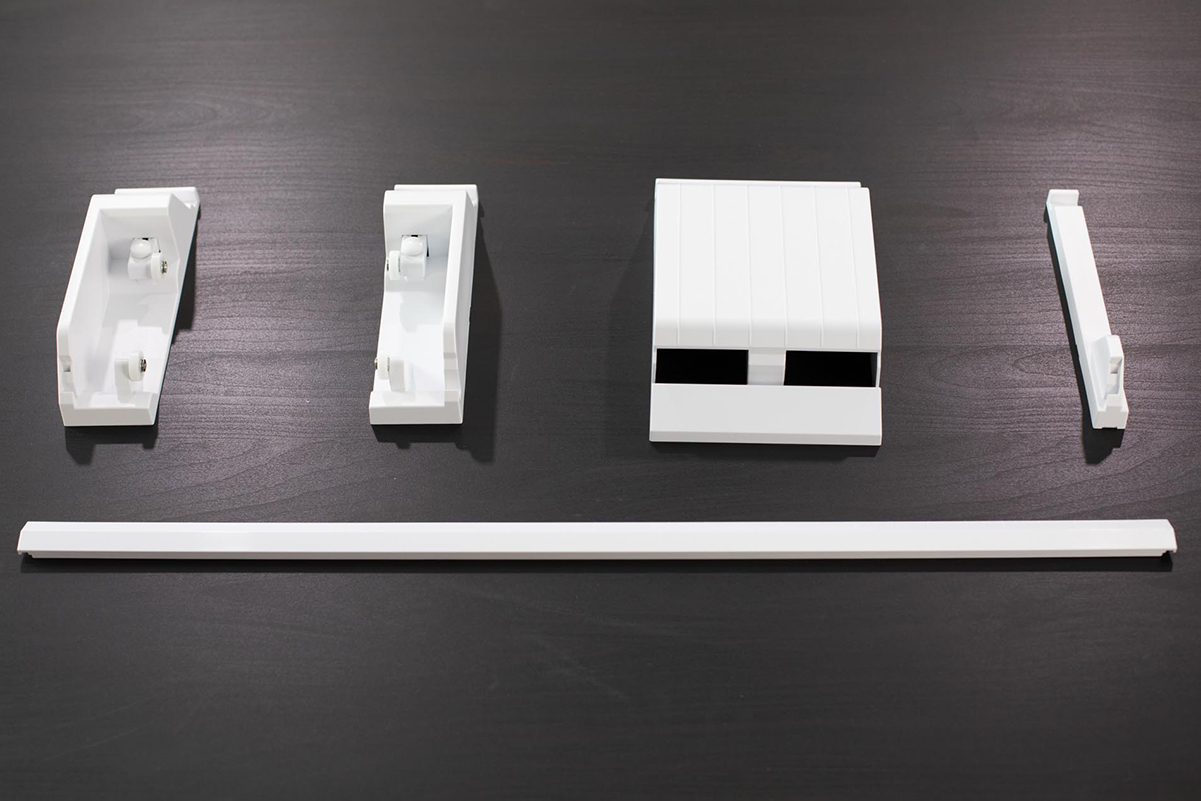
To assemble the roll feeder, line up two end tray pieces in addition to the middle roll feeder piece. These are the pieces you’ll need.

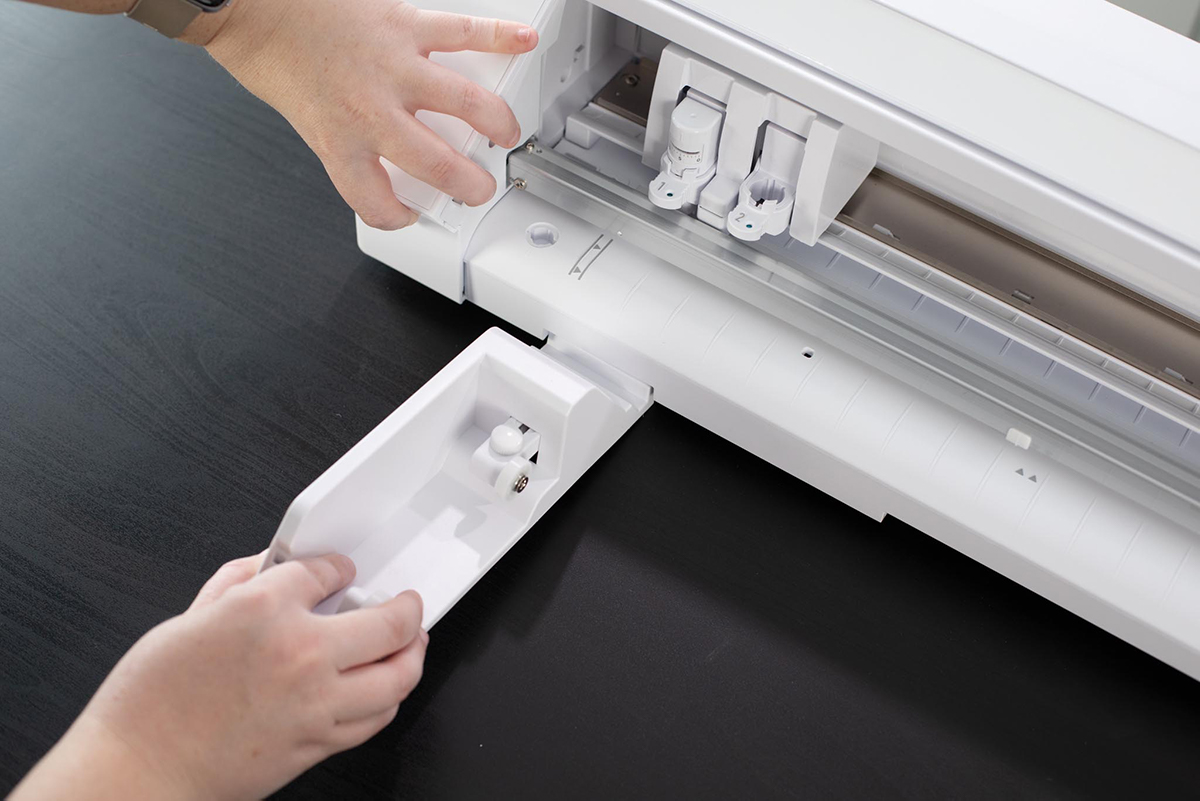
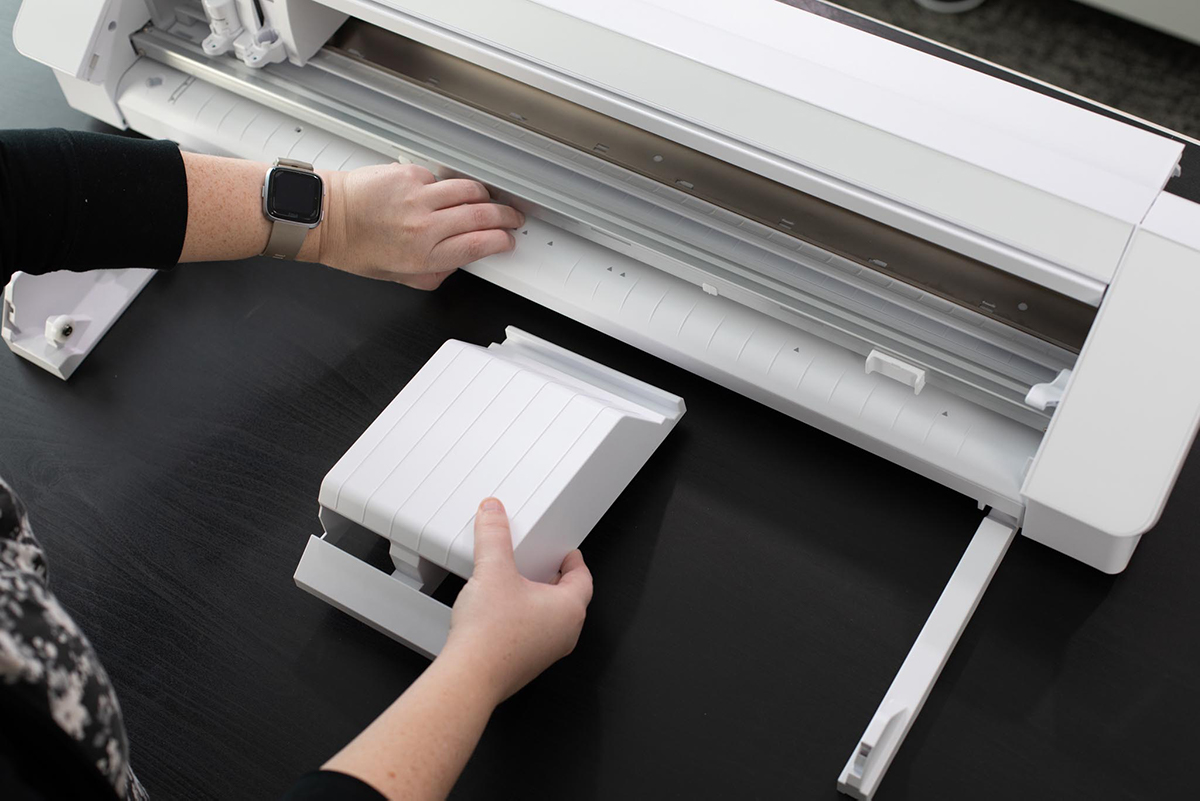
Secure the top three pieces underneath the Cameo Pro machine. Remember that the end of the piece with the lipped edge is the side that goes underneath the machine.
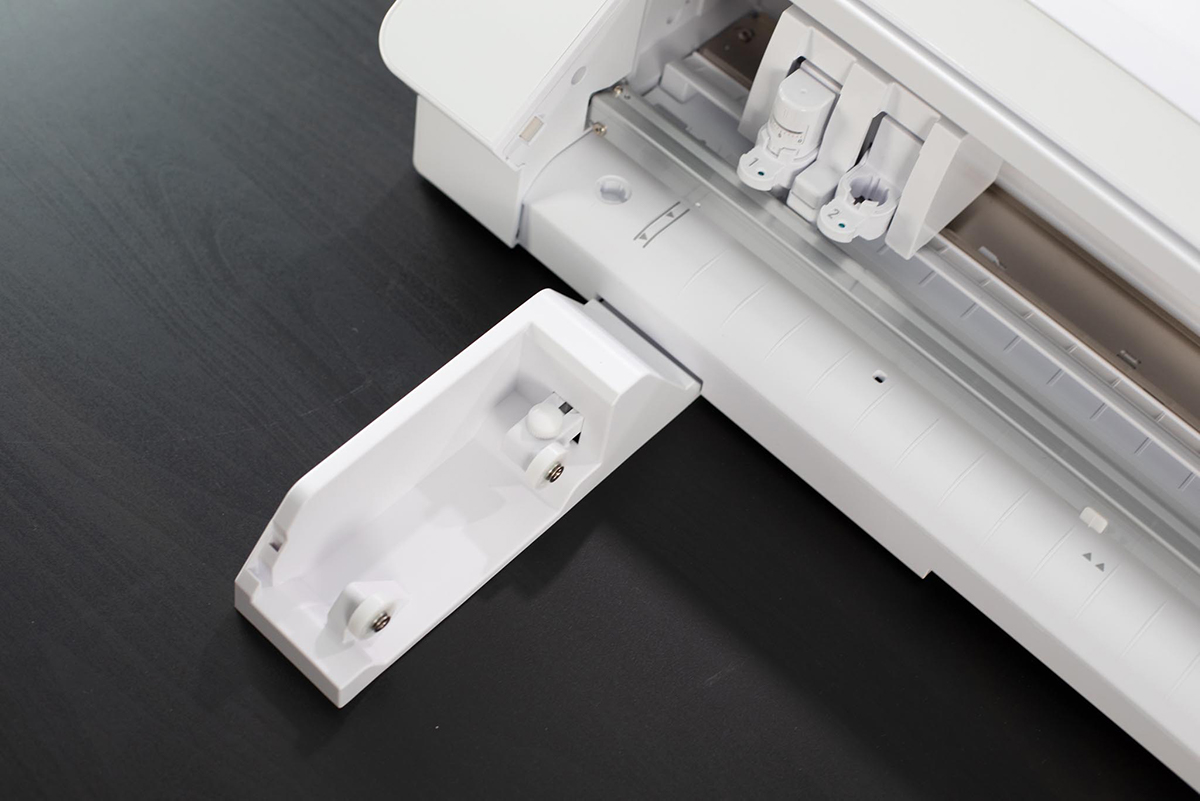

Then when you have those three pieces in place, put the long piece, also called the connecting piece, in the front slot of each of the three pieces.

When the roll feeder tray is assembled, slide the middle piece to the right or left so that it will accommodate your size of rolled material. The ends of the material should rest on the ends of these two pieces.
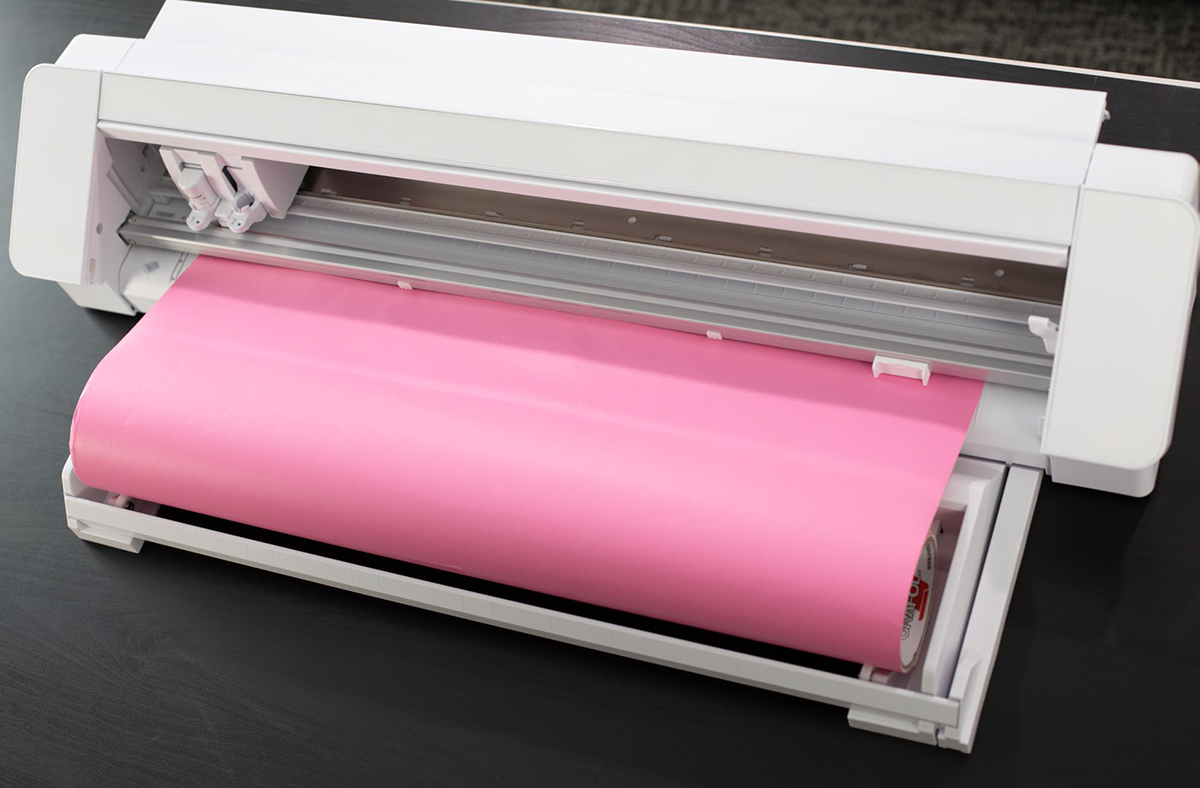
Place your rolled material on the roll feeder. Take the edge of the material and feed it into your machine using the Load button on the touch panel. Make sure the material is straight as it is being fed into the machine.
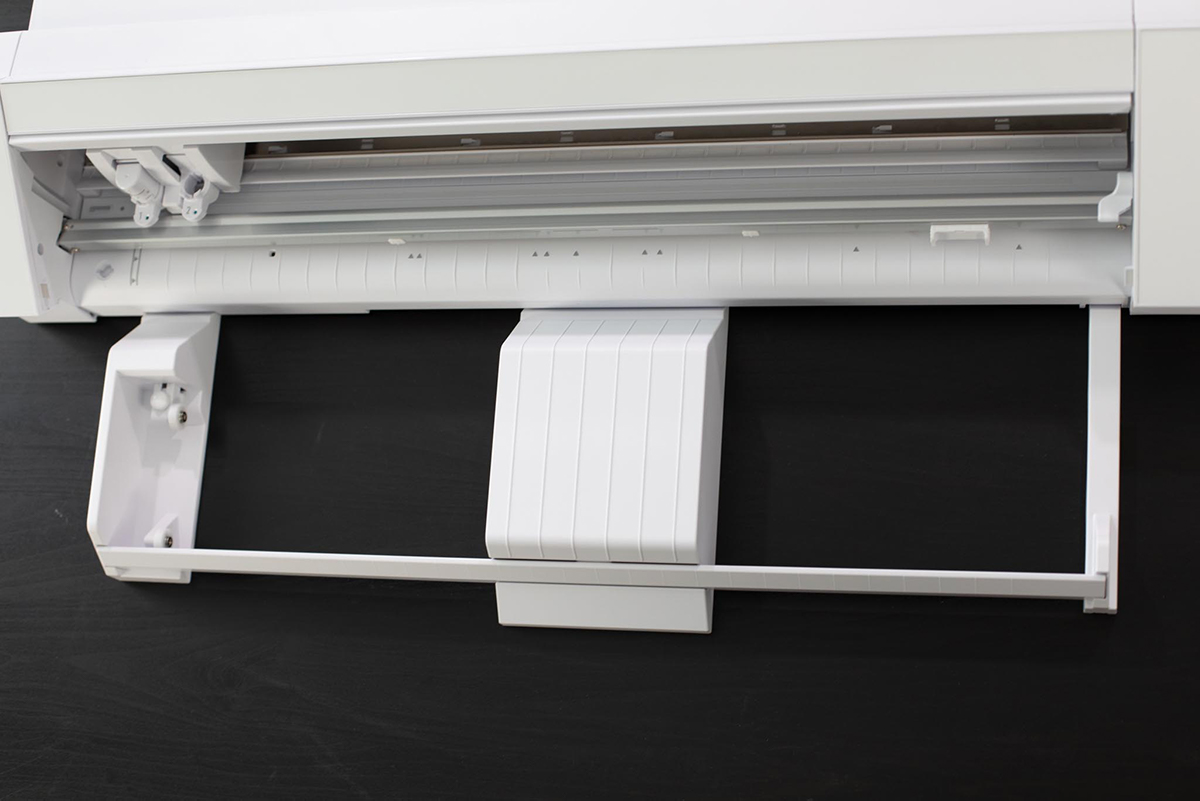
Assemble the Mat Support
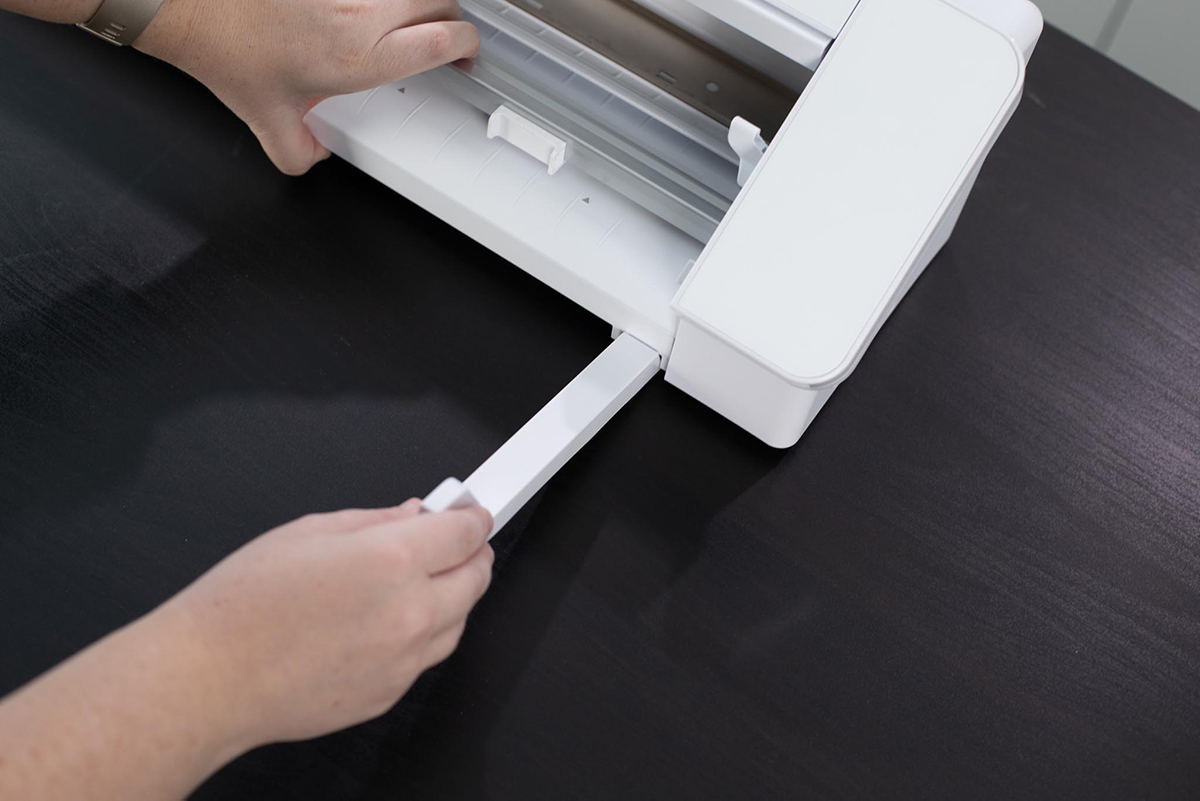
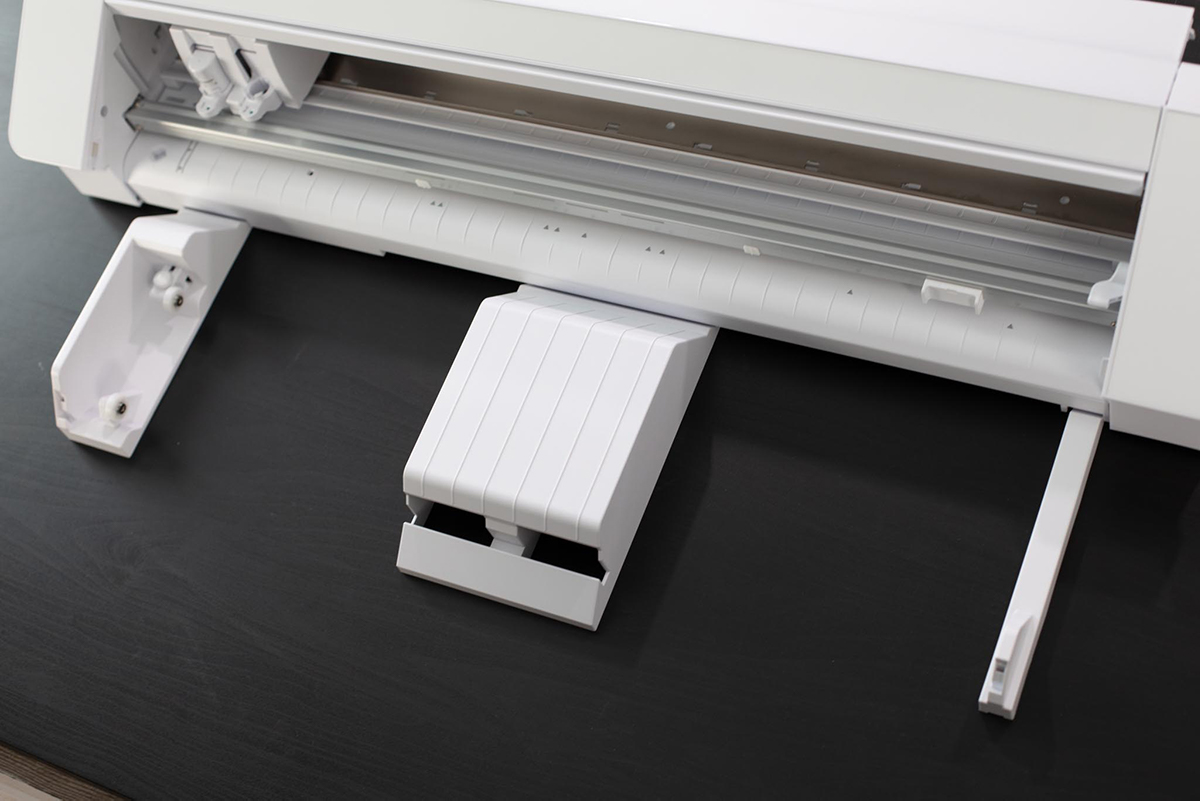
To change the function from roll feeder to mat support, remove the front connecting piece and the middle roll feeder piece. The mat support function is important to ensure that the mat is loaded and supported evenly.
These are all the pieces needed for the mat support function.
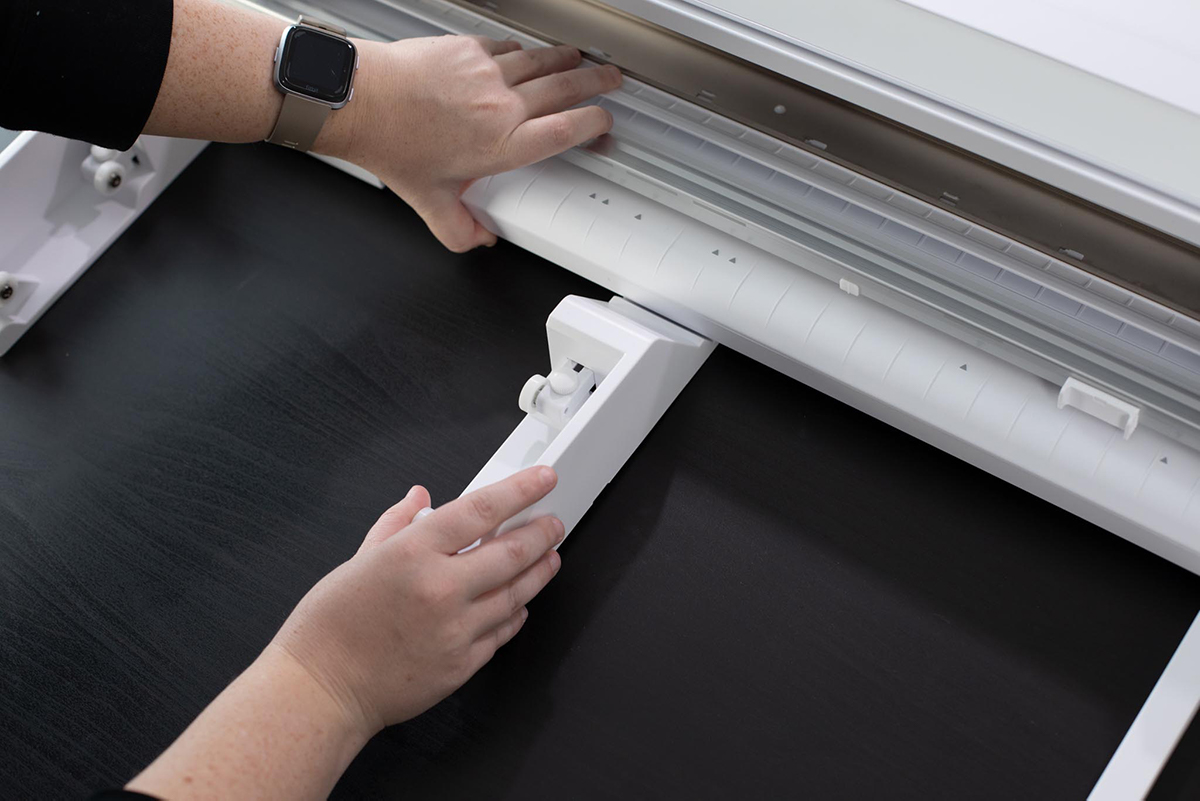
Insert the mat support piece under the machine and in between the left and right tray pieces. Then replace the connecting piece to unite the three main pieces together.
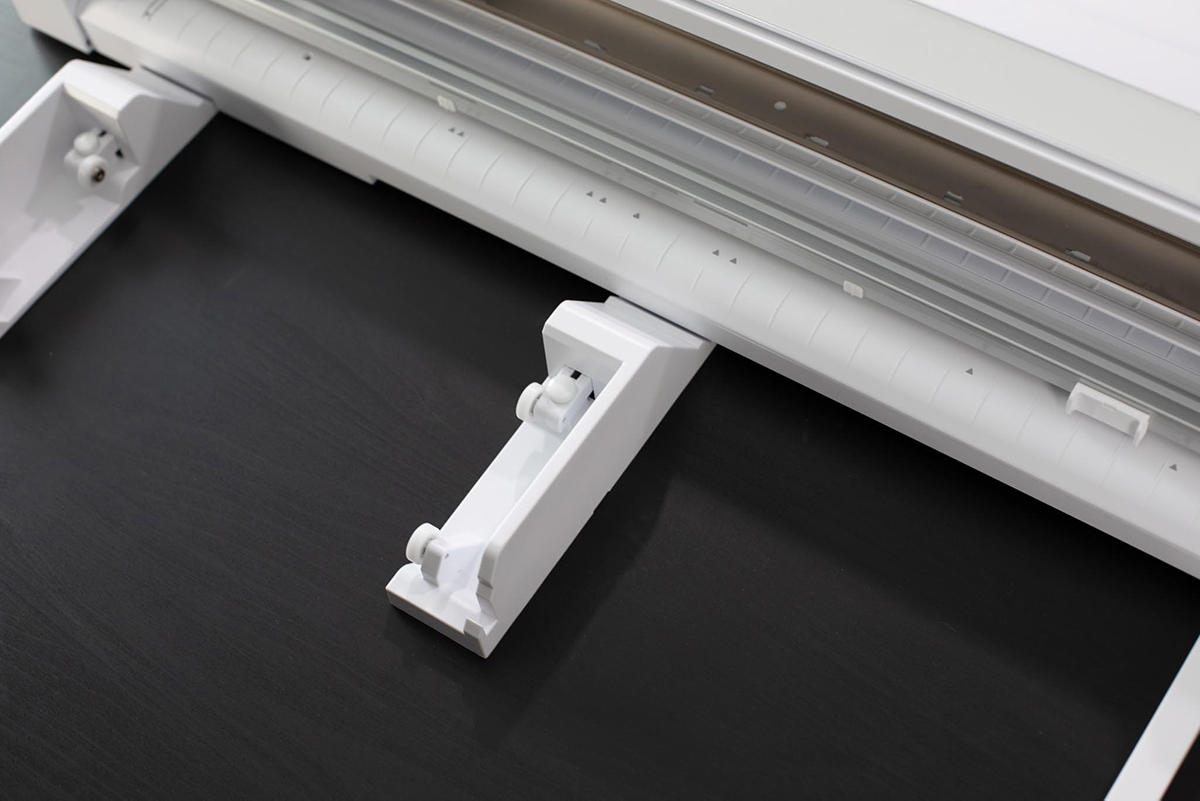
Once you’re finished assembling all the mat support pieces together, you’re free to load your cutting mat into your machine.

When you’re finished using the roll feeder or mat support, remove the roll of material or cutting mat from the machine. Then disconnect the connecting piece from the assembled pieces and lift underneath the machine to remove the remaining pieces.
 Speak Kind Words | Vinyl Roll Feeder Tutorial
Nasze Naturalne
September 3, 2025
Your authentic voice really shines through in everything you create and share
Naszenaturalne
September 2, 2025
Really love your style
Kelly Wayment
June 28, 2024
You can use it with vinyl as long as it is smooth and flat to allow the static charge to hold on to it. Rolled vinyl that wants to go back to its rolled shape will not necessarily work well, and it would need to be trimmed to fit the ES mat cutting area.
Kelly Wayment
June 28, 2024
Yes, you can use the heat pen while using the ES mat. 🙂
Yurii
March 2, 2024
Hello. May it be used with heat pen?
Thanks
Jerome
February 24, 2024
Hi, works this with the normal vinyl foils or only with printer papter etc?