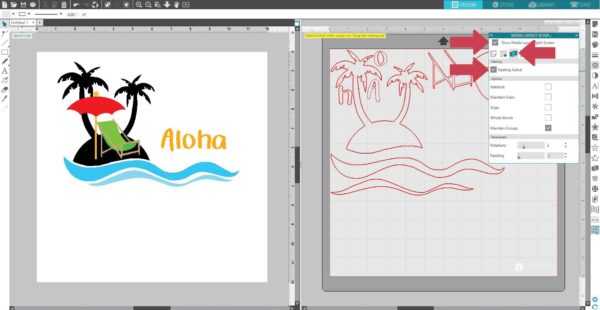
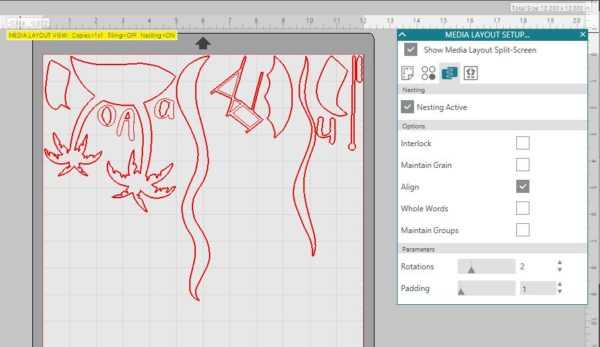
Silhouette Studio® Business Edition provides an Automated Nesting preview mode where shapes are automatically nested within the Media Layout View. This provides efficient usage of the material being cut while maintaining the image’s original positioning in the Design View, and allows us to continue editing and refining the design.
In this example, we have several overlapped shapes because we’ve arranged them into their finished position. You’ll be able to see how we don’t have to touch the finished design to get the pieces to cut individually and efficiently with the automated Nesting option. The Media Layout Nesting option is available only when running Business Edition in the Media Layout mode. It’s the third tab of the Media Layout Setup panel. Check the box to show the Media Layout split screen, and check the box for Nesting Active.
Nesting Active can be combined with other Media Layout options, like Tiling and Matrix Copy, which are covered in separate tutorials.
While the original design can retain its original layout, the Media Layout Nesting option will provide a method to automatically rearrange the objects so they can be cut most efficiently with your media.
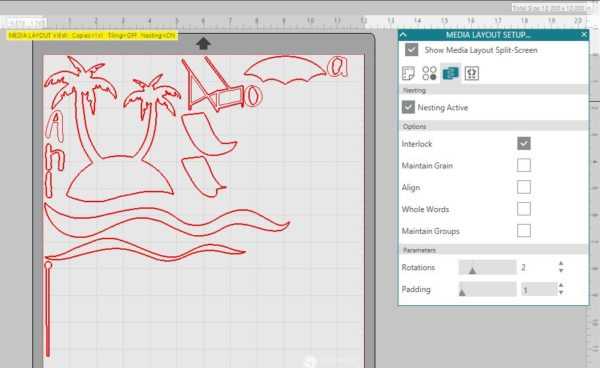
“Interlock Shapes” will nest concave shapes together, attempting to interlock them to save more space on your media.
“Maintain Grain” leaves the images unrotated or rotates them only by 180 degrees. This can be useful when using media that has a grain or a strong pattern, and it keeps the grain in the desired direction for the resulting cutouts.
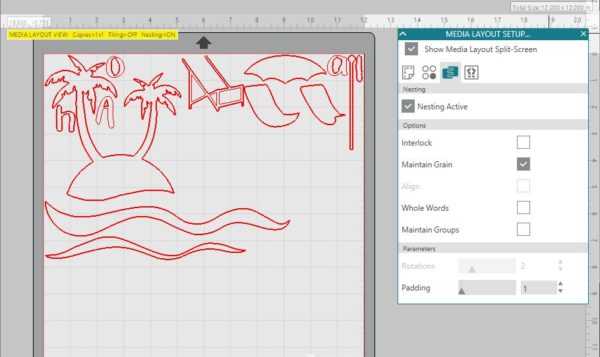
When “Align” is checked, this option will make each image upright prior to determining the best angle to nest the shape into.
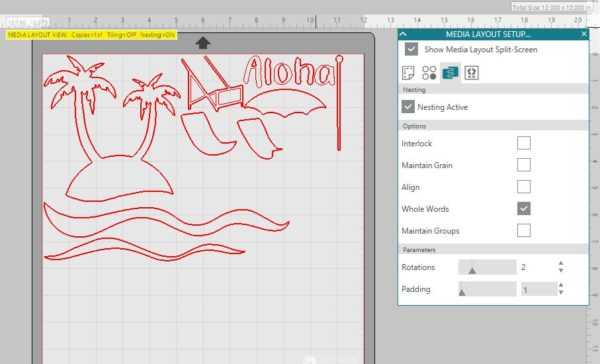
“Whole Words” keeps the letters from words, which have been created with the Text tool, together instead of nesting each individual letter. We used the text tool to create “Aloha” so you can see how this works.
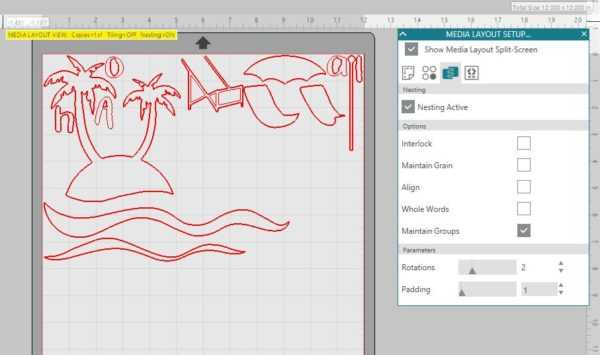
“Maintain Groups” will keep any grouped images in their original grouping rather than nesting each individual object. We’ve grouped my waves together.
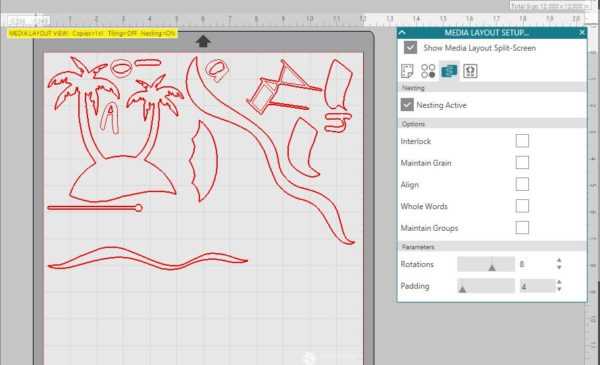
“Rotations” allow or restrict the level of angles you can allow the images to be rotated. For example, a Rotations setting of “0” will hold the images exactly in their original angle of rotation on the Design screen, whereas a Rotations setting of “2” will allow rotations of 0-degree and 180-degree turns for the images. As the Rotations setting is raised, the number of possible rotation angles for each image increases. While the highest setting might make the most effective use of space, there might be times where the angle of images is important and it’s better to hold images at a certain angle.

“Padding” controls the minimum distance between two adjacent shapes as they’re nested.
As you can see, the Business Edition of the software gives you more Nesting choices that can save time and material, all without affecting your original design.