
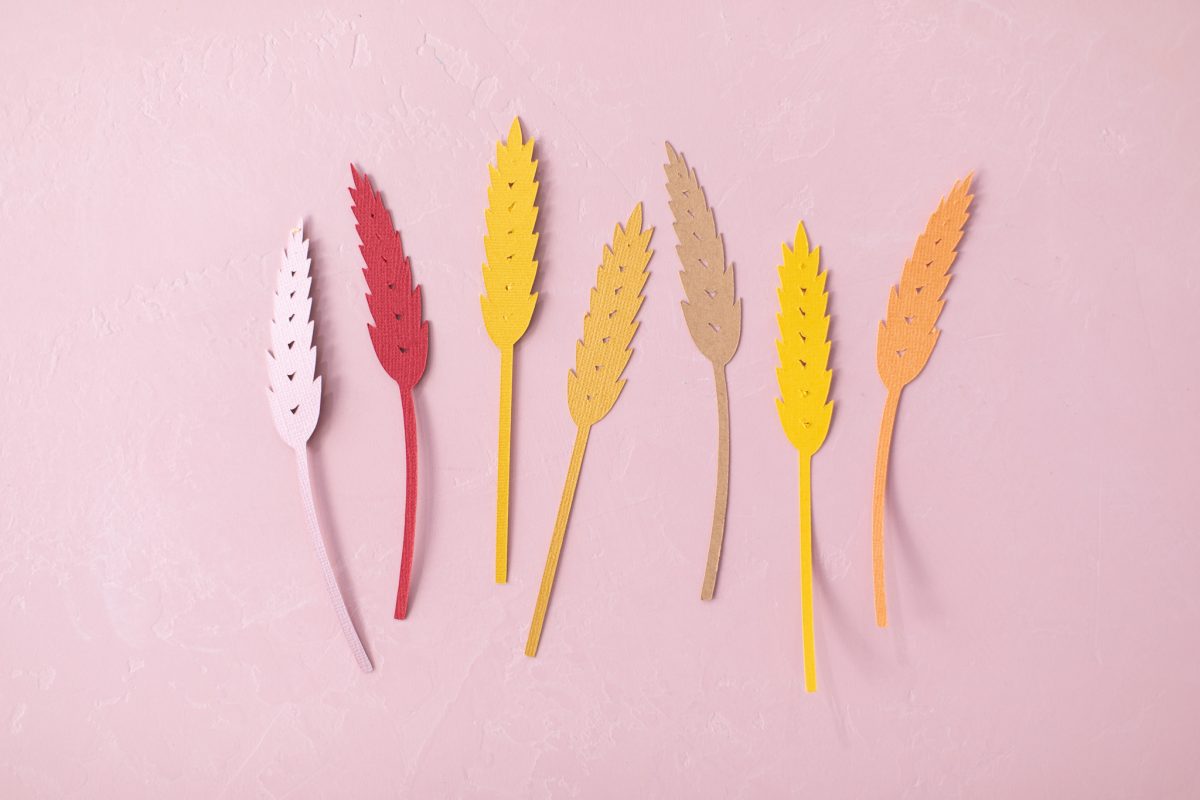
With September looming, we’re getting giddy for fall! If you’re feeling the itch to switch out your summer decor for a few more cozy elements, this autumn wheat wreath is the first place to start! Inspired by dried wheat wreaths, this wreath involves a warm palette of cardstock, some gold leaf, and an embroidery hoop. It’s simple to make but looks stunning on your front door!
Supplies Needed:
- Silhouette CAMEO® or Silhouette Portrait®
- Silhouette Studio®
- Silhouette Cutting Mat
- Silhouette Cutting Blade
- 8 pieces of cardstock in light pink, dusty rose, mustard, peach, tan, yellow, brown, and khaki
- 12-inch embroidery hoop
- Gold leaf and adhesive
- Paint brush
- White floral tape
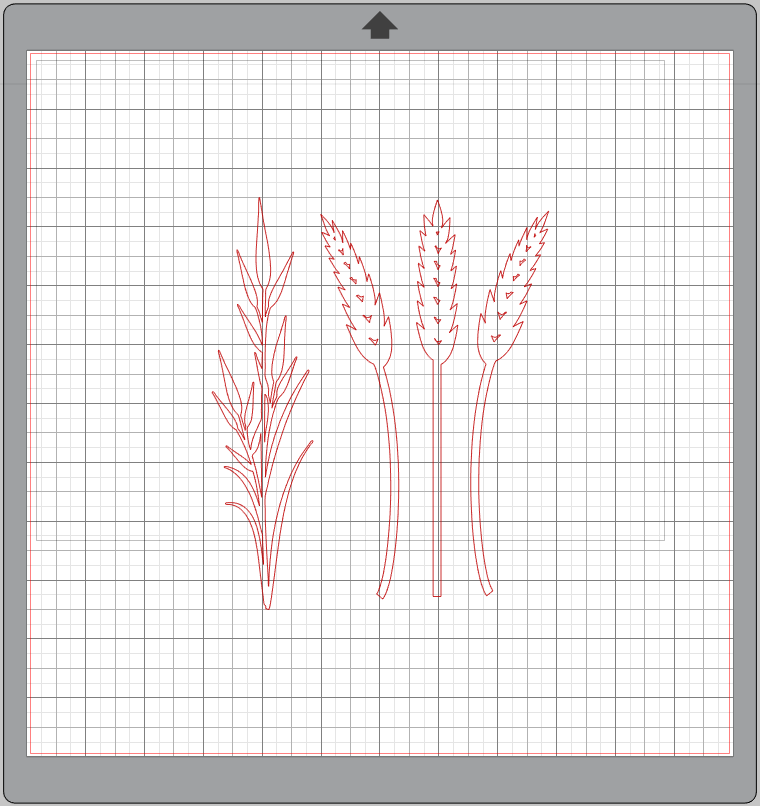
- Design ID #4288 and #13712
Step One: Formatting the Design
1. Insert your designs into Silhouette Studio® and size both wheat designs to be about 7 inches tall.
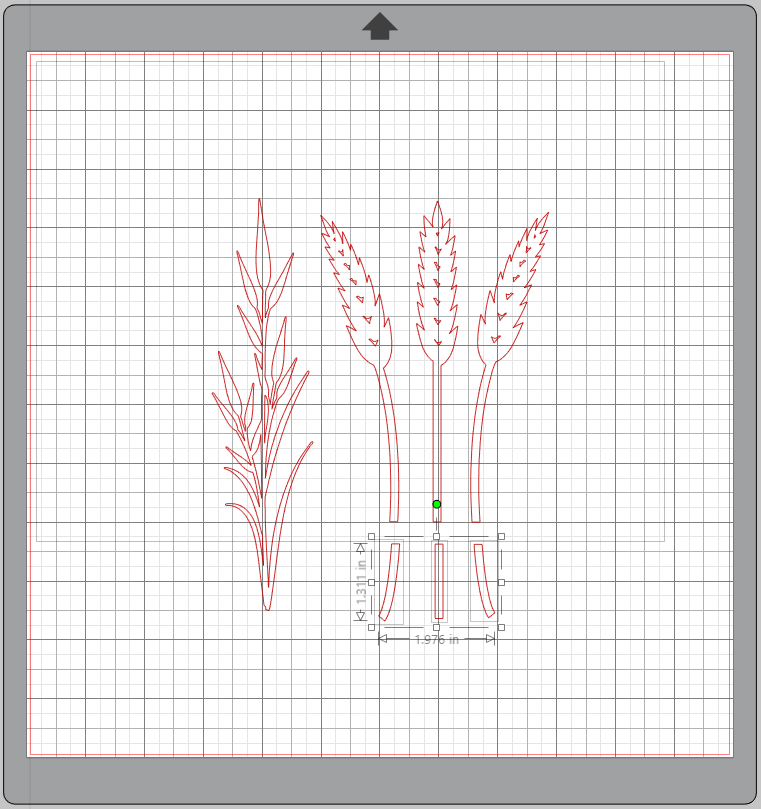
2. Use the knife tool, in the solid setting, to shorten the three wheat stems by 1 to 1.5 inches. Delete the extra stem pieces.
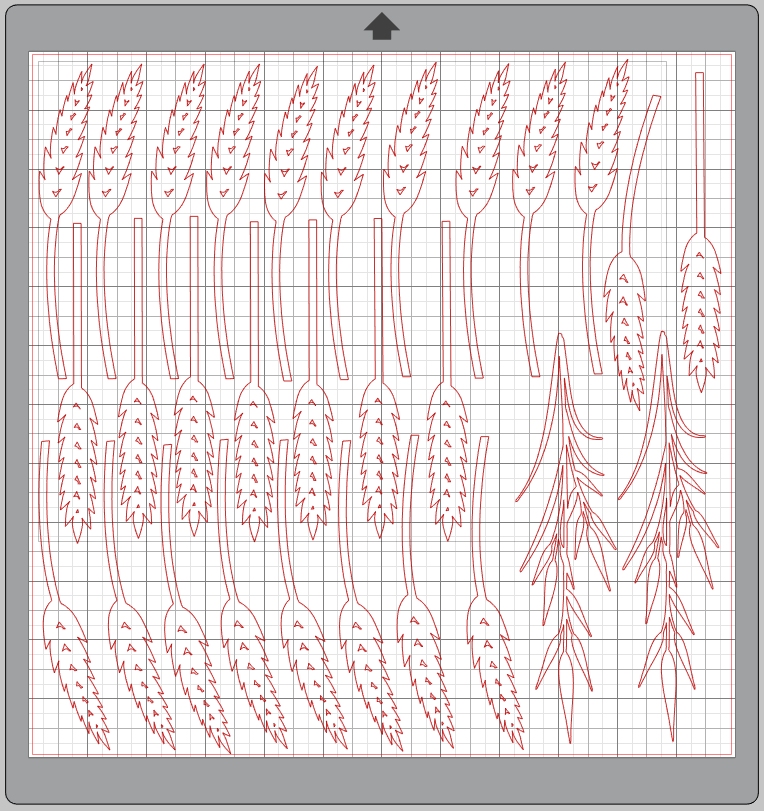
3. Fill the page with the wheat stems with just two copies of the #13712 design and the rest of the page can be filled with copies of the #4288 design. Cut this page with your Silhouette cutting machine in each of your seven colors of cardstock.

Step Two: Creating Your Wreath
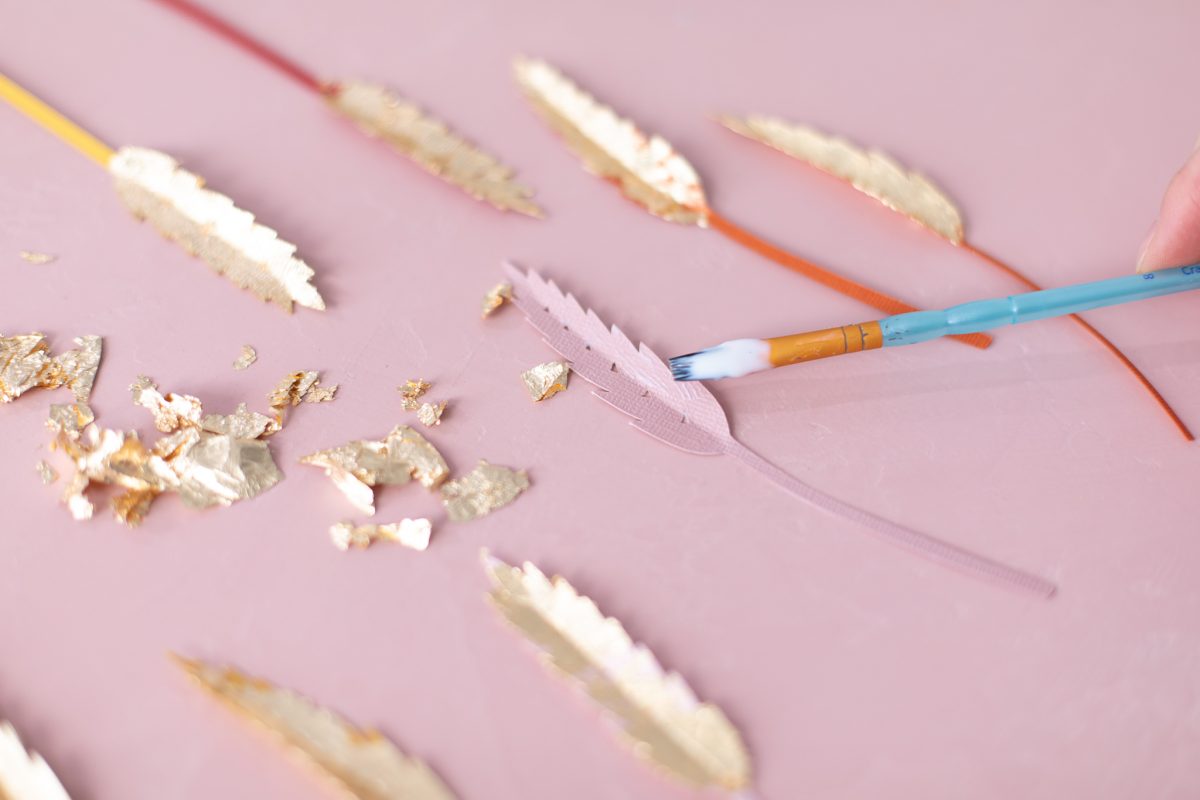
1. Once all your wheat pieces are cut out, score the wreath stems down the middle to give them a little dimension.

2. Then paint a thin layer of gold leaf adhesive on about 10–15 wheat stems. Allow the adhesive to dry for 30–60 seconds or until it turns clear and tacky.
3. Then apply the gold leaf onto the wheat, pressing gently to adhere. Once it’s dry, you can brush off any excess.
4. Now take clusters of wheat and using the white floral tape, wrap around the embroidery hoop to secure them. You only need one hoop of the embroidery hoop, so separate them and save the other hoop for your next wreath!
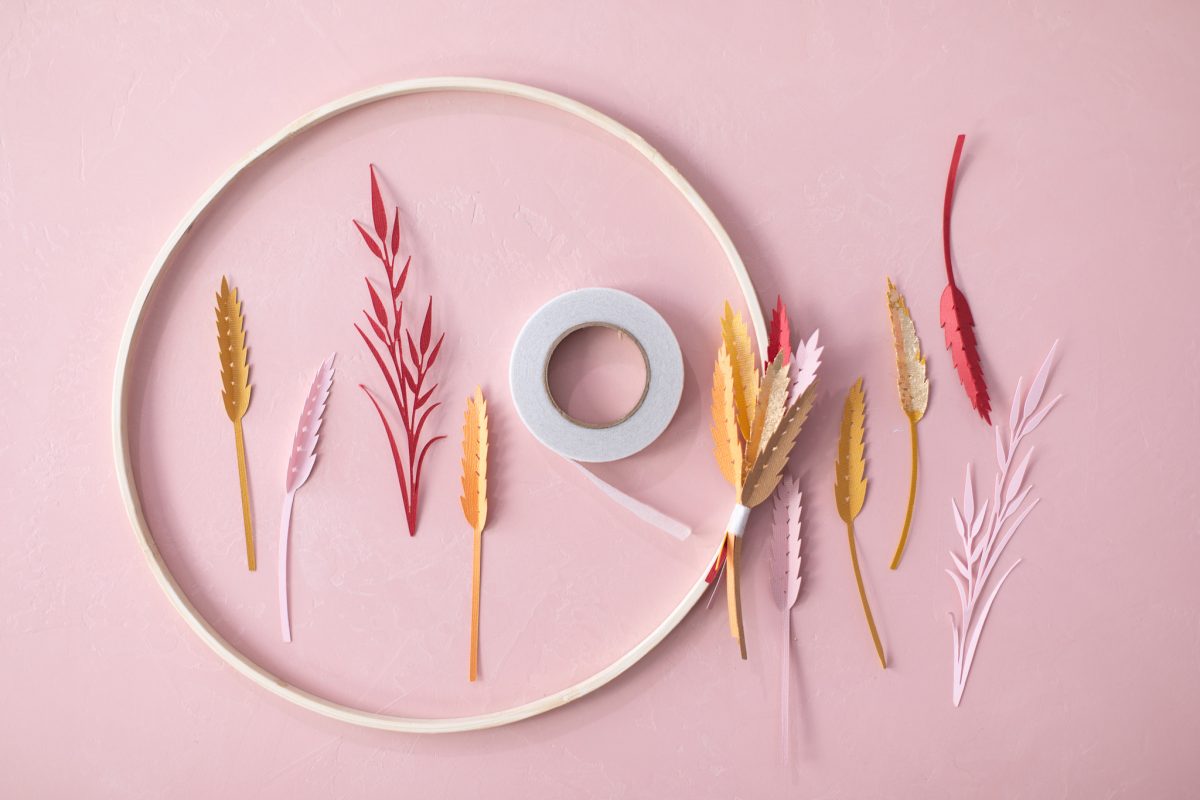
5. Keep adding more clusters, adding in a few gold leaf wheat and the more delicate wheat as you go, so it’s evenly dispersed around the wreath.
6. Fill the entire perimeter of the embroidery hoop and then add in any other wheat pieces to fill in any gaps. Hang on your door and welcome fall!

 Free Class - Father's Day Apron Set
  Free Class - Custom Graduation Tumbler
Nasze Naturalne
September 3, 2025
Your authentic voice really shines through in everything you create and share
Naszenaturalne
September 2, 2025
Really love your style
Kelly Wayment
June 28, 2024
You can use it with vinyl as long as it is smooth and flat to allow the static charge to hold on to it. Rolled vinyl that wants to go back to its rolled shape will not necessarily work well, and it would need to be trimmed to fit the ES mat cutting area.
Kelly Wayment
June 28, 2024
Yes, you can use the heat pen while using the ES mat. 🙂
Yurii
March 2, 2024
Hello. May it be used with heat pen?
Thanks
Jerome
February 24, 2024
Hi, works this with the normal vinyl foils or only with printer papter etc?