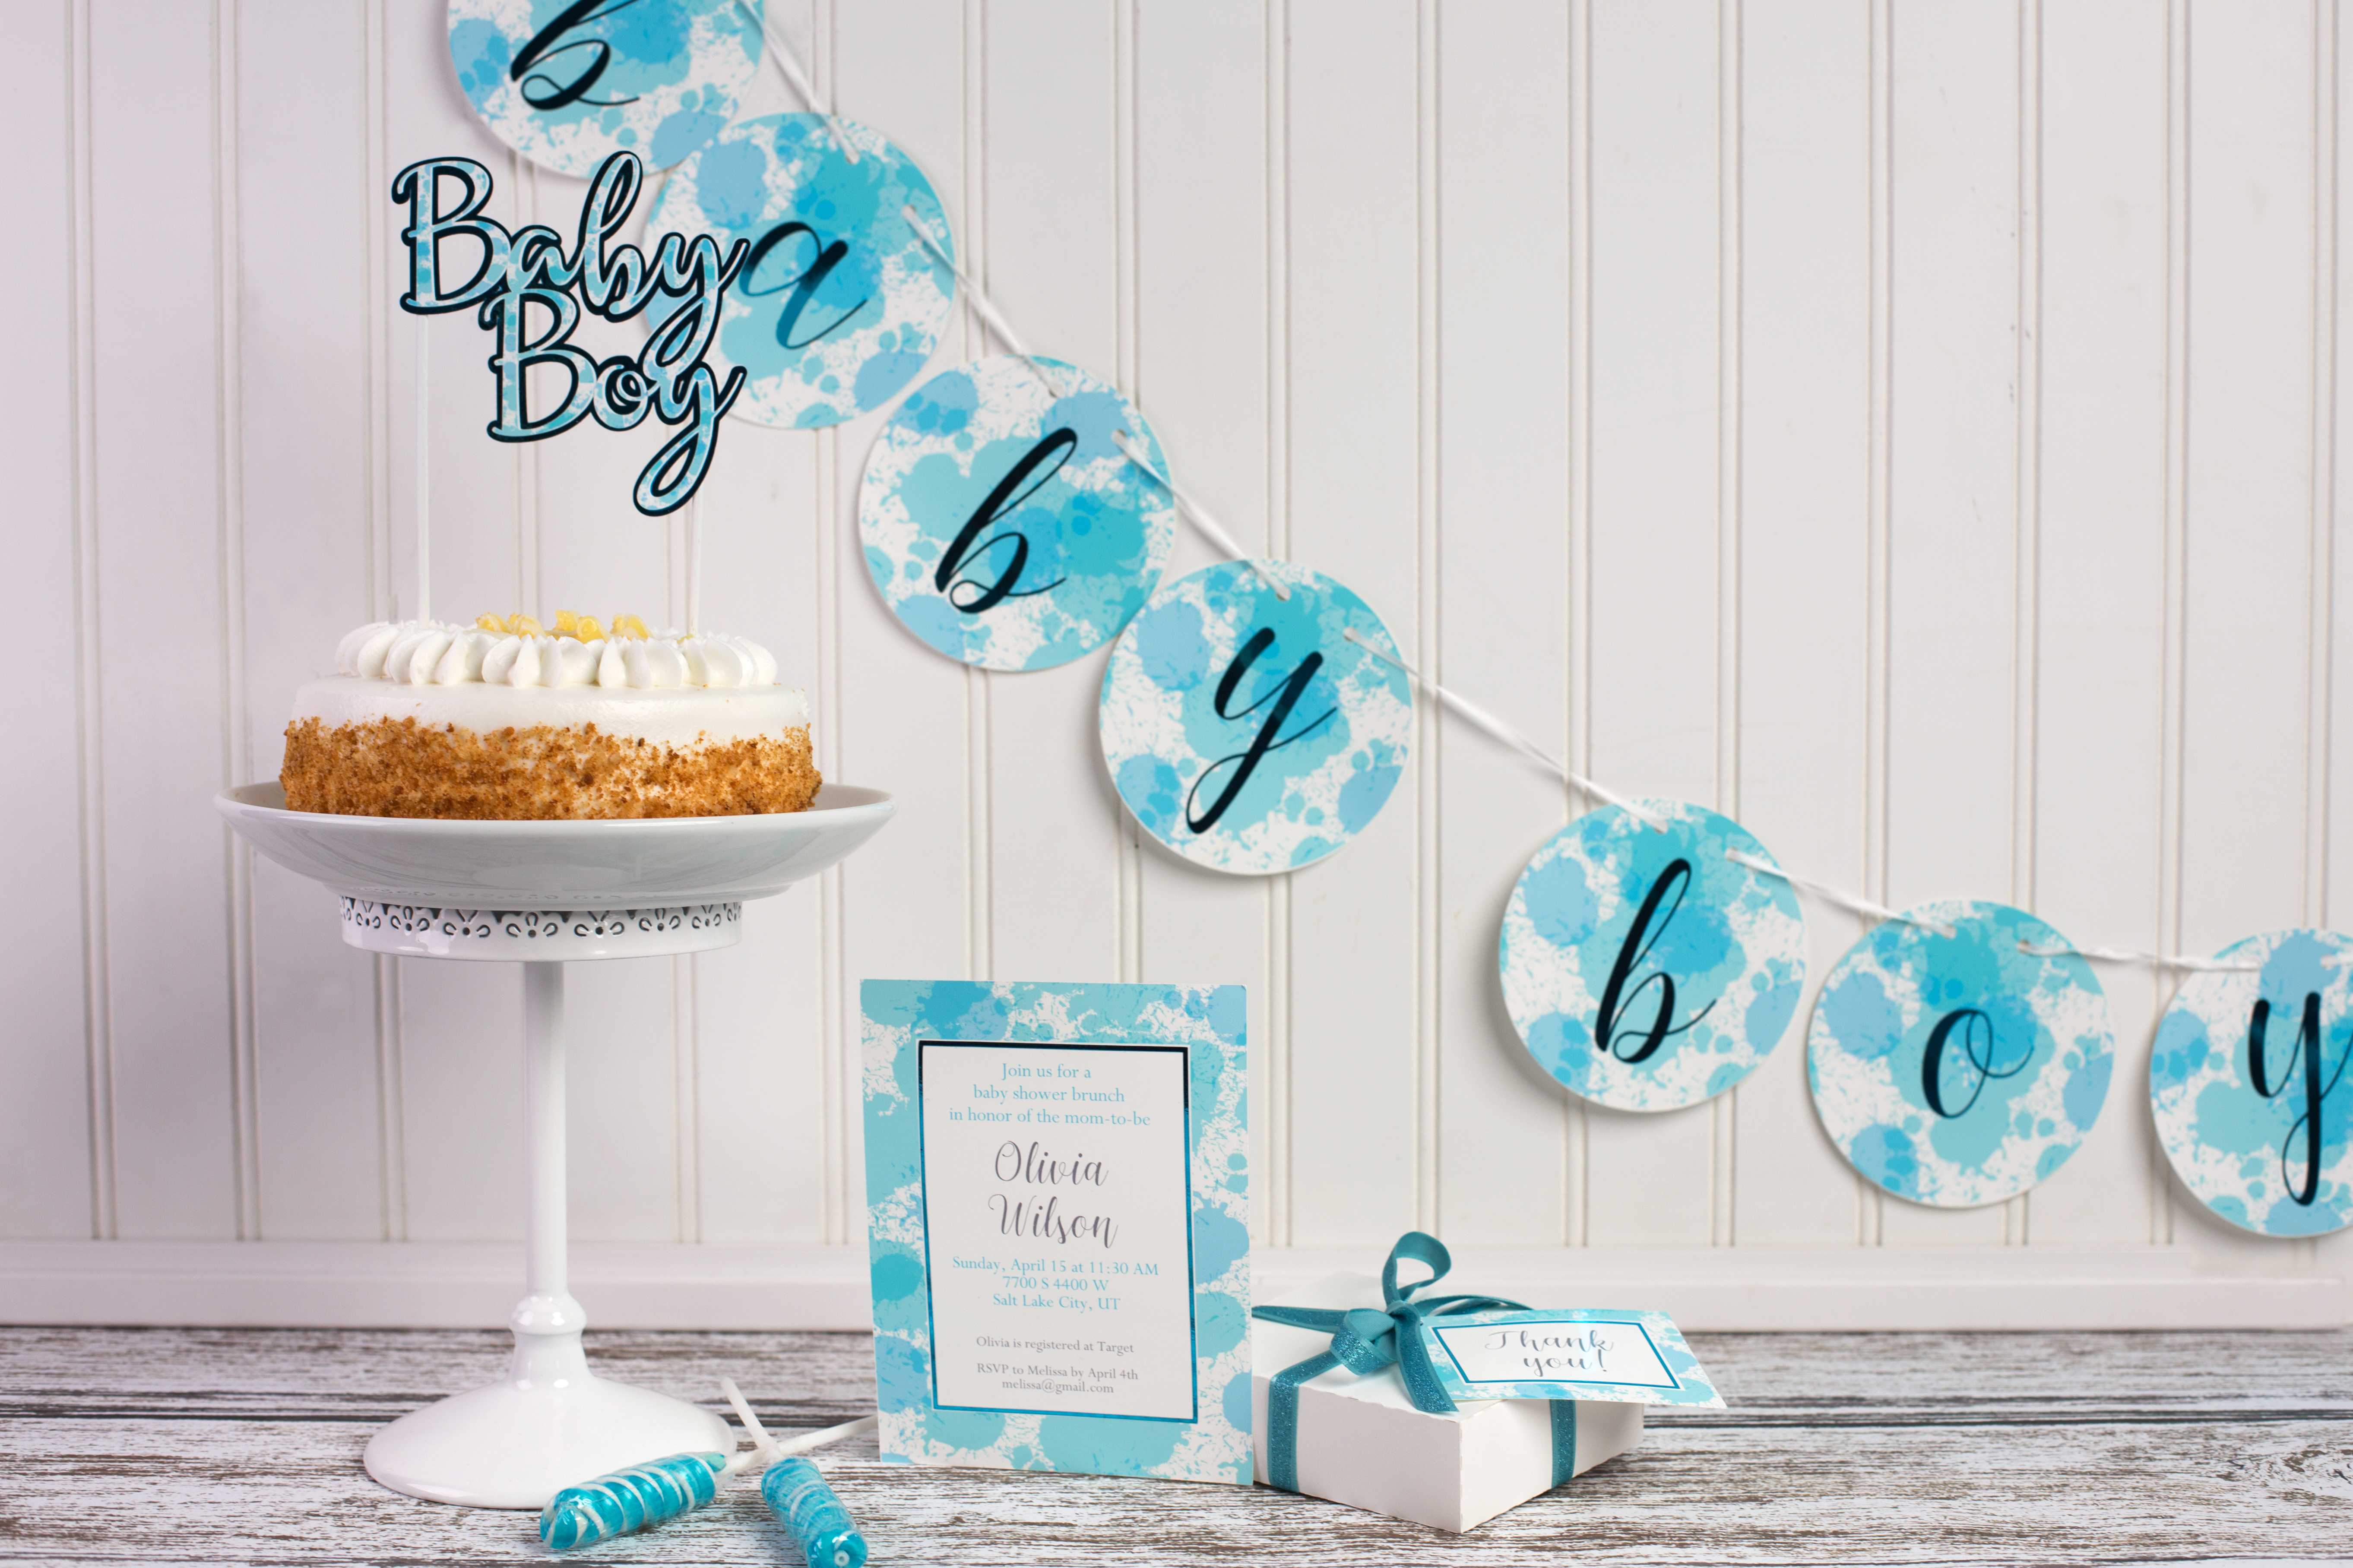
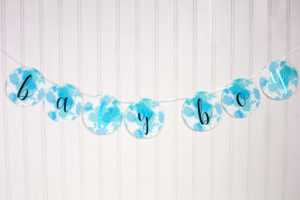
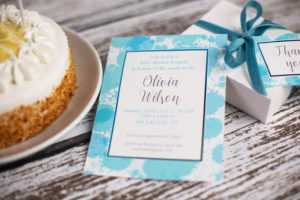
Springtime is just around the corner, and you know what that means—spring and summer babies! We love this watercolor splash pattern, and we thought it would be such a great idea to show you how to make a themed baby shower set with it. Let’s get to it!
Supplies Needed:
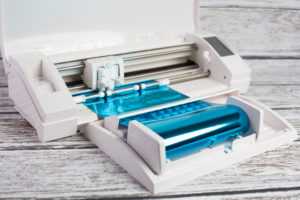
- Silhouette CAMEO® or Silhouette Portrait®
- Silhouette Cameo Cutting Mat
- Silhouette Cutting Blade
- Silhouette Studio®
- Metallic Vinyl – Blue
- Cardstock or photo paper – white
- Ribbon white and blue
- Two sticks
- Printer
- Design ID #251908
- Design ID #245584
- Design ID #243742
Step One: Making the Banner
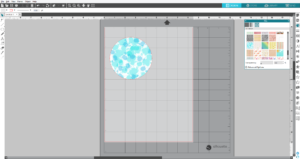
1. Download the watercolor splash pattern design (Design ID #25908) from the Silhouette Design Store. Draw a circle (4 inches in diameter) using Ellipse tool, which is located on the left-hand side of the screen. Select the circle, go to the Fill panel, click on the Fill pattern icon, and select the watercolor splash pattern. Under Advanced Options, you can manipulate your pattern. You have the ability to scale the pattern’s size, mirror it, and change the aspect ratio and angle. For more information about the Fill Pattern panel, watch this video.
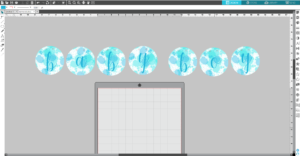
2. Make seven copies of this circle. Add two small circles to the top of the each circle for the ribbon to go through.
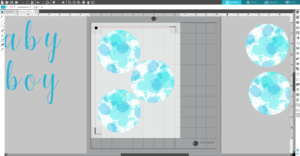
3. Download the Bigshine font (Design ID #245584) and follow the font installation instructions. Type “baby boy” and resize each letter so that it fits in a circle.
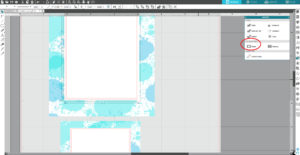
4. Resize the page size to the letter size (8.5 in. x 11 in.) In the Page Setup window, turn on the registration marks by setting the style to Type 1. Place three circles so that they will fit inside the registration marks. If a design is left outside of those marks, then it will not be cut properly.
5. Print the design on white cardstock or photo paper. Place the printed sheet on your mat, and feed it into your Silhouette machine. In Silhouette Studio®, go to the Send tab, choose “Cardstock, Plain” as the material, and click Send. Remove the cut designs from the cutting mat.
6. To cut the letters, we will use 9-inch blue metallic vinyl. In the Page Setup panel, select None as the cutting mat. For your page size, select Custom and enter 9 inches as the width. Place letters on the white work space in Silhouette Studio®. Feed the metallic vinyl roll directly to the Silhouette cutting machine using the roll feeder. Don’t forget to adjust the rollers according the size of the vinyl you are going to cut.
7. In Silhouette Studio®, go to the Send tab, choose “Vinyl, Metallic” as the material, and click Send.

8. Remove the cut design and weed the vinyl. Using transfer tape, apply the vinyl to the printed circles.
9. Arrange the circles on the ribbon.
Step Two: Making the Invitation and Thank You Tag
1. Draw one rectangle 6 in. x 4.5 in. and another one 2.5 in. x 3.5 in. Fill them with the watercolor splash pattern. Draw smaller rectangles inside the bases and color them in white.
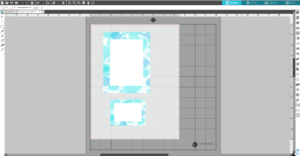
2. Inside this white rectangle, draw two smaller rectangles to create the frame. Select these two rectangles, right-click, and select “Make Compound Path.” You can also access the compound path feature through the Modify panel.
3. Type the name and “Thank you” using the Bigshine font (Design ID #245584). For the rest of the information, we used the Perpetua font, which is most likely one of the fonts on your computer. Add a small circle to the corner of the tag.
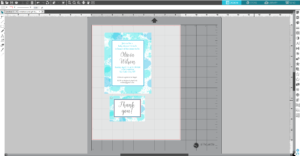
4. Place frames aside a work space. Add registration marks and print invitation and tag. Place the printed sheet on your mat and feed it into your Silhouette machine. In Silhouette Studio®, go to the Send tab, choose “Cardstock, Plain” as the material, and click Send. Remove the cut designs from the cutting mat.

5. Cut frames from the blue metallic vinyl and using transfer tape, apply the vinyl on the printed invitation and tag.
Step Three: Making the Cake Topper
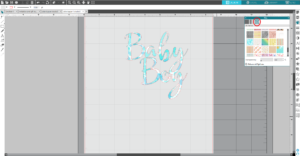
1. Download the Victoria font (Design ID #243742). Type “Baby Boy” and place “boy” under “baby.” Reduce the line space in the Text Style panel so that two words barely overlap each other.
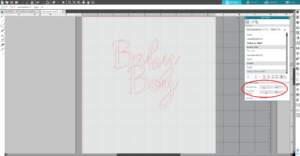
2. Select the text, go to the Modify panel and click Weld icon to weld the letters.
3. Fill the text with the pattern. To do so, go to the Fill panel, click the Fill Pattern icon and choose the watercolor splash pattern.
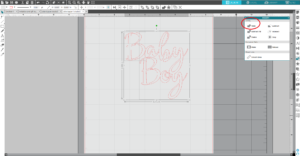
4. Add an offset line to the design (it will be a base for the cake topper). To do that, select your image. Then go to the Offset panel or right-click your image and select “Offset.”
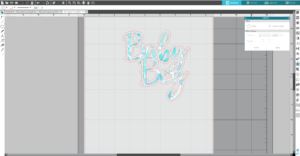
5. Place the outline aside. Add registration marks and print a design. Use the Silhouette cutting machine to cut it out.
6. Cut the cake topper base from the white cardstock and cut the same design from the blue metallic vinyl.
7. Apply metallic vinyl to the white cardstock base and glue the printed part on it. Then glue two sticks to the back of the cake topper.

And that’s how to create a baby shower set!
What other baby shower decorations will you make?