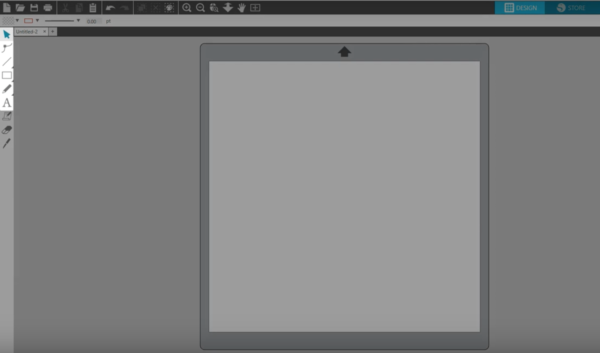
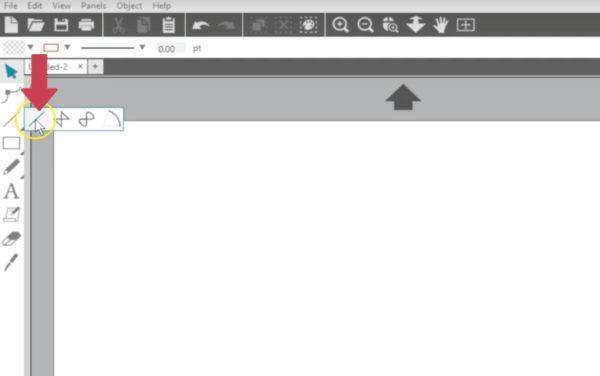
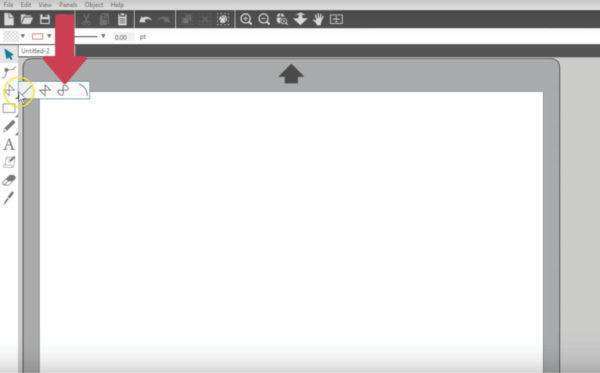
Silhouette Studio® has some basic design and text tools that make it easy for designers of any skill level to create and alter designs to be used with their Silhouette machine. The basic design tools in Silhouette Studio® version 4 are found along the left-hand side of the screen, and a few are located along the top. Along the left we have the Select, Point Editing, Line-drawing, Shape-drawing, Freehand line–drawing, and Text tools. The Sticky Notes, Eraser, and Knife tools are covered in separate tutorials.
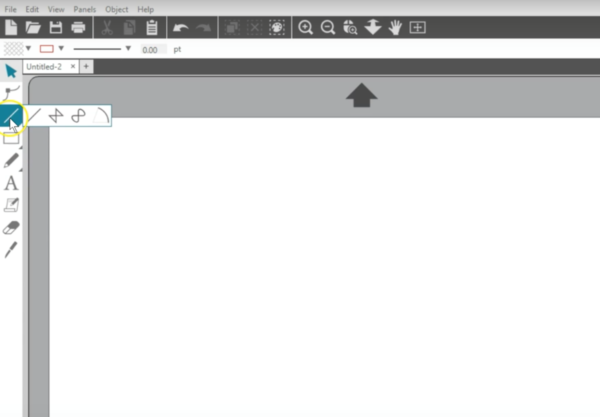
When you hover over some of these icons, you’ll see a flyout menu where you can pick from several options.
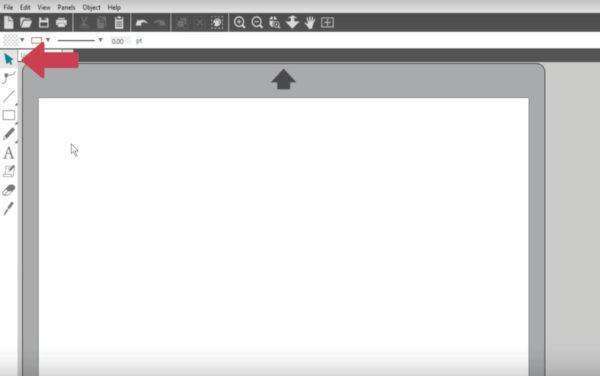
The plain arrow here is your standard selection pointer. Use it to drag your images around your screen, resize objects, and click on different parts of your design.
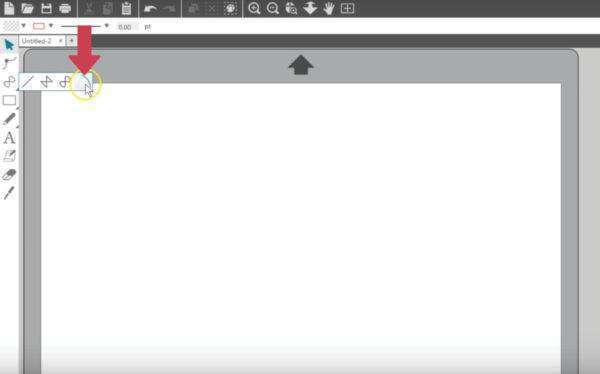
Let’s look at line drawing tools. The first choice is for drawing a straight line.
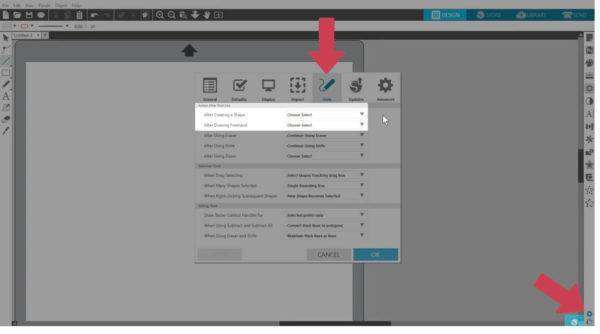
You can choose in Preferences > Tools if you want to keep these drawing tools active after drawing or if you want it to go back to Select.
As you click and drag a straight line, you can hold the Shift key while dragging to draw it perfectly vertical or horizontal or have it snap to a 45-degree angle.
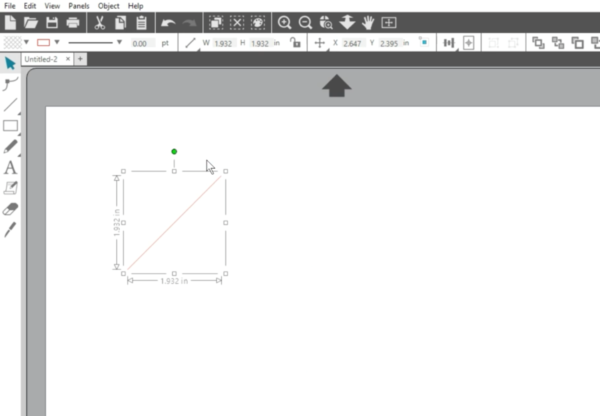
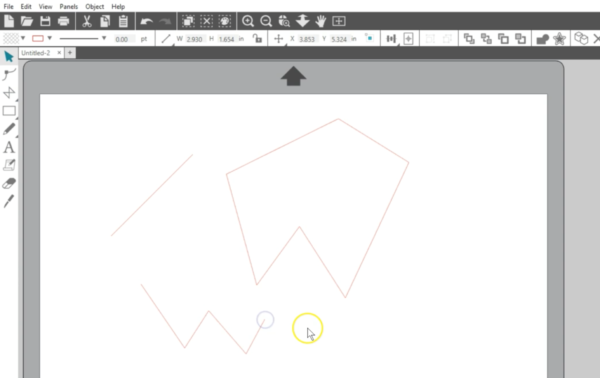
The next line tool is Draw a Polygon.

Click down multiple points, and when you click on the start point again it will finish the closed shape. Hold the Shift key again to force horizontal, vertical, or 45-degree angles.
If you want to leave the shape open, double-click to finish the line where it is.
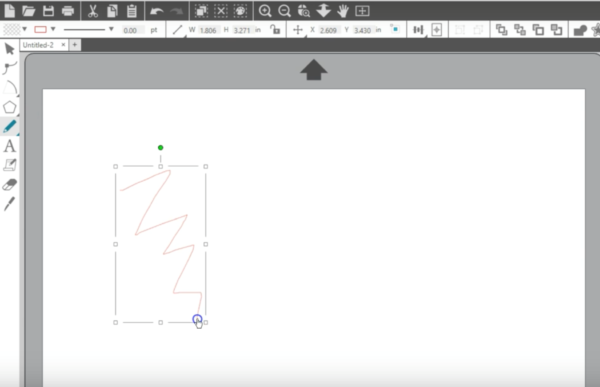
Next is Draw a Curve Shape.
Click down multiple points again, and it will close the shape when you click on the start point or will finish as a curved line with a double-click.
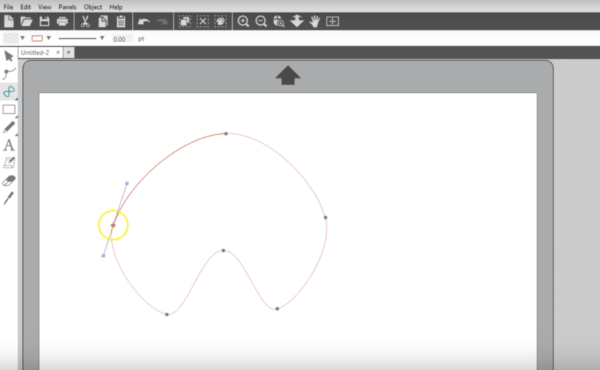
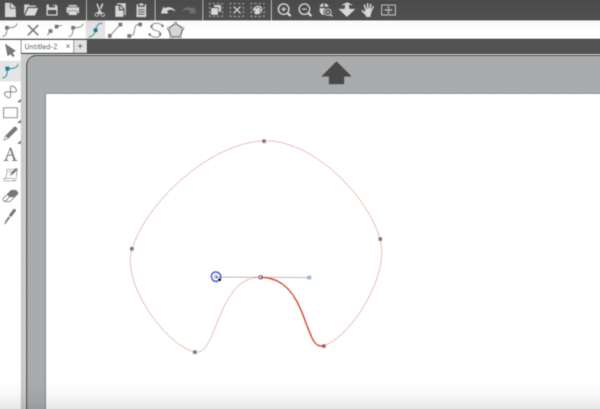
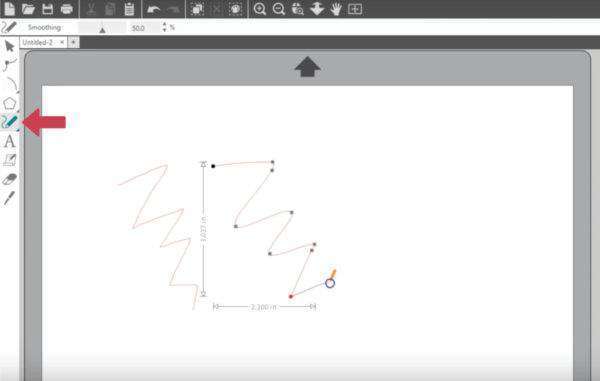
If you go to the Point Edit icon then click on the shape, you’ll see point editing options pop up in the Quick Access Toolbar at the top. (You can also double click any ungrouped shape to get to these Point Edit tools on a panel view.)
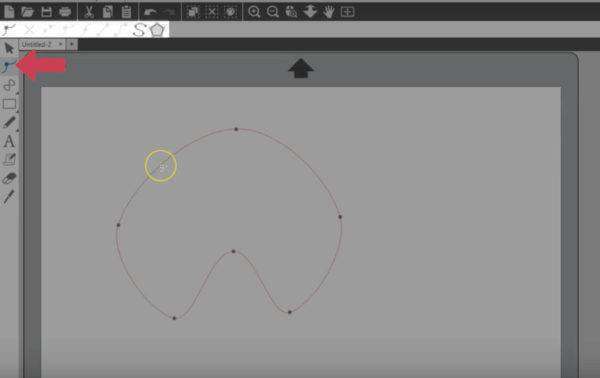
With point editing, you can edit any points of your image.When an edit point is highlighted, you can adjust the Bezier curve to refine your design, which is really helpful, especially on a freehand-drawn design. You cannot access edit points on a grouped design.
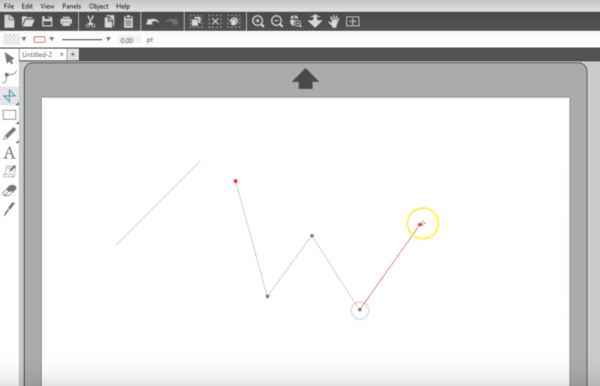
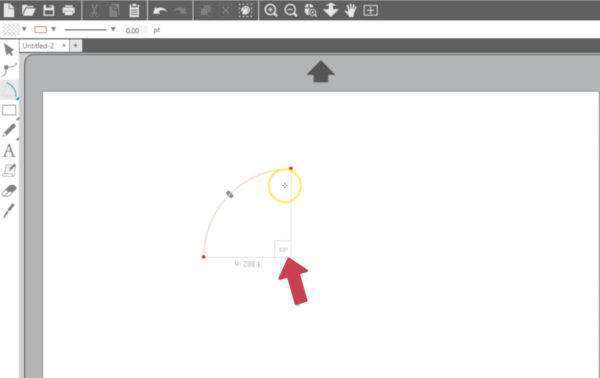
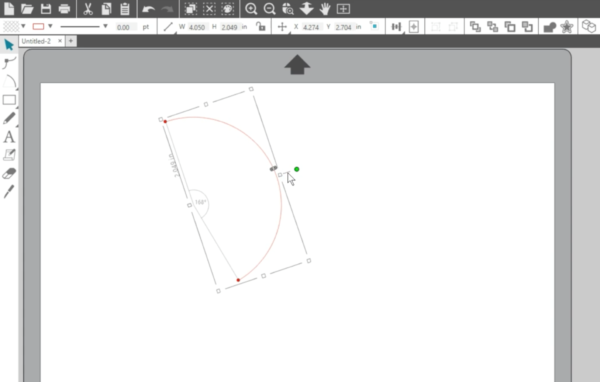
The last line-drawing tool is Draw an Arc. This tool makes smooth, arcing lines.
Click a start point, click another point to start drawing the line, then watch the angle change as you find another point to end the line. It will snap to common angles such as 45, 90, and 180 degrees.
The size can be adjusted once the arc is drawn by dragging the double-pointed arrow. The red dots allow you to change the angle, or degrees, as if viewing on a protractor.
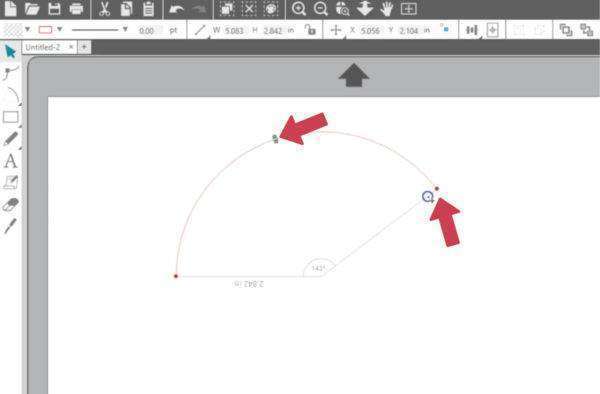
While the arc is selected, you have your normal selection box where you can resize or rotate the shape.
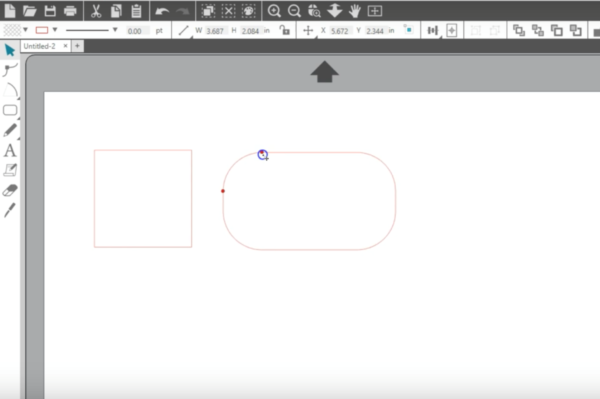
Let’s move on to the Shape Tools. You can create basic shapes including rectangles, rounded rectangles, ellipses, and polygons.
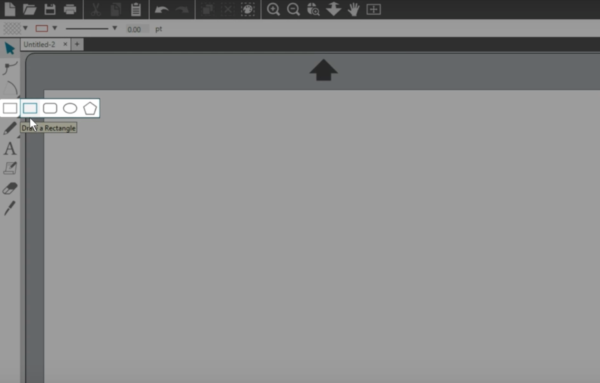
Just click and drag to draw a rectangle when this tool is selected. 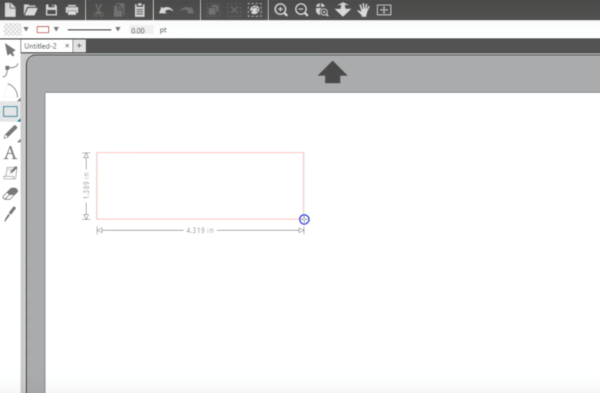
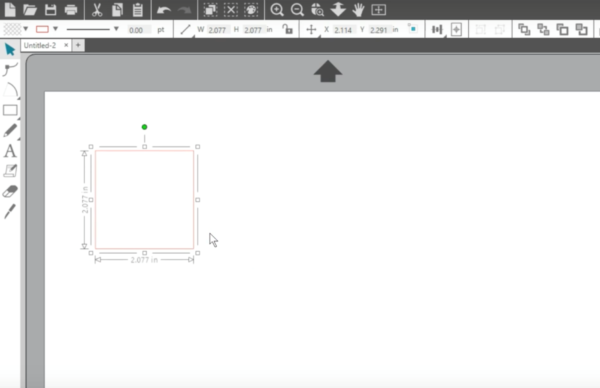
Hold your Shift key while dragging to make a perfect square.
The rounded rectangle is similar, but you get adjustable rounded corners with these red control points.

Hold your Shift key while dragging a red point to keep them moving the same distance, or just move one at a time for different corner adjustments.
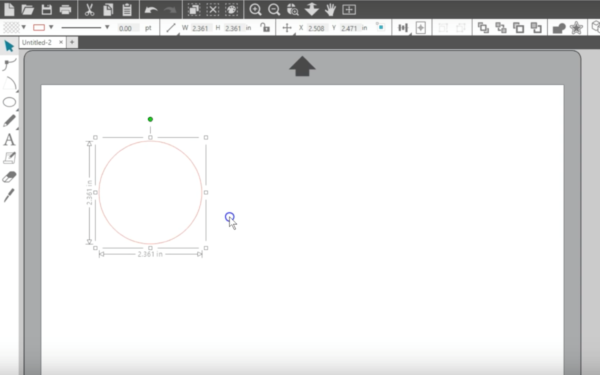
The ellipse tool is for drawing ovals and circles.
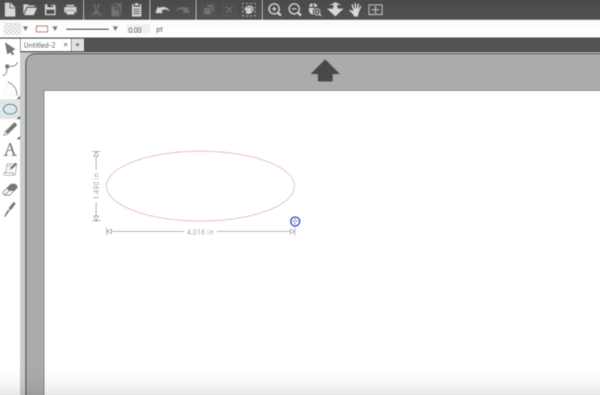
Click and drag for an oval or hold Shift while dragging for a perfect circle.
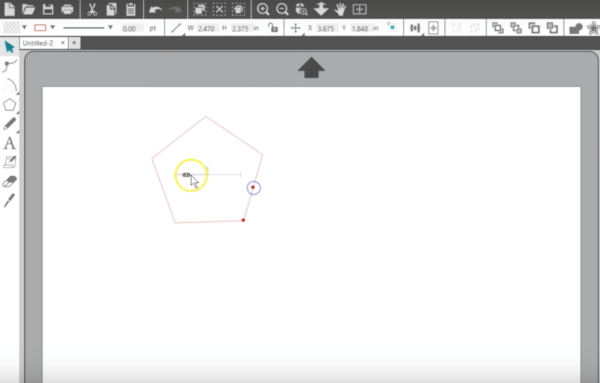
We’ll cover the Polygon tool in another tutorial, but for now, be aware that you can draw a regular-sided polygon and adjust how many sides it has.
The next drawing tools are the freehand tools.

You can see that the regular Freehand tool creates a continuous line as you drag your mouse across the page. It closely replicates your mouse movement, including sharp corners.
If we draw a similar scribble with the Smooth Freehand Tool, it draws a line that has smooth transitions with no sharp angles.
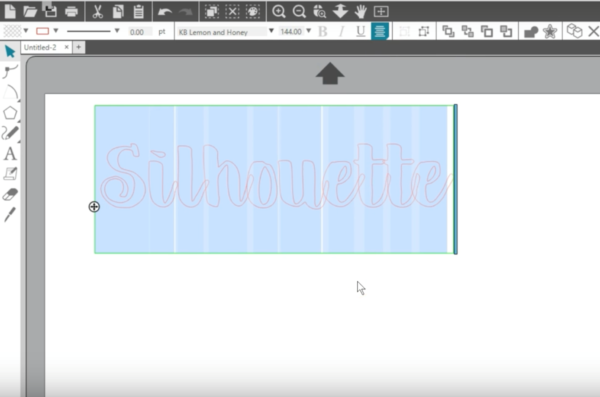
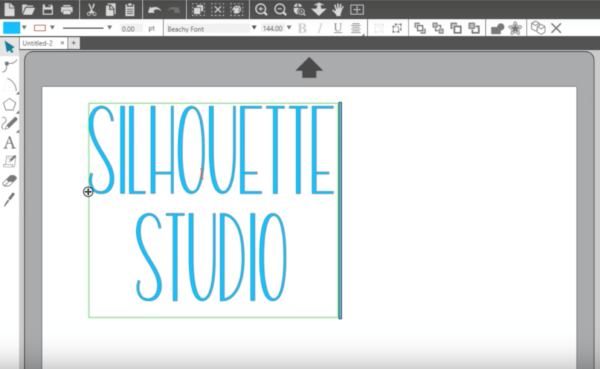
Now let’s look at the Text tool. There’s also a Text Style panel on the right side of the screen, but here on the left is where you get the text cursor to type your text.
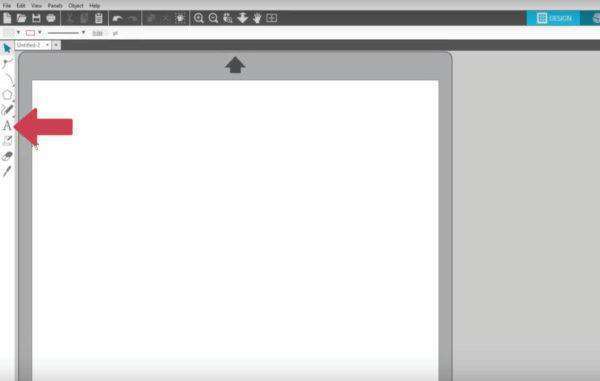
With the text tool selected, click down on the work page to show a flashing cursor.
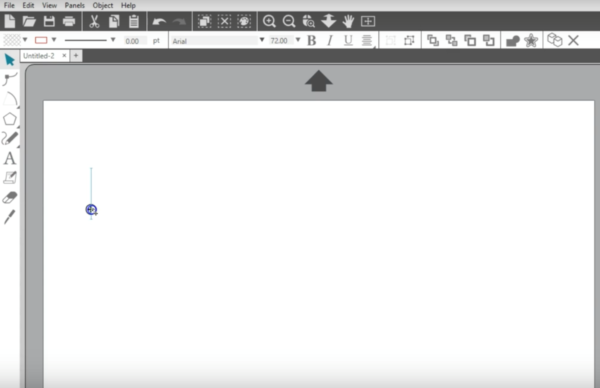
Type what you want, and then there are two ways to edit typed text. The first way to edit typed text is while you’re in text-edit mode. This is when you see the green bounding box and flashing cursor.

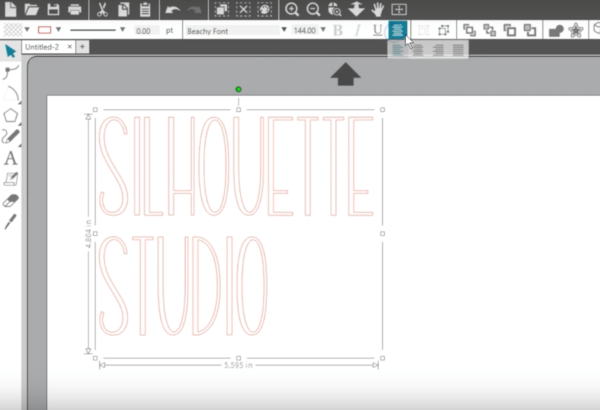
Simply highlight the text you want to change, and up on the Quick-access Toolbar that appears whenever working with text, choose the font, size, and justification. These same options and more options are available in the Text Style panel.

While the cursor is flashing, you can also edit the text itself.
The other way to make these same text changes is when you have your text selected as an object, without the flashing cursor.
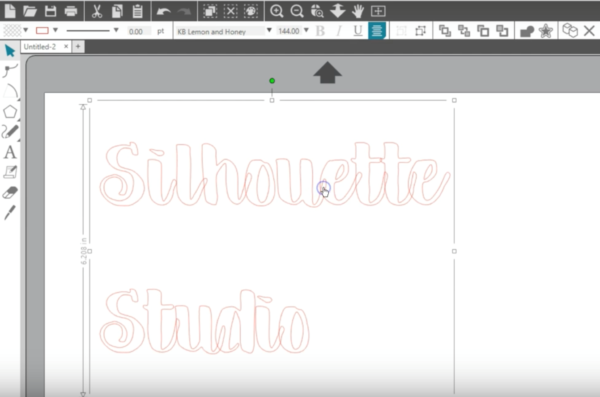
Click away from the text and then click once on the text to highlight it as an object. In the Quick-access Toolbar you have those same options for font, size, and more.
Don’t forget you can fill your text with colors, gradients, and patterns, too.
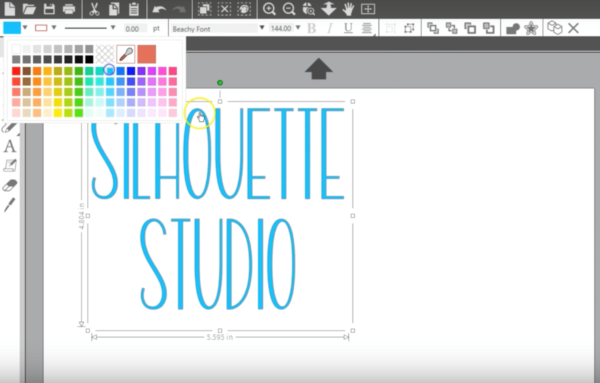
Double-click on the text if you need to get back into text-edit mode.
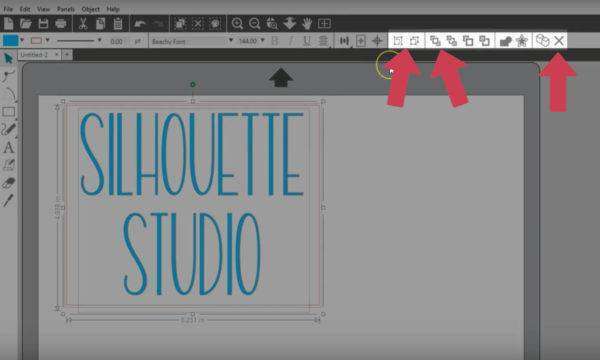
A few last basic design tools you may want to use are found on the Quick-access Toolbar when objects are selected. You’ll find Group, Ungroup, Arrange, (for sending selected objects forward or backward), Duplicate, and Delete options.
As you can see, there are plenty of basic design tools available to you in Silhouette Studio®. The more complex design tools found in Panels on the right are covered in other tutorials. We hope this tutorial helps you find new ways to use this amazing design software!