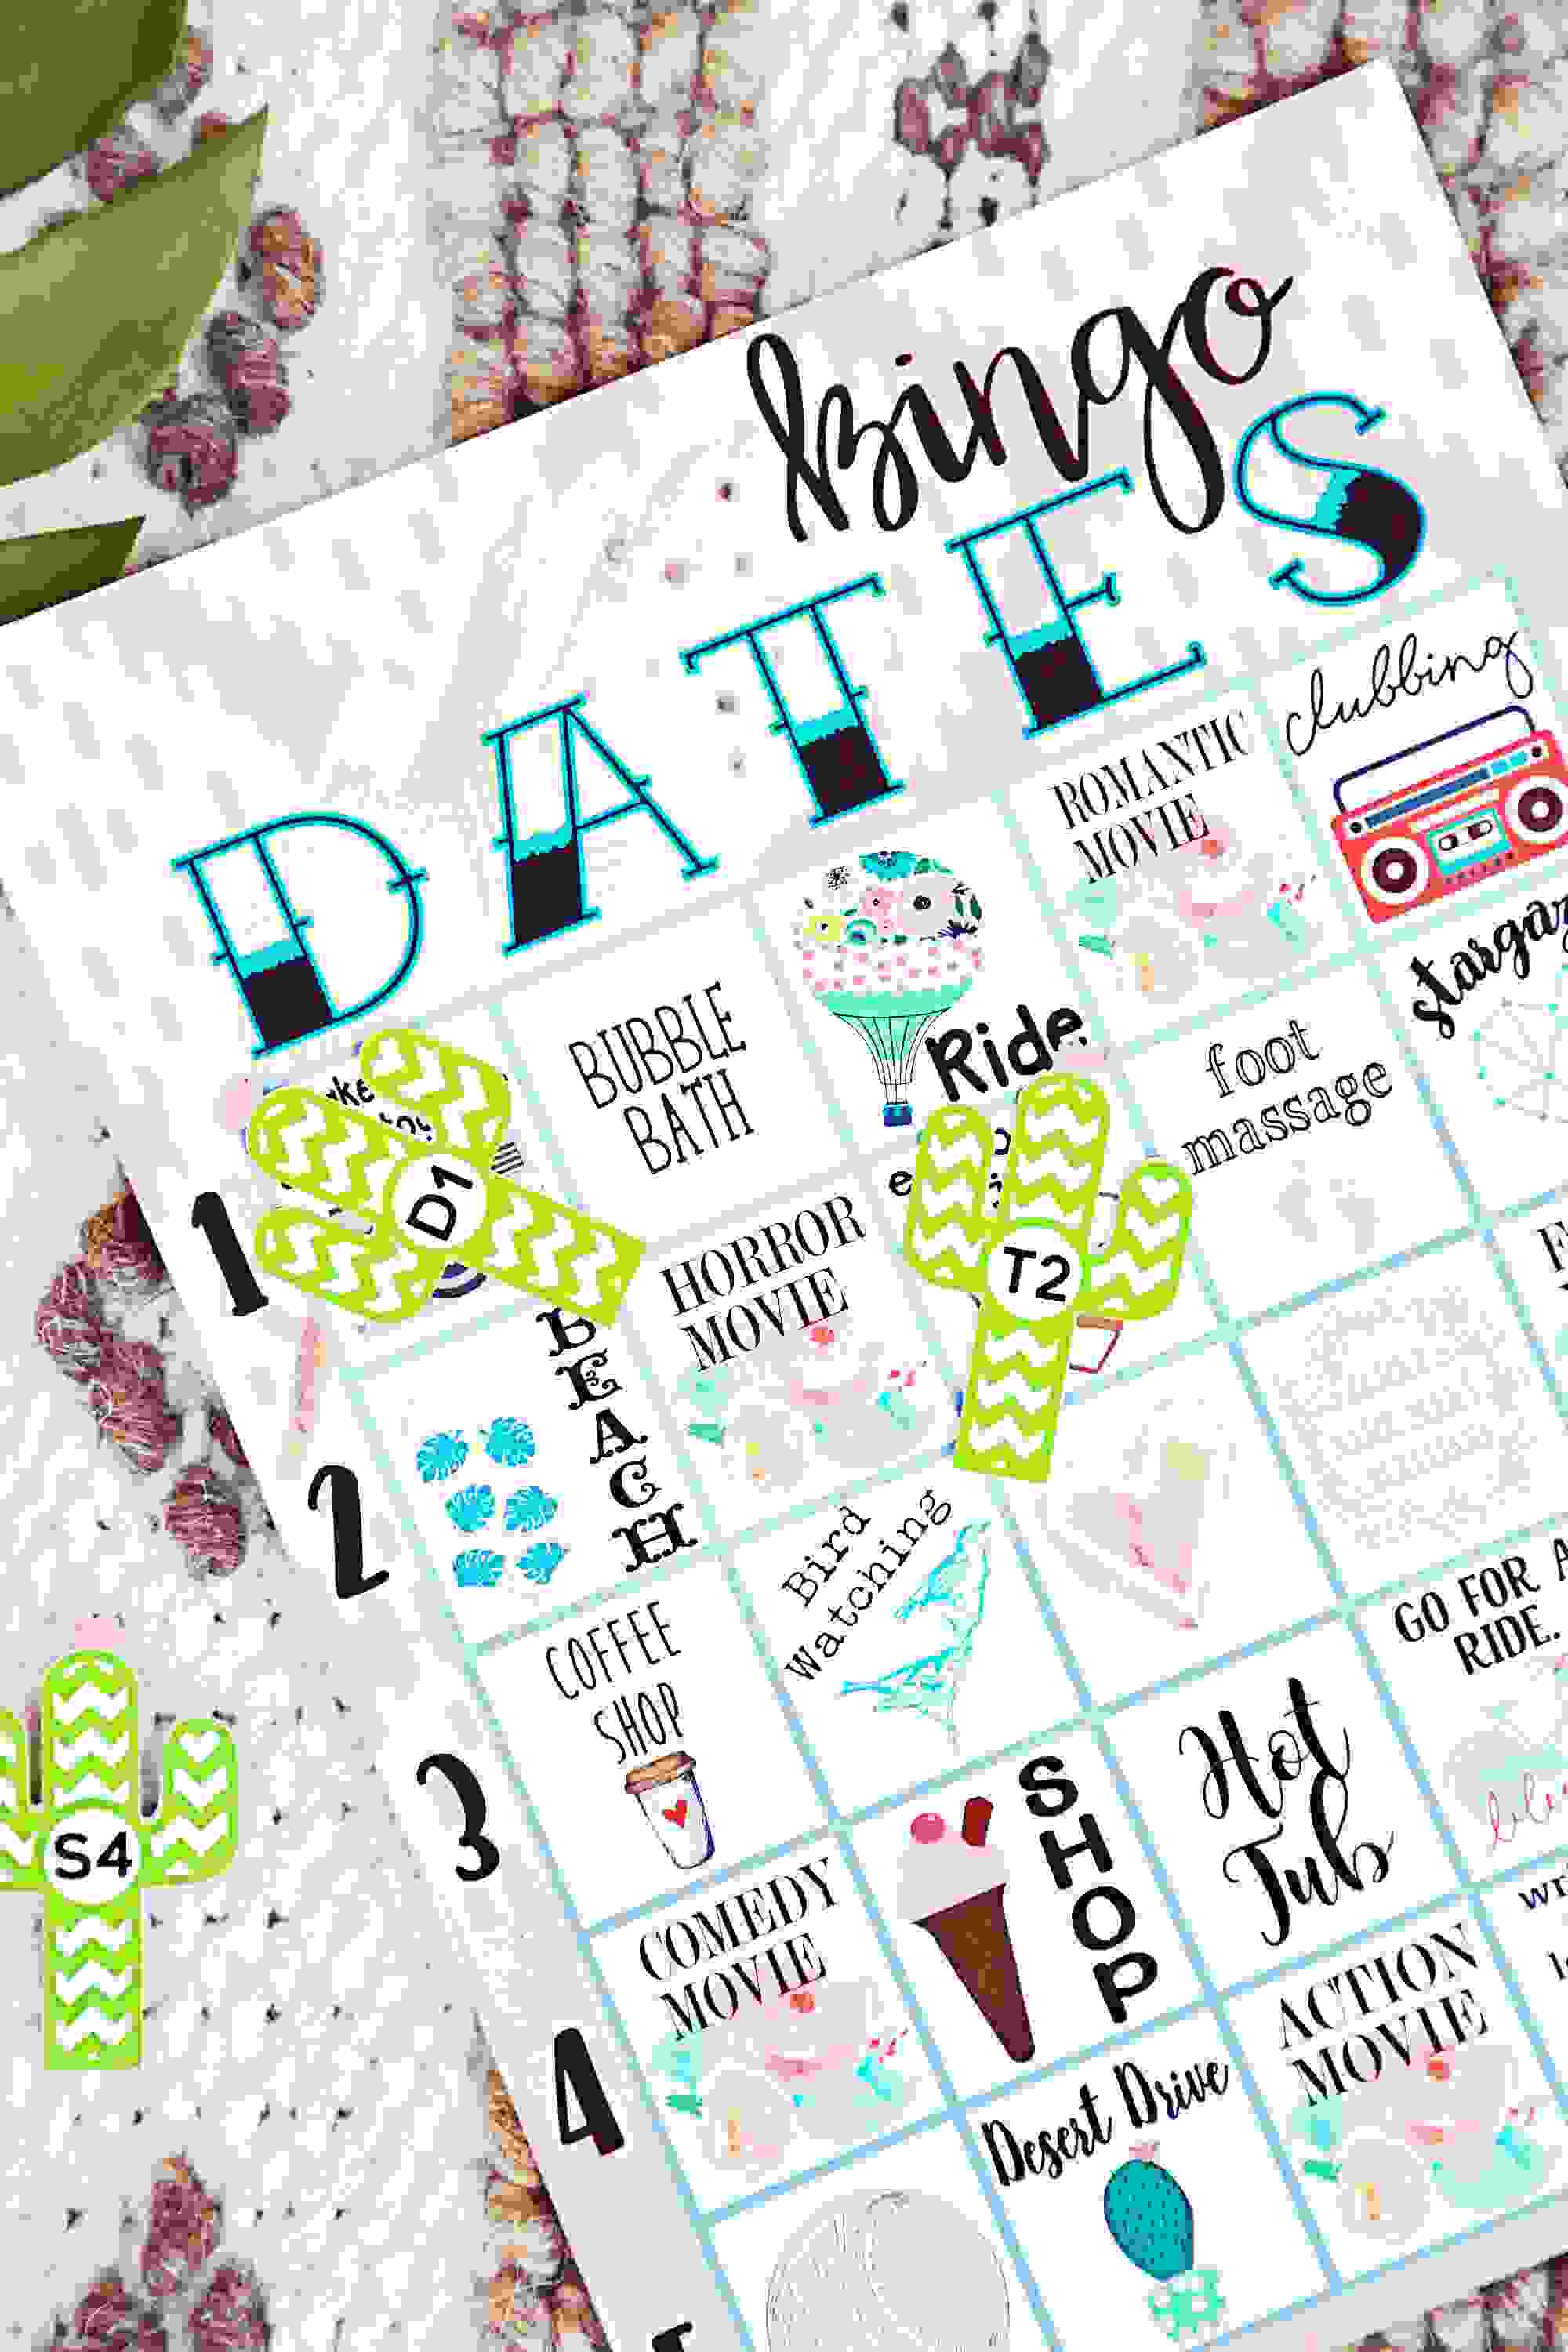
Do you guys know when the “Honeymoon Stage” is over? Well, they say it only lasts one year after marriage. But you know what? We will beat those odds with this adorable Bingo Date Tutorial that I’m going to show you.
I, myself have been married for 6 years now so this project was really fun to make because you can customize it however you want.
Materials Needed:
- Silhouette CAMEO®
- Silhouette Sticker Paper
- Silhouette Chipboard
- Printer
- Small Container
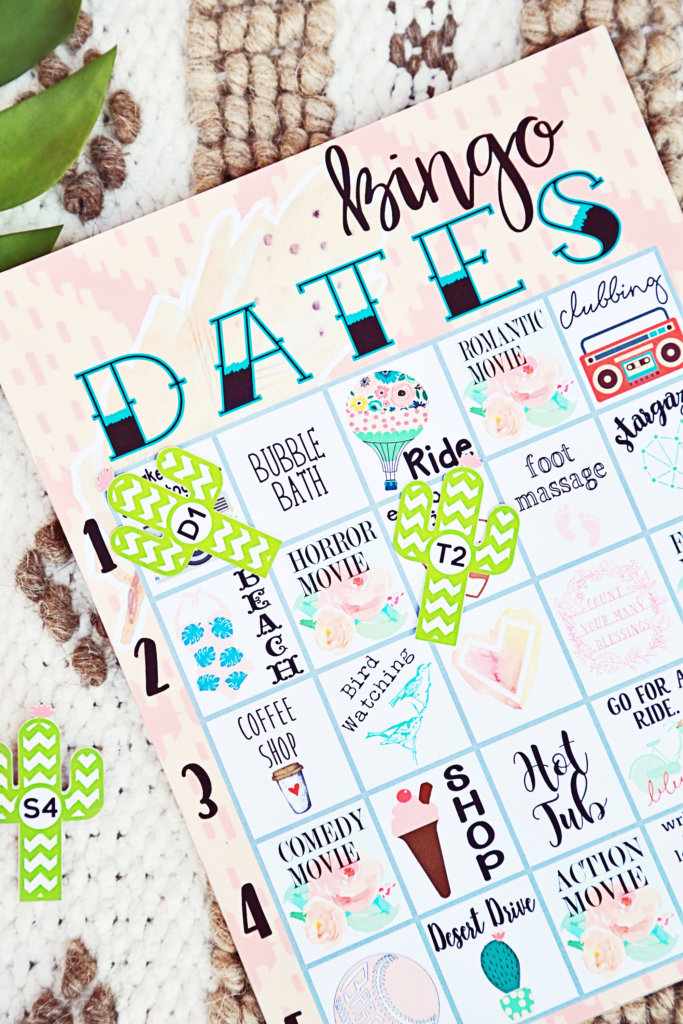
Step One: Making Bingo Card
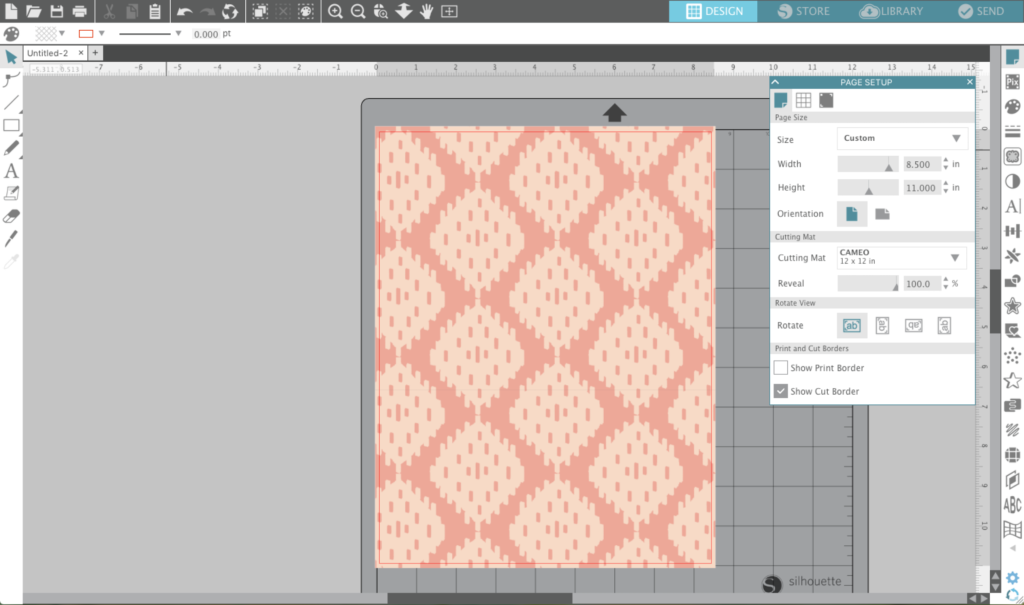
Open Silhouette Studio® and create a paper size (8.5 in. x 11 in.) layout. I chose this divider print from Sarah Ehlinger (Design ID #205243) because it’s super cute and it looked bohemian.
Step Two: Layout Boxes
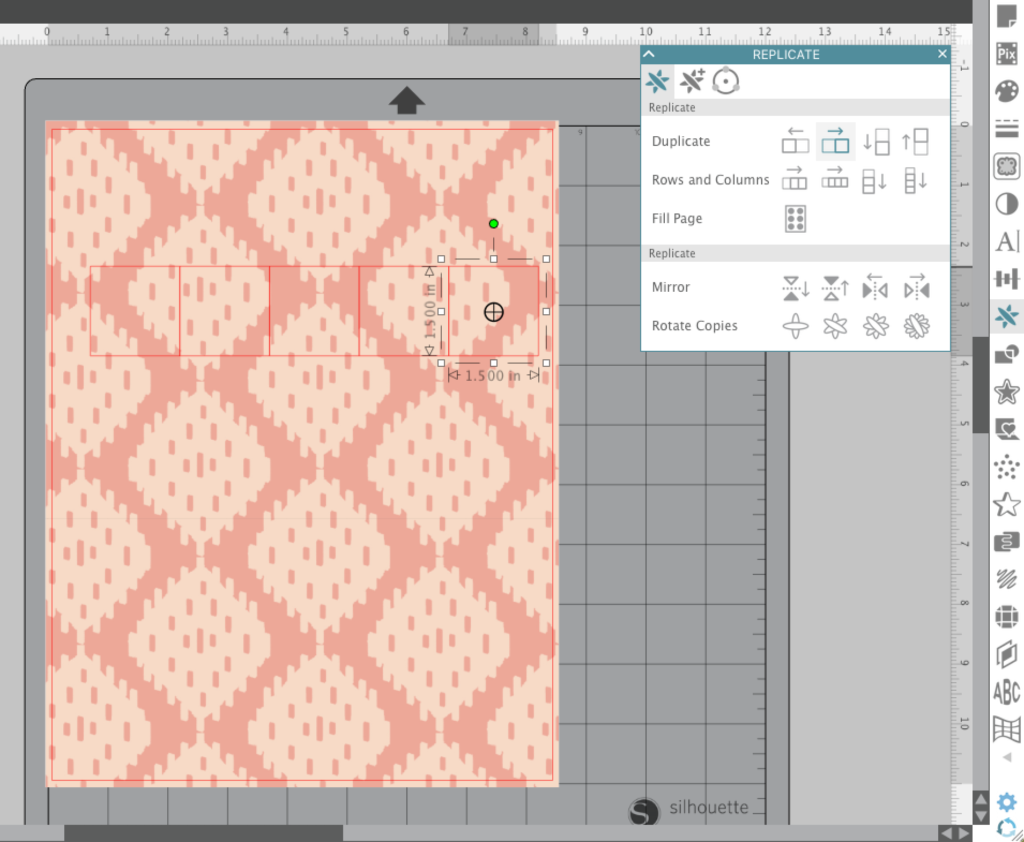
Make a 1.5 in. x 1.5 in. square. Click on the Replicate tool on the right hand side of your screen and duplicate your square 4 times to the right.
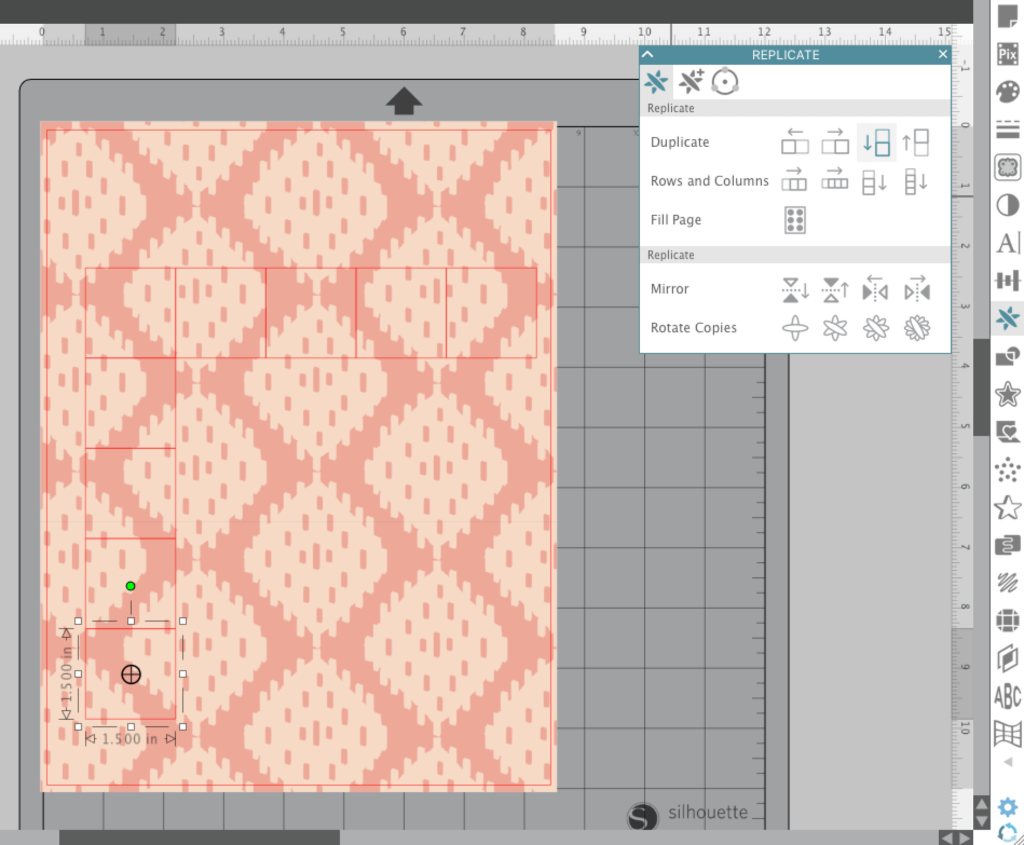
Keep your Replicate tool open. Click on the first square that you made and duplicate it 4 times downward. Continue with the second, third, fourth, and fifth square until you have 25 squares in total.
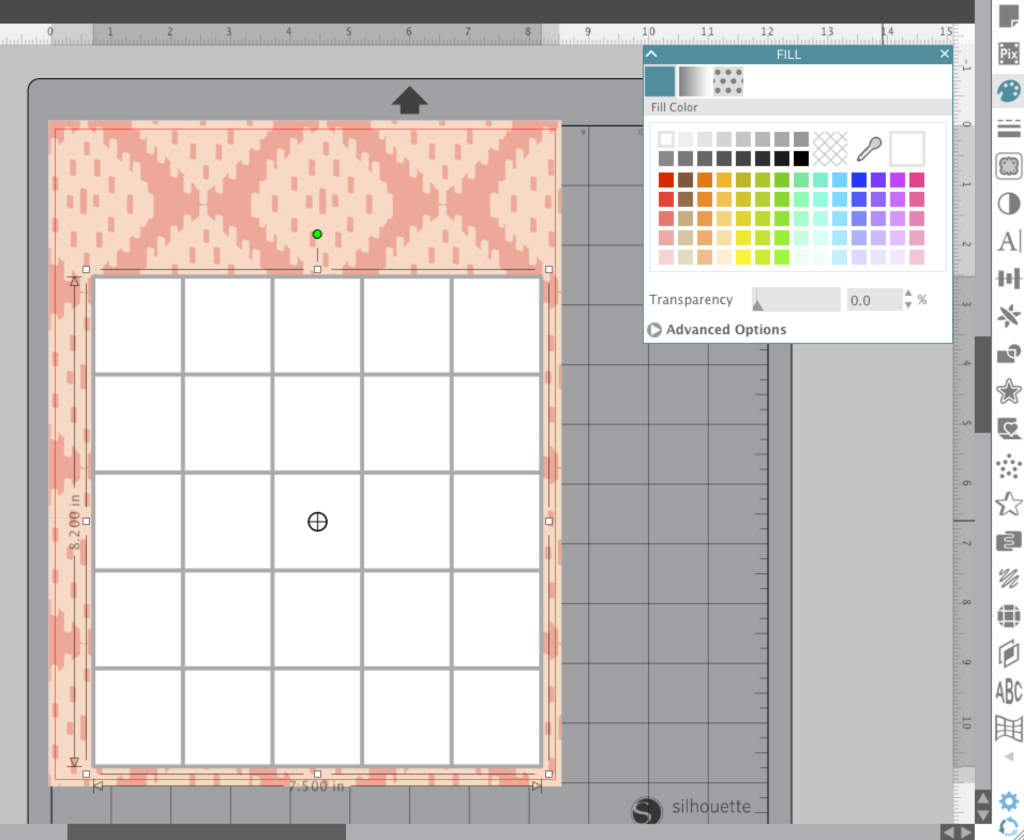
I chose white squares with gray outline but it really is up to you in how you want to design your bingo card.
Group all the squares together. You can stretch it or resize it to better fit your base layout.
Step Three: Add Silhouette Designs

I’m not going to lie. Adding all the graphics on each square can be very time consuming. They all come from the Silhouette Store®. I will add the link to all the designs I placed on my cards at the end of the tutorial.
NOTE: Since this was a lot of work, I cannot stress enough that you continuously save your work. There’s always that chance that your computer will shut off and you lose all that hard work. So save, save, save!
Make sure you have the word ‘DATE’ on top of the boxes (one letter per column). Then place the numbers 1-5 on the left hand side (one number per row).
Add dates that you and your significant other enjoy going on together and add dates that both of you have never done before.
I printed the card with Silhouette Sticker Paper and placed it on a chipboard that was also paper size (8.5 in. x 11 in.).
Step Four: Making Bingo Markers
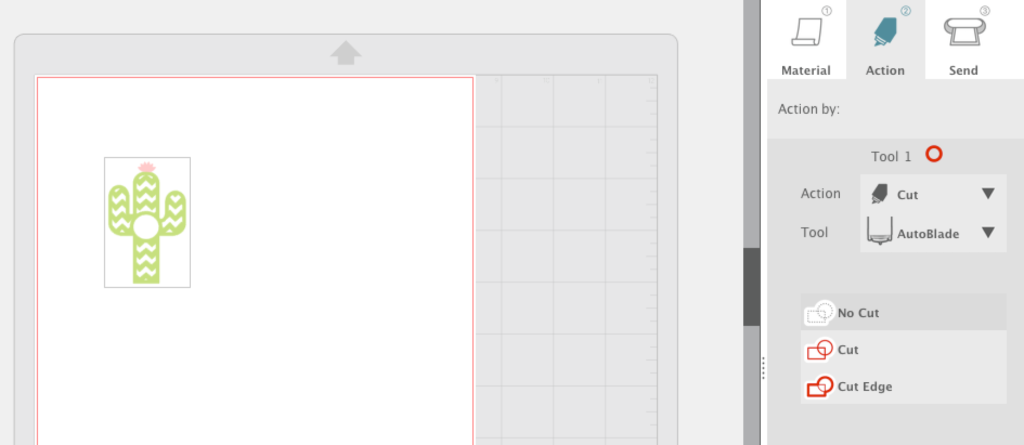
There are two reasons why I picked this chevron cactus by Megan Hardy Design (Design ID #131744). One, it’s a freaking cactus. Obviously! Two, it already has a circle in the middle which is a perfect place for the bingo numbers.
Once I’ve sized up the cactus, I then clicked on the Action>No Cut.
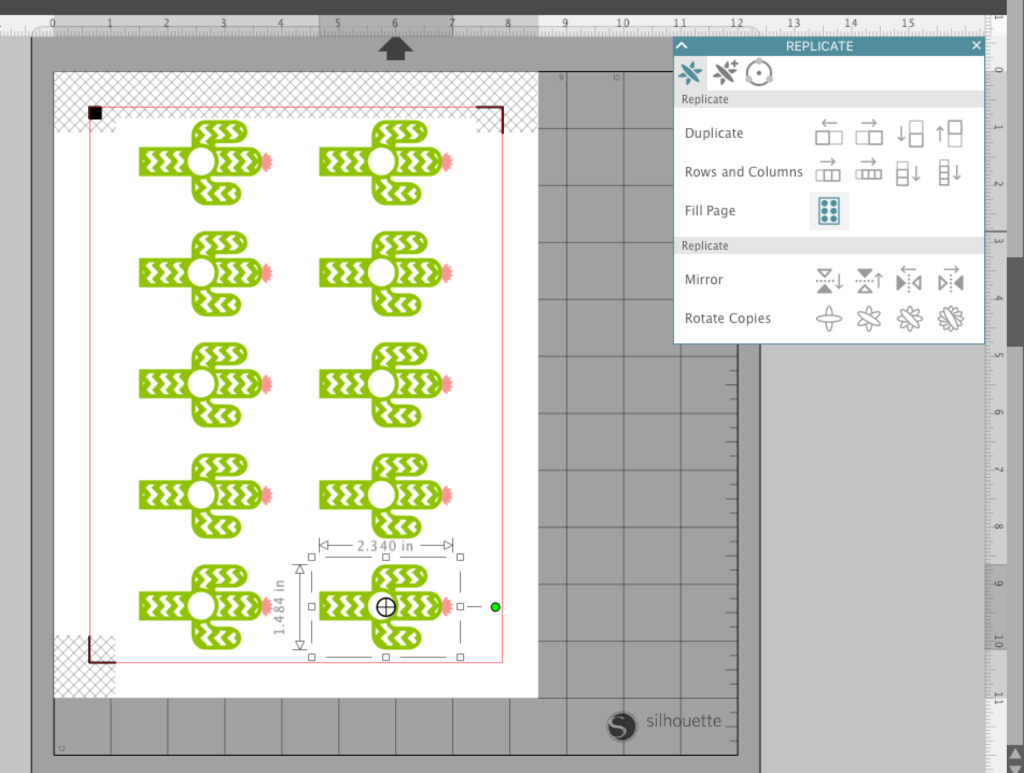
Place the registration marks on your page since these bingo markers are a ‘Print & Cut’ project.
Click on the one marker you made then go to your Replicate tool and click ‘Fill Page’. As you can see I was able to fit 10 cactuses in one page.
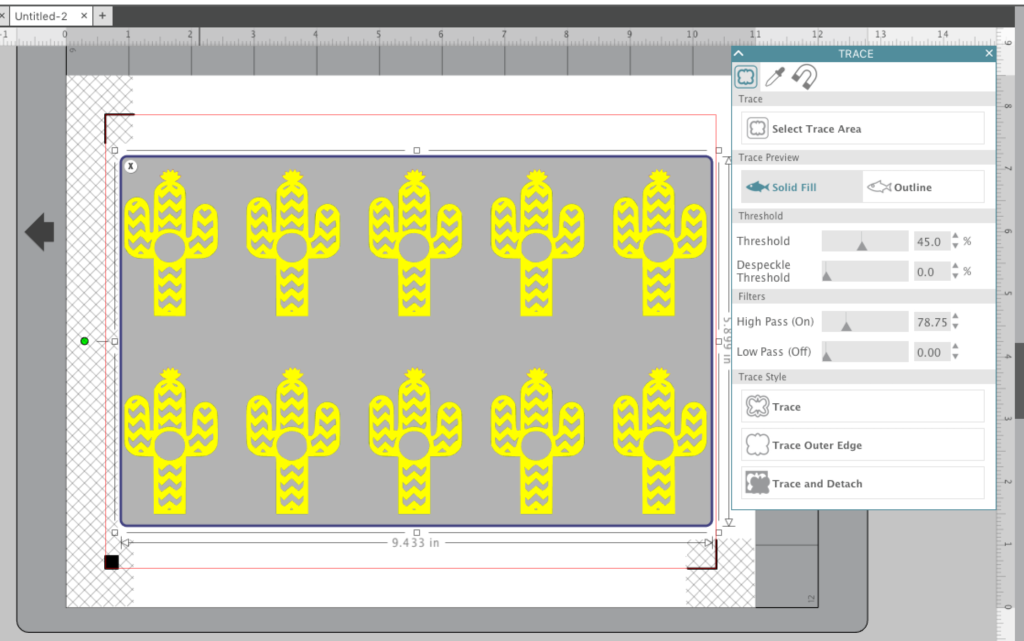
Open up your Trace tool on the right hand side. Select all of the 10 cacti and trace. The only filter I had to play with was the High Pass.

Finally, add the bingo numbers in the middle of the cacti but make sure they only print and not cut.
You will end up making 25 cacti in total. One for each bingo box.
Once you have printed the design from your printer, take it to your Silhouette CAMEO® for cutting.

If you are a new user and haven’t had the chance to play with the Print & Cut feature then I suggest you check out my fellow Silhouette Design Team Member, Aki Altuna, on her in depth Print & Cut tutorial.
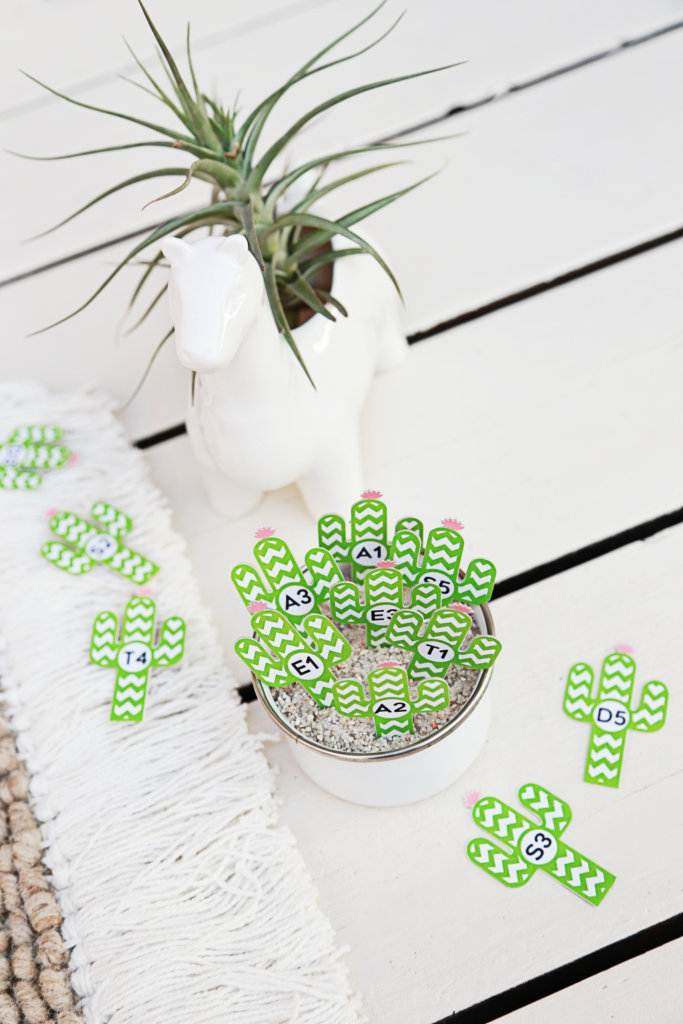
Place all of your cacti in a little container. When it’s time for date night, just draw a cactus from the container and see where it lands on your awesome bingo date card.
Extend that honeymoon period. There are adventures that still need exploring. Together.
Nasze Naturalne
September 3, 2025
Your authentic voice really shines through in everything you create and share
Naszenaturalne
September 2, 2025
Really love your style
Kelly Wayment
June 28, 2024
You can use it with vinyl as long as it is smooth and flat to allow the static charge to hold on to it. Rolled vinyl that wants to go back to its rolled shape will not necessarily work well, and it would need to be trimmed to fit the ES mat cutting area.
Kelly Wayment
June 28, 2024
Yes, you can use the heat pen while using the ES mat. 🙂
Yurii
March 2, 2024
Hello. May it be used with heat pen?
Thanks
Jerome
February 24, 2024
Hi, works this with the normal vinyl foils or only with printer papter etc?