Hi friends! It’s Missy, and I’m bringing you my favorite birthday projects today because… it’s my birthday. I’ve got big plans to celebrate this big even-numbered birthday, so let’s get to it!
Here are four fun birthday-inspired crafts that will come as a perfect surprise to friends and family.
1. Birthday Girl Stemware
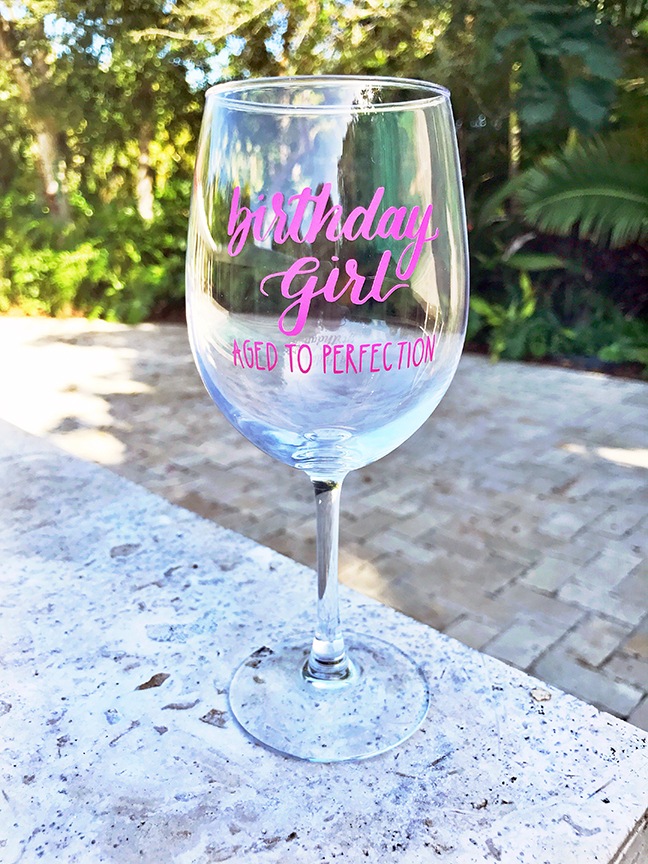
I’m not gonna lie: it was hard to decide what to write on this glass! The Silhouette Design Store has scads of amazing ideas, but I chose to hand-letter the design.
You can add the text to the bottom, Aged to Perfection. I used the LW Favorite Font (Design ID #81463).
You will need:
- Wine glass
- Silhouette Adhesive vinyl
- Silhouette Transfer Paper
- Scraper Tool
- Hook Tool
For detailed instruction on cutting, weeding and adhering vinyl to glassware, check out this tutorial.
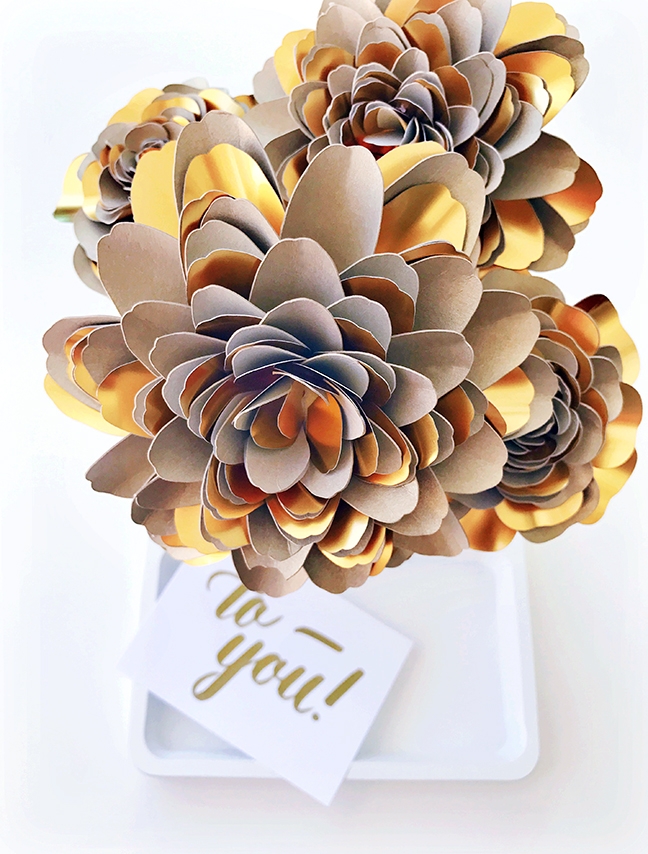
2. Glittering Paper Bouquet

What’s better than a real bouquet? This golden-gilded paper bouquet that will last FOREVER. Bonus points for adhering the paper flowers to a fun pencil so the recipient can use it and think of you daily. (Awww!)
You will need:
- Printable Gold Foil
- Metallic gold cardstock
- 16 Gauge Stem Wire (or pencils)
- Glue gun
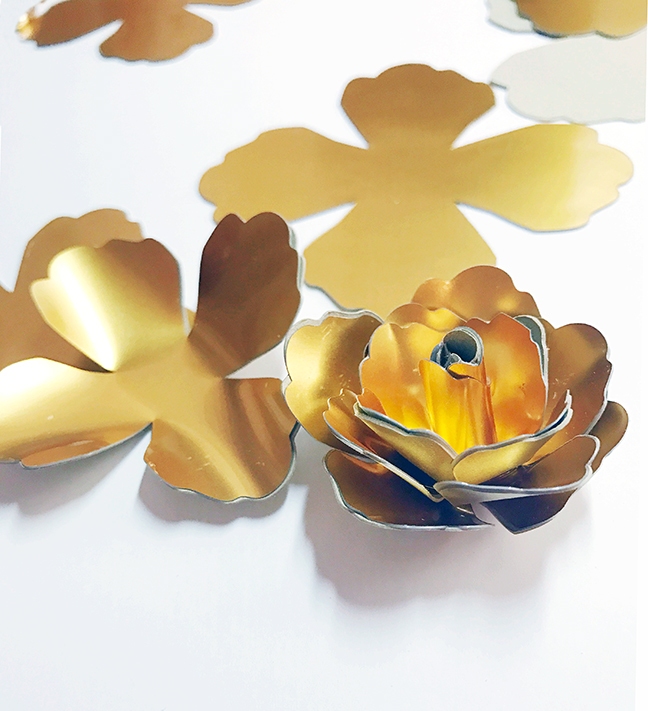
I used three different designs to complete this bouquet.
- 3D Tiffany Tea Rose (Design ID #59228)
- 3D Dahlia (Design ID #56538)
- 3D Double Impatiens (Design ID #56551)
They are easy to assemble and you can find a link to comprehensive instruction in the shape description.
Pro Tips For Assembly
- If you are going to turn these gorgeous flowers into a bouquet, add a round hole shape to the center of each flower pattern to easily thread your finished flower onto the stem wire (or onto a pencil).
- Use different sized pens/paintbrushes to roll the petals. This creates a more natural-looking variety of shape in the flower.
- The gold foil is a single-sided adhesive material. You can either cut the shape in reverse and stick them together, or adhere it to another piece of petal-shaped card stock.
- My first flower was entirely made of gold foil. It was beautiful but blinding! I opted to alternate layers of gold foil with some fun metallic gold card stock I had on hand.
3. Chalkboard Cupcake Toppers
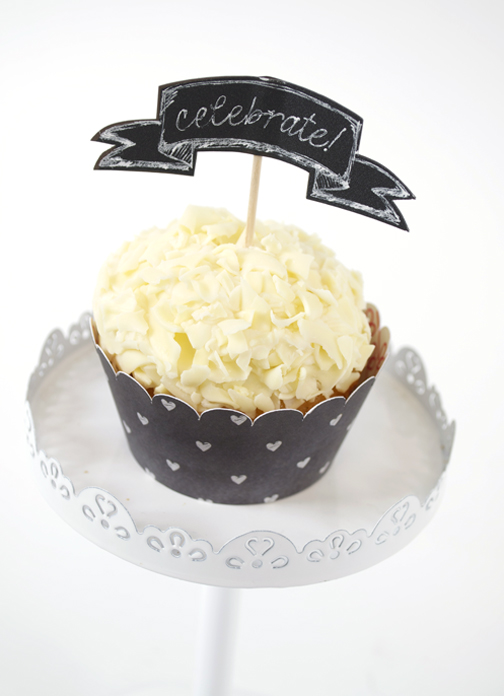
I adore this simple topper. The gel pen on chalkboard vinyl gives it a very personal touch. They look like they were hand-drawn. Check out the full tutorial.
4. Canvas Gift Wrap
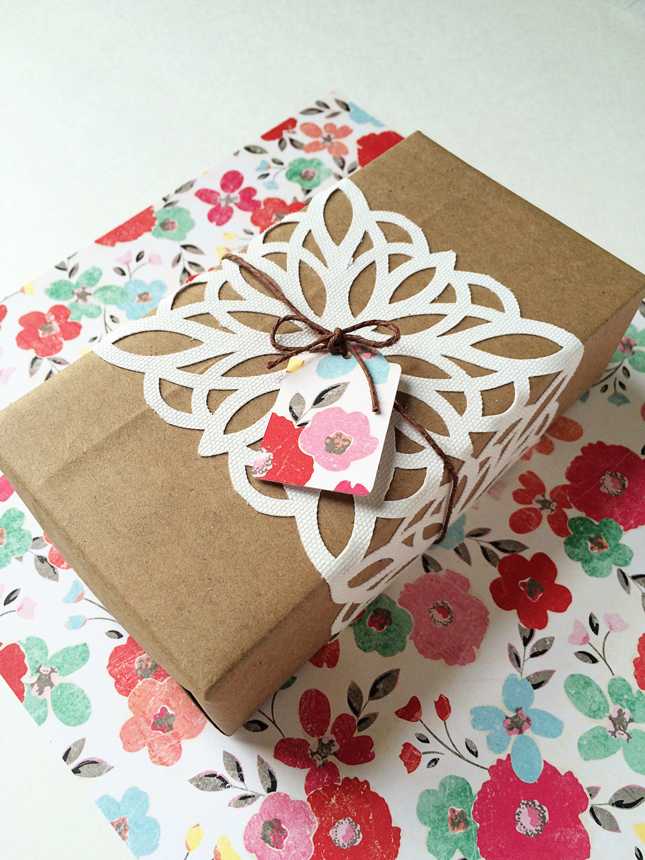
How sweet is this textural mix of canvas and kraft paper? After vinyl (of course), I think kraft paper is the most versatile material. Brittany’s full post is here and will fill you in on the deets to create this uniquely beautiful wrapping.
I’m off to enjoy my cake, but tell me…
Nasze Naturalne
September 3, 2025
Your authentic voice really shines through in everything you create and share
Naszenaturalne
September 2, 2025
Really love your style
Kelly Wayment
June 28, 2024
You can use it with vinyl as long as it is smooth and flat to allow the static charge to hold on to it. Rolled vinyl that wants to go back to its rolled shape will not necessarily work well, and it would need to be trimmed to fit the ES mat cutting area.
Kelly Wayment
June 28, 2024
Yes, you can use the heat pen while using the ES mat. 🙂
Yurii
March 2, 2024
Hello. May it be used with heat pen?
Thanks
Jerome
February 24, 2024
Hi, works this with the normal vinyl foils or only with printer papter etc?