
Every retiree deserves a fun t-shirt to celebrate their accomplishments! Whether you create this project as a gift for a loved one who recently retired or just for yourself, this shirt is sure to make everyone smile. The bleach splatter effect gives you a different result every time, making each shirt truly unique. You can use any color of t-shirt besides white to get this result.
Even better, this is a quick and easy craft that’s great for beginners. We’ll use vinyl to cover the design and keep it from being bleached. Because we’ll be removing it from the final shirt, you can use whatever vinyl or stencil material you have on hand, as long as it’s removeable. Keep in mind that because we’re using bleach, this project should only be made by crafters older than 13 and with adult supervision. Let’s get started!
Supply List
- Silhouette Cameo® 4
- Vinyl, any removable color or finish
- Transfer tape
- Silhouette Scraper
- Colored t-shirt
- Bleach
- Spray bottle
- Gloves
- Safety goggles
- Cardboard
- Design ID #380231 by Silhouette
Step One: Format Design
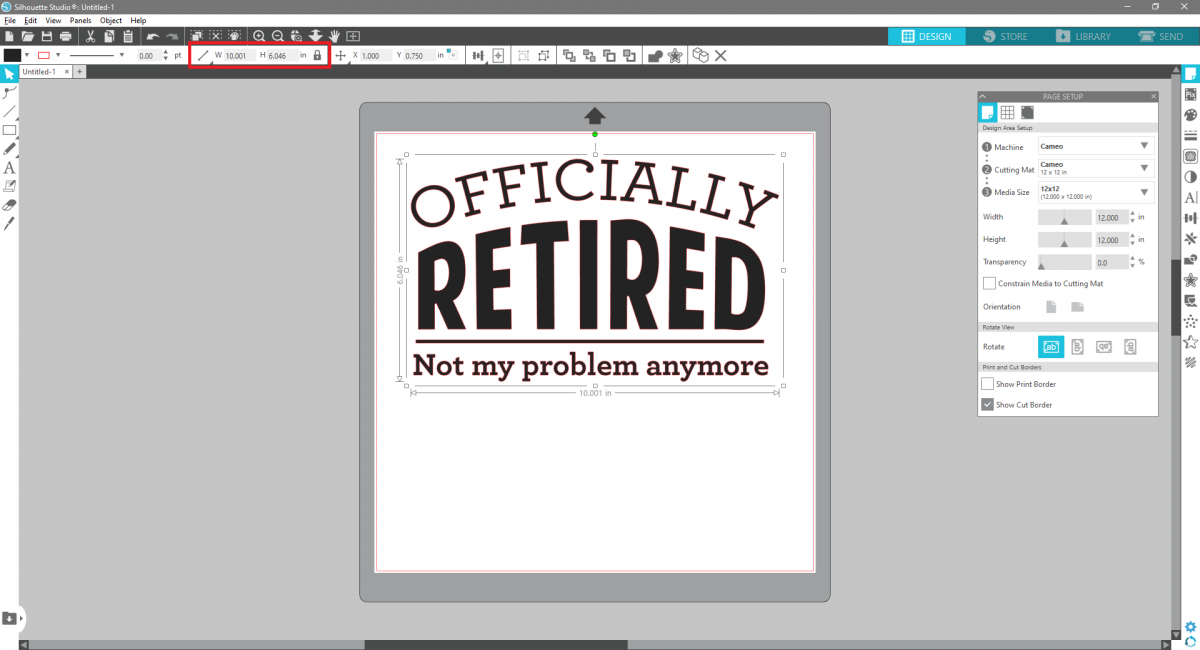
The only thing we need to do before we cut our vinyl is resize the design so it will fit our t-shirt. In Silhouette Studio®, open the Officially Retired design. Select the design and change the dimensions using the Scale tool at the top of the screen. Click the lock icon so the aspect ratio stays the same, then input your measurements. For a size large t-shirt, our design is going to be 10 x 6 in., but you can adjust this size to fit any t-shirt size!
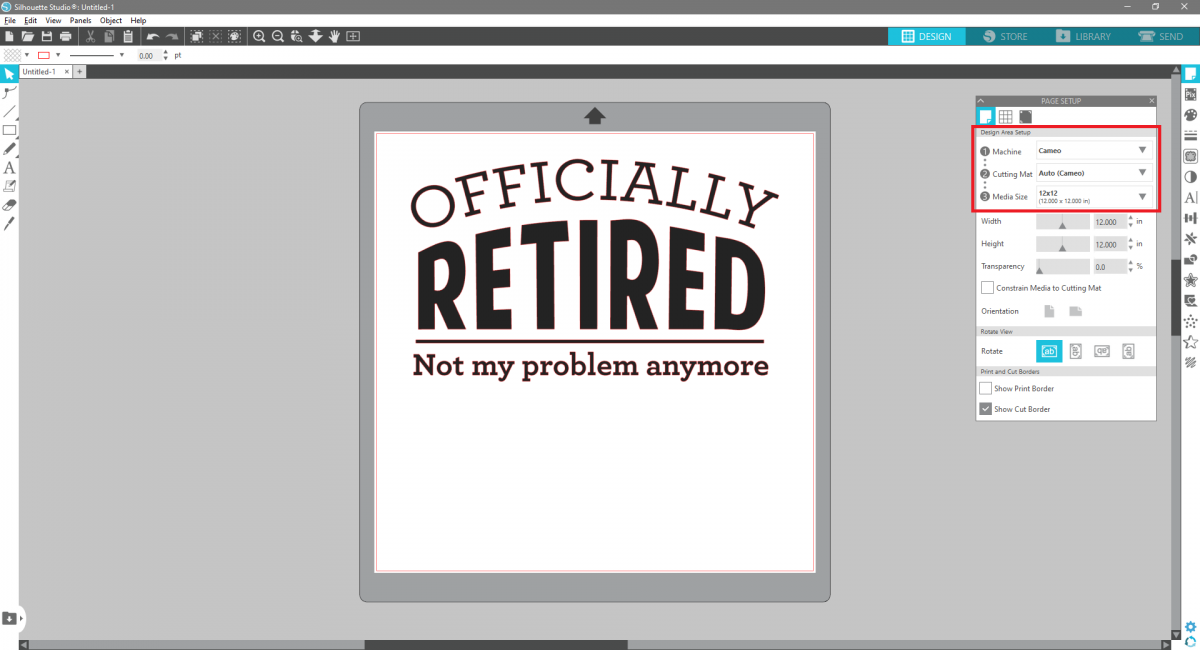
Here is also where you can decide whether you want to cut your vinyl directly from the roll or load a cut-out piece onto a cutting mat. In the Page Setup panel, choose your settings accordingly. If you want to cut your vinyl from the roll, switch the Cutting Mat setting to “None.” If you want to place your vinyl on a cutting mat, you can leave these settings as-is, or set the Media Size to “Custom” and enter the dimensions of your vinyl.
Tip: This design is too wide to cut using a Portrait. But if you rotate the design 90 degrees, it will be small enough to cut with the Portrait!
Step Two: Cut Design
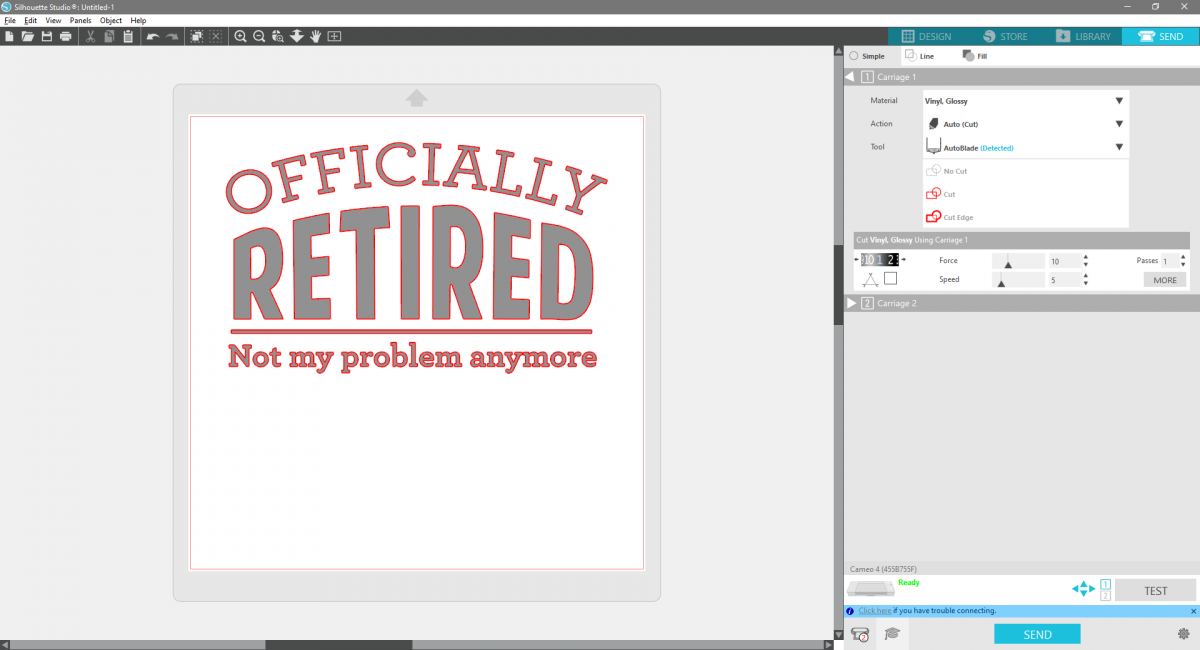
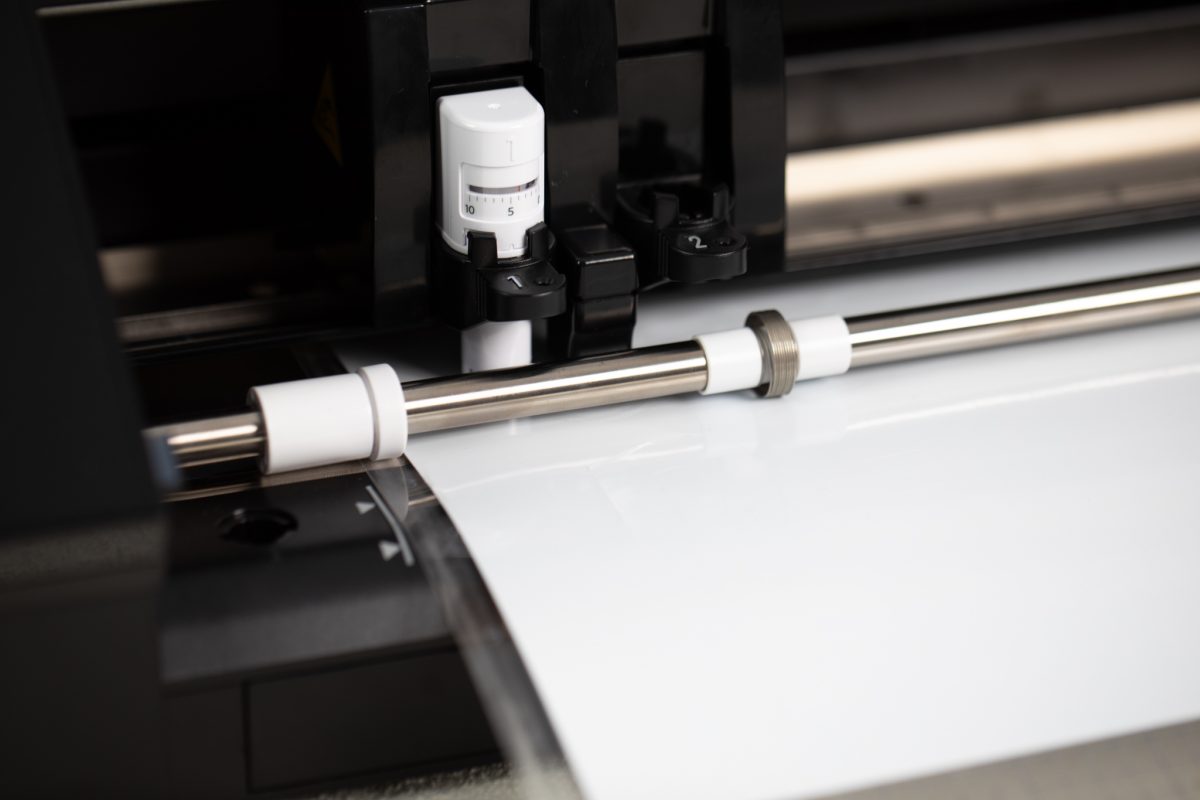
We’re ready to send our cut job to the machine! Load your vinyl into the machine, either by using a roll feeder for matless cutting or by placing your measured vinyl onto a cutting mat and loading it into your machine. Make sure that your cut settings are correct, then click “Send” and watch your cutting machine do its magic!
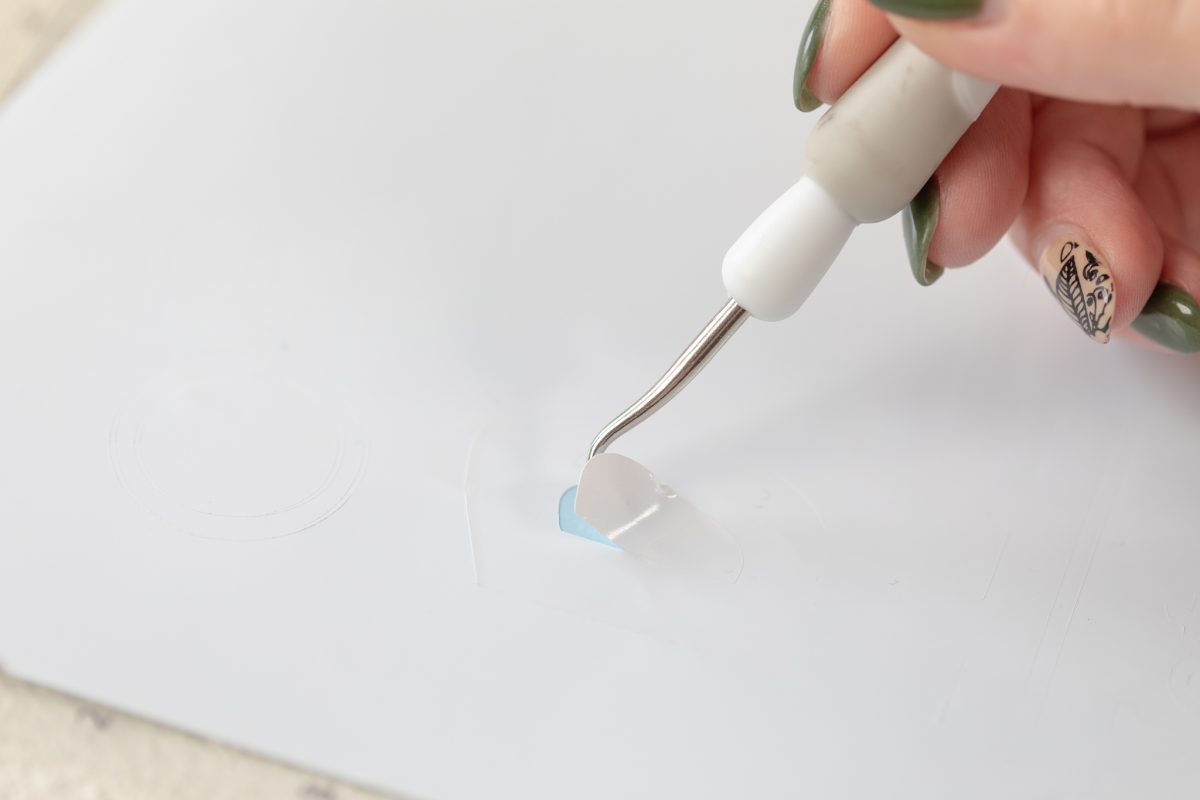
When the machine finishes cutting, remove the vinyl from the machine and use a hook tool to weed the excess material.
Tip: We used vinyl for this project, but you could also use Silhouette Stencil Material to create your design!
Step Three: Apply Design to T-Shirt
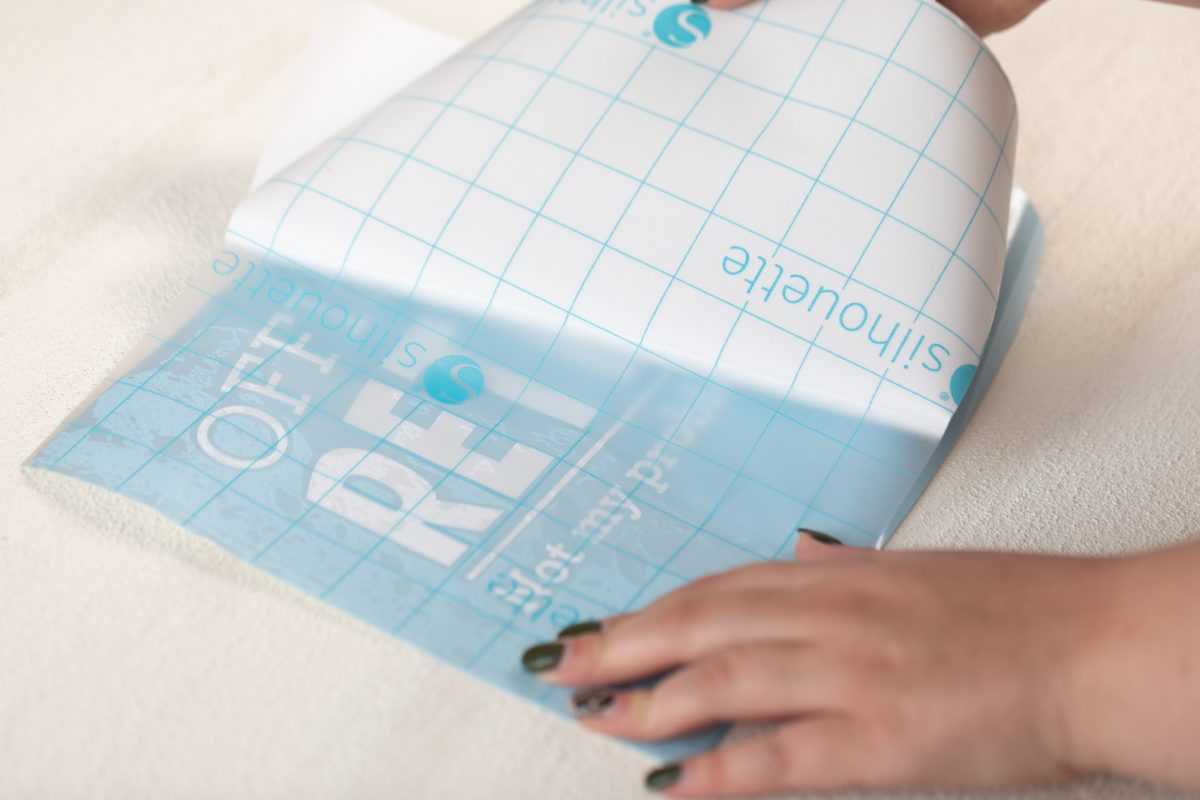
Our next step is to add the vinyl to the t-shirt to keep our design unbleached when we add the bleach splatter. Start by removing the backing from your transfer tape. Using a scraper, apply the transfer tape to the vinyl. Press it down hard so that it evenly adheres to the transfer tape. This will expose the adhesive side of the vinyl, and you can add it to your shirt.
Check that you’re happy with the placement of your design before pressing the transfer tape onto the shirt. To make sure the design stays in place, burnish the vinyl by using your scraper tool and rubbing on the clear transfer tape.
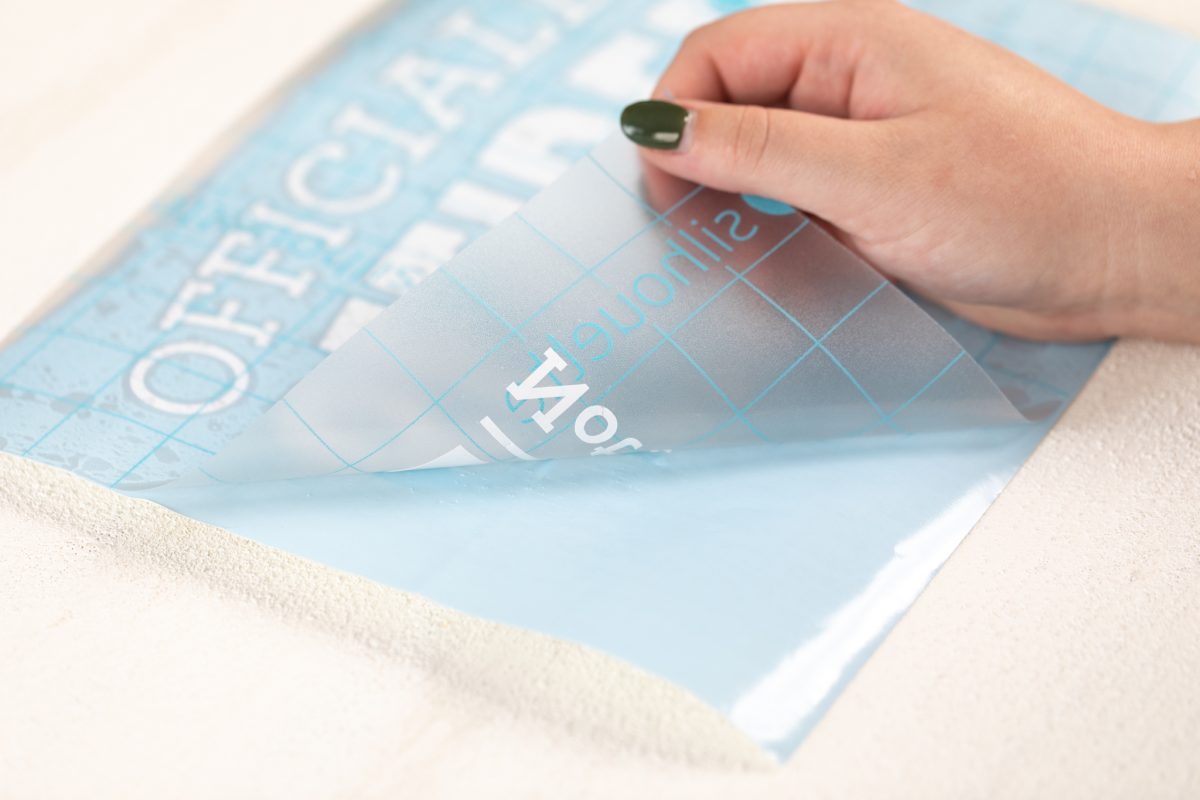
All that’s left to do is to remove the transfer tape. Start by peeling it back in one corner, moving carefully and slowly to ensure the vinyl adheres to the t-shirt. If your design starts to lift away from the shirt as you peel the transfer tape, put the transfer tape back into place, burnish the vinyl more in that spot, and try again.
Step Four: Bleach T-Shirt
It’s time to pull out the bleach! Before continuing with your t-shirt, be sure to follow these safety tips:
- Wear gloves and safety goggles when working with bleach, and wash your hands when you’re finished.
- Work outside or in a highly ventilated area.
- Keep children and pets away from the bleach.
- Don’t get the bleach on your skin or in your eyes.
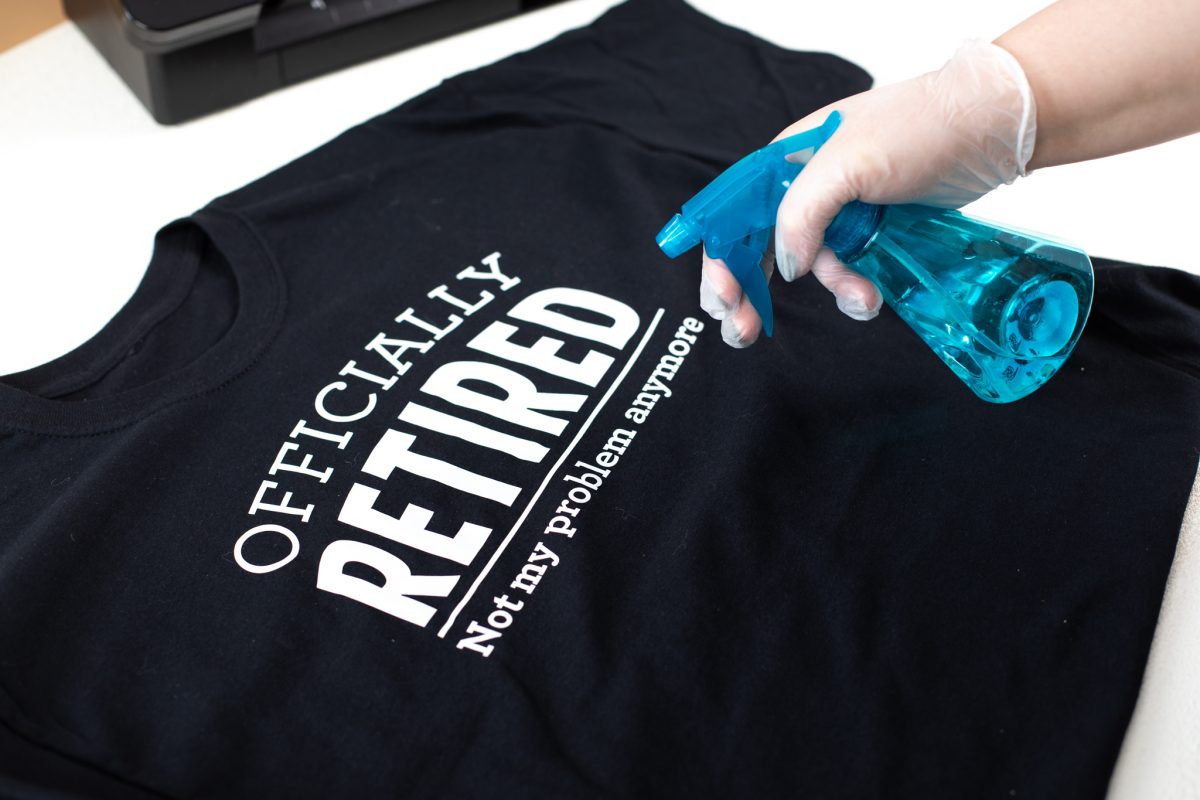
Put on your gloves and safety goggles before carefully filling your spray bottle with bleach. You’ll also want to put a piece of cardboard inside of your t-shirt in between the layers so the bleach doesn’t soak through to the other side.
With that, you’re ready to spray the design to your liking! This is where you can get creative with this project. You can just spray around the design for something more subtle, or go bigger and spray a bigger area. Start by only adding a little bleach, then wait 2-3 minutes while the bleach pulls the color out of the fabric. If you spray too much bleach in one area, blot the design with a paper towel to remove the excess. If you want to spray the back as well, allow the front to dry for ten minutes before flipping the shirt over and repeating the process on the back.
Step Five: Wash T-Shirt
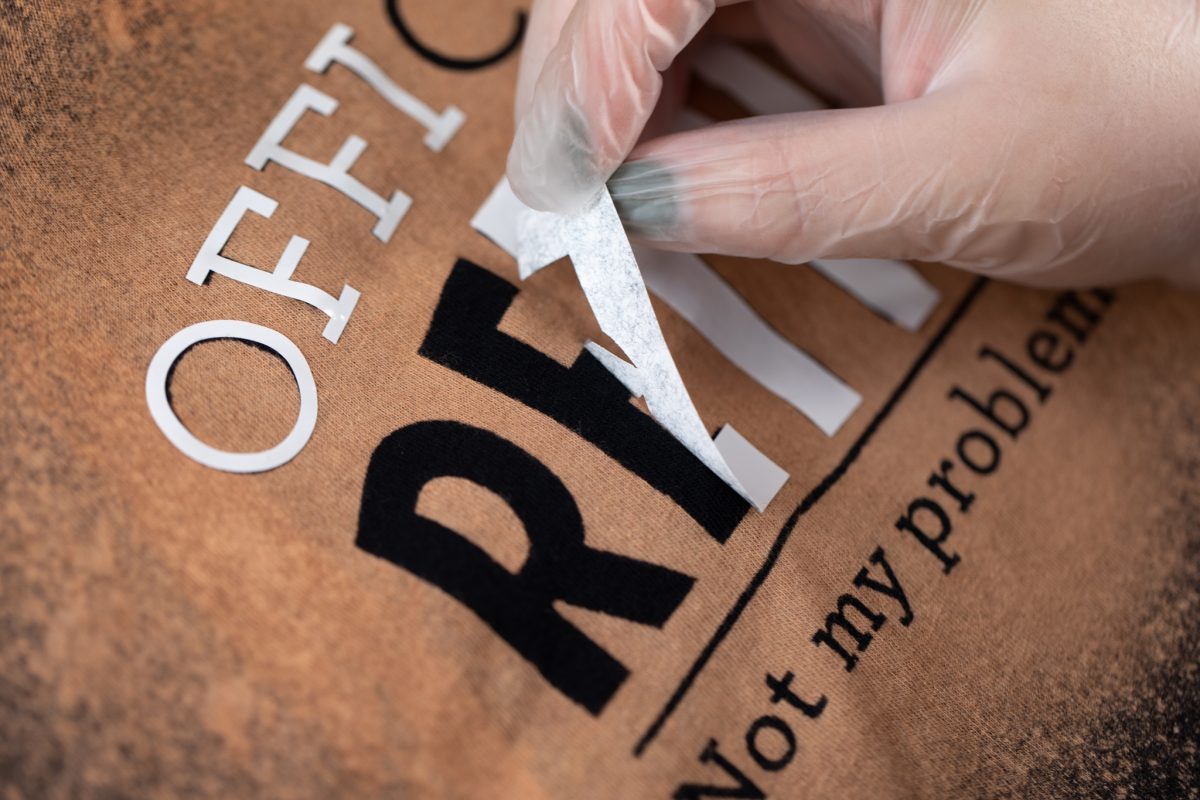
When you’re happy with how your shirt looks and the bleach has dried, you can remove the vinyl. Keep your gloves on and gently peel the vinyl away to reveal your design! The vinyl stops the bleach from seeping through the shirt, keeping the design intact. Rinse the t-shirt in cold water before removing your gloves.
To take care of your t-shirt, wash it in cold water by itself the first time you send it through the washing machine. Dry the shirt using the dryer settings recommended for your shirt’s material.
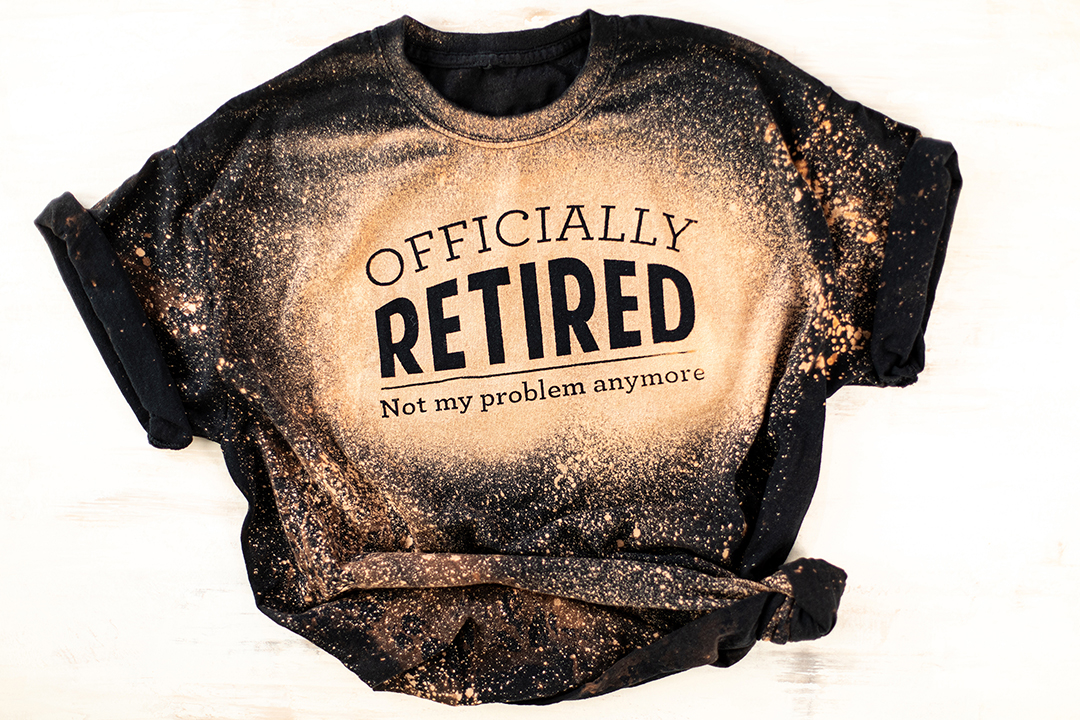
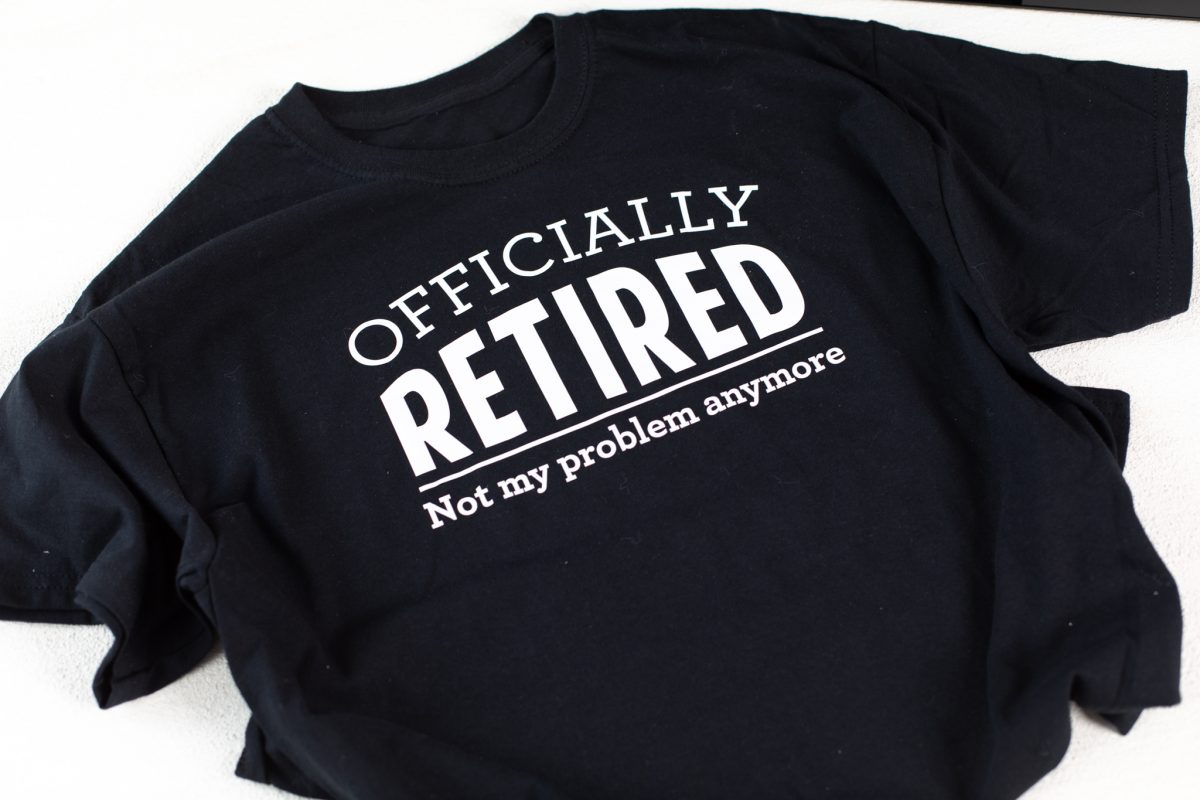
With that, your t-shirt is complete! We enjoyed creating this fun, unique top, and we love that you’ll get a different result every time depending on how you spray your bleach. Use this method with any kind of stencils, and have fun making over your wardrobe!
Erica Rosales
September 25, 2021
You’ve made this step by step actually seem like something I can do! Can’t wait to try this next week!