
We love that we can make whatever temporary tattoos we want with a little creativity and some temporary tattoo paper. We thought this butterfly design would make the perfect tattoo. Do you want to make your own? Follow along with us to see how it’s done!
Supplies Needed:
- Silhouette CAMEO® or Silhouette Portrait® or Silhouette Curio™
- Silhouette Cutting Mat
- Silhouette Cutting Blade
- Silhouette Studio®
- Temporary Tattoo Paper – white
- Printer
- Design ID #249124
Step One: Prepare the Design
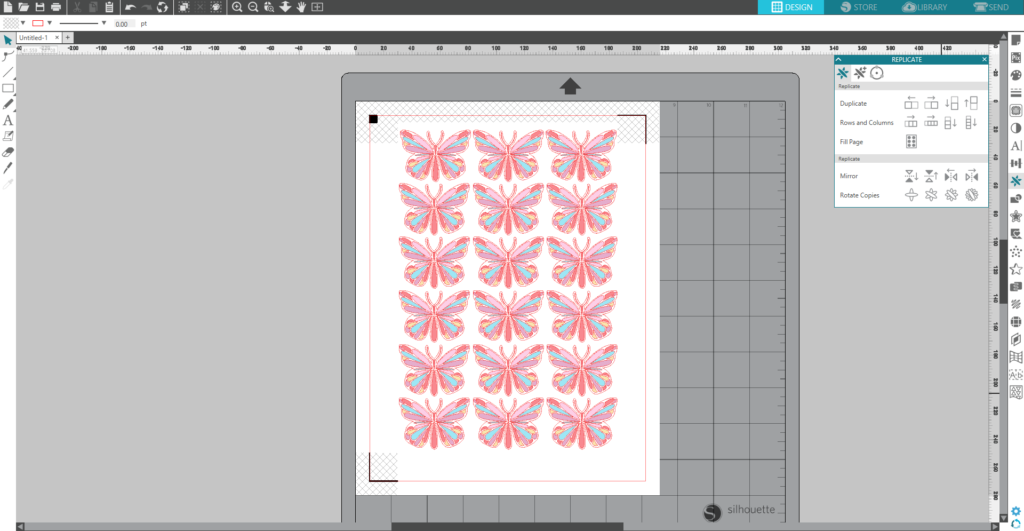
1. Open the butterfly design (Design ID#249124) in Silhouette Studio®. Adjust your page settings (in the Page Setup panel) according to the size of your paper and your cutting mat. Ungroup the design, place an outline around the butterfly shape, group it, and resize it. MIRROR THE DESIGN SO THE IMAGE IS REVERSED.
2. In the Page Setup window, turn on the registration marks by setting the style to Type 1. If you want to make several copies of this butterfly, you can replicate the design using the tools from the Replicate panel. Arrange your designs so that they fit inside the registration marks. If a design is left outside of those marks, then it will not be cut properly.
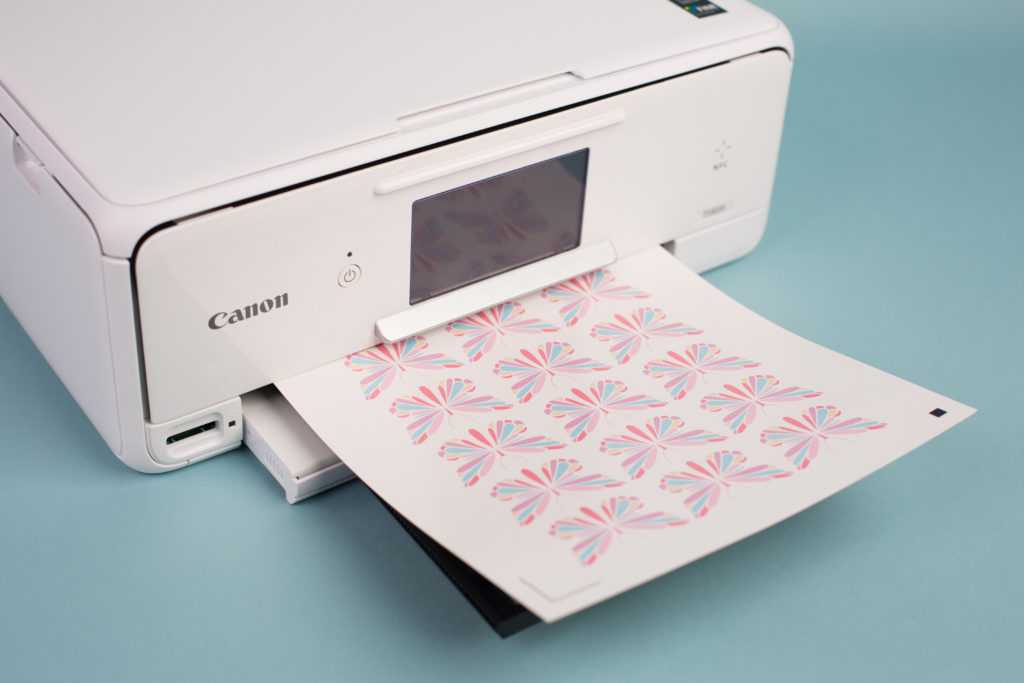
3. Feed your tattoo paper into your inkjet printer so that it will print on the glossy side. Use your printer’s photo paper settings, if available.
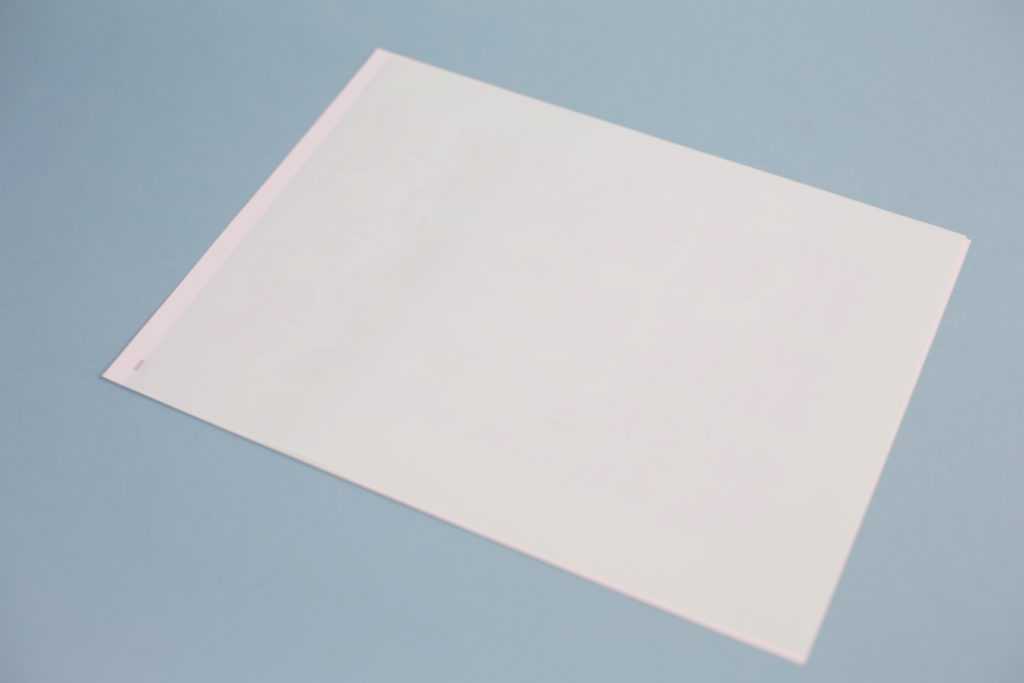
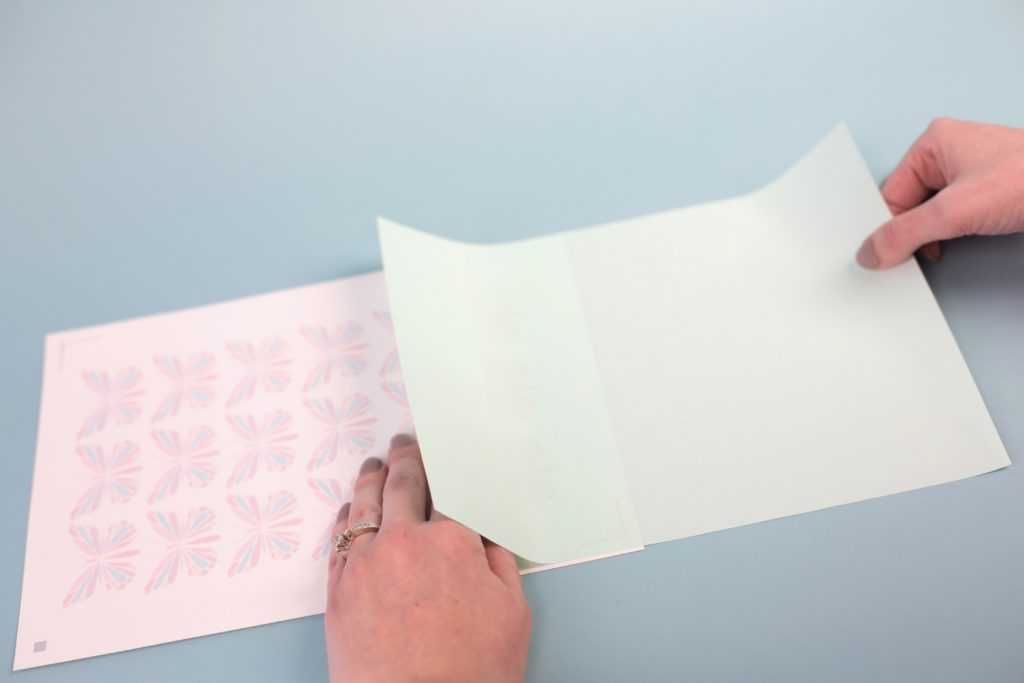
4. When the ink is dry, apply the adhesive sheet to the top of the printed image by peeling away the green backing on one end and aligning it with the end of the printed tattoo paper.
5. Then peel away the rest of the backing while smoothing the adhesive down onto the paper.
6. Use your scraper tool to rub the adhesive sheet onto the printed image.
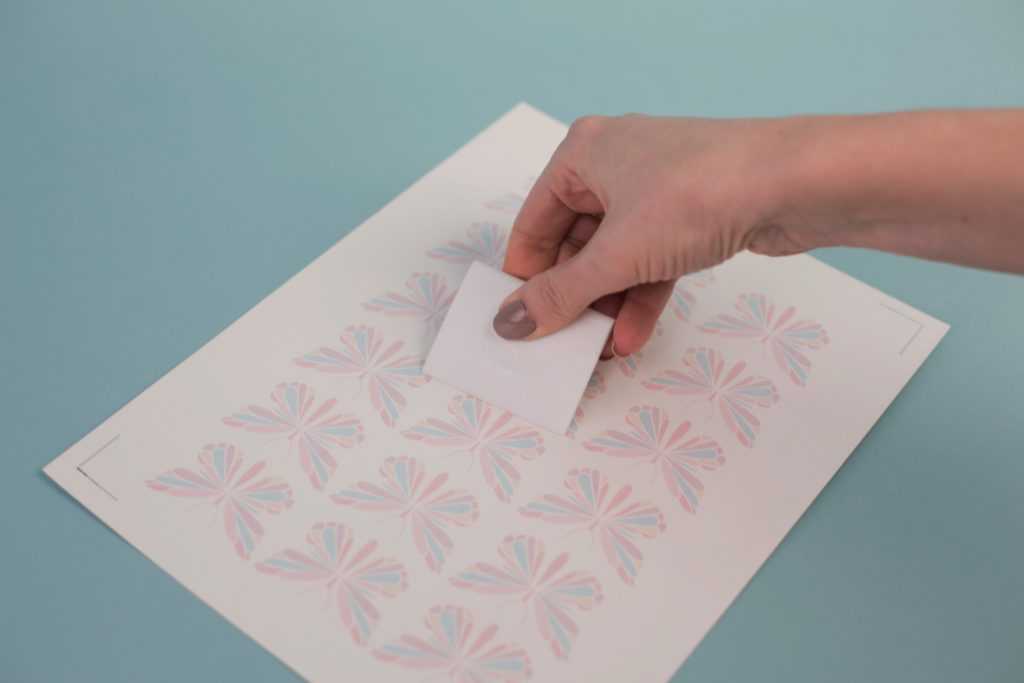
7. Place the printed sheet on your mat and feed it into your Silhouette machine.
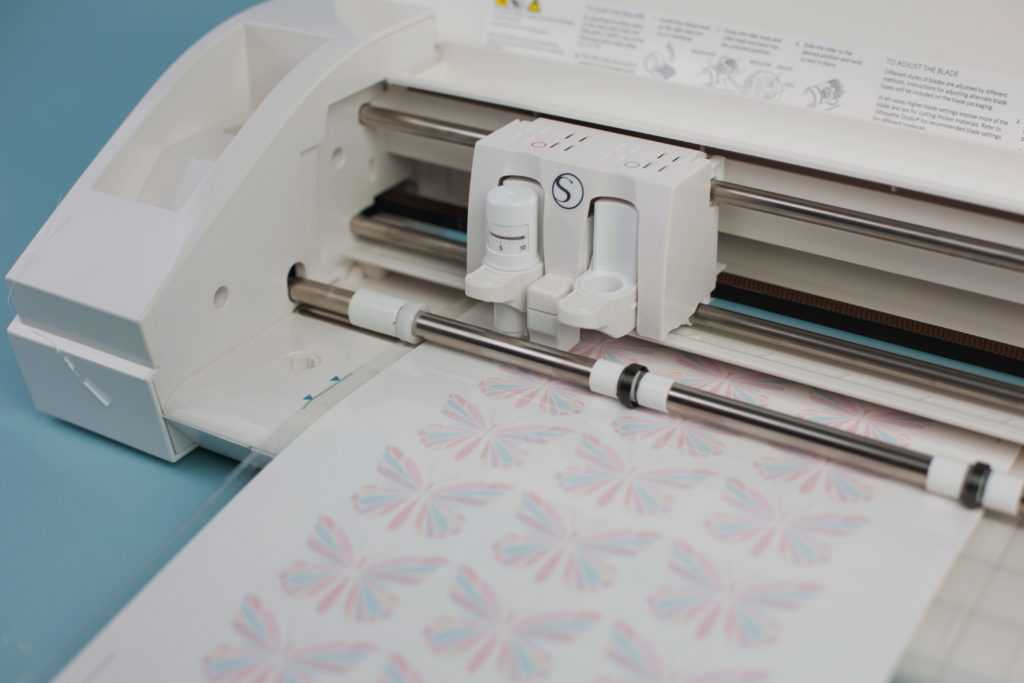
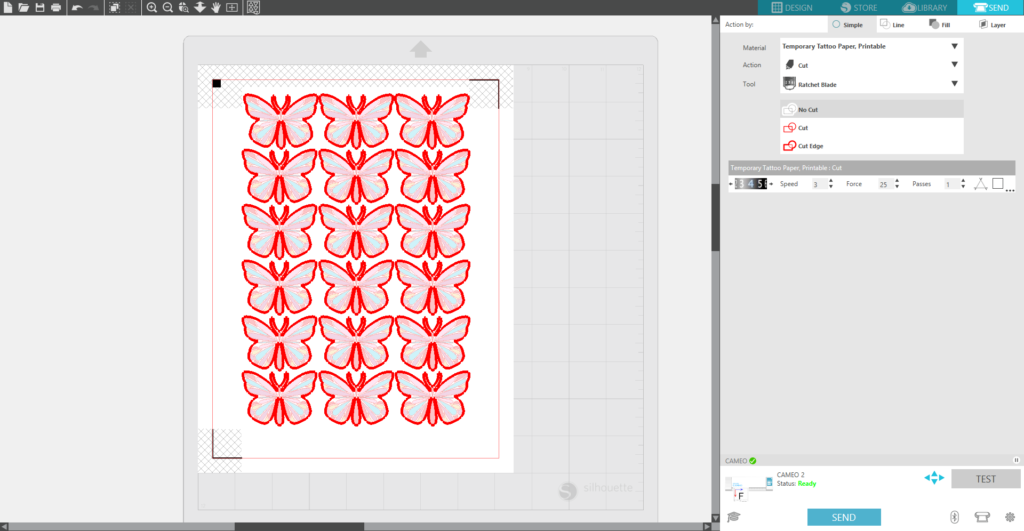
8. In the Silhouette Studio® cut settings panel, select “Temporary Tattoo Paper, Printable” as your material type. Make sure your Silhouette machine will just cut out the outline of your shapes by selecting the Cut Edge option. Adjust your blade if necessary and send your cut job to your Silhouette machine. (Tip: If your machine is having trouble reading the registration marks, try manually moving the blade over the black square using the blue arrows in the Send panel or see the video for “Print & Cut Troubleshooting” on Silhouette’s YouTube channel. )
9. Remove your sheet from the cutting mat, and peel away your designs.

Step Two: Apply the Tattoo
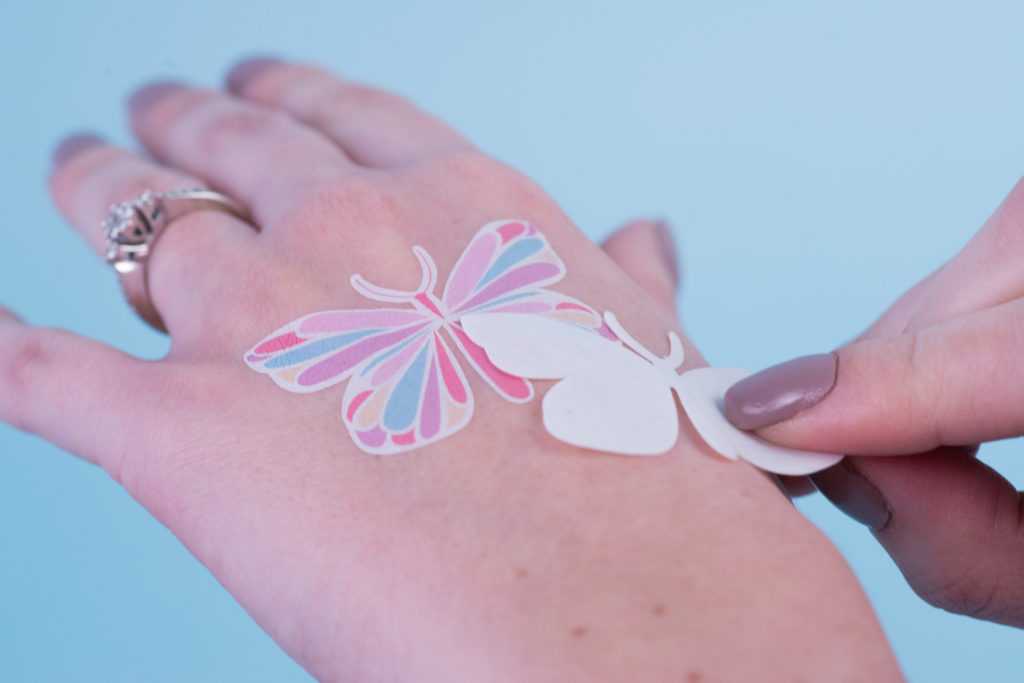
1. Peel away the clear plastic layer exposing the adhesive.

2. Apply the tattoo’s adhesive side to your skin and cover the tattoo paper with a wet cloth for 10–15 seconds or until the paper backing slides off easily.
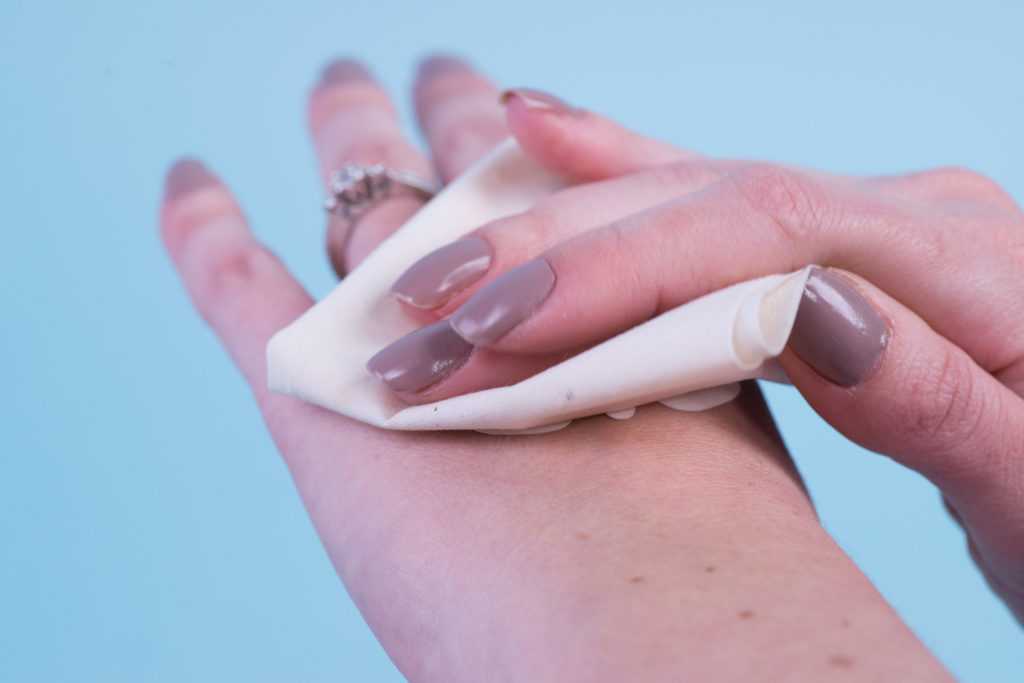
Temporary tattoos generally last a day and can be removed with a washcloth.
Wasn’t that so easy?! What other tattoos are you going to make with the temporary tattoo paper?