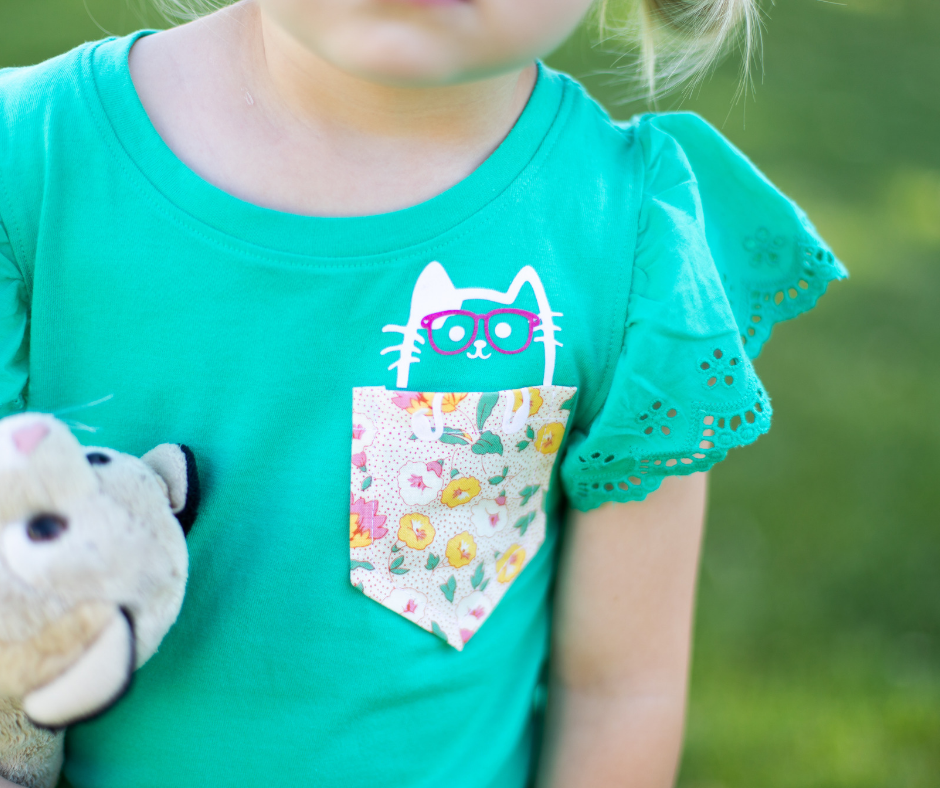
Making this custom shirt for your little one is pretty easy and quick! We found this cute shirt at Target and grabbed some spare fabric to make this cat peeking over a pocket for a fun, little toddler.
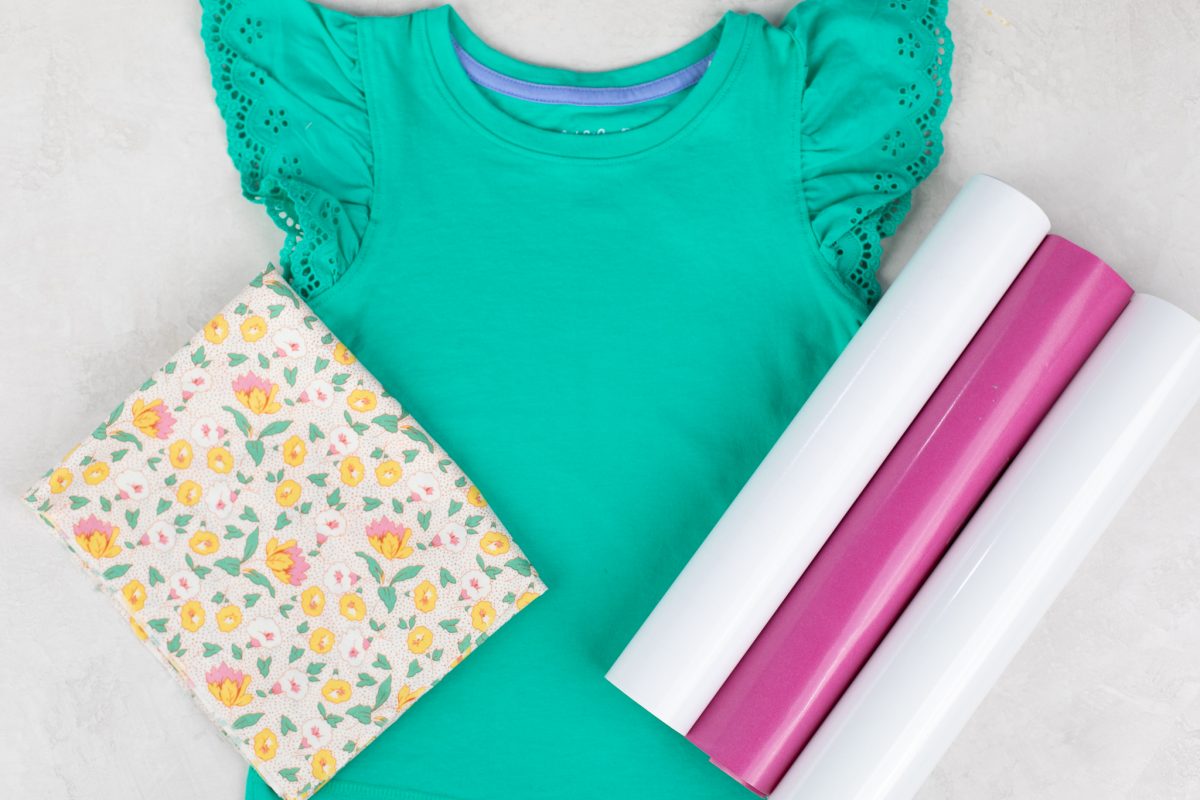
Supplies Needed:
- Silhouette CAMEO® or Silhouette Portrait®
- Silhouette Studio®
- Silhouette Cutting Mat
- Silhouette Cutting Blade
- Silhouette Fabric Blade
- Fabric Stabilizer – wash away
- Flocked Heat Transfer – White and Dark Pink
- Kid’s Shirt
- Fabric
- Spray Bottle
- Designs: Glasses – Design IDs #263229, Cat – #294704, Pocket – #60362
Step One: Preparing the Design
1. Open the cat design (Design ID #294704) in Silhouette Studio®.
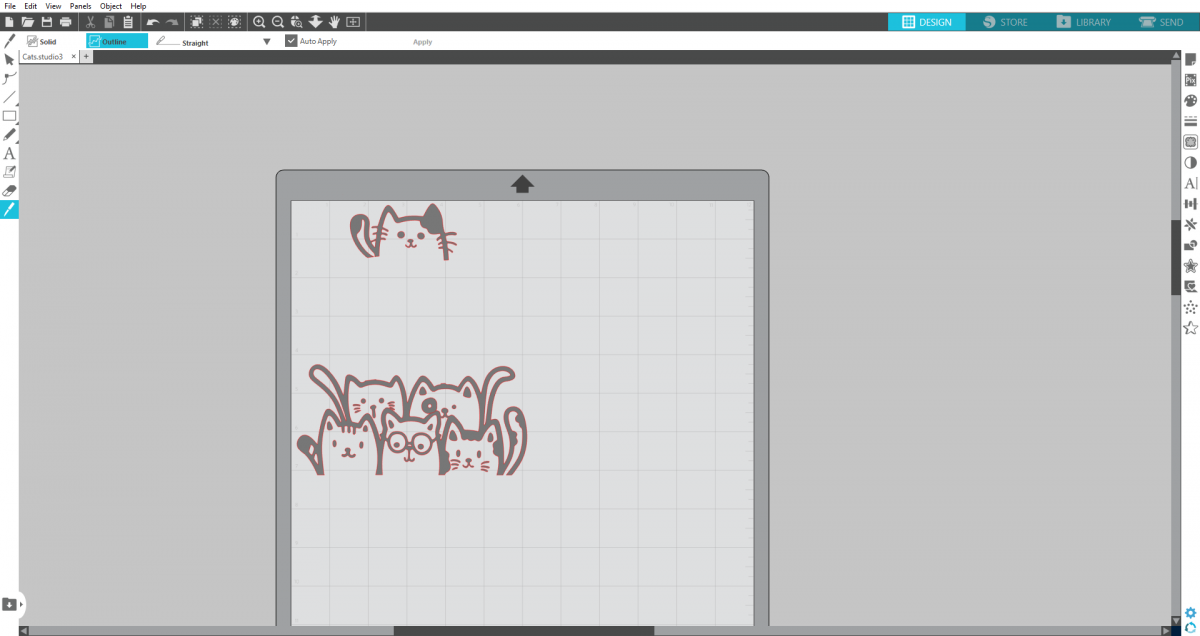
2. Using the knife tool, cut off the edges of the top cat. We liked that one the most.
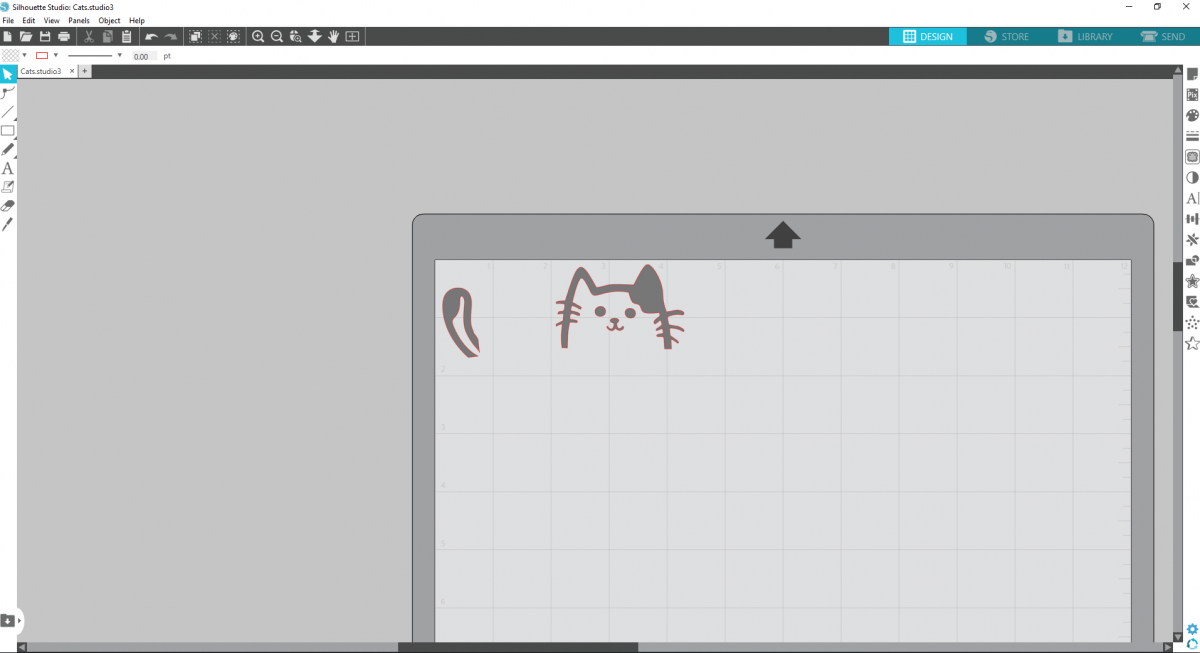
3. Take the knife tool and cut off the tail and to make the bottom edges lined up and even. Copy and mirror the tail to use as little paws peeking out of the pocket.
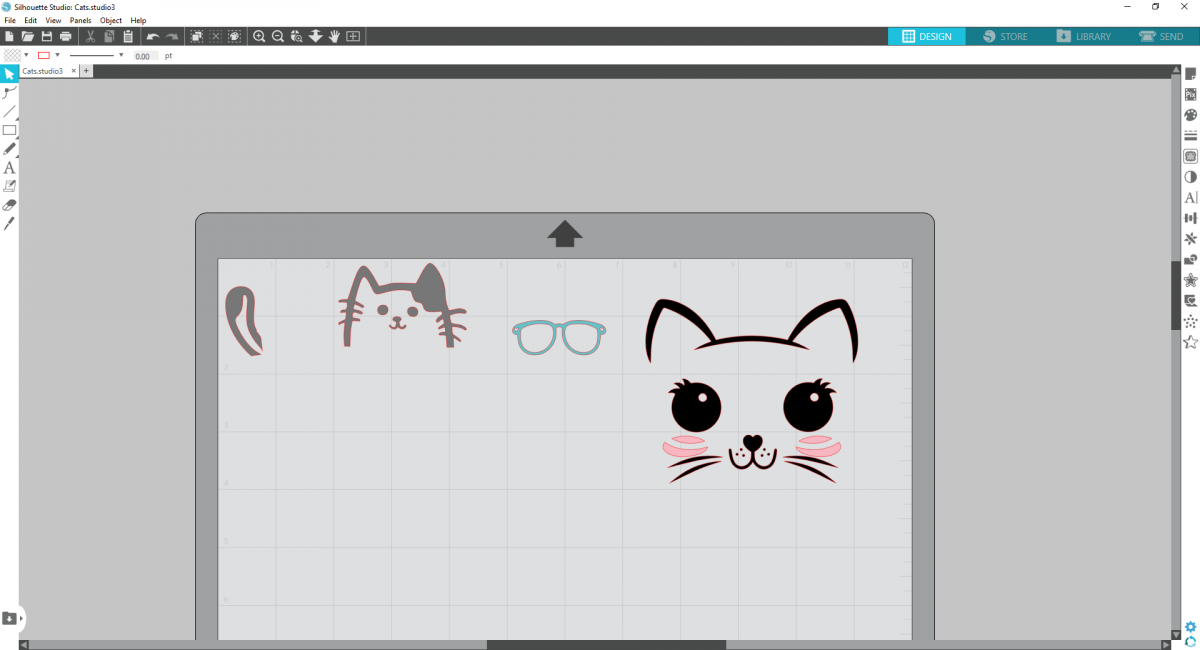
4. The girl we made the shirt for has cute little pink glasses, so we wanted the cat to have glasses too. Select Design ID #263229.
5. Ungroup the design and resize the glasses to fit on the first cat design.
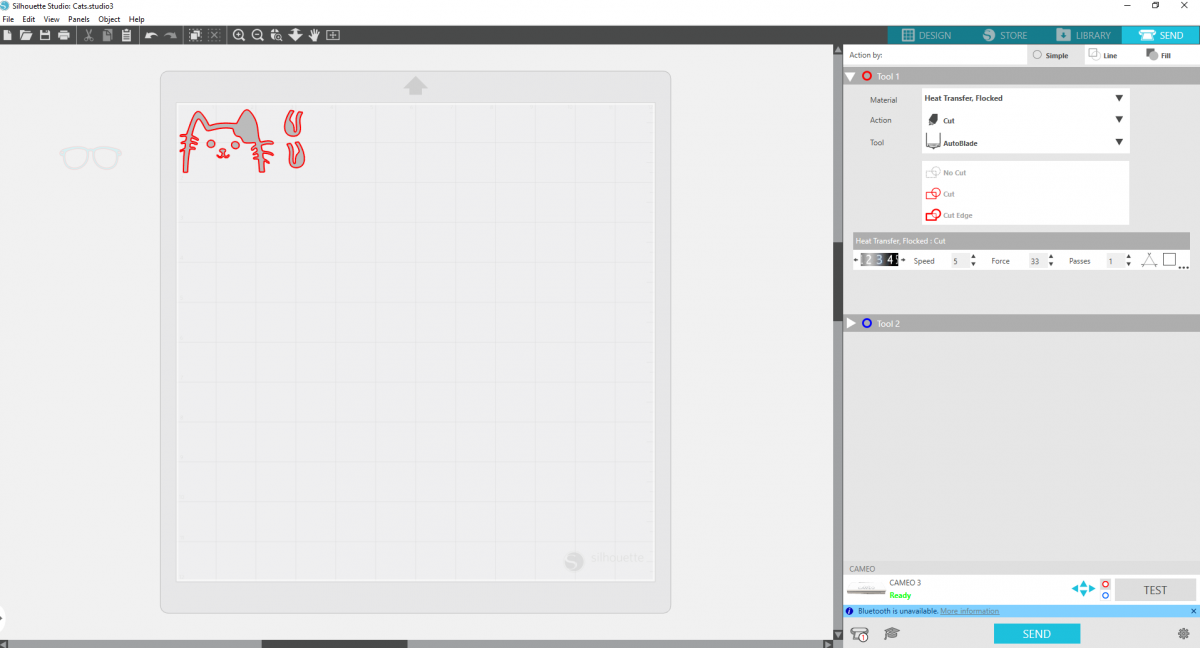
6. Send to your Silhouette with the appropriate settings (Material: “Heat Transfer, Flocked”; Action: Cut; and Tool: AutoBlade, or whichever blade you are using.)
7. Put the cat in the gray, non-cutting area and move the glasses onto the mat and repeat the Send process.
8. Weed away the excess material, leaving just the cat face and paws.
9. Repeat the weeding process with the glasses and the pink flocked heat transfer material.
Step Two: Making the Pocket
1. Select Design ID #60362 and place it on your design.
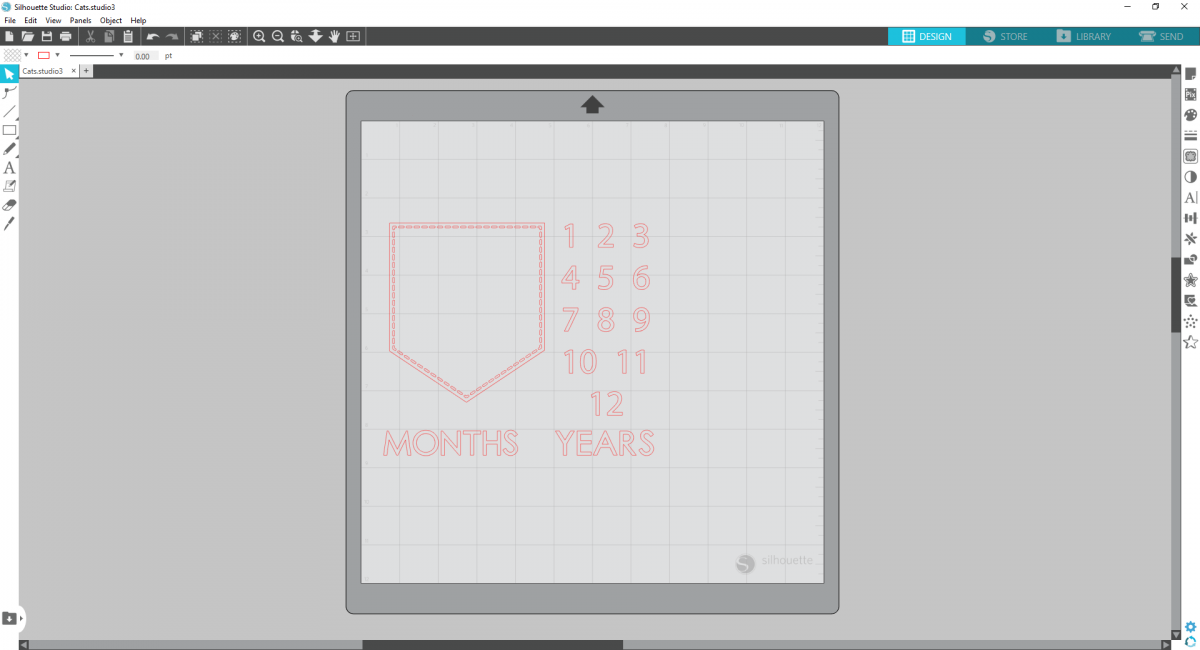
2. Ungroup the design and delete the numbers and words so you just have the nice pocket shape left.
3. Right-click on the design and select Release Compound Path.
4. Move the pocket away and delete the inner stitching design.
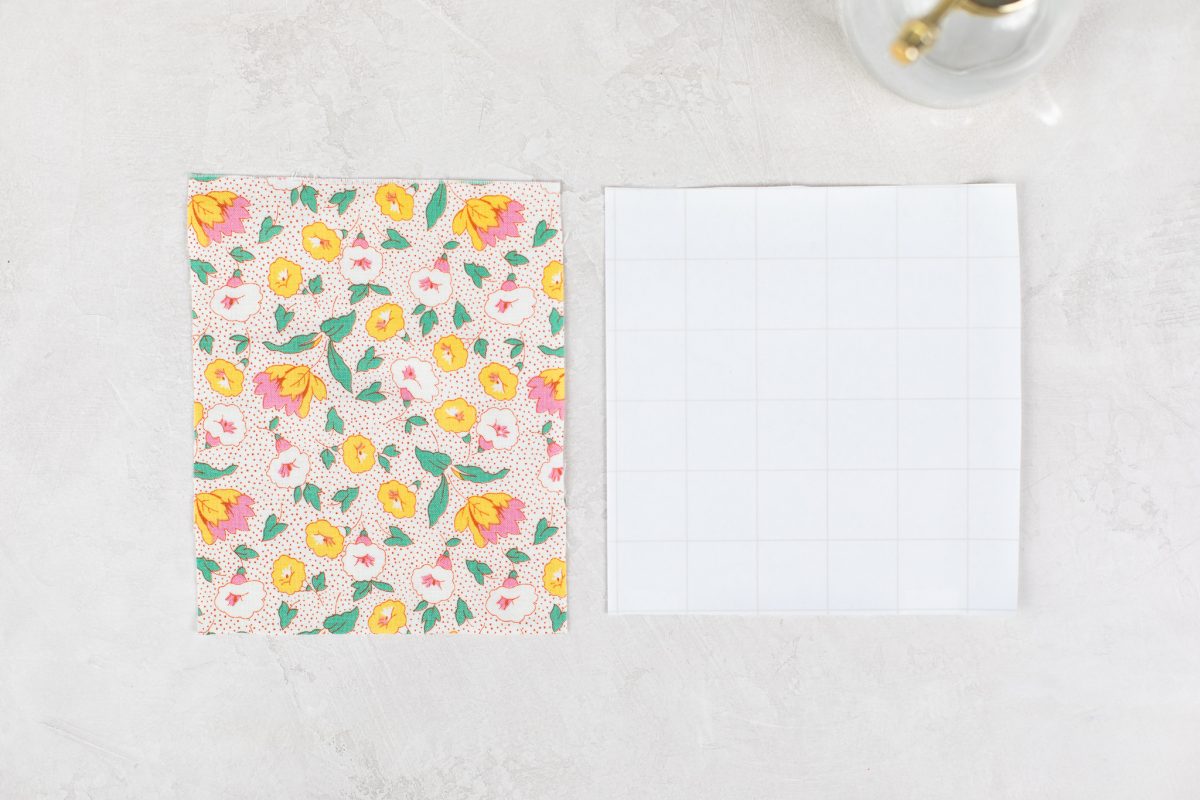
5. Cut out a square of Fabric Stabilizer and a square of the fabric you will be using in the same size.
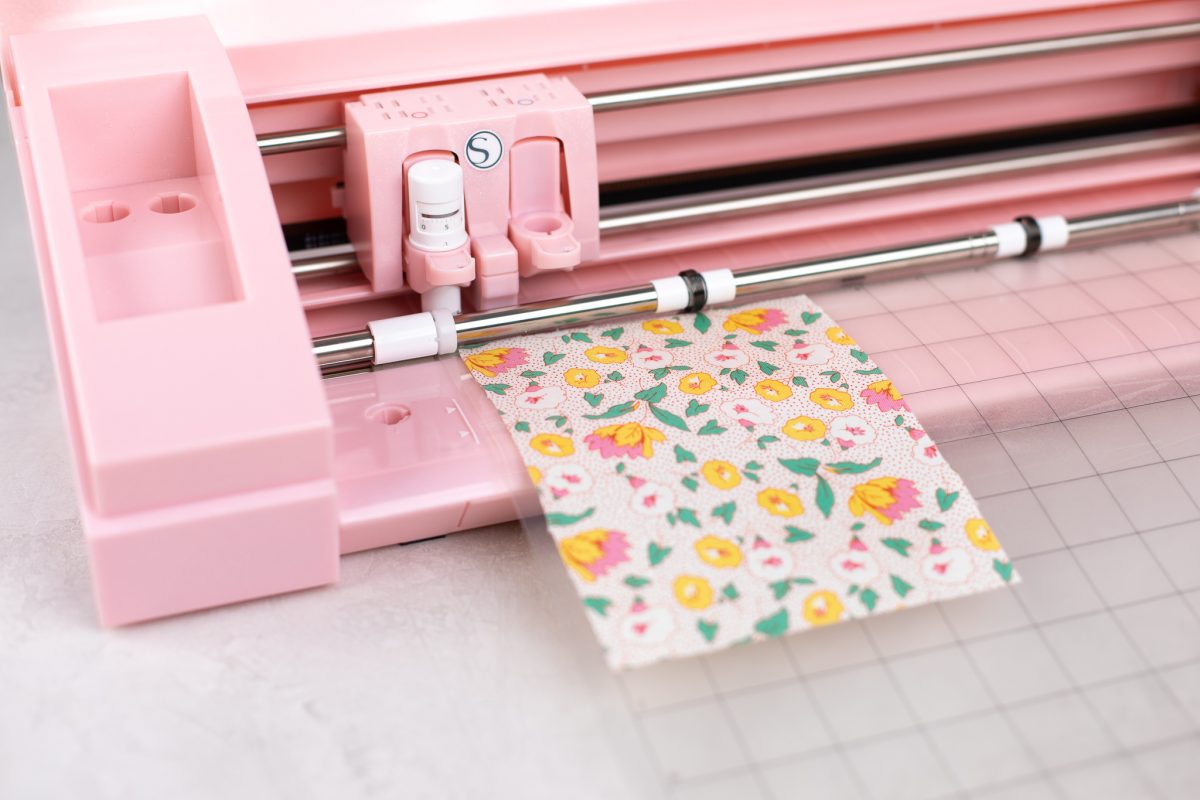
6. Spray the fabric stabilizer on the side with the line grid and place the fabric on top of the stabilizer. Peel the backing off the stabilizer so it’s just the adhesive and the fabric left. Then place it on your mat where you would like to cut.
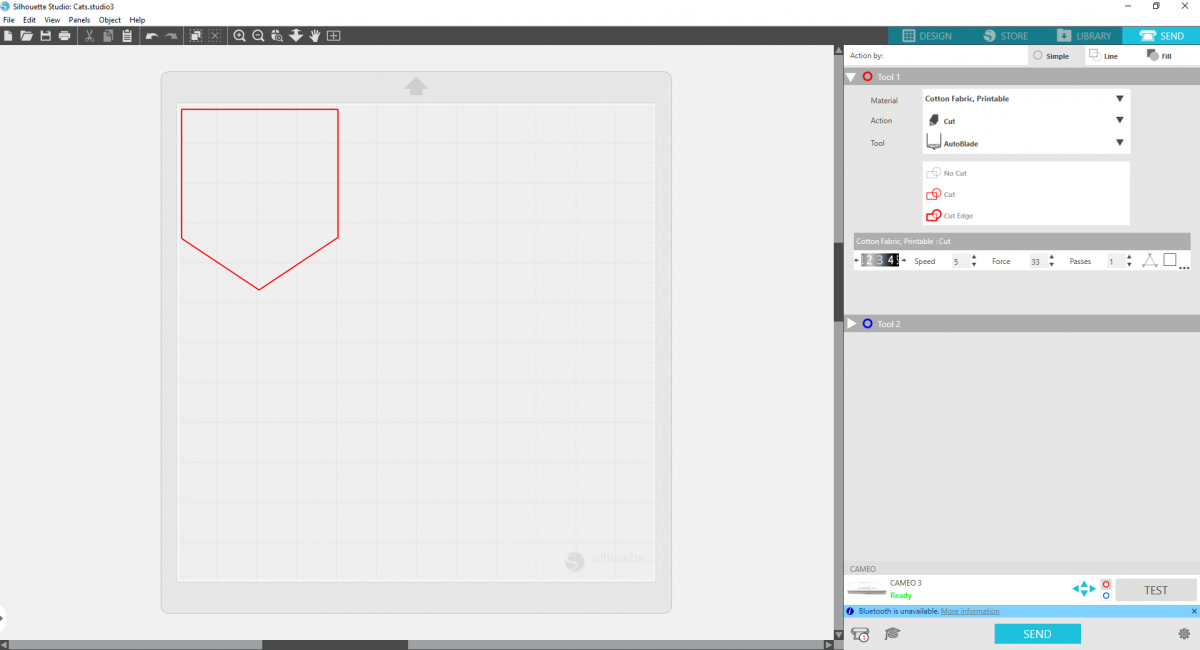
7. Send the design to your Silhouette with the appropriate settings. (Material: “Cotton Fabric, Printable”; Action: Cut; and Tool: Fabric Blade, or whichever blade you are using.)
8. Peel the fabric off and wash off the adhesive with soap and water. Allow it to dry.
Step Three: Putting the Shirt Together
1. Fold the edges of the pocket down and iron the sides, preparing to sew the pocket.
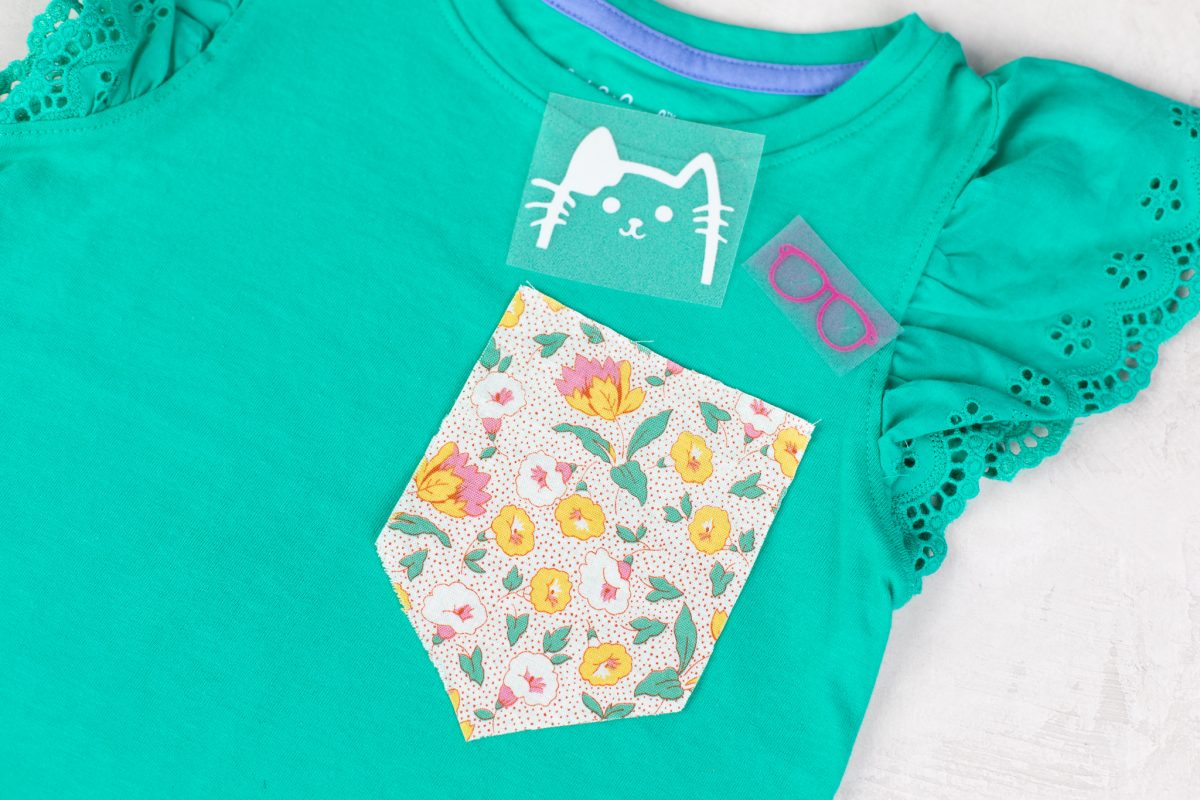
2. Place the pocket and the cat on the shirt with the cat to get the right positioning. Pin the pocket down.
3. Sew the pocket with the inseam you want onto the shirt.
4. Iron on the cat, placing a piece of fabric in between the heat transfer and the iron. Repeat with the glasses and paws.
Now your shirt is done for your adorable toddler to wear with pride!
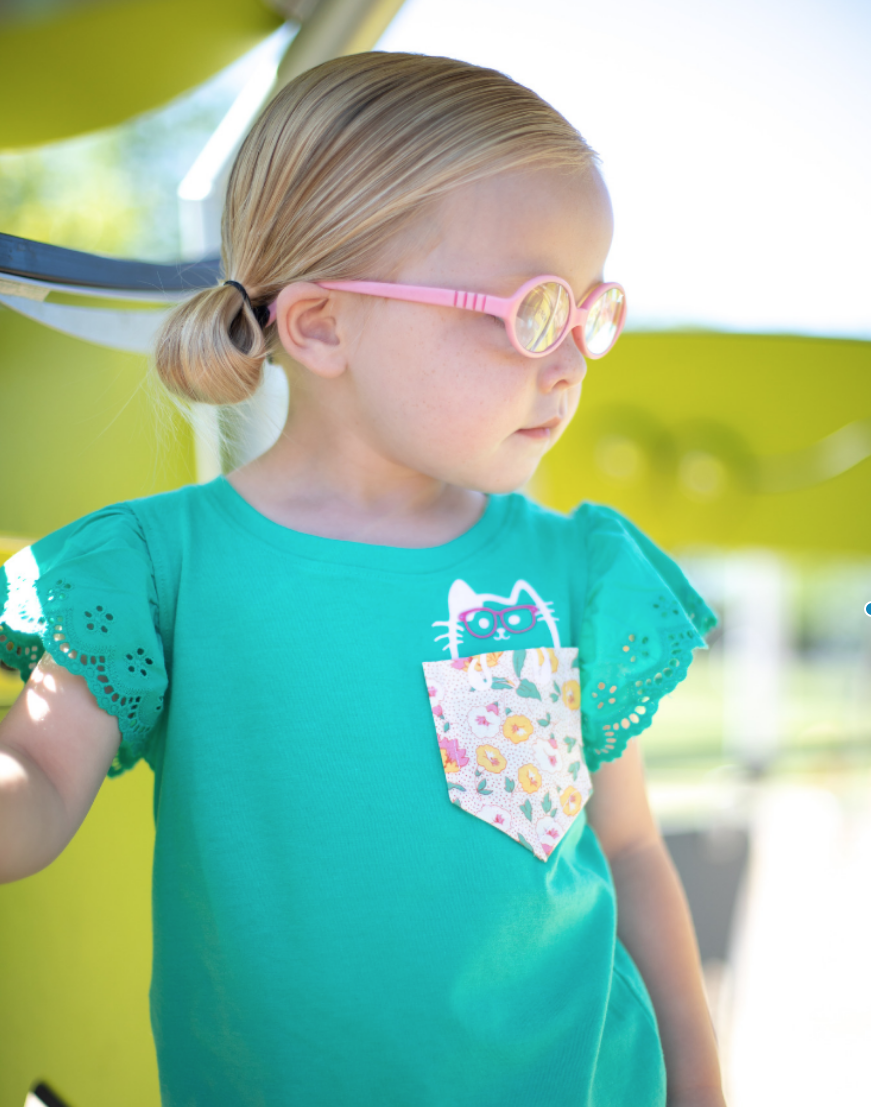
Model Credit: Lucy Llewellyn