Today we will show you how to decorate a ceramic plate with a stencil decoration. And we will do this in the Color Me Mine studio, where we can leave our ceramic project to glaze after we are done painting it.
Supplies Needed:
- Silhouette CAMEO®, Silhouette Portrait®, or Silhouette Curio™
- Silhouette Cutting Mat
- Silhouette Cutting Blade
- Silhouette Stencil Vinyl
- Silhouette Hook Tool
- Ceramic Plate
- Color Me Mine ceramic paint
- Paint brush
- Mixing tray
- Design ID #10873
Step One: Preparing the Design
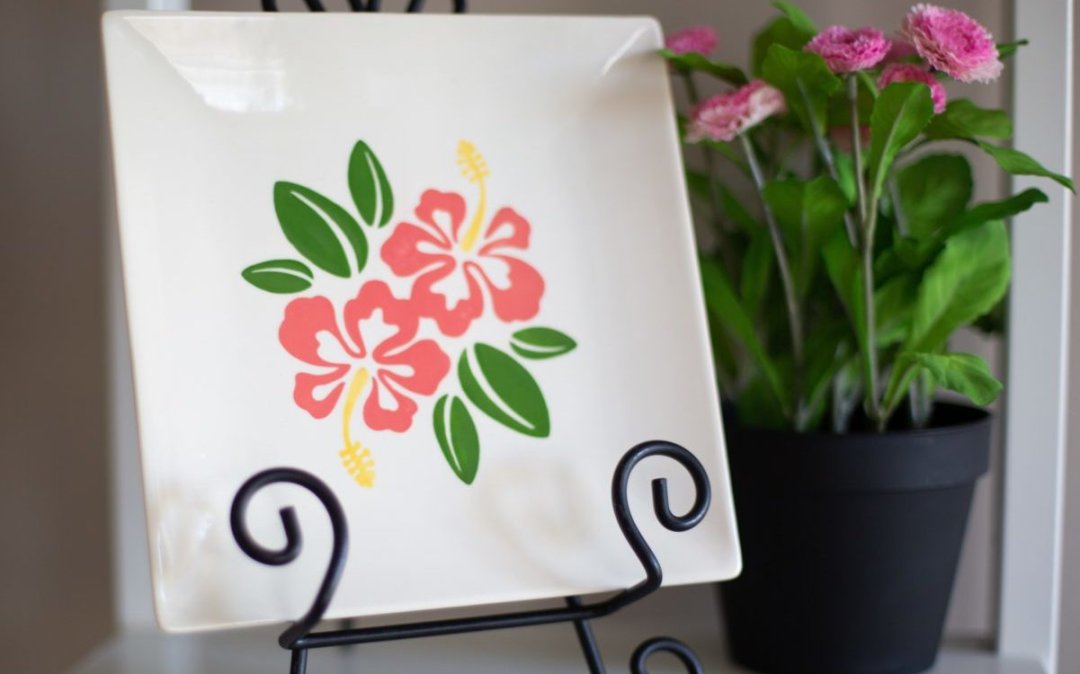
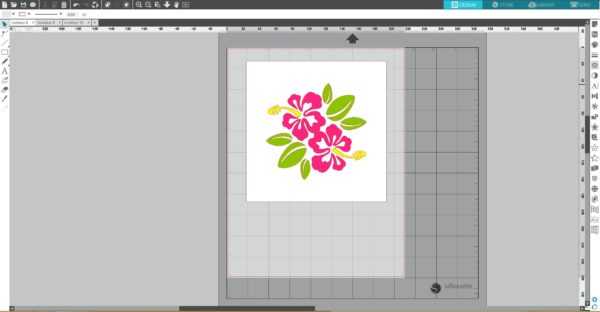
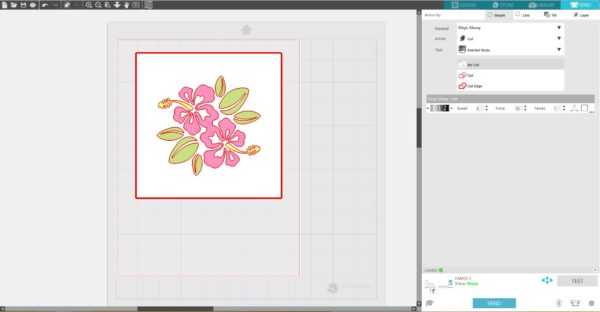
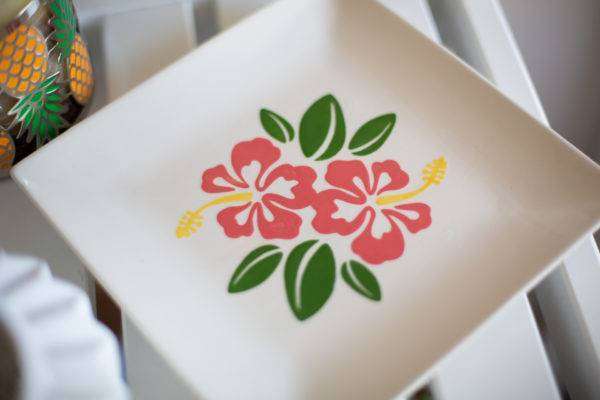
1. Open the Hibiscus flower bunch design (Design ID#10873) in Silhouette Studio®. Measure a flat area of your ceramic plate (we got our plate from the Color Me Mine studio), which you will use for this project. Draw a square/rectangle of the same size in the Silhouette Studio® and resize the Hibiscus design so that it fits this square/rectangle.
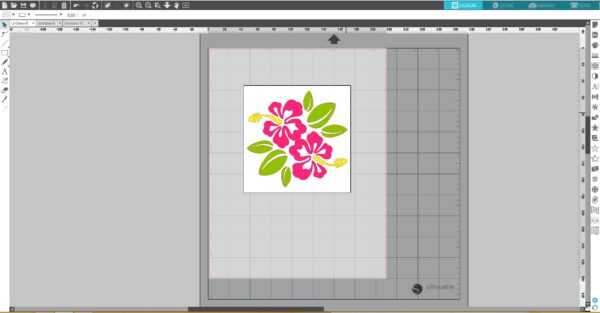
Then make square/rectangle a little bit bigger as we will use this design as a template.
Step Two: Cutting Out the Stencil Vinyl
1. Feed the stencil vinyl roll directly to the Silhouette cutting machine using the roll feeder. If you are using the CAMEO, don’t forget to adjust the rollers according the size of the stencil vinyl you are going to cut. In Silhouette Studio®, go to the Page Setup panel, choose None as your mat option, and adjust the page size. If you use a cutting mat, place a piece of stencil vinyl on the mat, adjust the rollers if needed, and feed the mat into the cutting machine.
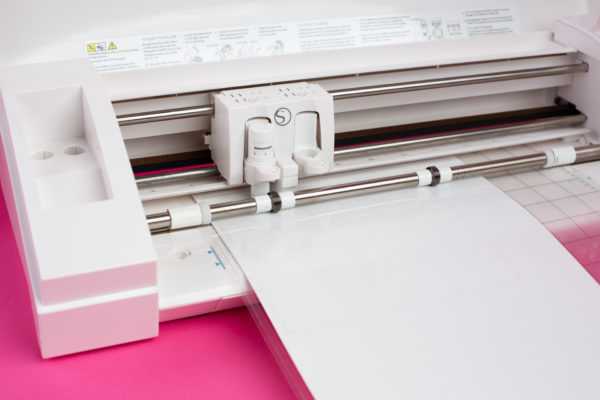
2. Under the Send panel, select “Vinyl, Glossy” as your material type. Adjust the blade if necessary, and click Send.
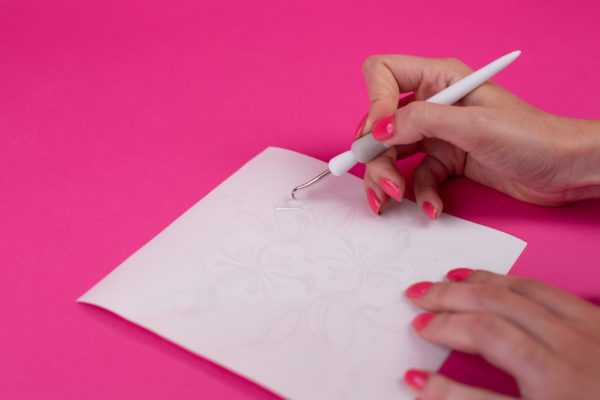
3. Weed the design but don’t weed the negative space like you normally would with vinyl. Remember, you are making a stencil to apply your design, so you need to weed away the actual design. Also, keep the centers of the flowers.
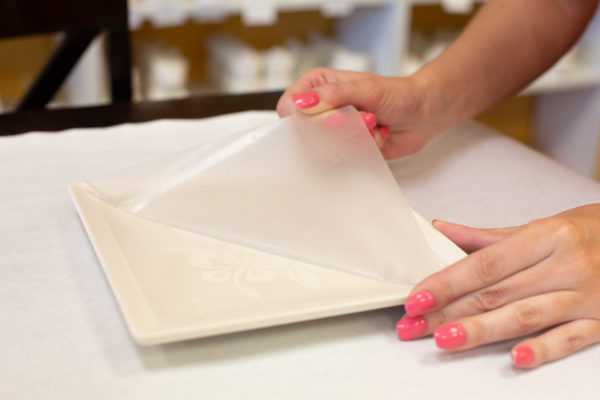
4. Apply transfer tape on the weeded stencil vinyl and remove it from its backing.
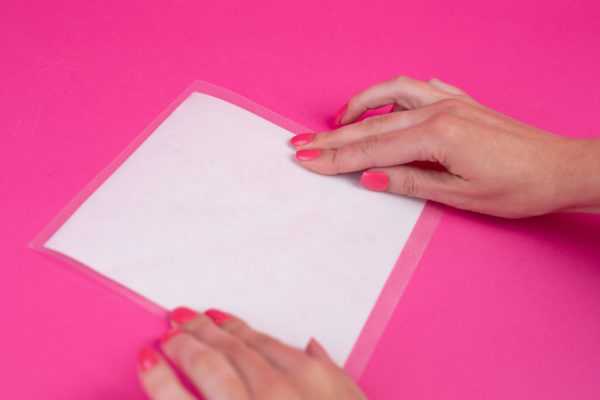
5. Place the vinyl on your project. Press down firmly and carefully remove the transfer tape.
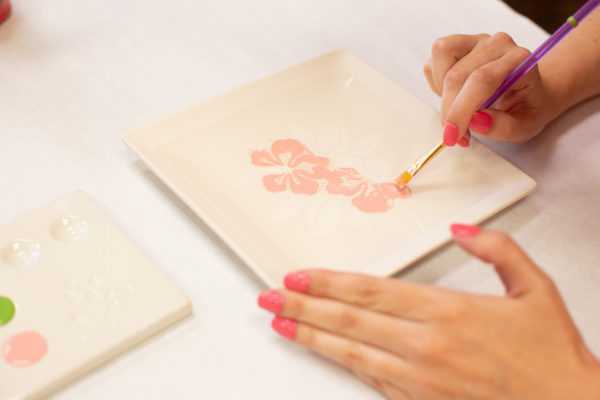
Step Three: Applying the Paint
1. Pour all paint colors you want to use into the mixing tray. First we will apply pink paint using a paint brush. When you are applying paint, be careful and not go over the stencil borders and not to apply any ink to the parts of your designs you want to paint with other colors.
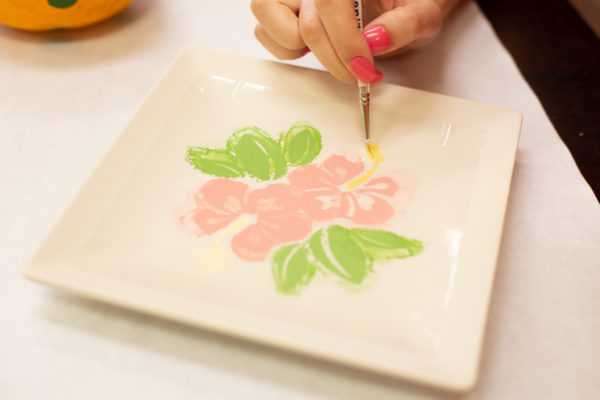
2. Repeat the same steps for green and yellow paint. And make sure that you apply three layers of each paint color, after each paint layer is dry. For smaller details of your design use thinner brush.

3. After you applied three layers of each color and the paint is completely dry, carefully and slowly remove stencil vinyl from the plate.
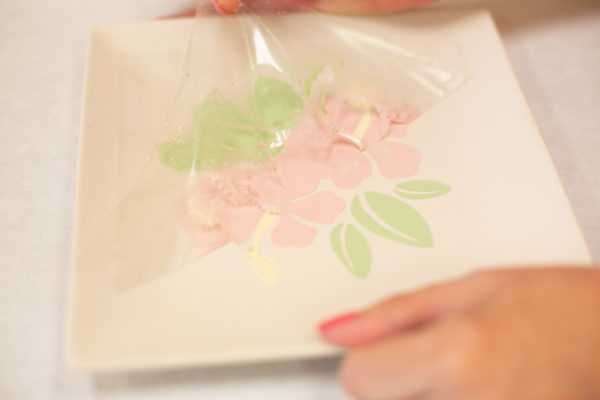
4. Use a dry, clean brush to brush off dry paint flecks from the plate.

5. We finished our part of this project and now it is time to turn our plate in so that it can be glazed.
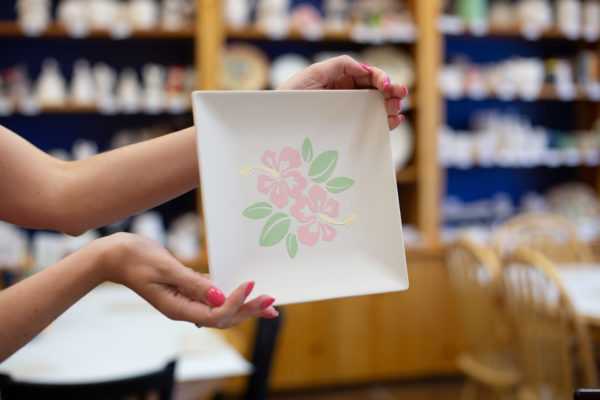
Now we have our finished project! It’s glazed and ready to use.
Thank you to Color Me Mine (Draper) for assisting with this blog post!
Nasze Naturalne
September 3, 2025
Your authentic voice really shines through in everything you create and share
Naszenaturalne
September 2, 2025
Really love your style
Kelly Wayment
June 28, 2024
You can use it with vinyl as long as it is smooth and flat to allow the static charge to hold on to it. Rolled vinyl that wants to go back to its rolled shape will not necessarily work well, and it would need to be trimmed to fit the ES mat cutting area.
Kelly Wayment
June 28, 2024
Yes, you can use the heat pen while using the ES mat. 🙂
Yurii
March 2, 2024
Hello. May it be used with heat pen?
Thanks
Jerome
February 24, 2024
Hi, works this with the normal vinyl foils or only with printer papter etc?