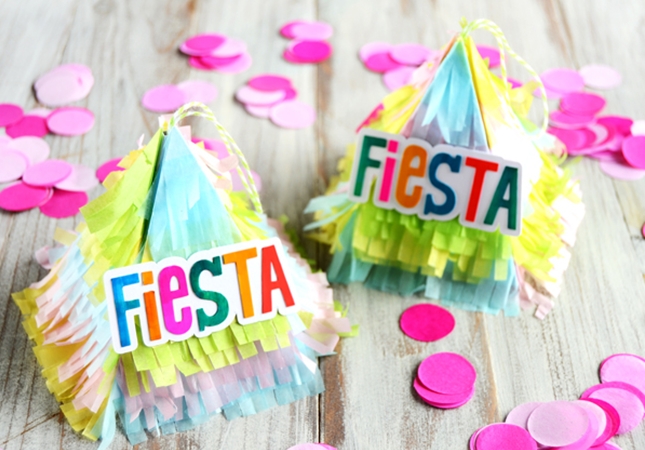
These Cinco De Mayo themed mini piñata party favors are so easy and fun to create! While they may not be gigantic and you can’t bash them open, they’re still full of candy to share with friends and family.
I love how piñatas look like – they’re so fun and festive and they’re perfect for a slew of party themes! While it’s fun bashing piñatas open for candy to fly everywhere, sometimes it’s just not ideal if you have a really small space or if your guests are all adults (who try to be prim and proper). That’s why I thought – why not make tiny ones for party favors instead? That way I can have my favorite piñatas but in mini form and for everyone to have candy without the running around and collecting them! Win-win in my book.
Supplies Needed:
- Silhouette CAMEO® or Silhouette Portrait®
- Regular cardstock
- Adhesive Backed Cardstock
- Markers
- Double-sided tape
- Baker’s twine
- Tissue paper
- Scissors
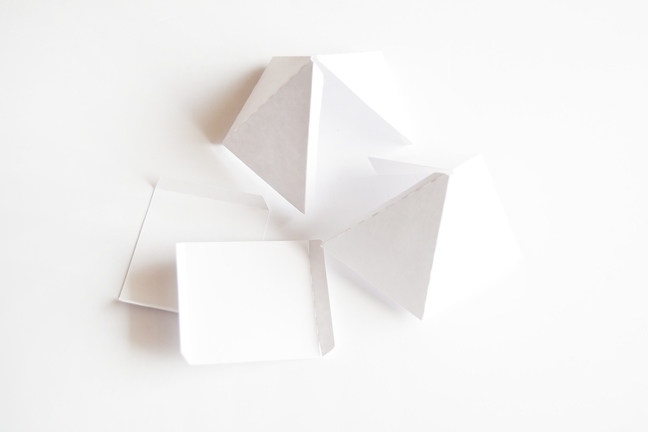
Step One: Create Your Shape
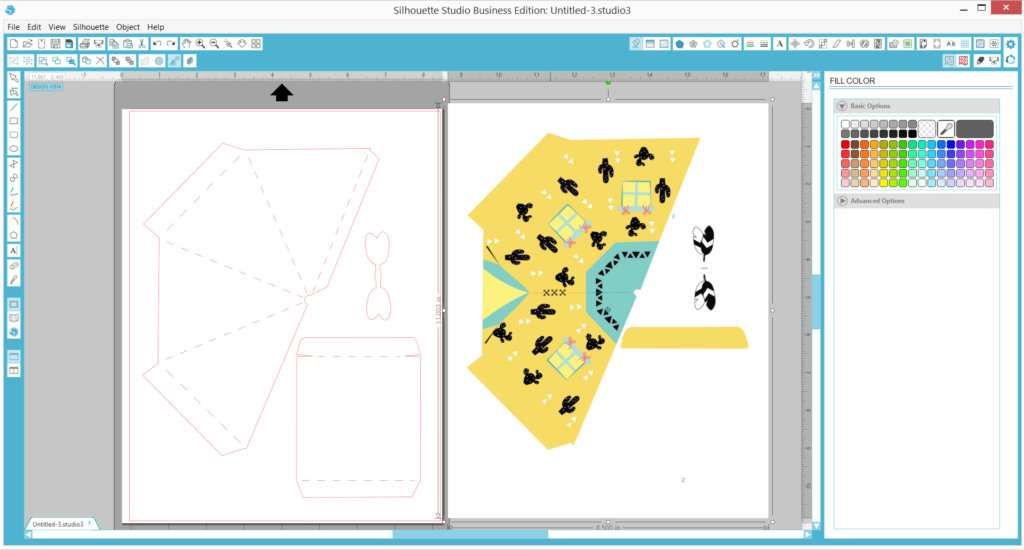
Open up Silhouette Studio®. To make your piñata, choose your basic shape. I used this Cactus Teepee Box shape (Design ID#189667) and removed the image and the feather cut line. You can choose any other 3d shape, however I liked the fact that these can stand up on their own!
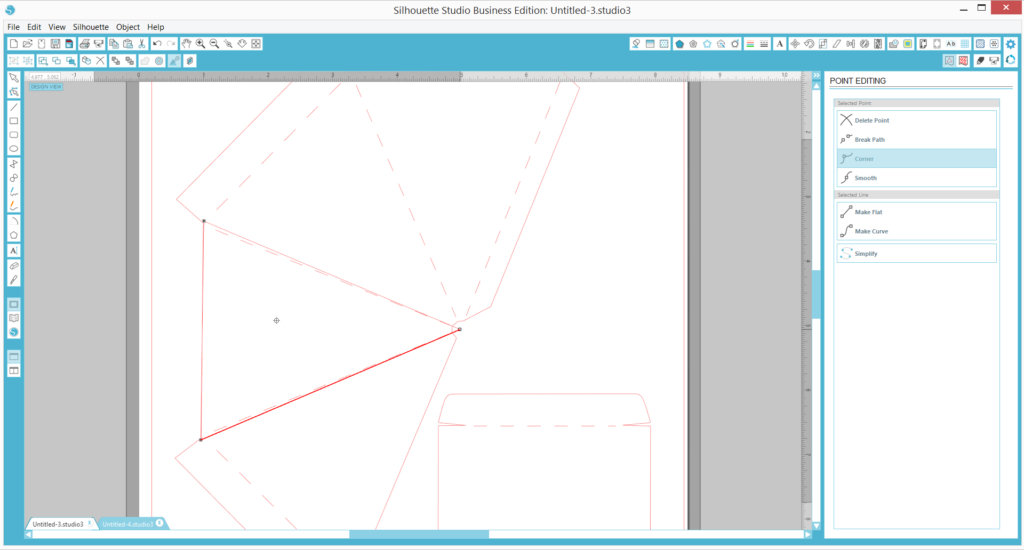
Now we want to create individual triangles that is the same size as one side of the teepee box. Create a triangle and convert it to path for the points on the triangle to show up. To convert it to path, Select the triangle and Right Click, and then choose Convert to Path.
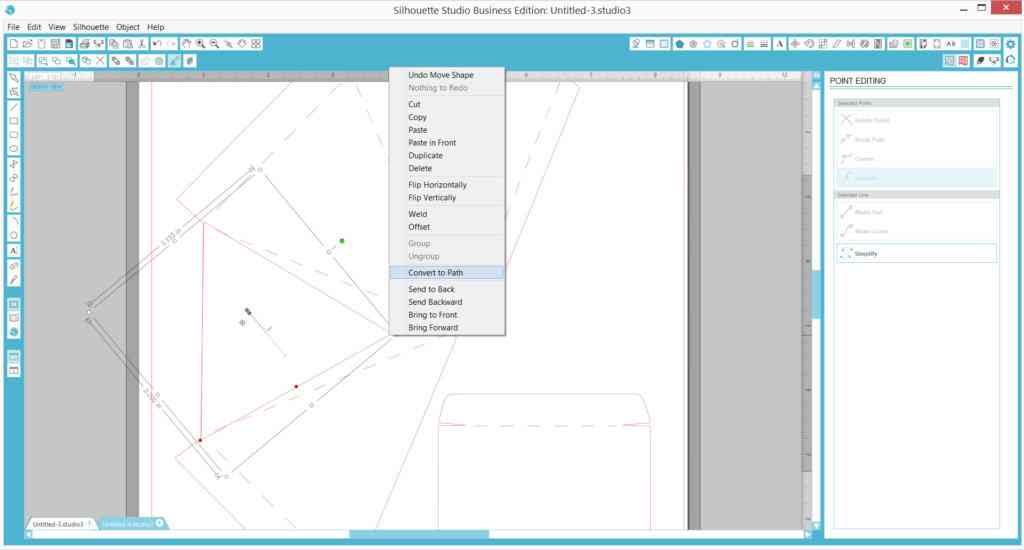
Drag the points to match up with the lines on the triangle as illustrated in the photo below.
Once you have your triangle shape, copy it three times so you have 4 triangles to cover all four sides of the teepee. Arrange it on your paper and fit it to the paper size you are using. I wanted mini palm-sized piñatas so I opted to fit them all in an 8.5 in. x 11 in. page.
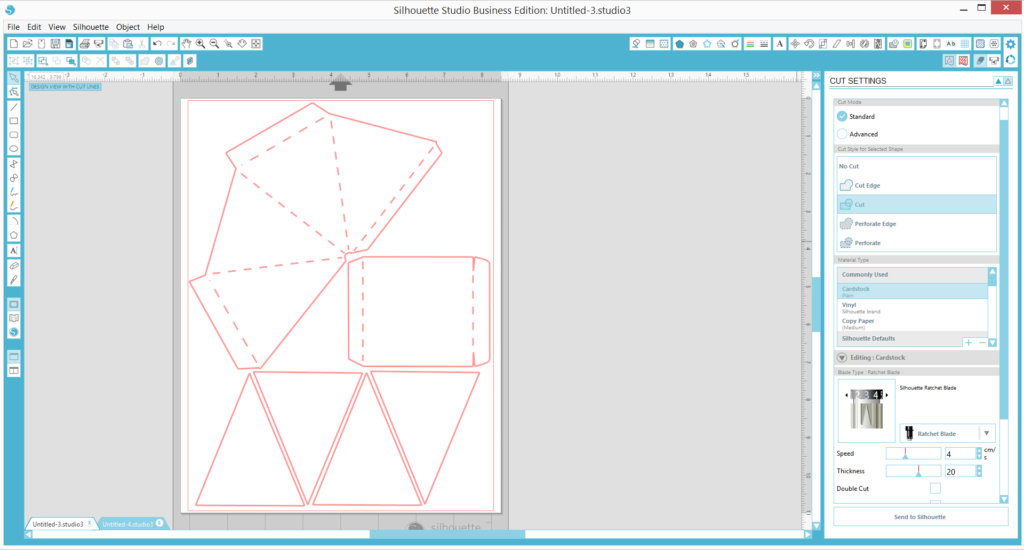
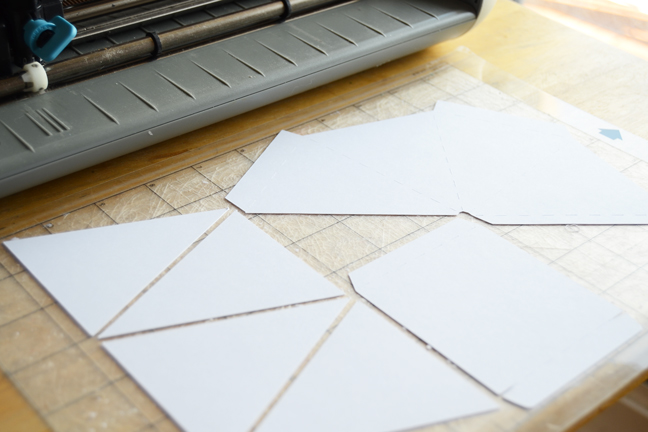
Send them to your Silhouette CAMEO® or Silhouette Portrait® to cut.
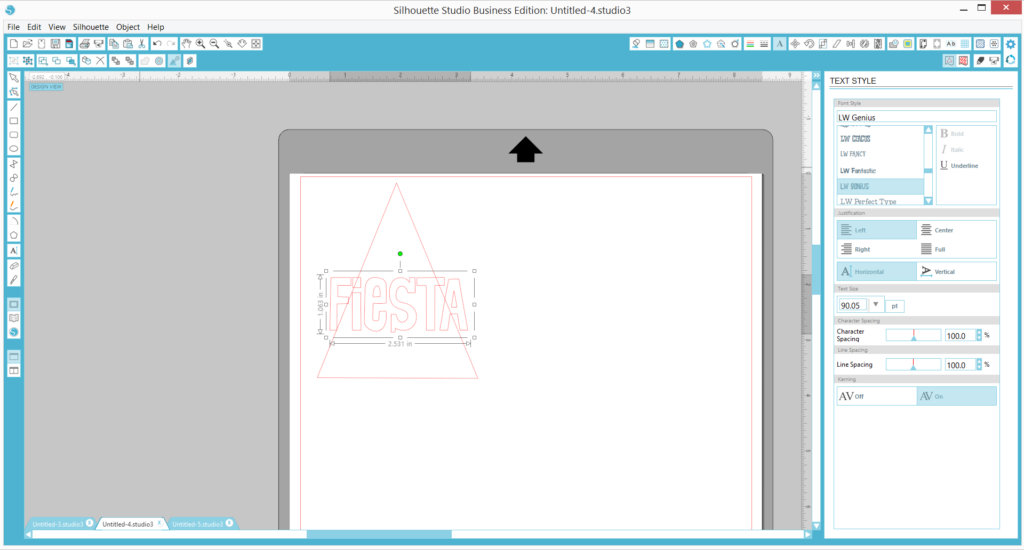
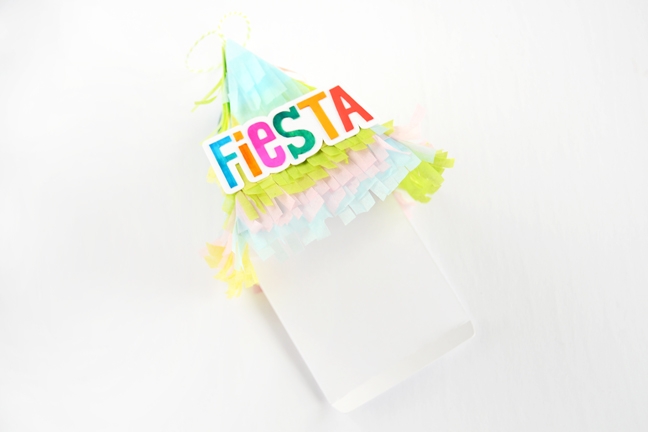
Now it’s time to create the embellishment! I used LW Genius font (Design ID #80718) to create this fun ‘Fiesta’ word and re-sized it basing it on one of the triangle faces.
Weld the word together and choose the Offset option until you are happy with the backing size. Remove the cuts in the middle of the offset if there are any, we only want the outer portion of the offset.
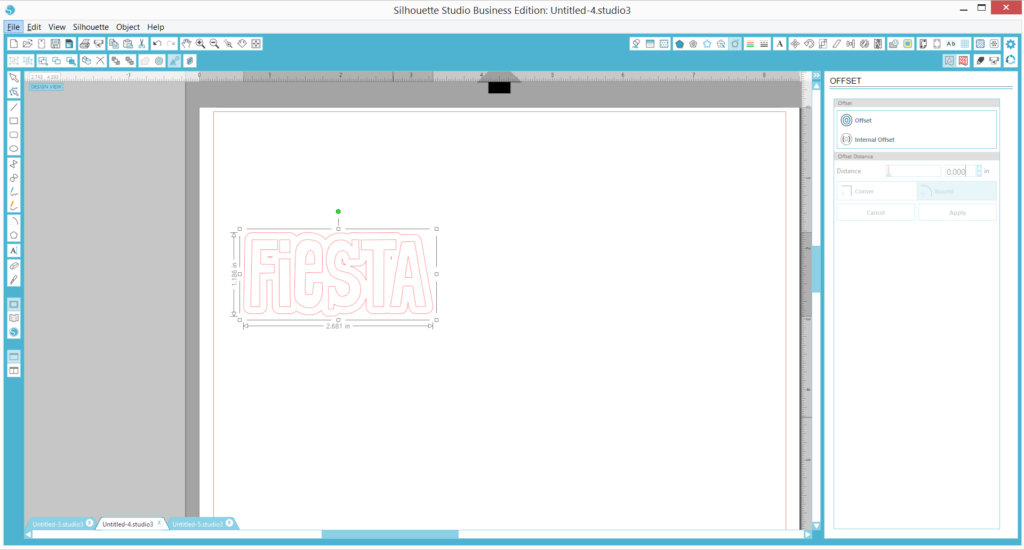
Cut the letters on Silhouette Printable Adhesive Cardstock and the offset background on regular cardstock.
Step Two: Assemble your Piñata
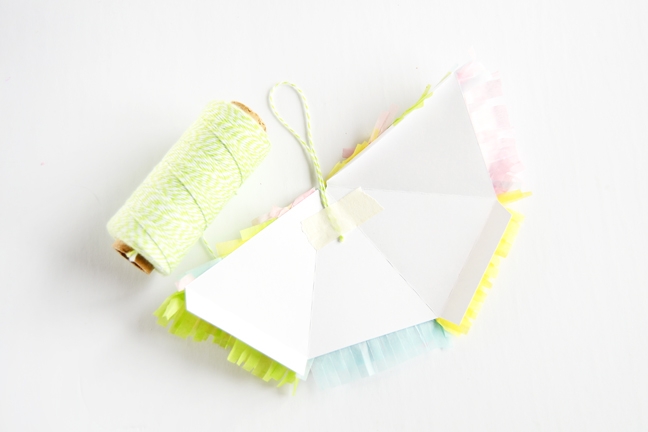
Fold your teepee using the broken lines as a guide.
Color in the letters on your embellishment and adhere them onto the cardstock backing. You can definitely create the embellishment as a Print & Cut, but I felt that the raised letters added more dimension to the embellishment!

Cut up tissue paper to stick to your piñata. To create the fringes easily, fold the tissue paper one way until you get multiple layers and cut about 1 in. height. Cut the fringes using a regular pair of scissors.
Adhere your tissue paper onto the individual triangles. To make it easier, I covered the individual triangles in double-sided tape and folded the extra tape onto the back.
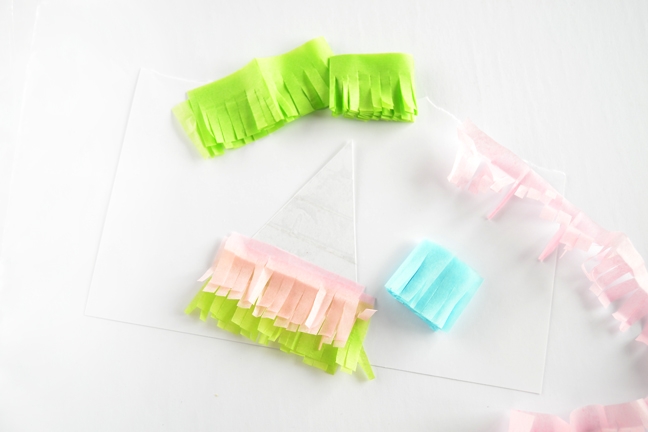
Fold the extra bits of tissue fringe onto the back of the triangle to create a neat edge – the folded double-sided tape from the earlier step will hold the extra bit of tissue fringe in place.
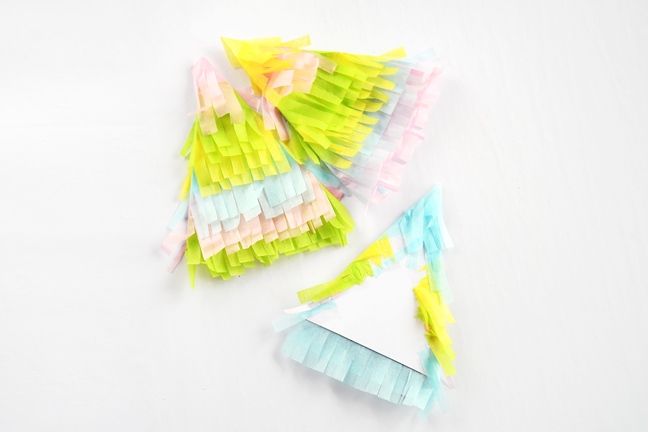
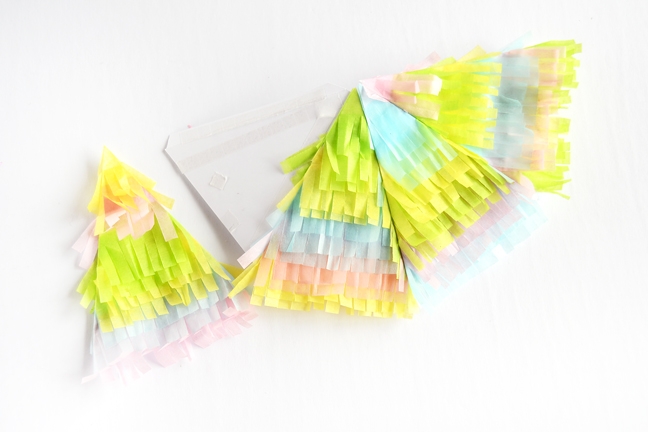
Adhere the individual pieces of triangle onto the teepee box, aligning the edge of the cardstock triangle to the edge of the teepee box.
Attach a loop of twine on the inside before assembling your teepee box to create a fun hanger for your mini piñata.
Assemble your teepee box and attach the bottom piece as well.
Fill it with candy and close the box and you are done!
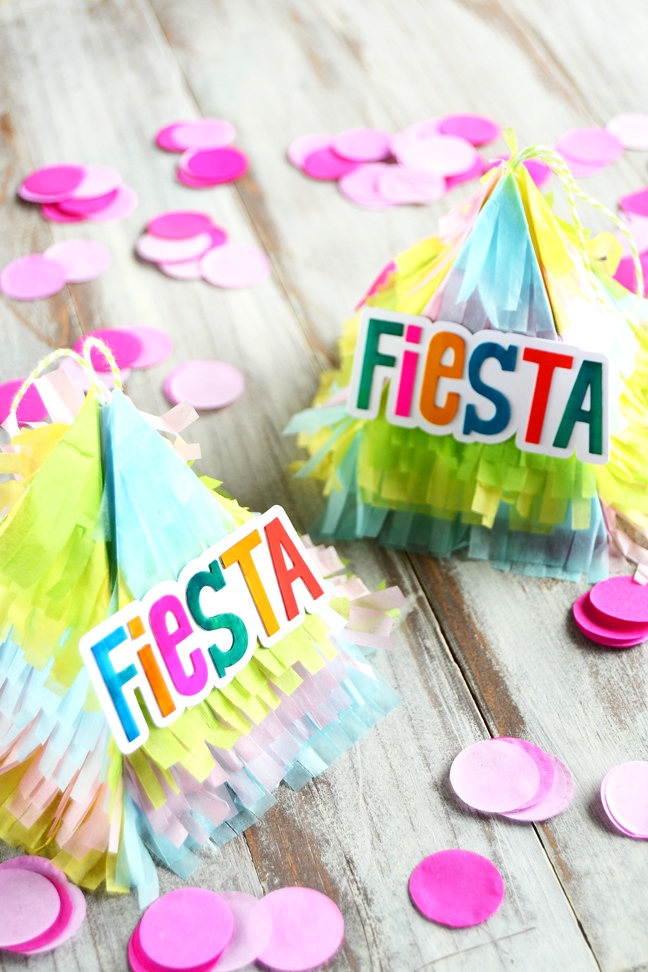
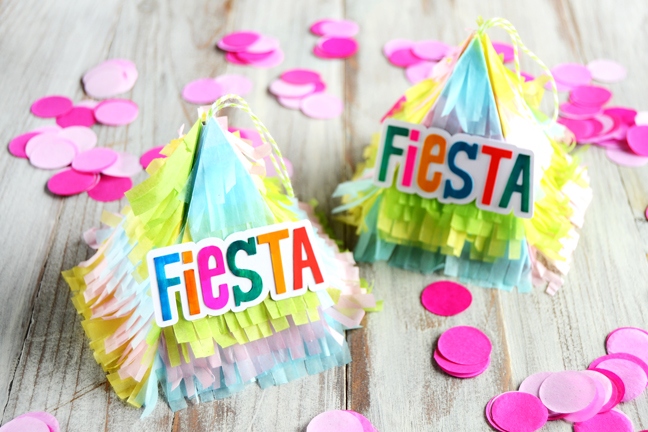
It’s so easy to personalize them to the type of party you are having, and they’re really fun to create as well.
What type of piñata or decorations are you creating for Cinco De Mayo?