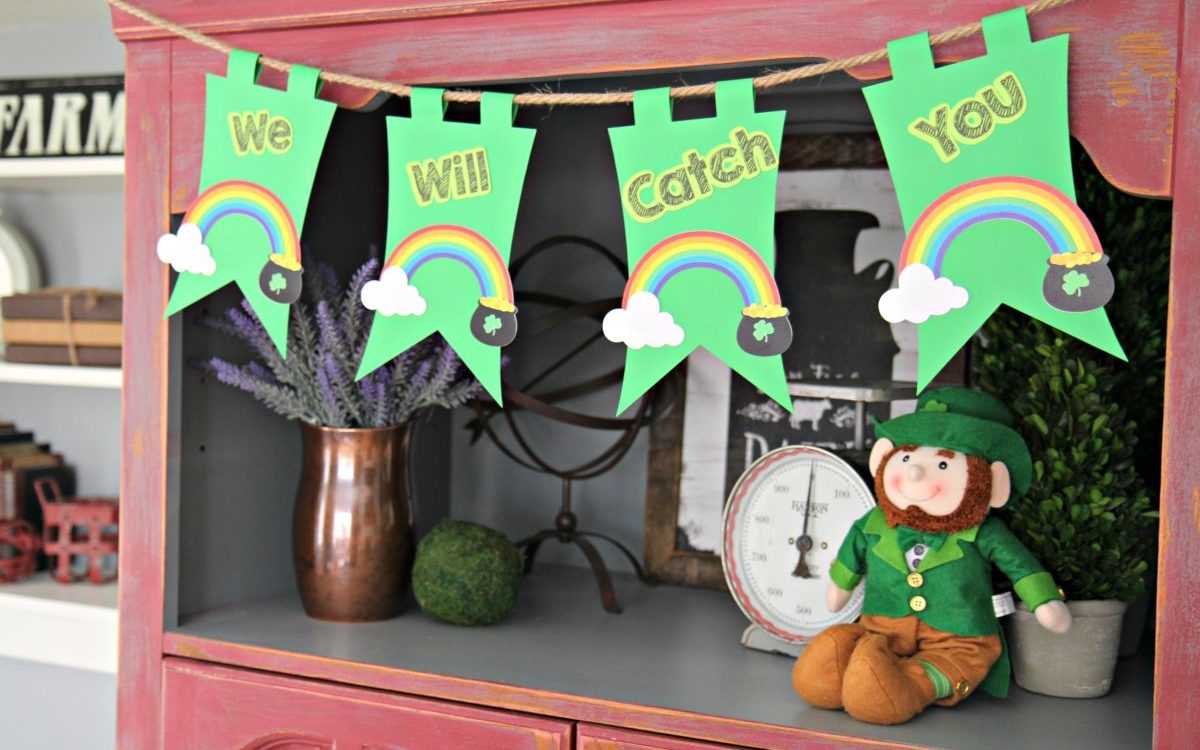
My name is Chad Boender, and I am a kindergarten teacher and author of a blog called Male Kindergarten Teacher. Leprechauns are up to their old tricks now that St. Patrick’s Day is around the corner! Having a classroom leprechaun is a great way to keep students engaged throughout the month of March. This DIY classroom leprechaun pennant banner is the perfect addition to any classroom entrance or bulletin board.  Today I am excited to share how I created this fun and easy classroom leprechaun pennant banner in Silhouette Studio®. Let’s grab our supplies and get started!
Supplies Needed:
- Silhouette CAMEO®, Silhouette Portrait®, or Silhouette Curio™
- Silhouette Studio®
- Silhouette Cutting Mat
- Silhouette Cutting Blade
- Silhouette Pen Holder
- Sharpie Marker
- Cardstock – White, Green, and Lime Green
- Printer
- Adhesive
- Jute Twine
- Design ID#75105
- Design ID#1874
Step One: Set Up the Design
- Select the Page Setup panel (this icon can be found on the toolbar on the right-hand side of your page) and adjust your page to 8.5 x 11 inches.
- In the Page Setup window, turn on the registration marks by setting the style to “Type 1.” Adding registration marks is important because your machine reads these in order to cut your printed shapes out perfectly.
- Open Design ID#75105 (pot of gold image) in Silhouette Studio® by locating it your library.
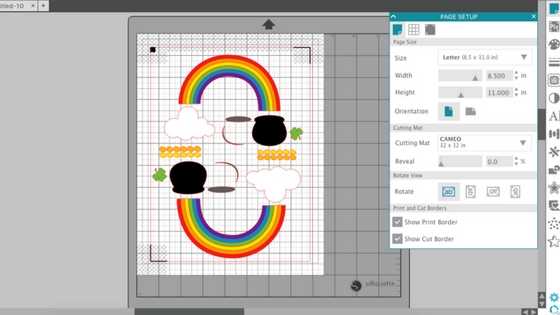
- Arrange the design to fit onto the page. I recommend placing two designs onto your page for proper sizing to fit your pennant banner.
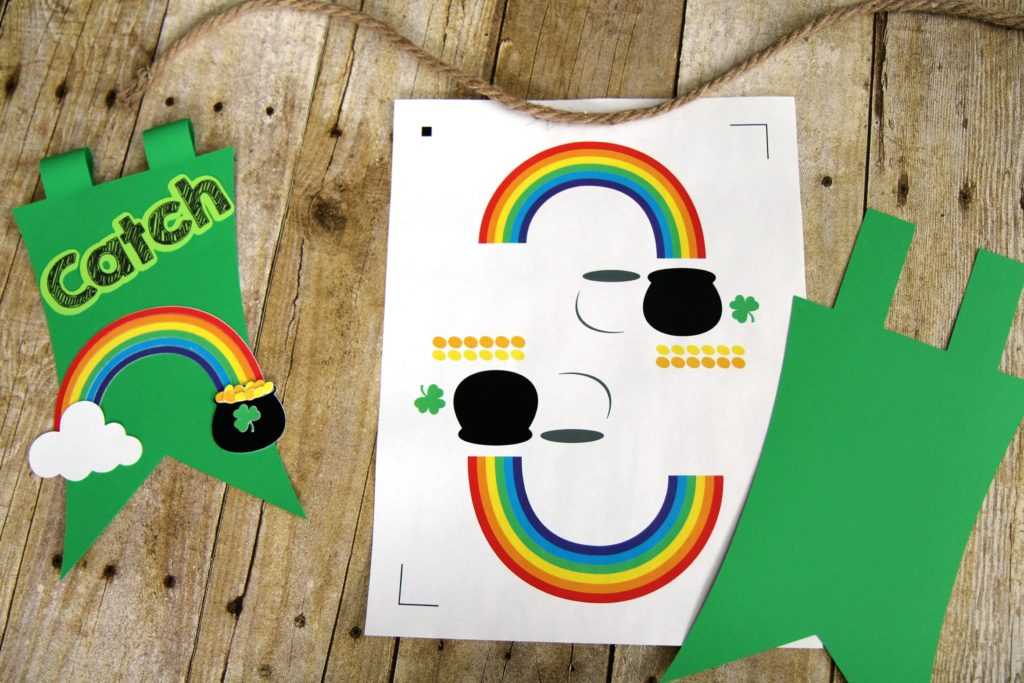
- Print out your design on the white cardstock by selecting the printer icon.
- Once the design has been printed, place the cardstock on your cutting mat (Note: Remember to keep the large black box in the upper right-hand corner of your cutting mat.) Load the cutting mat into your machine.
Step Two: Cut the Design
- In Silhouette Studio®, select the Send tab in the top right-hand corner. Select the “Cardstock, Plain” cut setting and select Send. (Remember that if you don’t have an Autoblade, you will need to adjust your blade depth.)
- Your machine will read the registration marks and then cut out your design (Tip: If your machine is having trouble reading your registration marks, try manually moving the blade directly over the square registration mark. You can do this by moving the blue arrows in the Send tab in Silhouette Studio®).
- Once your machine has cut out your design, unload your cutting mat from your machine.
- Continue steps 1–3 until you have the desired number of rainbows and pots of gold.
Step Three: Cut Out Your Pennant Banner
- Open Design ID#1874 (pennant banner image) in Silhouette Studio® by locating it your library.
- Arrange the design to fit onto the page.
- Place a piece of green cardstock onto your cutting mat and load your cutting mat into your Silhouette machine.
- In Silhouette Studio®, select the Send tab in the top right-hand corner. Select the “Cardstock, Plain” cut setting and select Send. (Remember that if you don’t have an Autoblade, you will need to adjust your blade depth.)
- Your machine will cut your design.
- Once your machine has cut out your design, unload your mat from your machine and remove the cardstock.
Step Four: Use the Sketch Feature to Create Custom Text
- Open a new project. Click the “Add Text” button, found on the left-hand side column of Silhouette Studio®.

- Insert the desired text. I wrote “We Will Catch You” in this sketch font.
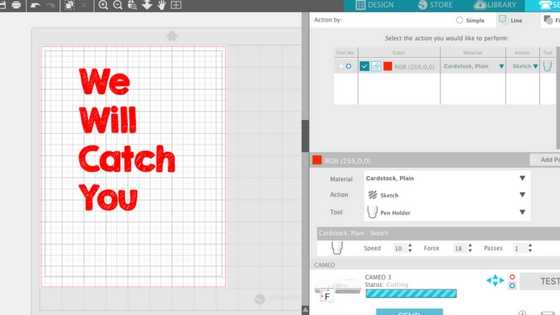
- Add your desired color of cardstock onto your mat and insert it into your Silhouette Machine.
- Click the Send tab in the upper right-hand corner of Silhouette Studio®. Adjust the action as “Sketch” and change the tool to “Pen Holder.”
- Insert your desired marker into the pen holder and place the pen holder into one of the blade slots.
- Click Send in Silhouette Studio®.
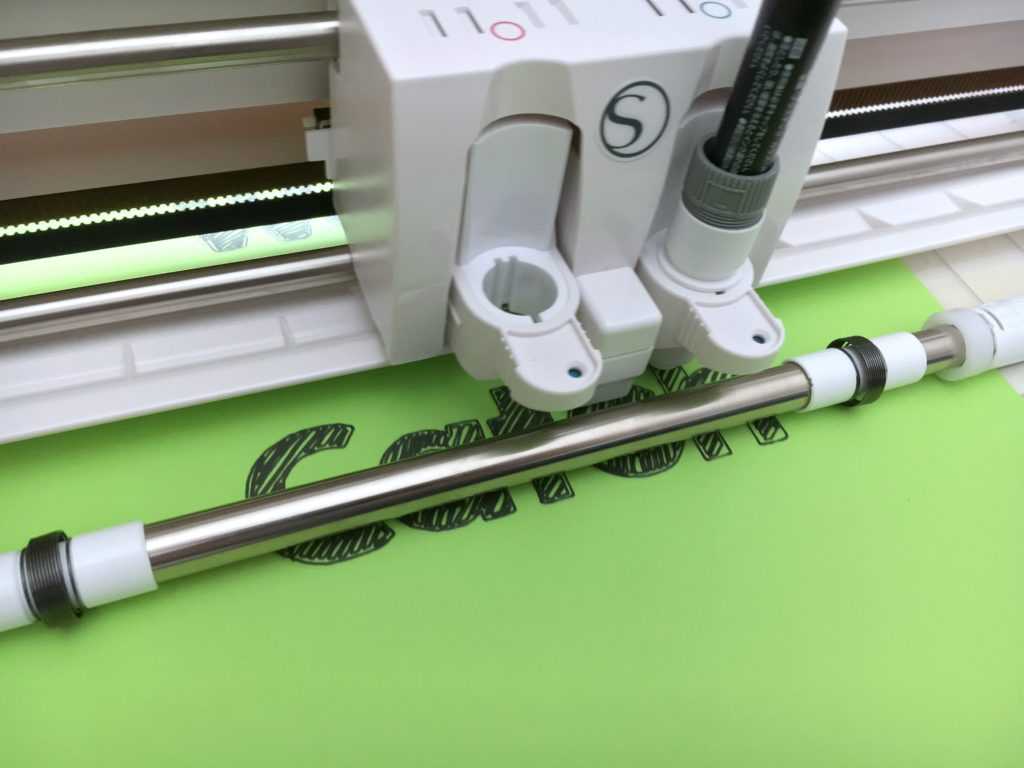
- Your Silhouette machine will sketch out the font onto your cardstock.

- Go back to the Design tab in Silhouette Studio® and go to the Offset panel. Offset your design so that there is a fairly large border along the edge of your text.
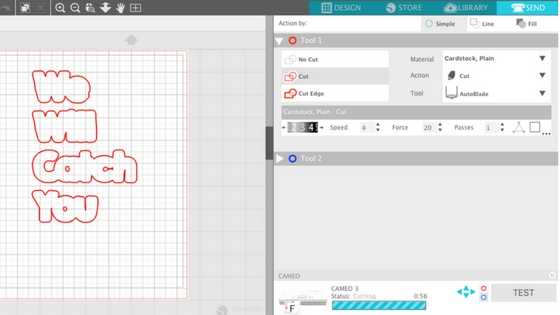
- Delete the inner part of your text and change your action to Cut. Send your design to your Silhouette machine. It will now cut out your text.
Step Five: Assemble Your Classroom Leprechaun Pennant Banner
- Lay out each piece of your pot of gold, rainbow, pennant banner, and sketched text. Adhere each piece to one another by using any form of adhesive.

- Adhere the tabs of the pennant banner to the back using hot glue. Loop jute cord through the looped tabs and hang the banner!