Hi there! Kelly here to show you a project using the Subtract feature in Silhouette 3D™. This new feature was introduced in Silhouette 3D™ version 1.2, and it’s pretty cool!
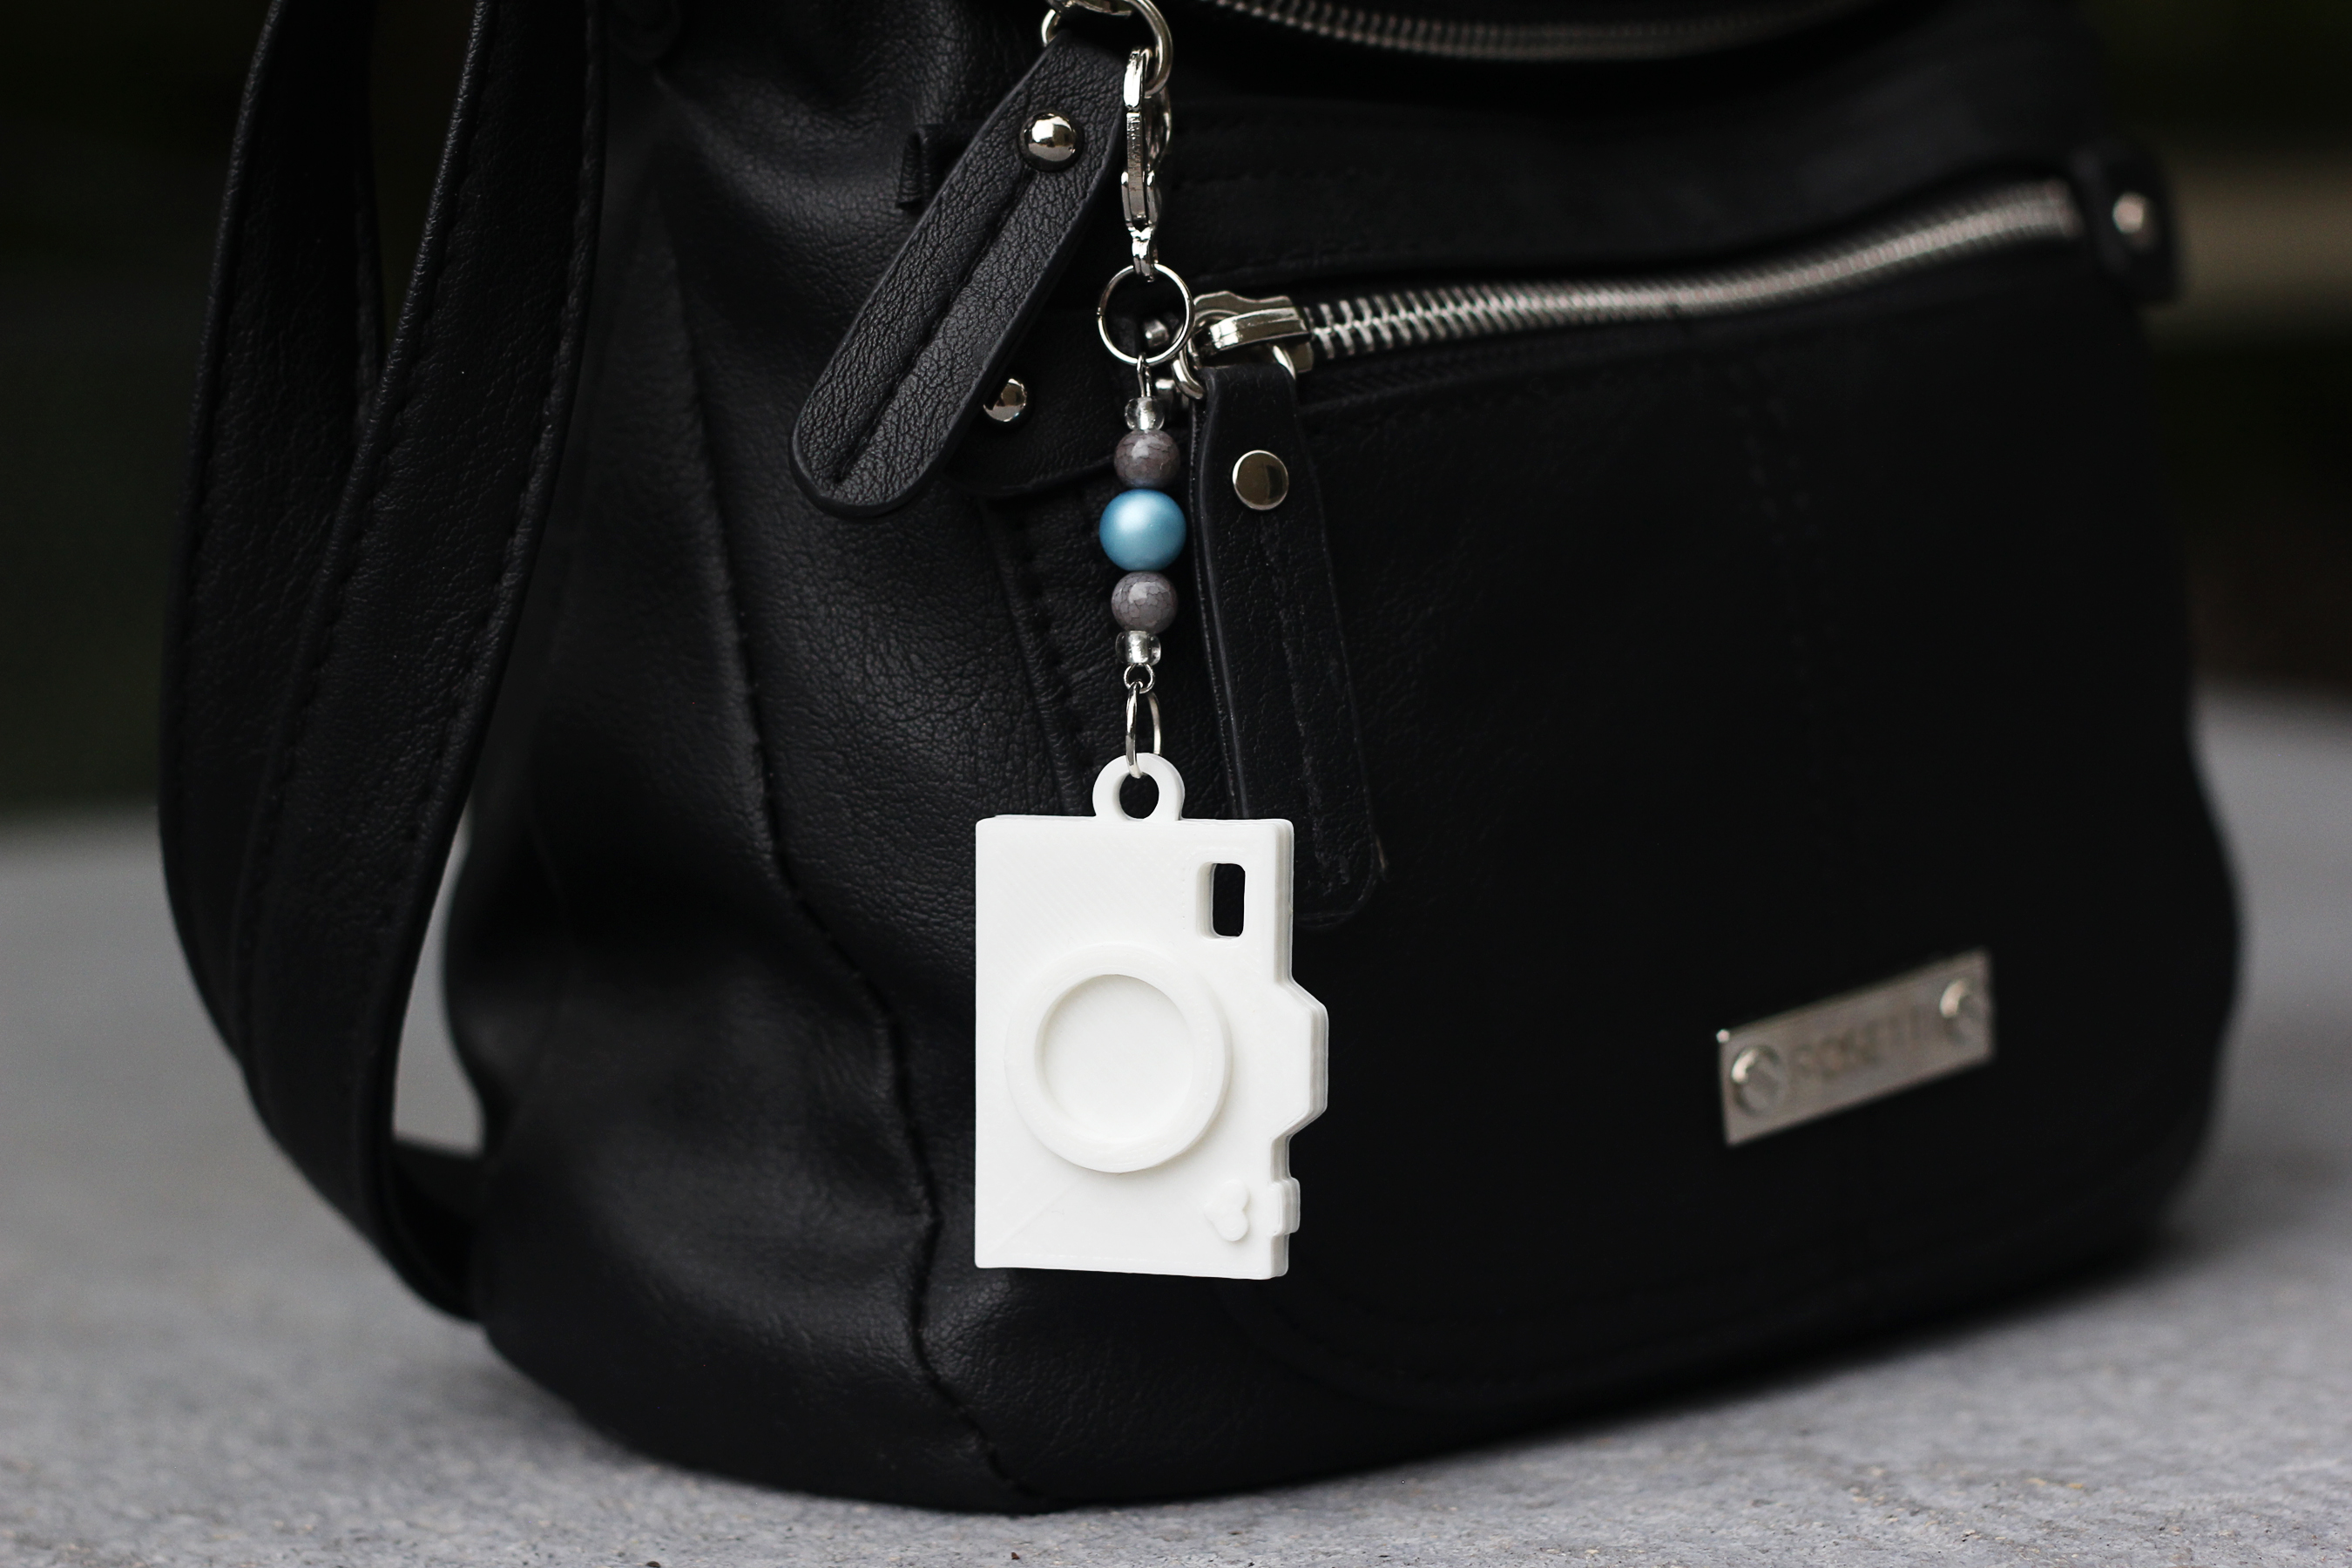
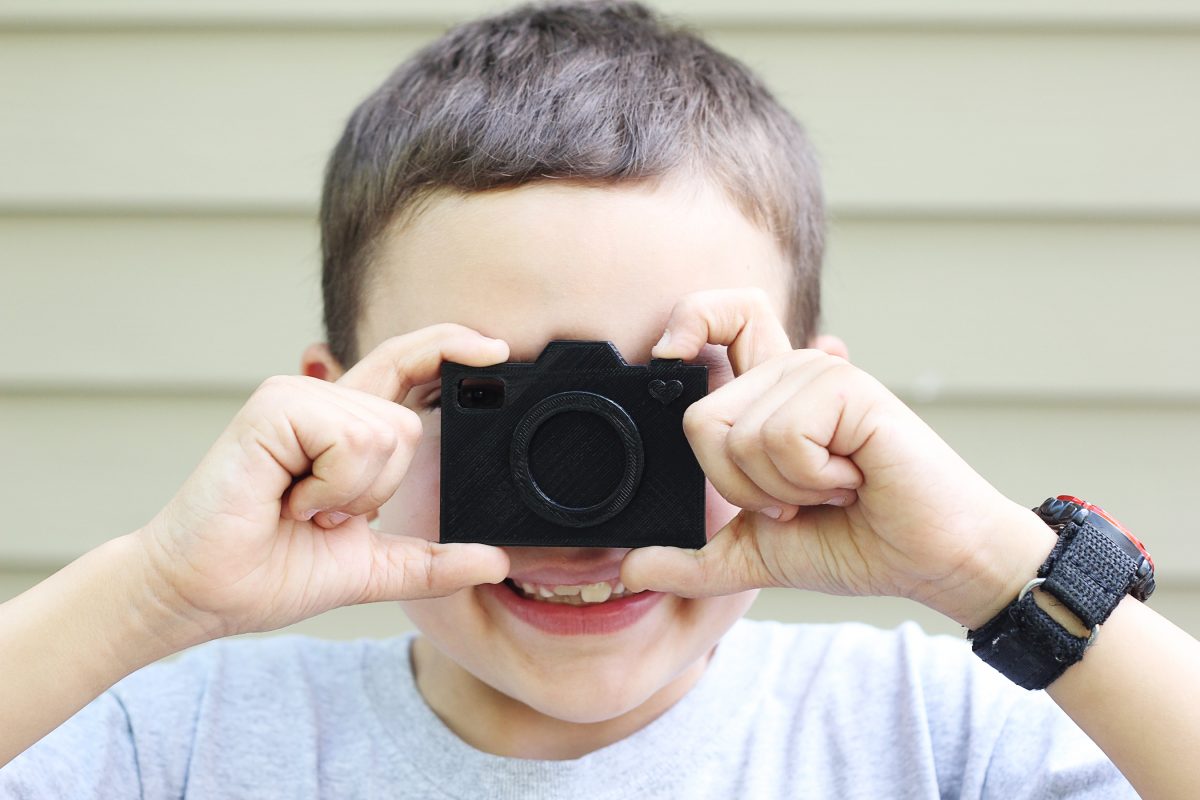
Follow along as I create a multilayer camera keychain. The design was originally intended to be a 2D card cut with paper, but Silhouette 3D™ can cleverly transform 2D shapes into 3D objects. The best part is you can make this camera any size you want (within the maximum 5-inch parameters, of course)!
I chose a fairly basic design with a few solid pieces that can be manipulated easily, but feel free to experiment with other 2D shapes in your library to see what you can create with the techniques you’ll learn here.
Supplies Needed:
- Silhouette Alta® 3D Printer
- Silhouette 3D™ software version 1.2
- Alta Filament (color of your choice)
- Keychain (optional)
- Design ID #59700
Step One: Create Design
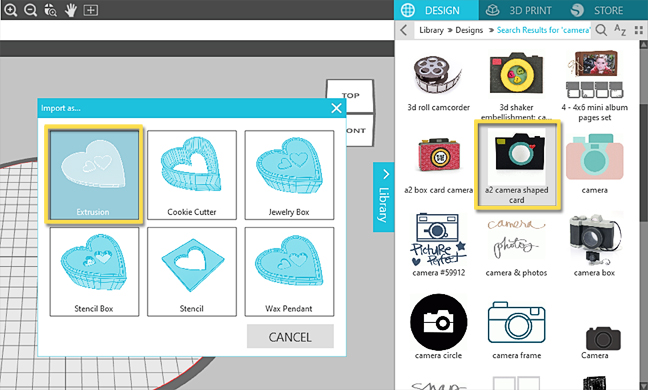
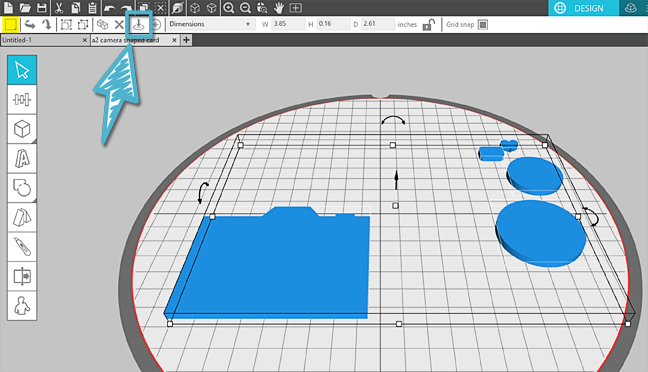
1. Open the A2 Camera Shaped Card from the purchased designs in your library and choose the Extrusion option when prompted. The design should be automatically resized to fit the print bed, and this makes a great keychain size. You can resize it larger or smaller, but I left mine as-is.
2. Select and Ungroup. Because this was originally intended for use as a paper card, there are some extra pieces here that need to be deleted.
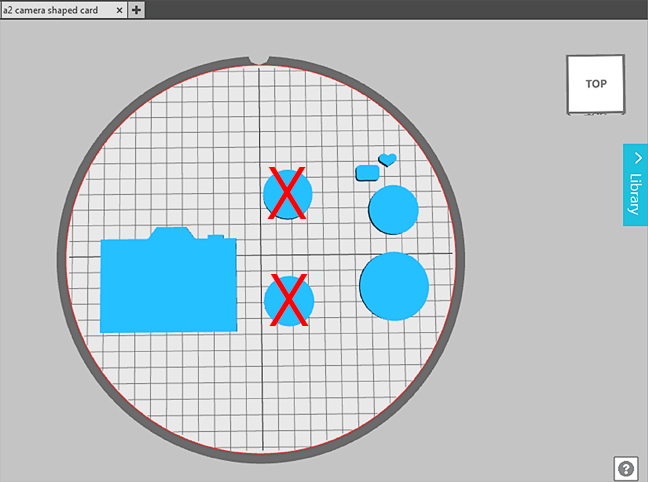
3. Delete the unnecessary pieces. This includes the card and extra circles. You will only need to keep the camera outline, one of each circle size, the small rounded rectangle, and the heart. (You’ll find extra circles exposed as you delete and/or move around other pieces.)
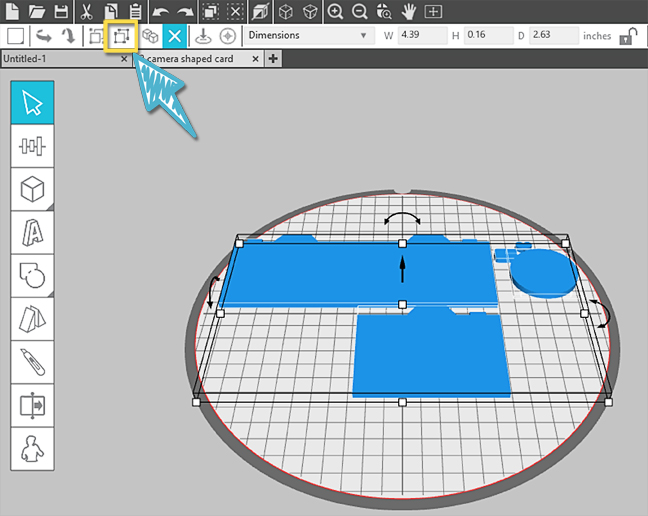
4. Select the remaining pieces and make all pieces flat to the bed (use the toolbar icon or choose Object > Level Selection to Print Bed).
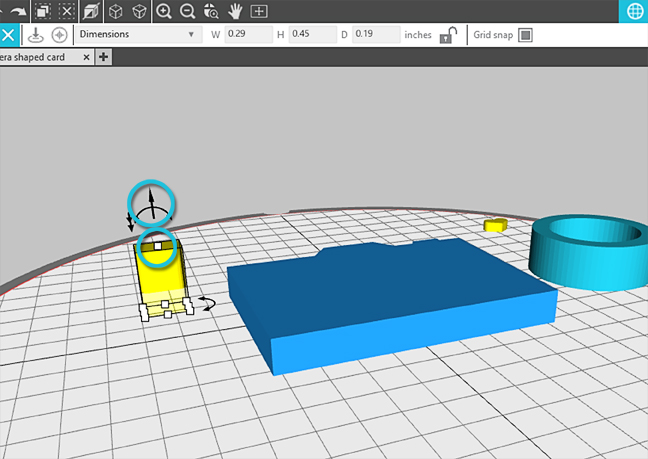
5. Select and recolor the smaller pieces like the smaller circle, rectangle, and heart. (This is optional, but I find it helps when we start overlapping and rearranging pieces. The color on screen does not truly matter because this will be printed with a single color of filament.)
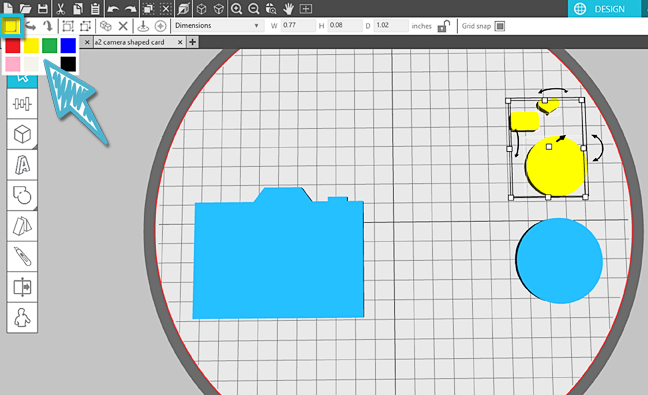
6. Create a hollow ring with the two solid circles by using the Subtract feature (a new feature in Silhouette 3D™ version 1.2):
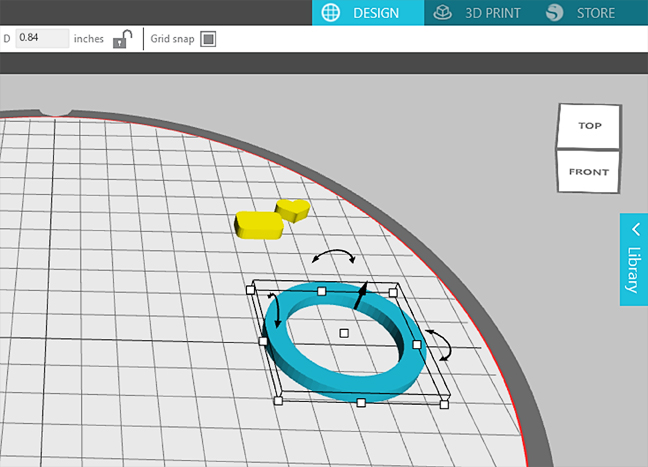
- Select the smaller and larger circles, and then use the Align tool to center the smaller circle within the larger circle. This is another great feature introduced with Silhouette 3D™ version 1.2.
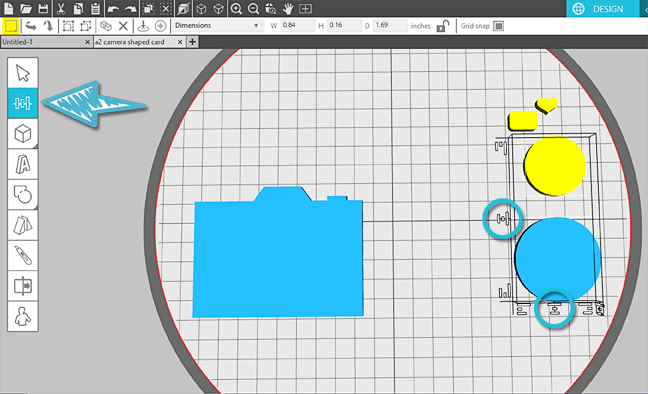
- Stretch the smaller circle at its center node to make it much thicker, and then use the floating arrow to lower it down. It should extend above and below the larger circle.

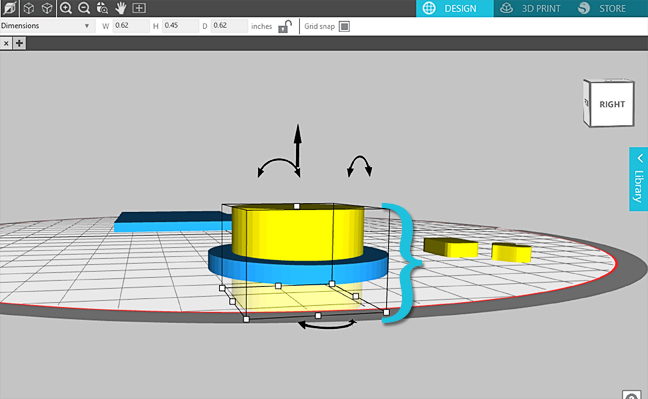
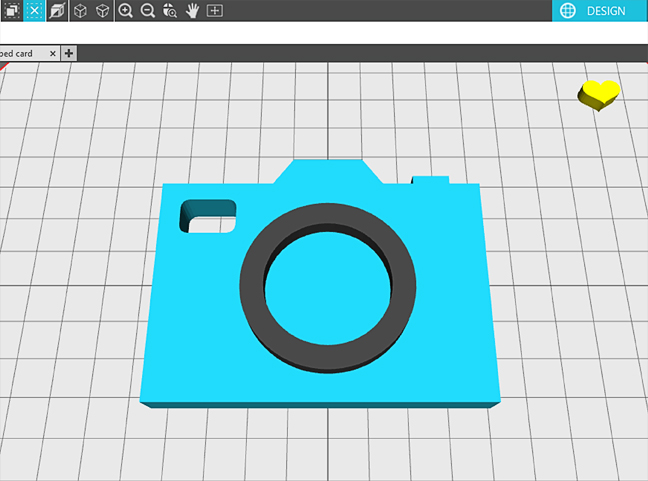
- Select both the larger and smaller circle, then Subtract by choosing the Subtract option that turns the inner circle red.
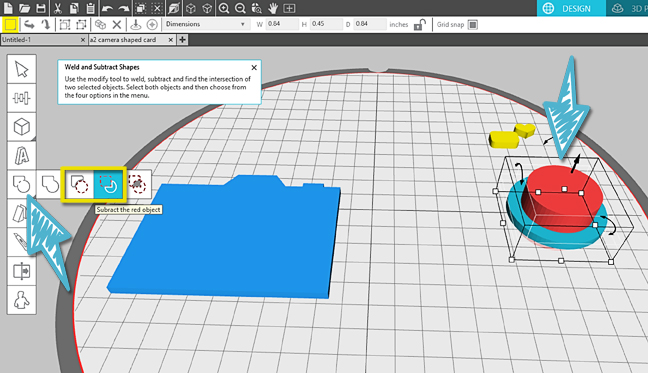
- This makes the inner column disappear and leaves the camera lens hollow in the center.
Note: There are two Subtract choices. Your choice depends on the order the shapes were created or most recently changed. The red will always cut a hole in the blue, so just pick the one that does what you want based on the visual guide.
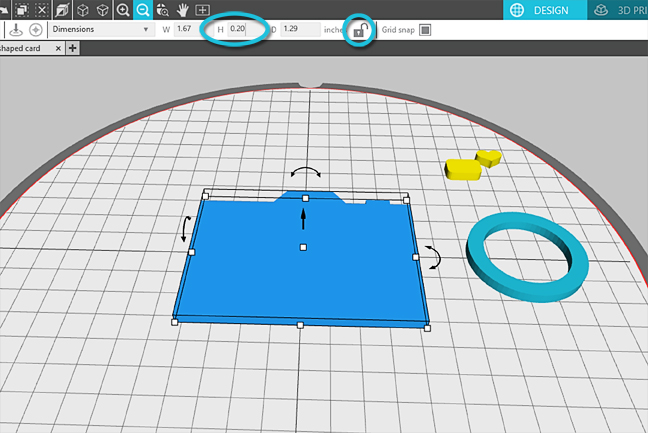
7. Adjust the thickness (height) of the camera body to 0.20 inches.
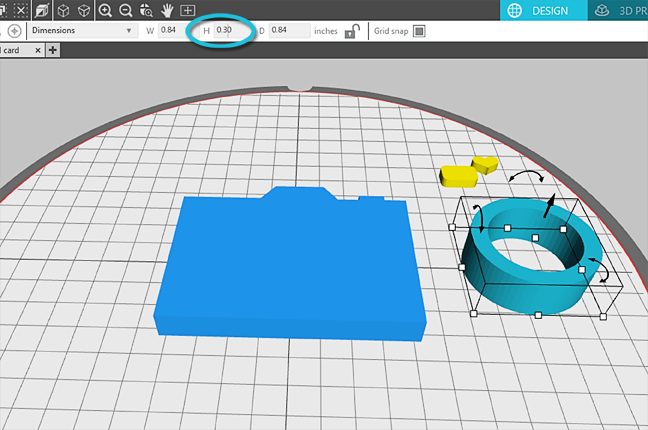
8. Adjust the thickness (height) of the camera lens to 0.30 inches.
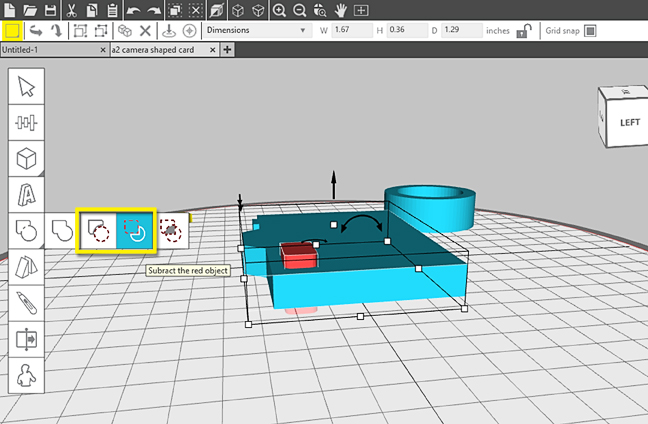
9. Create a hole in the camera body with the rectangular shape using the Subtract feature:
- Adjust the thickness of the rectangle so it’s much taller than camera body, and then use the arrow to bring it down below the bed.
- Arrange the rectangle to the upper left corner of the camera body (it should extend above and below).
- Select the camera body and the small rectangle, and then use the Subtract choice that turns the rectangle red. Subtract the red from blue to cut a hole in the camera body.
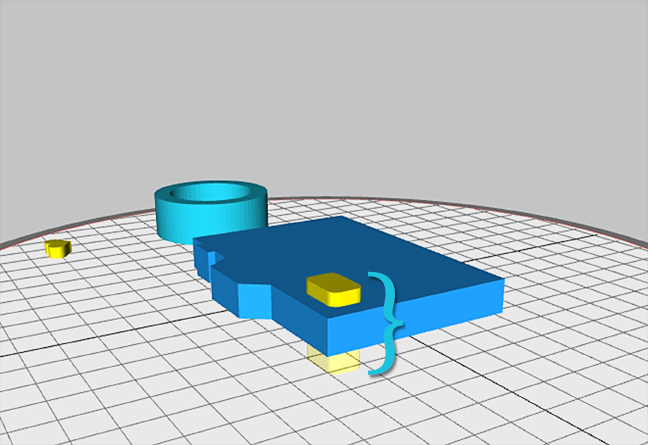
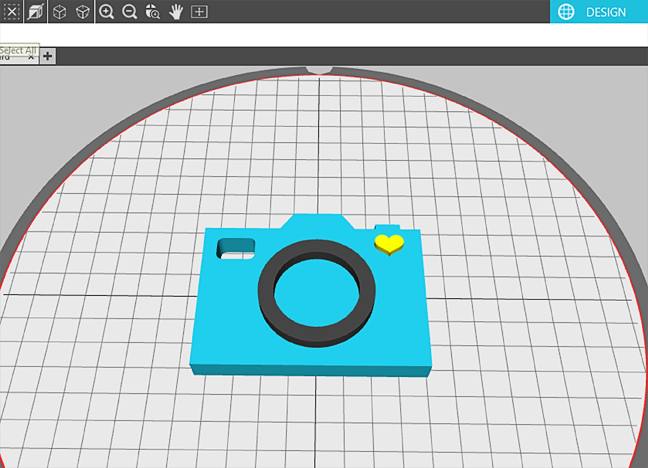
10. Arrange the camera lens to the center of camera body. (Just eyeball it.) I recolored the lens ring here for more visibility.
11. Adjust the thickness (height) of the heart to 0.25 inches.
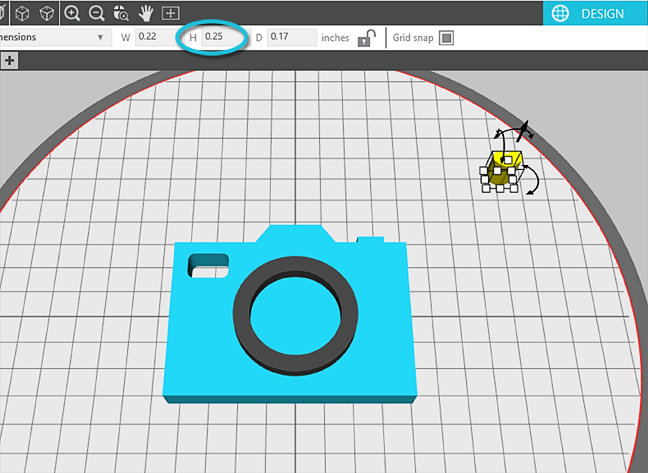
12. Position the heart into the upper right corner of the camera.
13. Select everything and Group it. The camera is now finished, but let’s add a keychain loop.
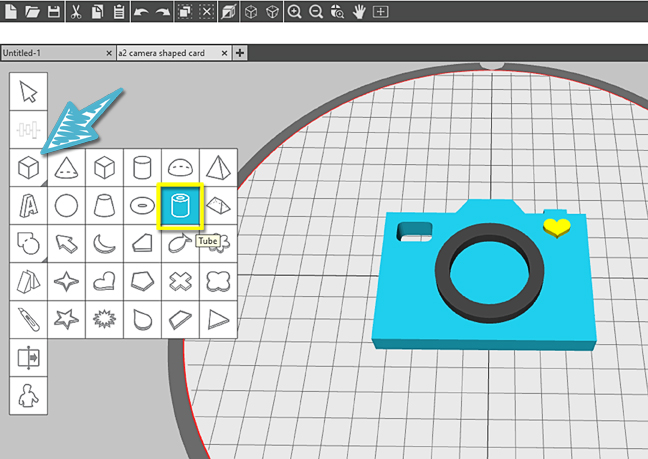
14. Create a keychain loop:
- Create a tube shape with the Create Shape tool.
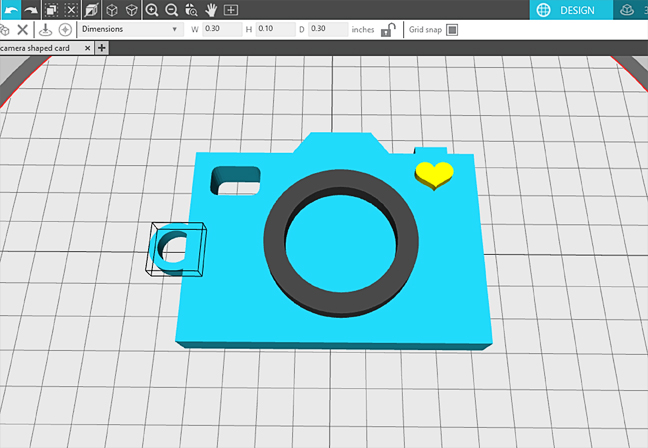
- Move the tube to the side of the camera and resize it to 0.30 inches W x 0.10 inches H x 0.30 inches D.
- Position and overlap the keychain loop so it’s centered along left edge of camera (or wherever you want).
- Select and Group it all. (“Group” fuses overlapped shapes in Silhouette 3D™ for printing purposes, but it can be ungrouped later if necessary.)
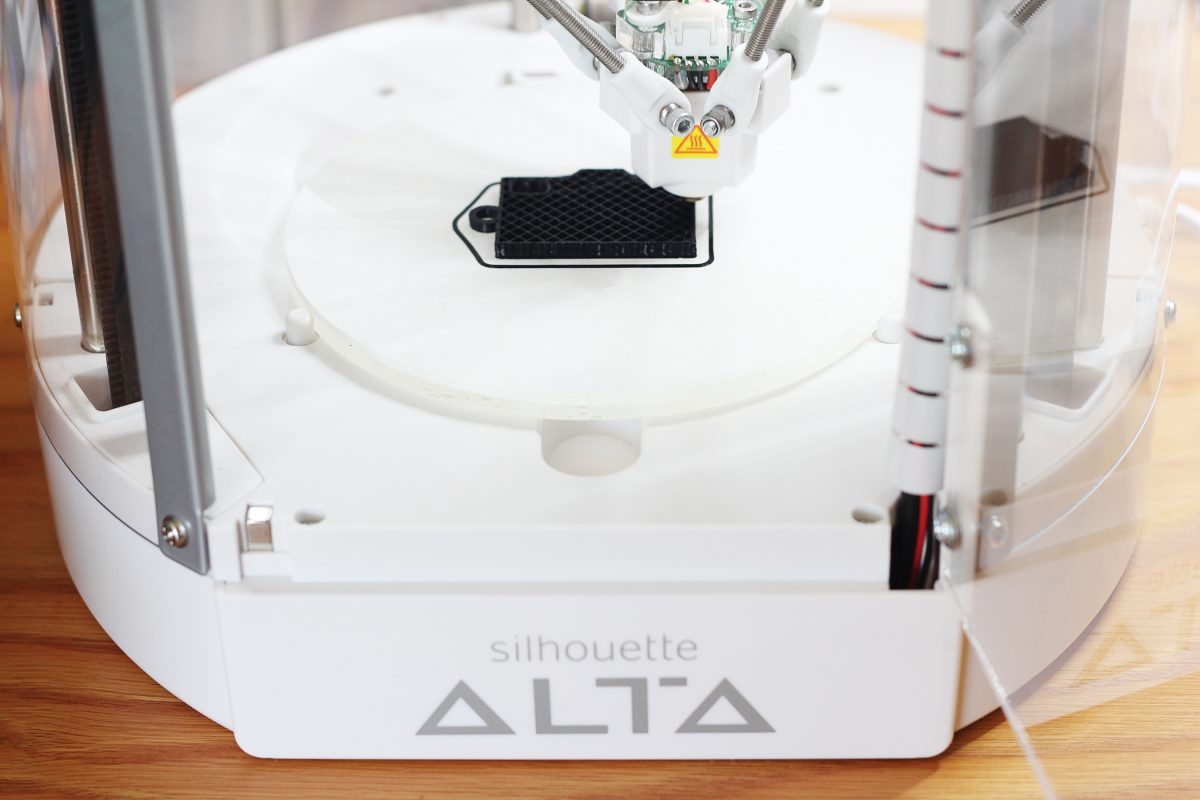
Step Two: Print Camera
1. Go to the 3D Print navigation tab. If you grouped the objects properly, this should print as a single piece.
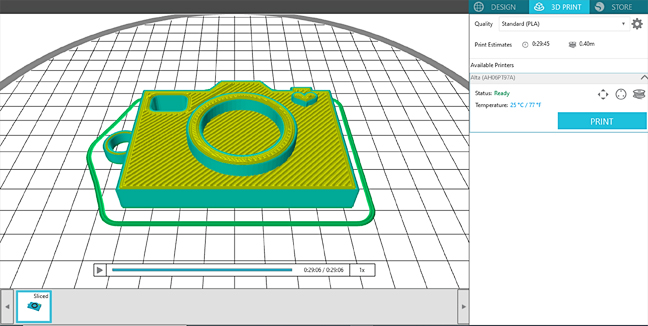
2. Load your filament, check your calibration, and prepare fresh platform tape as necessary.
3. Choose Quality: Standard PLA.
4. Send to Print when ready. At this size and quality, it will probably take about 30 minutes.
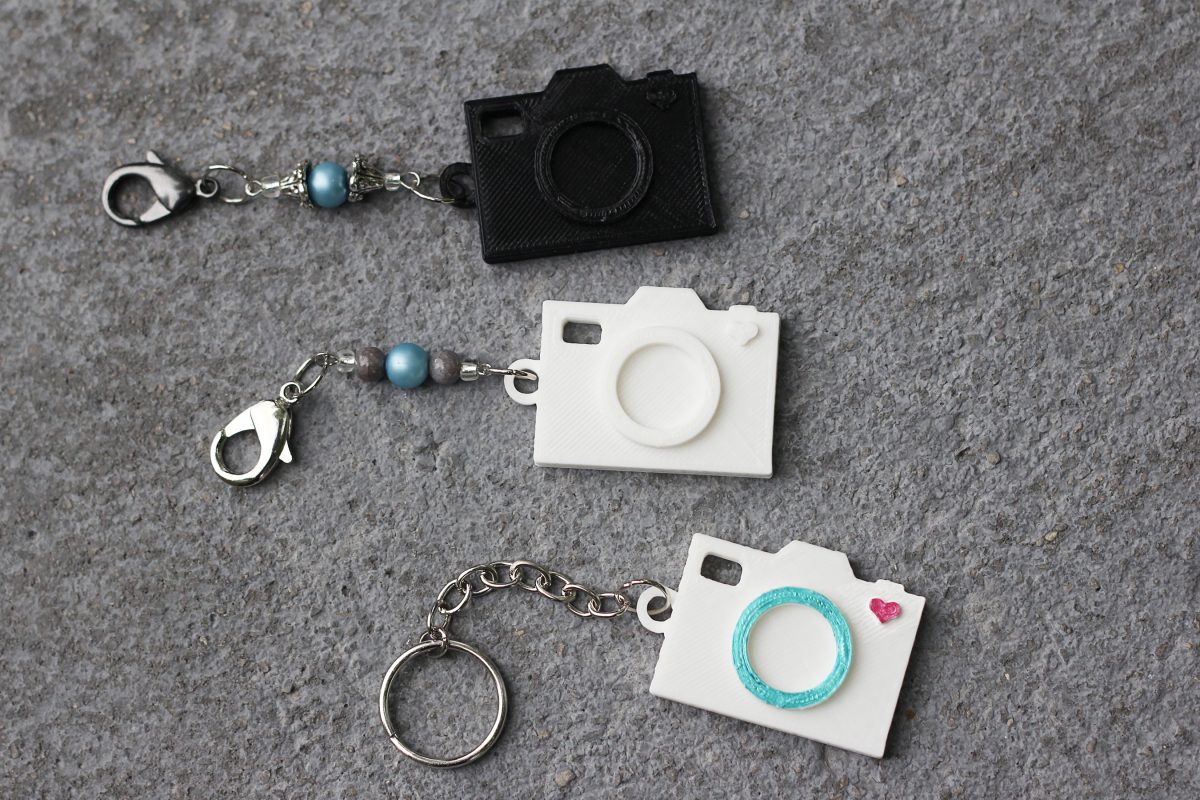
Step Three: Add Keychain
1. Remove the printed camera from the print bed once it has cooled for a few minutes.
2. Add a keychain and embellish as desired. You can even paint your 3D prints with simple acrylic craft paints to dress them up even more!
I hope you enjoyed this tutorial on creating a camera keychain. This can be adapted to many other designs as you experiment with the Subtract feature in Silhouette 3D™.
 Free Class - Father's Day Apron Set
  Free Class - Custom Graduation Tumbler