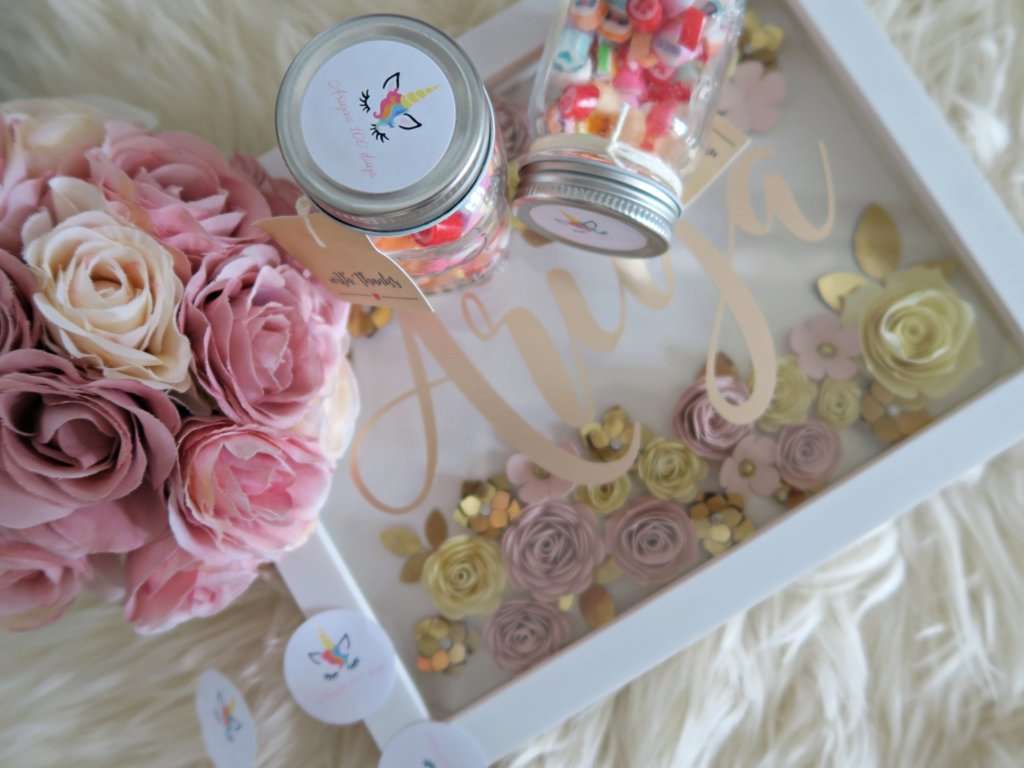
I love planning parties! It’s fun and you can really let your creativity run wild! I recently just planned and hosted my baby’s 100 days celebration, and I had so much fun decorating the venue. In this post, I want to show you how I made my customized label party favors on the candy jars. The printable vinyl is so easy and fun to use. It is also durable and will work great with any inkjet printer.
Supplies Needed:
- Silhouette CAMEO® or Silhouette Portrait®
- Silhouette Studio®
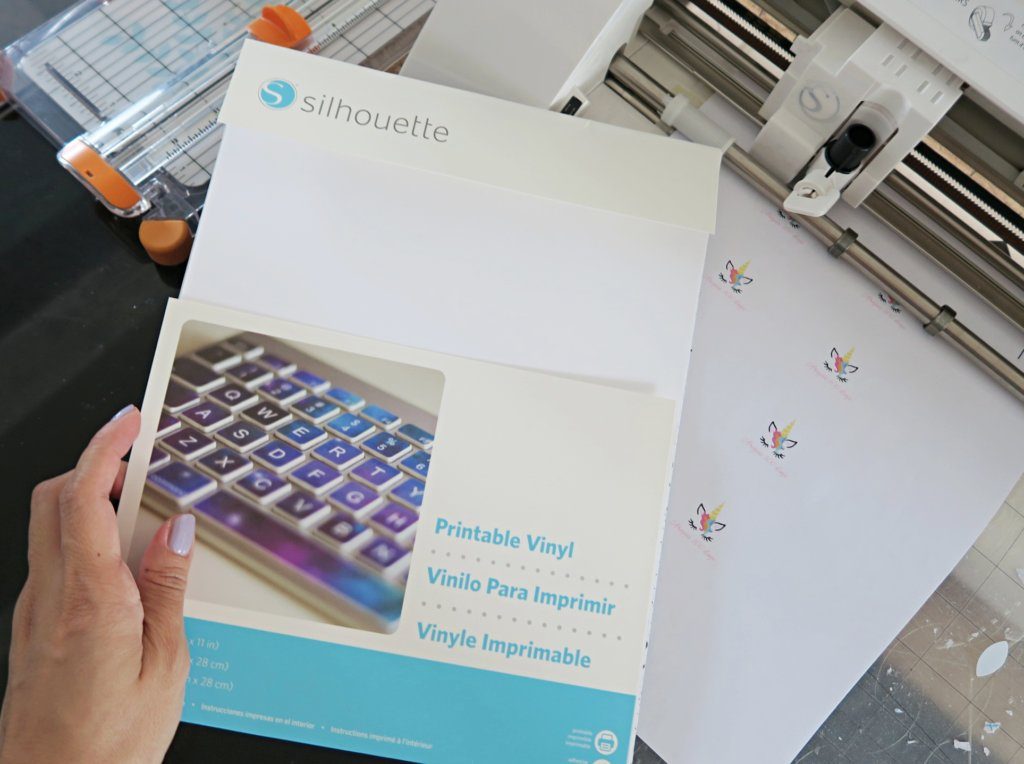
- Silhouette Printable Vinyl
- Silhouette Spatula
- Silhouette Scraper
- Silhouette Cutting Mat
- Silhouette Cutting Blade
- Design ID #209849
Step One: Load The Design Into Silhouette Studio®
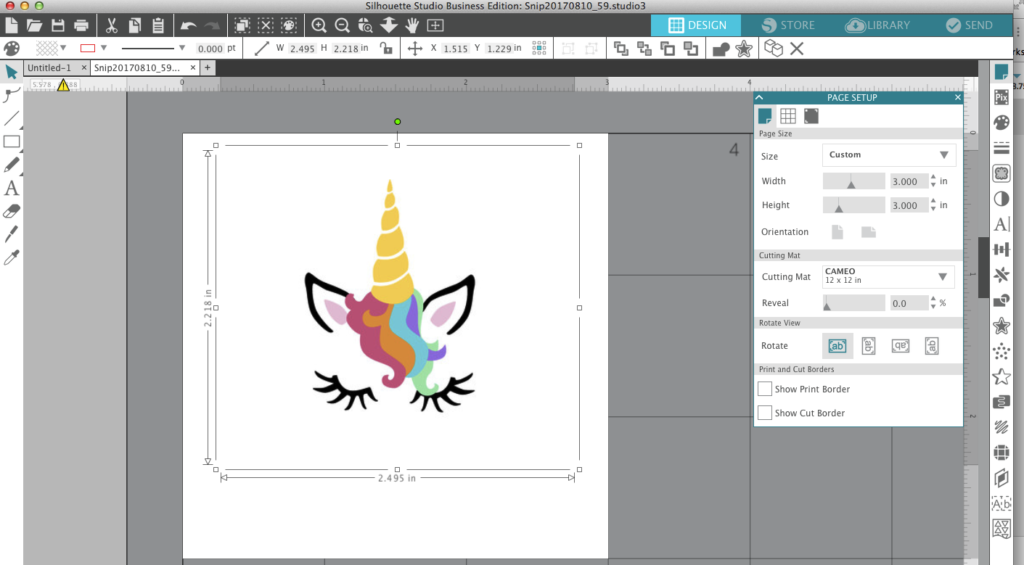
- Select the image you want to put on your jar, by selecting File —> Open. Once you have uploaded your image, your image should appear in your Silhouette Studio®
- If you bought your image off Silhouette Design Store, select the File —> Library. I bought my image off the Silhouette Design Store Design ID #209849.
- I set my page layout size to the jar size. To set your page layout, go to the page icon as show below or select File —> Print Page Setup.

Step 2: Personalized Your Design
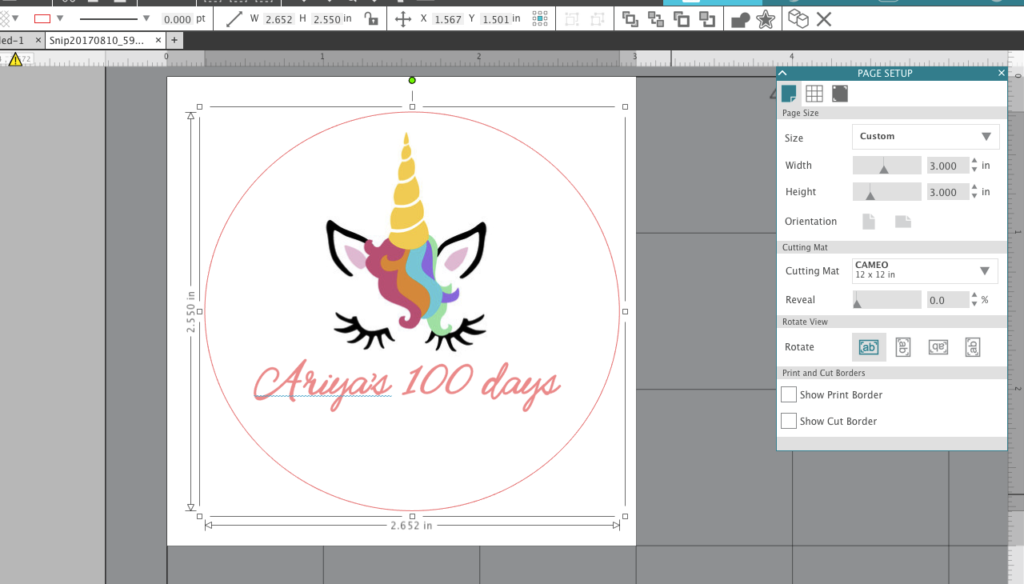
Since this is for a special occasion, I wanted to add a customized text to the image.
- Select the Text panel on the left-side bar.
- Ensure that you color in the lines and fill out the text. This will let your printer know to print out the whole image instead of the just the lines. Then I colored the text in my desired color to match my theme.
- Once you are satisfied with the font and color, adjust the alignment to go with the image.
- To contour your image, I added a circle around my image and text using the Draw an Ellipse tool so that I would get the perfect circle.
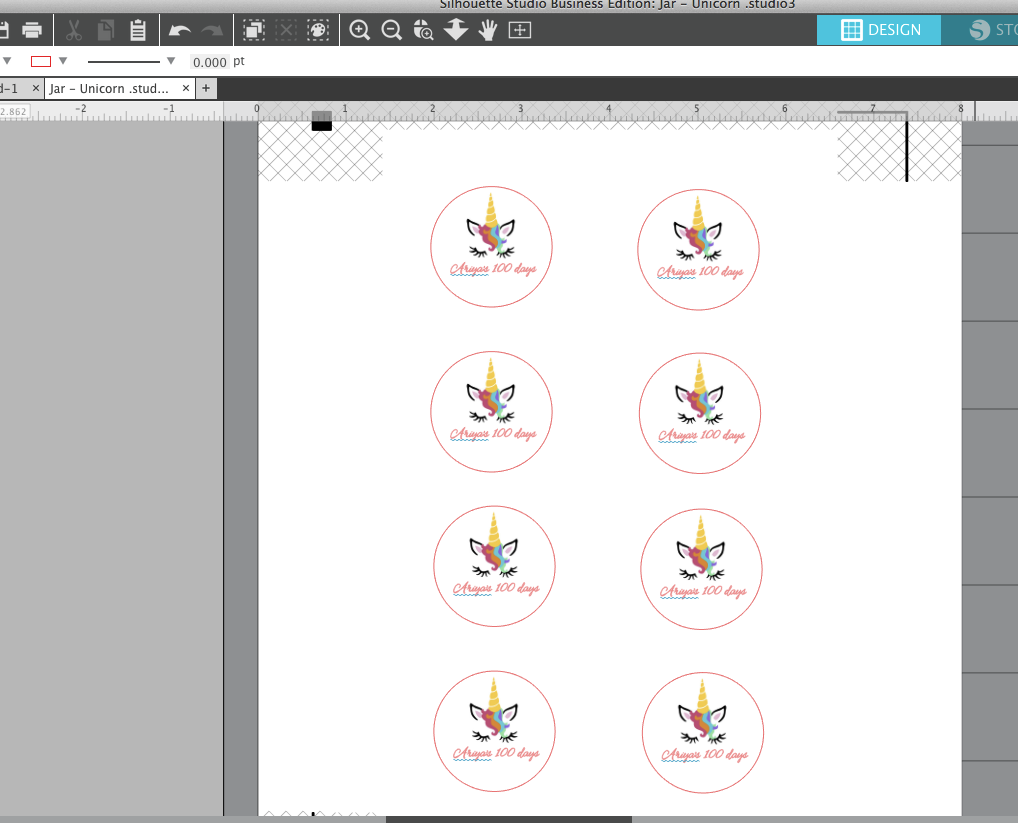
Step 3: Add Registration Marks
- For this project, we will be using the Print & Cut feature. When using this feature, it is important to use the registration marks setting. Your home printer will print the marks on the printed paper, and this will help the Silhouette CAMEO® detect where your design is.
- Remember to have your designs within the gray box for printing! Having your design within the gray box will let your Silhouette CAMEO® know where to cut and will ensure that your Silhouette CAMEO® will have the perfect cut.
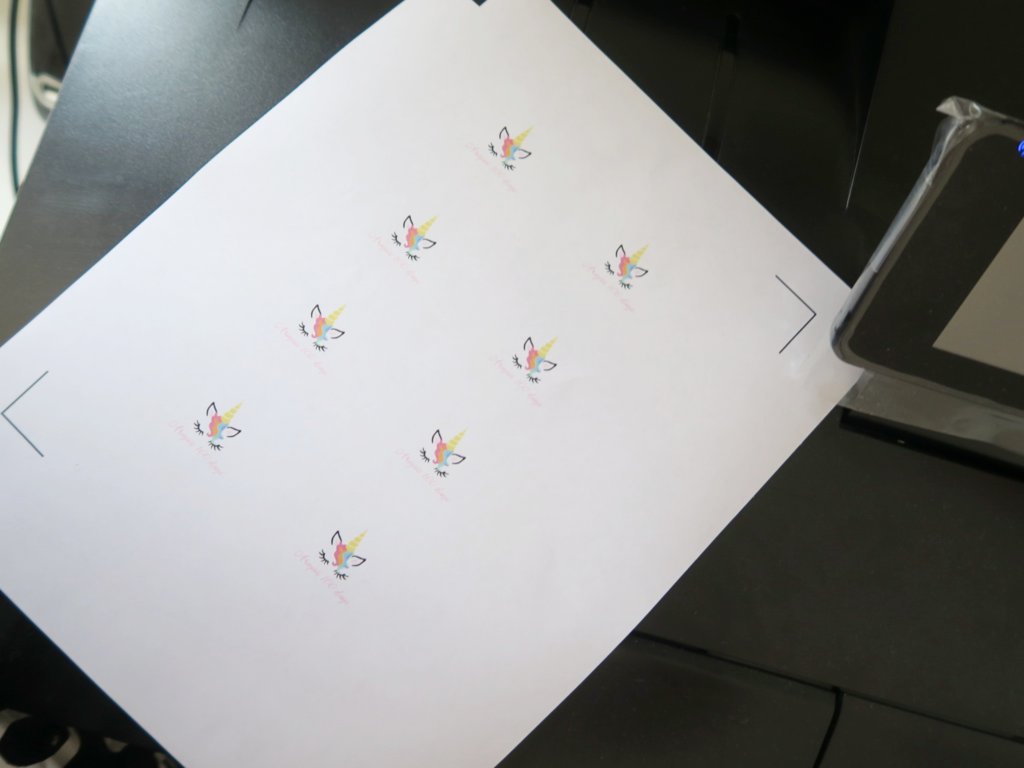
Step 4: Print Your Design
- Once you have set up the register marks, you are now ready to print!
- It is also very important to make sure that you have your Printable Vinyl paper already loaded on your home printer. (Note: In order for the image to print on the Printable Vinyl, the design must be printed using an inkjet printer.)
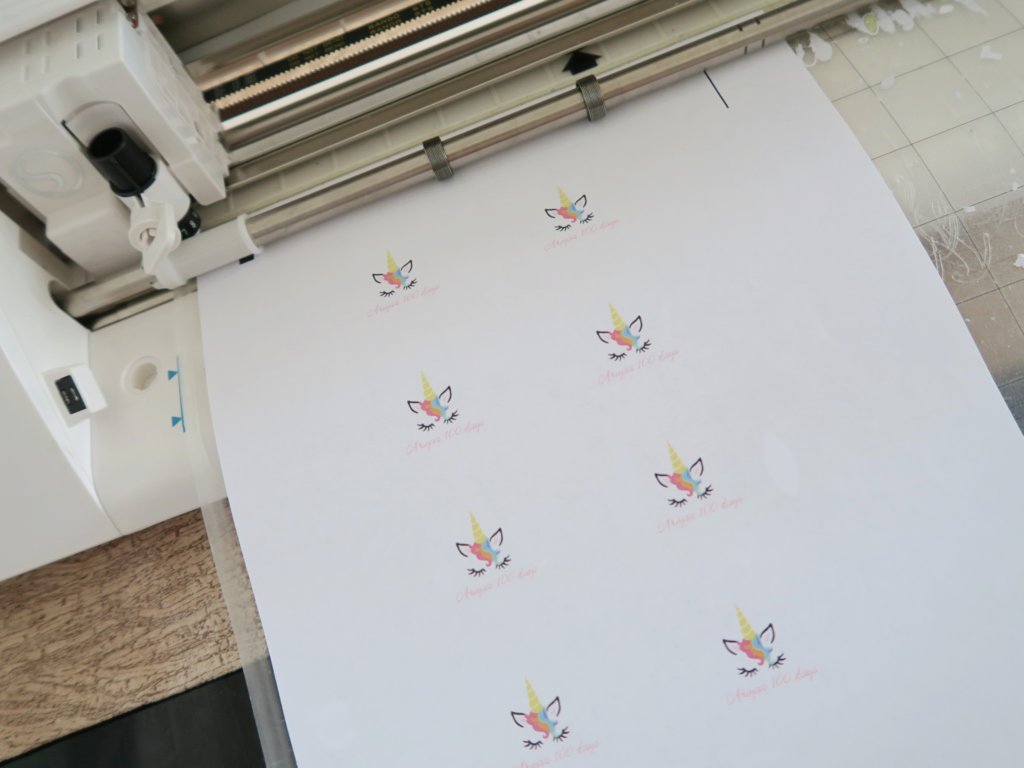
Step 5: Cut Your Design
- Once the printing is complete, wait about 10 minutes before you touch the Printable Vinyl to let it completely dry. When you are ready, place the Printable Vinyl on the cutting mat. Then click on the Send tab in Silhouette Studio®.
- Under Material, select “Vinyl, Printable.” According to Silhouette Studio®, the settings for the Printable Vinyl are Blade 1, Speed 5, Force 20.
- Next select Cut Edge. This will cut around your image. Then click Send, and your Silhouette should start cutting.
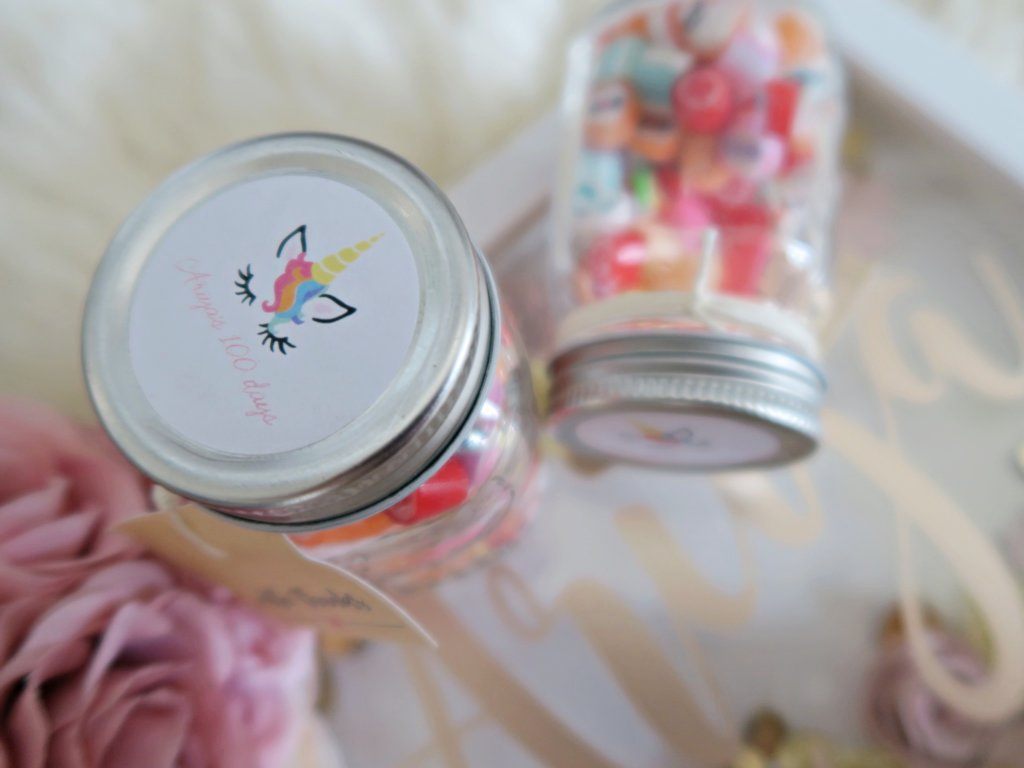
Step 6: Apply Design To The Jar
- Now here comes the fun part! There are two options: You can either use transfer tape to transfer your image or you can use a spatula tool and remove the vinyl image from the vinyl backing.
 2. My design is one whole piece, so I simply used the spatula tool to carefully remove the image, and I placed the image on the jar lid.
3. Voila! You have just created your own customized printable vinyl. You can create other projects with the Printable Vinyl too. Choosing from thousands of designs from the Silhouette Design Store, you can really let your creative juices run wild!
Let me know what projects you have done using the Printable Vinyl!
Kelly Wayment
June 28, 2024
You can use it with vinyl as long as it is smooth and flat to allow the static charge to hold on to it. Rolled vinyl that wants to go back to its rolled shape will not necessarily work well, and it would need to be trimmed to fit the ES mat cutting area.
Kelly Wayment
June 28, 2024
Yes, you can use the heat pen while using the ES mat. 🙂
Yurii
March 2, 2024
Hello. May it be used with heat pen?
Thanks
Jerome
February 24, 2024
Hi, works this with the normal vinyl foils or only with printer papter etc?
Kelly Wayment
February 16, 2024
Once you’ve pushed the mat up against the rollers, just press the “Load” arrow button (bottom right on the display). Does a regular sticky mat load into the machine for you?
Michelle a goodall
January 24, 2024
Hello! I just got my new electrostatic mat and have watched every video i can find on it. However, what i can t find is why it wont feed into my cameo 5/ it slides right up the rollers but wont go any further. and yes- iam pushing the into button. help!