
Lately it seems like everywhere I look I see gorgeous candles to use as home decor. Some candle have words; others have beautiful geometric designs. As I looked at plain candles at the store, I thought, “I can make my own custom and personalized candles at home with my Silhouette CAMEO® and vinyl! So that’s what we’re going to do today!
Supplies Needed:
- Silhouette CAMEO® or Silhouette Portrait®
- Silhouette Cutting Mat
- Silhouette Cutting Blade
- Oracal 651 Vinyl – Gold
- Transfer Tape – 9-inch roll
- Silhouette Tool Kit
- Candles
- Design ID #288099
- Design ID #68096
Step One: Preparing the Design
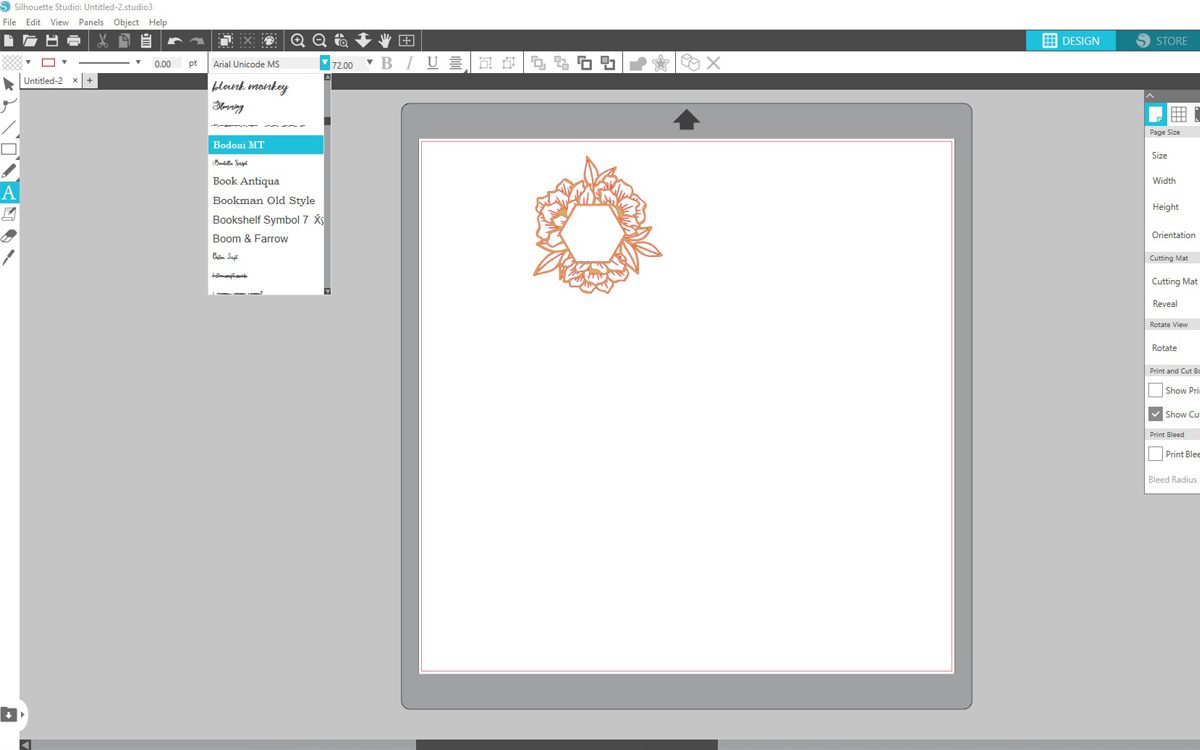
1. I began by finding designs in the Silhouette Design Store. This image caught my eye with its contrasting florals and geometric shape. So modern and elegant! After purchasing my design, I opened it in the software program, Silhouette Studio®.
2. The image needed to be resized to fit the front of my candle. After measuring the candle, I clicked on my image. Using my mouse, I drug the corner of the image until the sides were within my parameters.
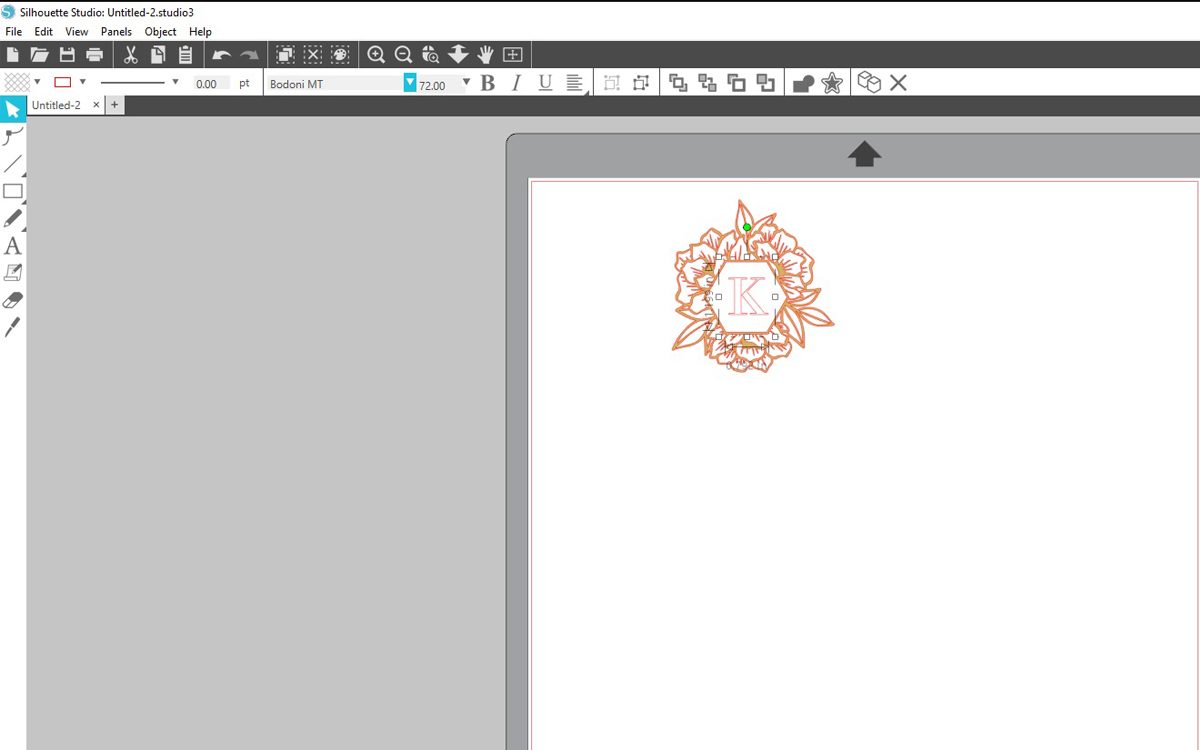
3. To further add to the customization of the candle, the opening was the ideal location for an initial, to create a monogram. After choosing my letter, I chose a font for the inside.
4. Once again, I selected my image and resized it to fit inside the hexagon.
5. Note that I did not leave the letter in place while cutting or applying the vinyl. This was a personal preference, as I was unsure of the font selection. But if you are certain, make it easy on yourself and cut it all at once!
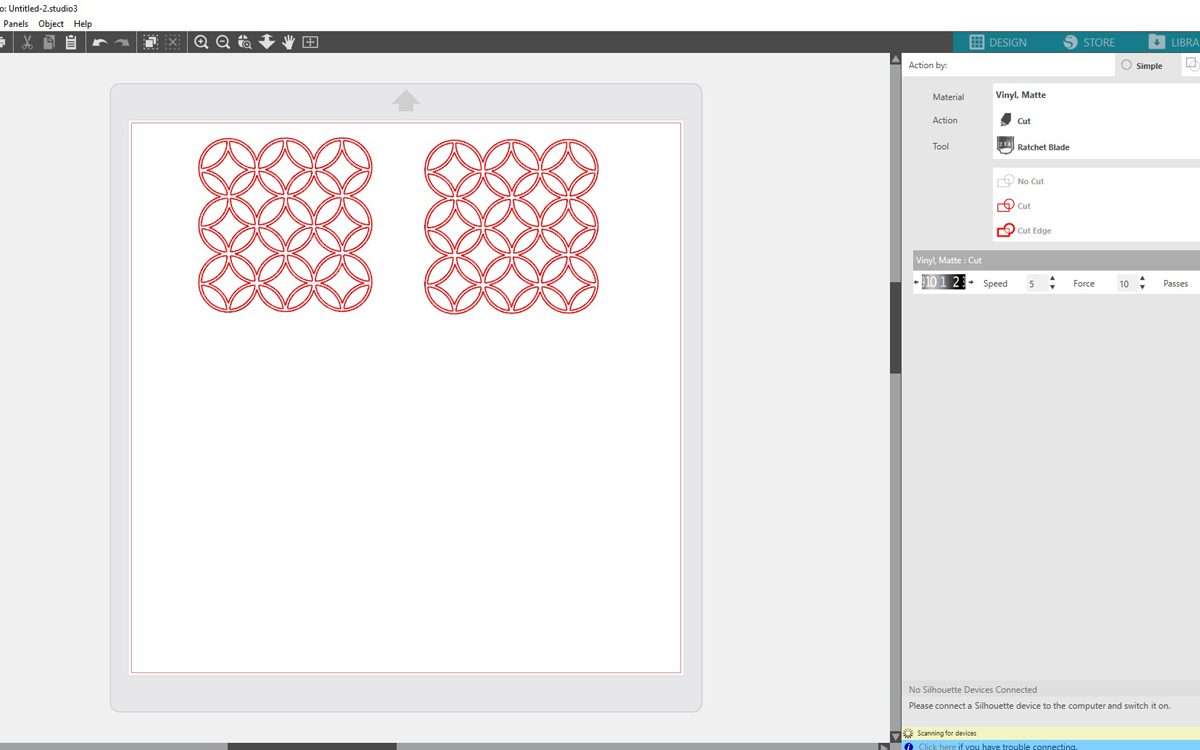
6. To save on vinyl, I also cut another set of images at the same time. This image was even more geometric goodness! Because of the size of the file, I knew that two would need to be cut for the design to cover part of the front and part of the back of my candle.
Step Two: Cutting the Vinyl
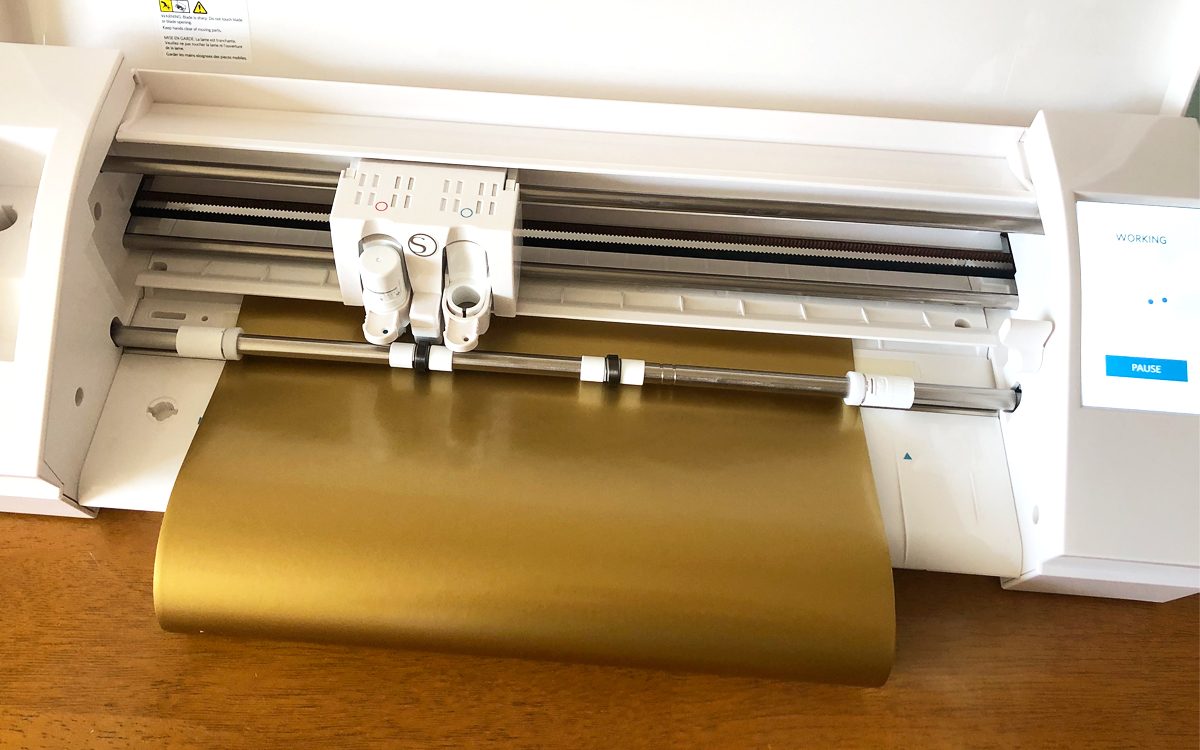
1. After prepping all my files, I sent them to my Silhouette CAMEO® 3. Make sure you have selected the correct medium for the machine to cut. That is a very important step before you click the Send button.
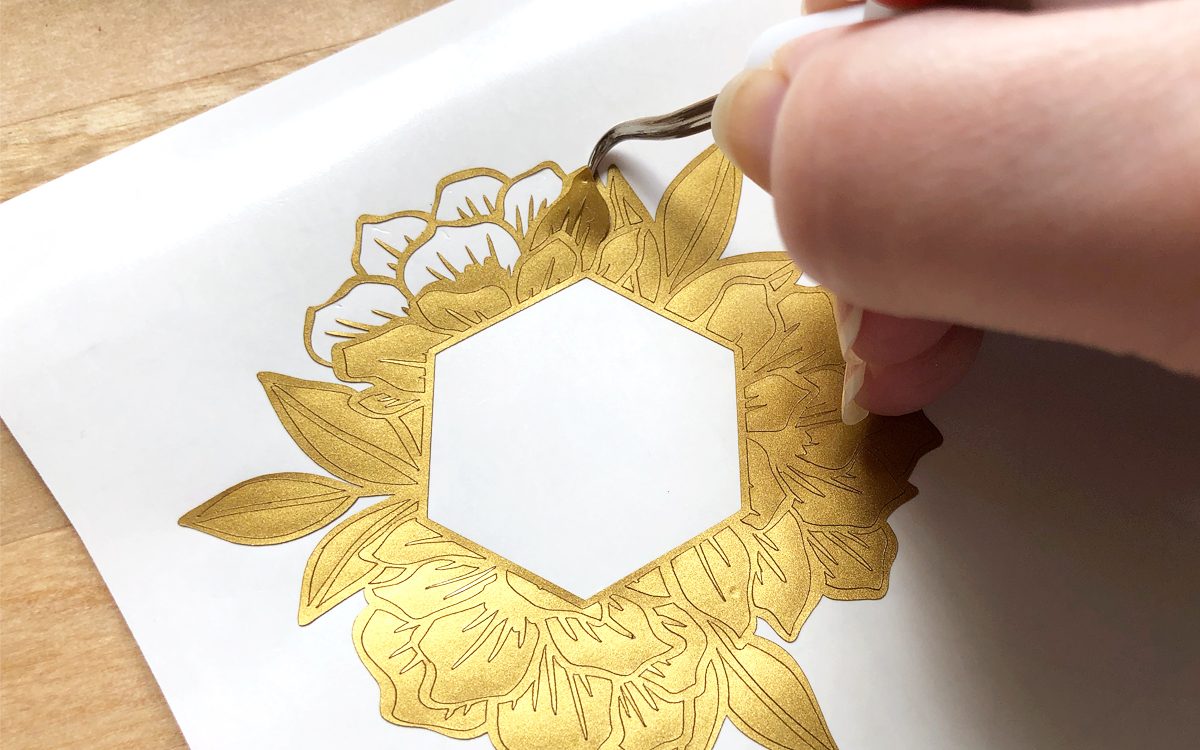
2. Once the images were cut, I began the weeding process. The Silhouette Tool Kit contains a great hook tool that makes it easy to remove the small pieces of unnecessary vinyl.
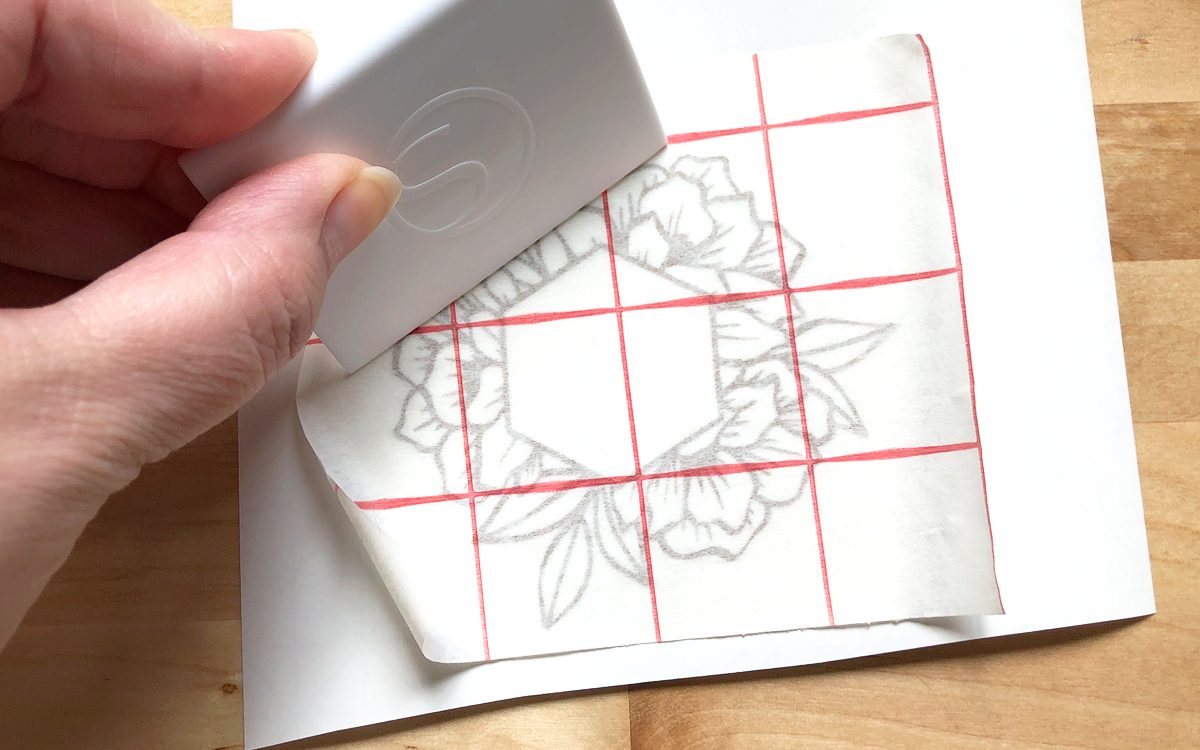
3. When the image was ready for transfer, I grabbed the Transfer Tape roll that I cannot live without. This tape allows you to pick up your image and place it where desired with ease. Cut the Transfer Tape to a size slightly larger than your image. Remove the backing to expose the sticky side. Place the sticky side down on your image and go over the tape with your scraper tool to ensure the tape has picked up the entire image.
4. If for some reason, not all the design gets picked up, place the tape back down, and go over it again with the scraper tool.
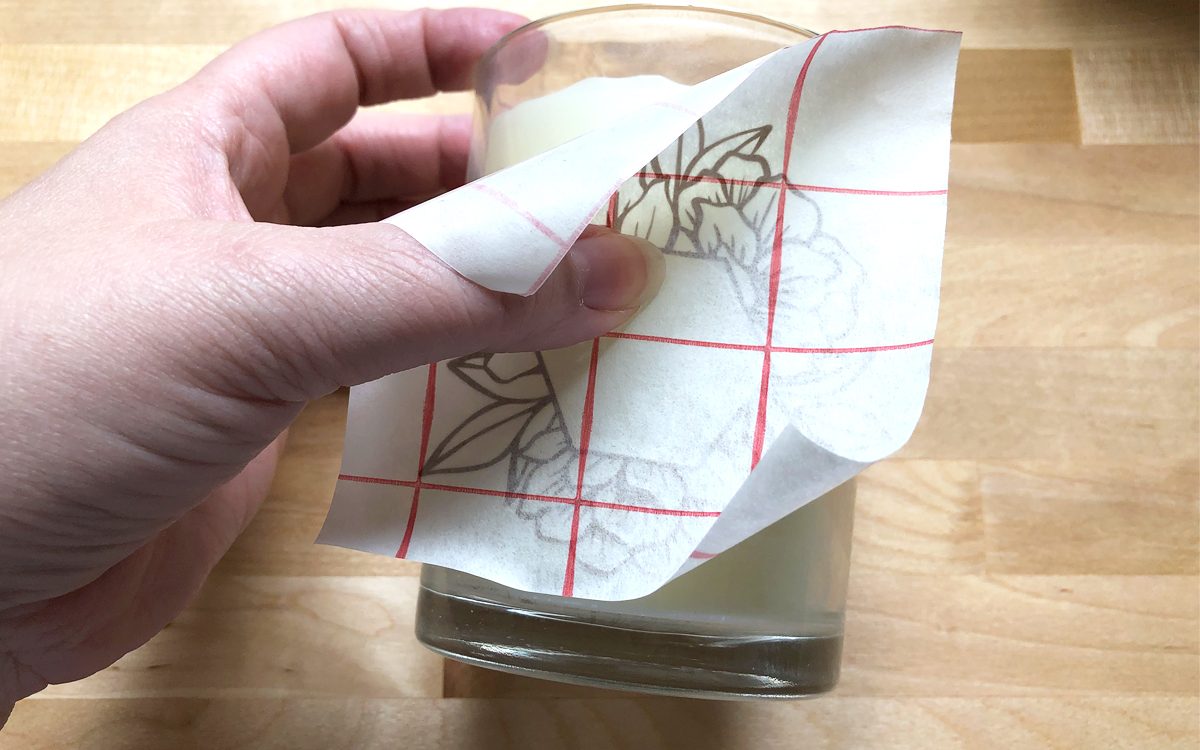
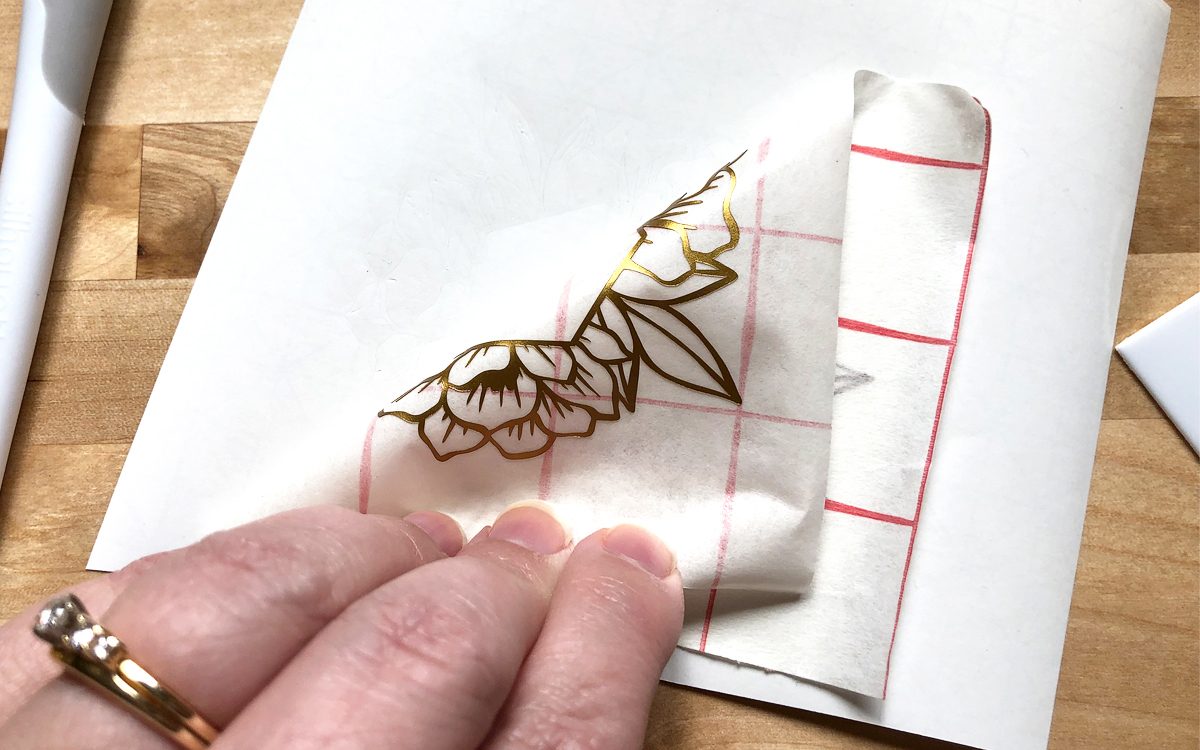
5. Lift the backing tape up and place it over your candle. The Transfer Tape allows you to see where your design will be placed. This stuff seriously changes the digital cutting game!
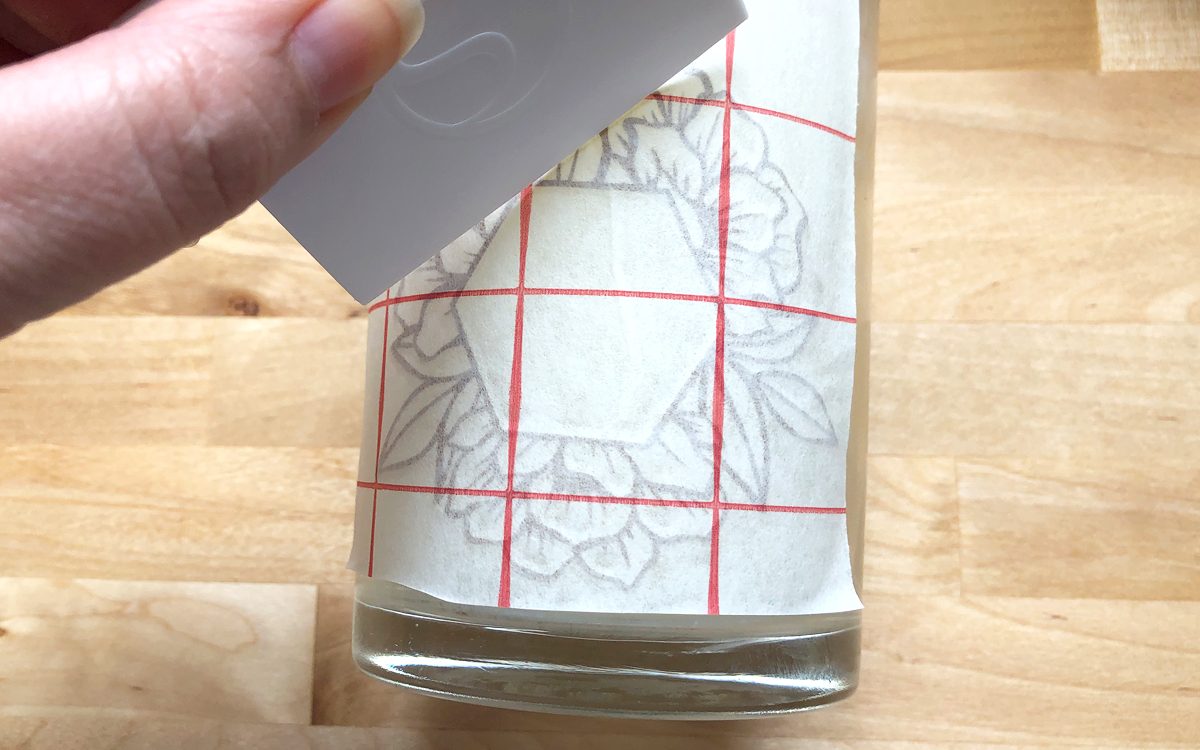
6. Flatten the tape around the candle with your hand and then use the scraper tool to affix the vinyl to the glass. Images such as this with small details can take several passes with the scraper. I also found that scraping along the curve of the candle helped greatly.
7. Please note to get a better adhesion, clean the candle surface before applying the vinyl.
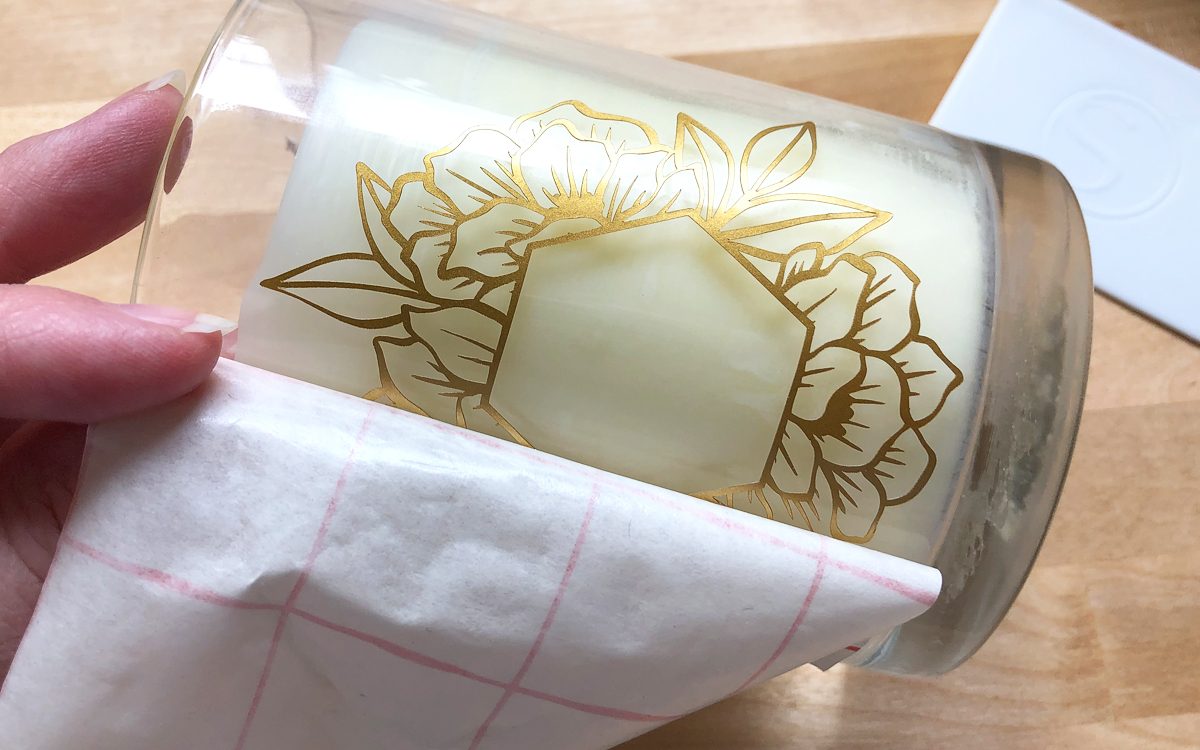
8. Slowly lift away the Transfer Tape backing and the image is now adhered to the candle.
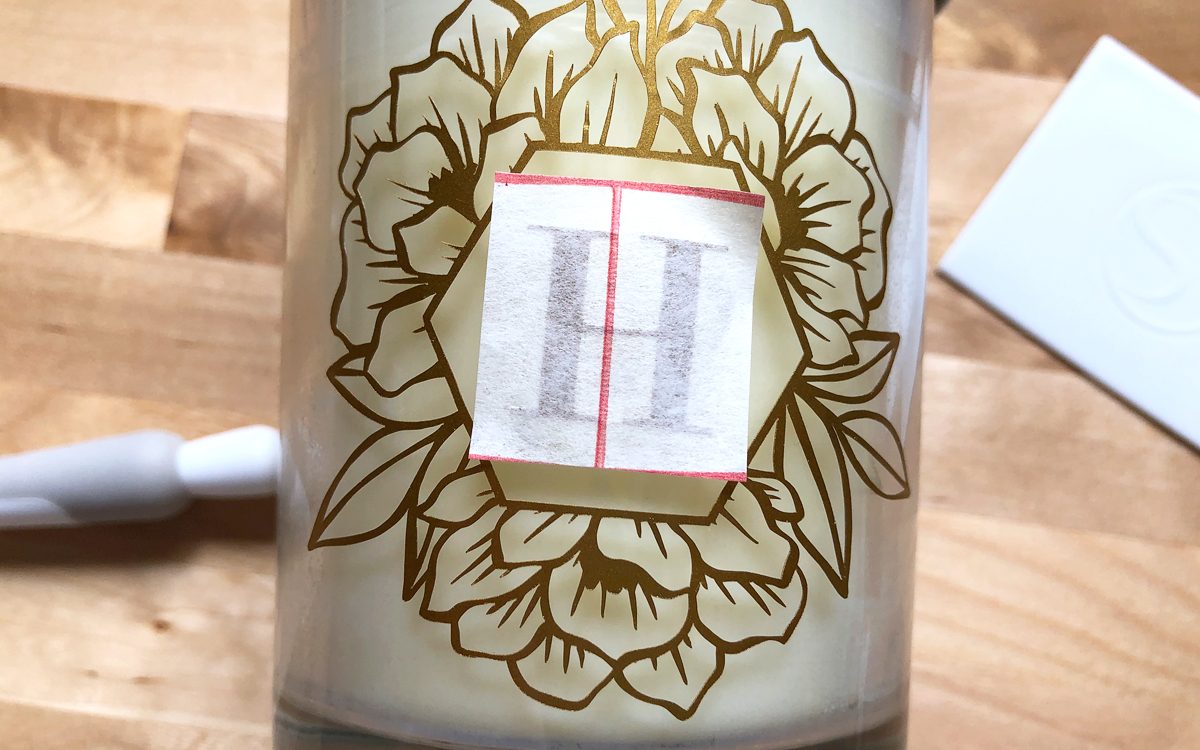
9. Repeat the same process for the monogram in the middle and also the geometric background.
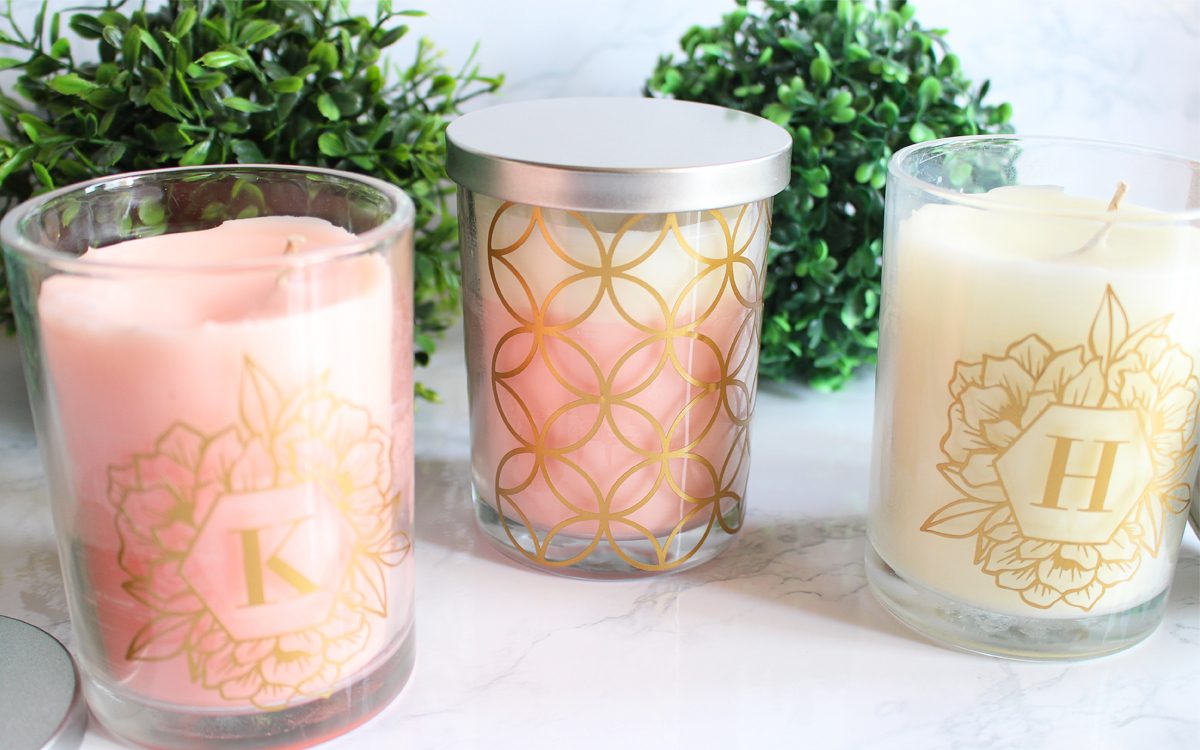
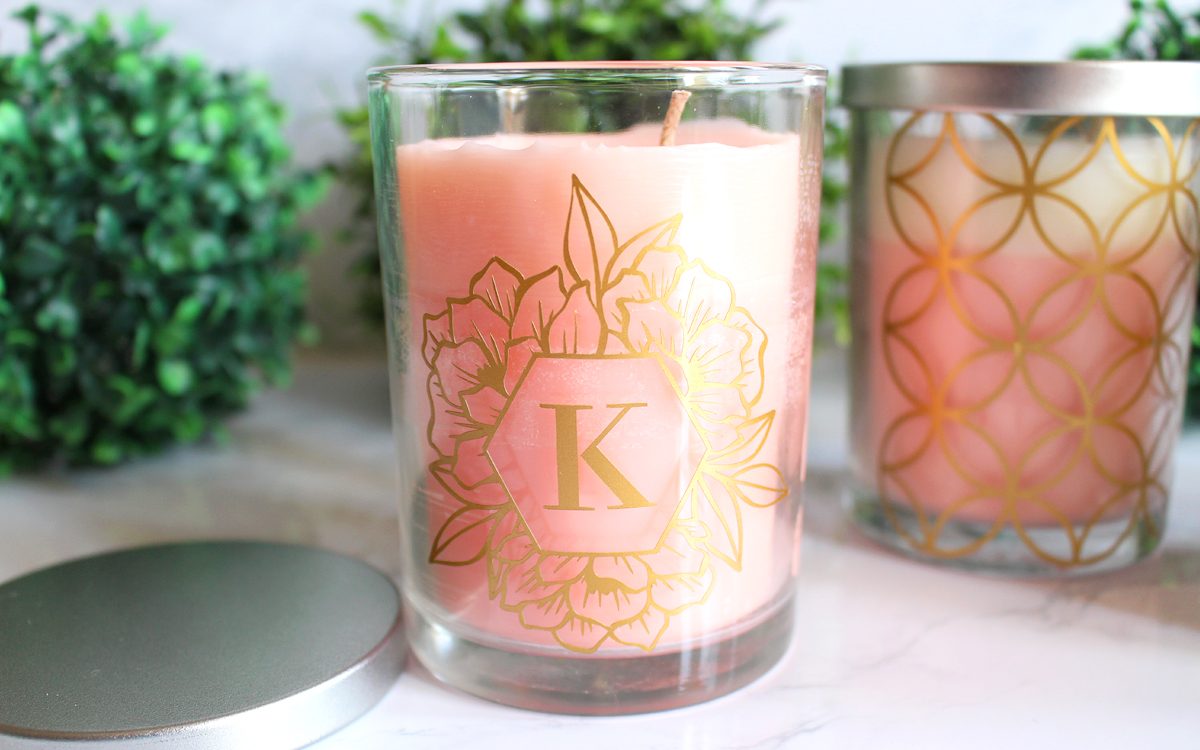
And now you have your very own custom candles!
Nasze Naturalne
September 3, 2025
Your authentic voice really shines through in everything you create and share
Naszenaturalne
September 2, 2025
Really love your style
Kelly Wayment
June 28, 2024
You can use it with vinyl as long as it is smooth and flat to allow the static charge to hold on to it. Rolled vinyl that wants to go back to its rolled shape will not necessarily work well, and it would need to be trimmed to fit the ES mat cutting area.
Kelly Wayment
June 28, 2024
Yes, you can use the heat pen while using the ES mat. 🙂
Yurii
March 2, 2024
Hello. May it be used with heat pen?
Thanks
Jerome
February 24, 2024
Hi, works this with the normal vinyl foils or only with printer papter etc?