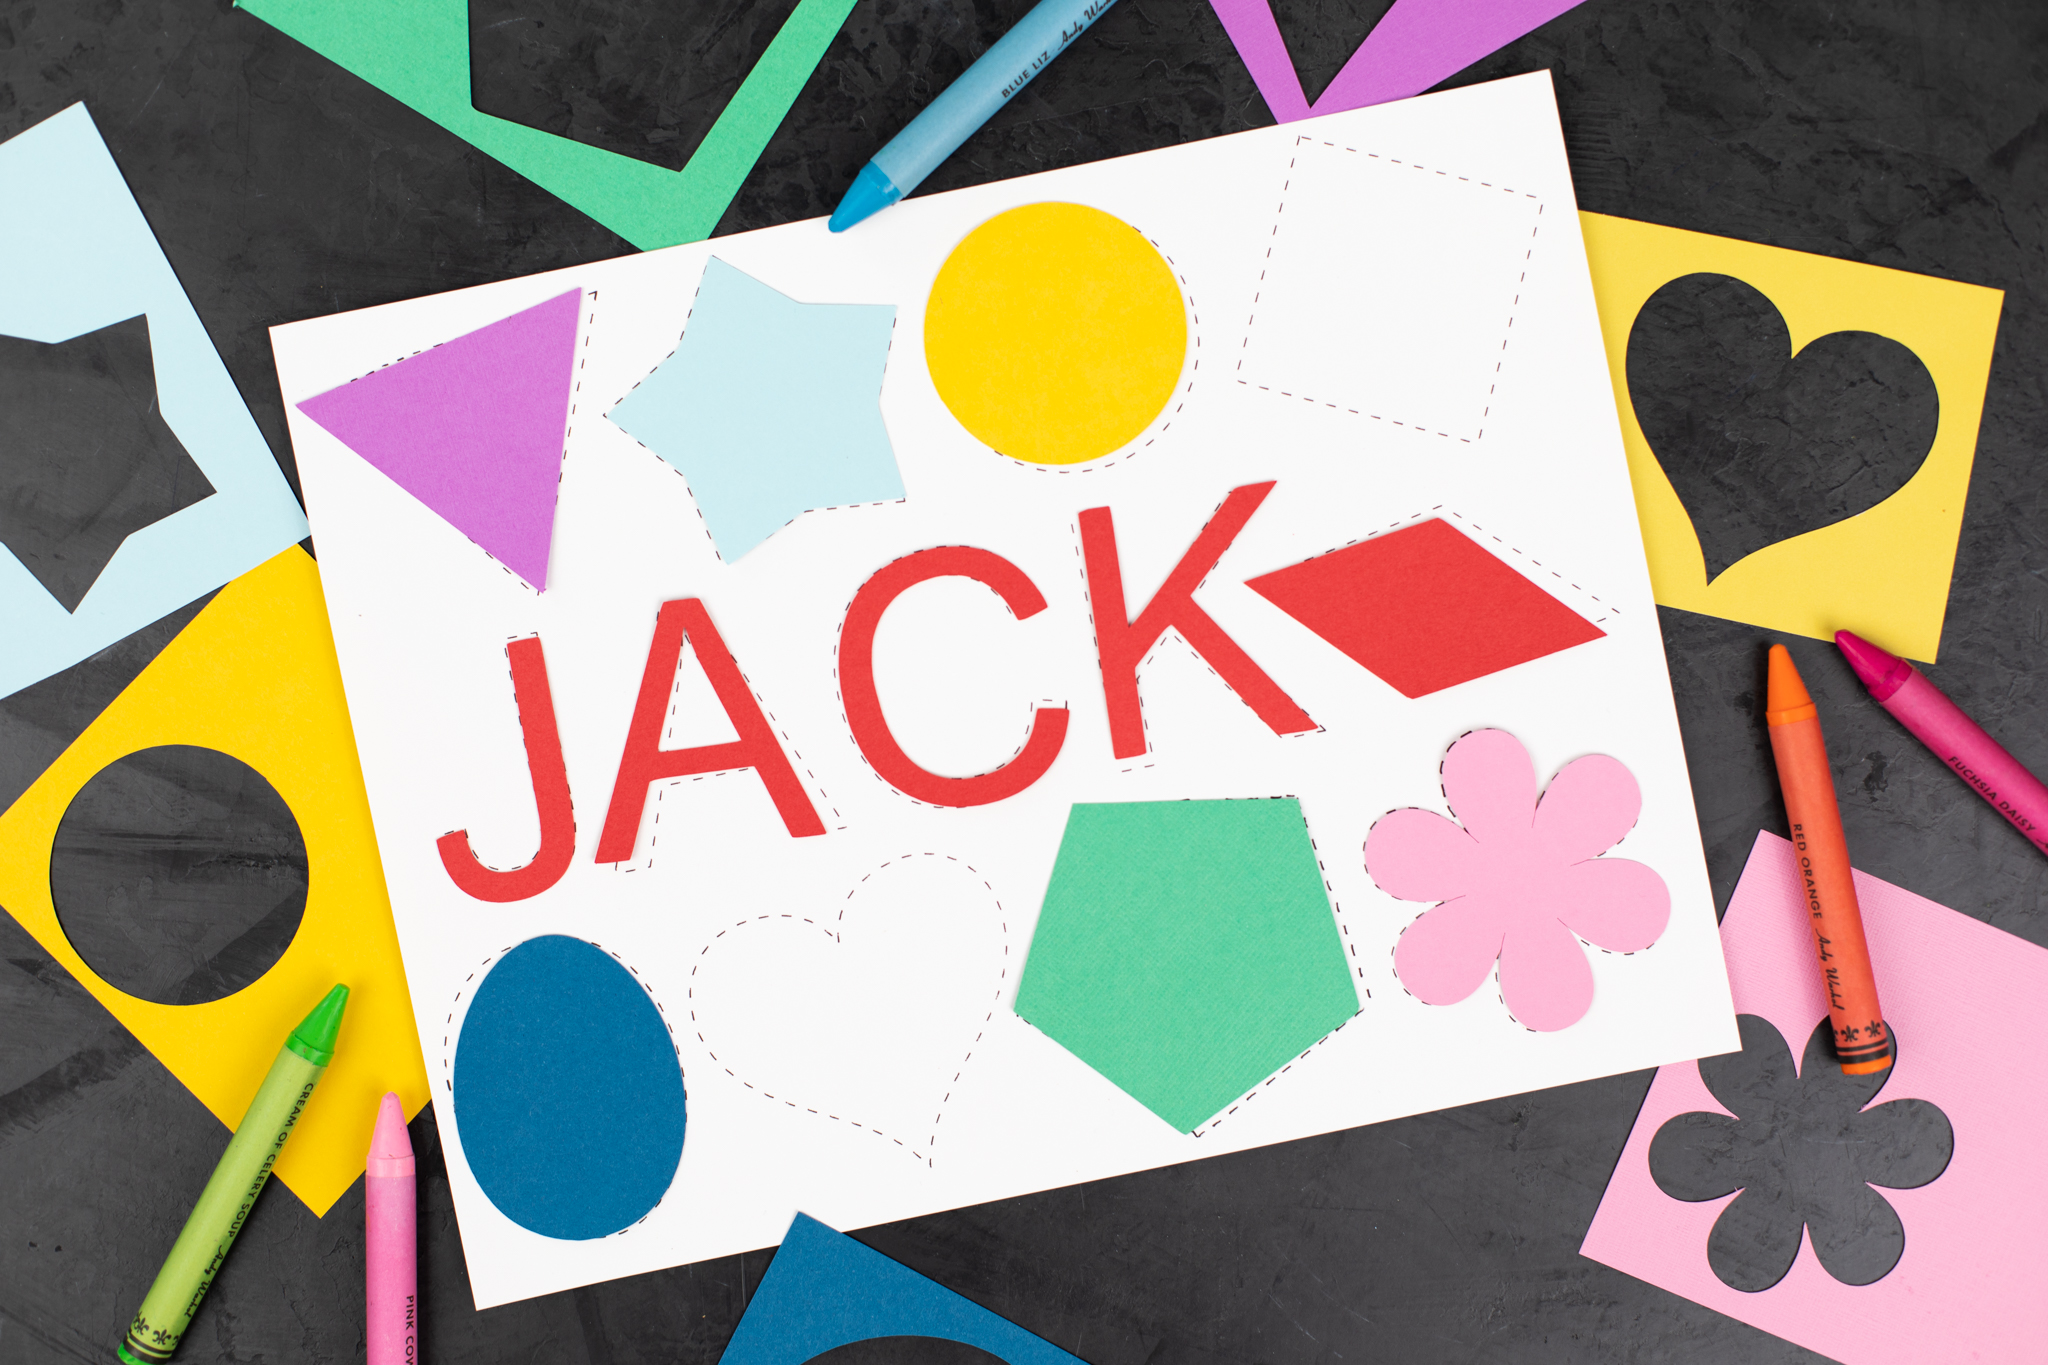
If you and your kiddos find yourself at home, why not make some custom activity sheets with your Silhouette cutting machine and sketch pen! With the sketch pen feature, you can “draw” some shapes, words, or letters to create a template. Then cut out the same pieces from paper so your little one can match them up! You can use whatever designs you want, but we created this one just using Silhouette Studio® features: the Text tool and Flexishapes!
Supplies Needed:
- Silhouette Cameo®
- Silhouette Studio®
- Silhouette Cutting Mat
- Silhouette AutoBlade or Silhouette AutoBlade for Cameo 4
- Silhouette Pen Holder or Silhouette Pen Holder for Cameo 4 or Silhouette Sketch Pens
- Paper or cardstock
Step One: Creating the Template Design
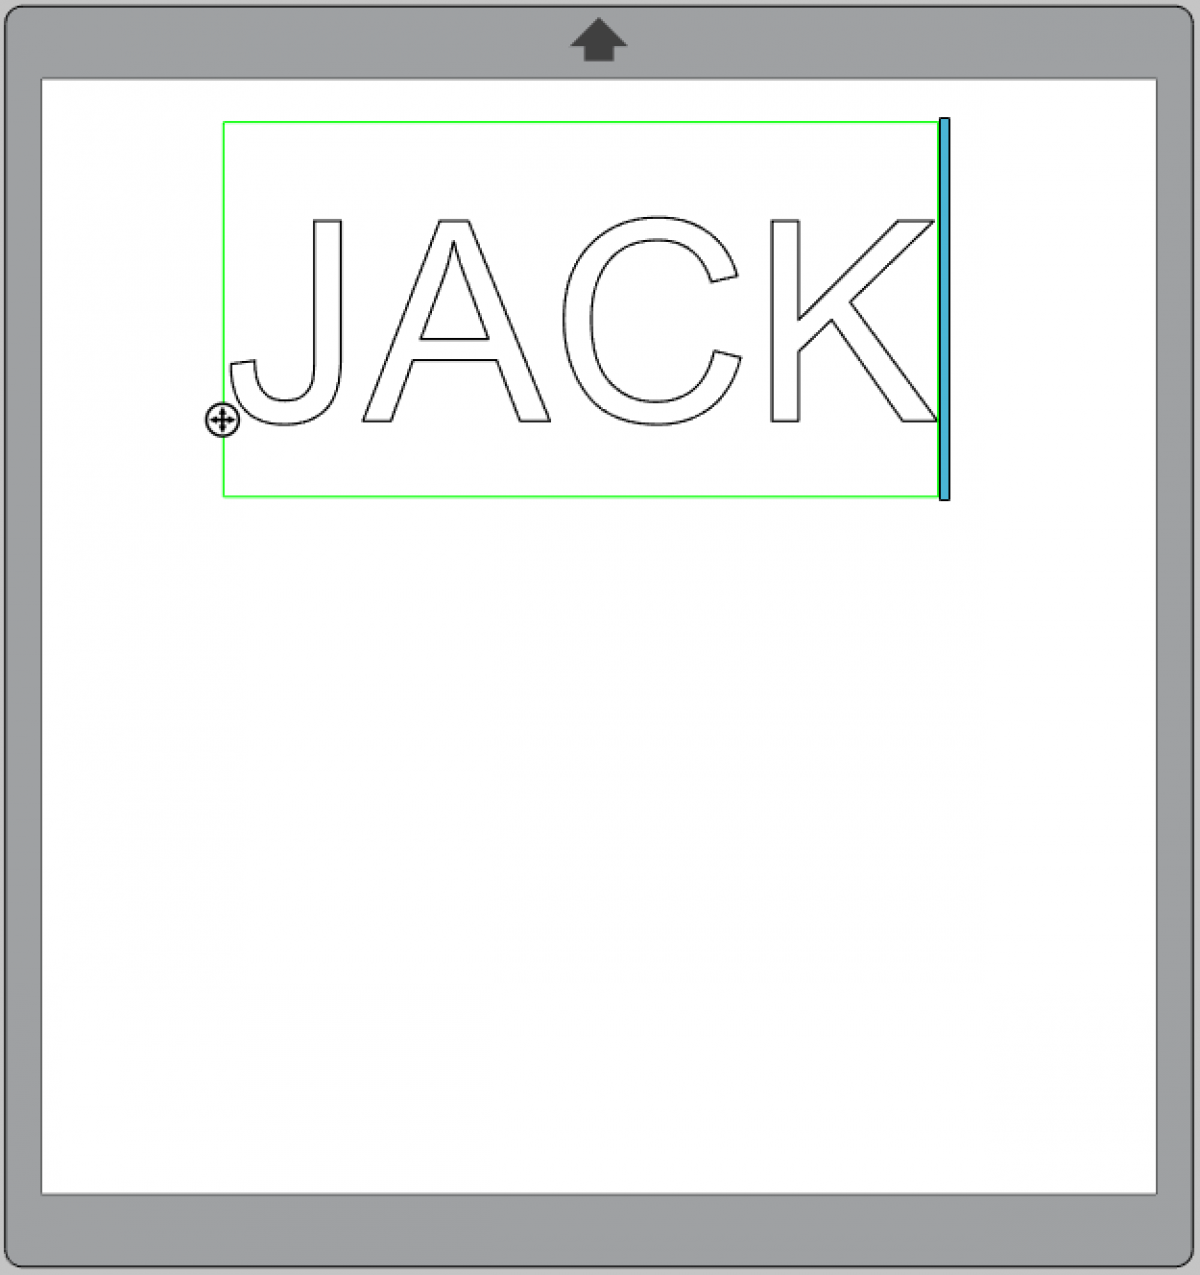
1. Use the Text tool to write out the phrase, word, or letters you want. Change the font if desired, but we wanted to keep it simple.
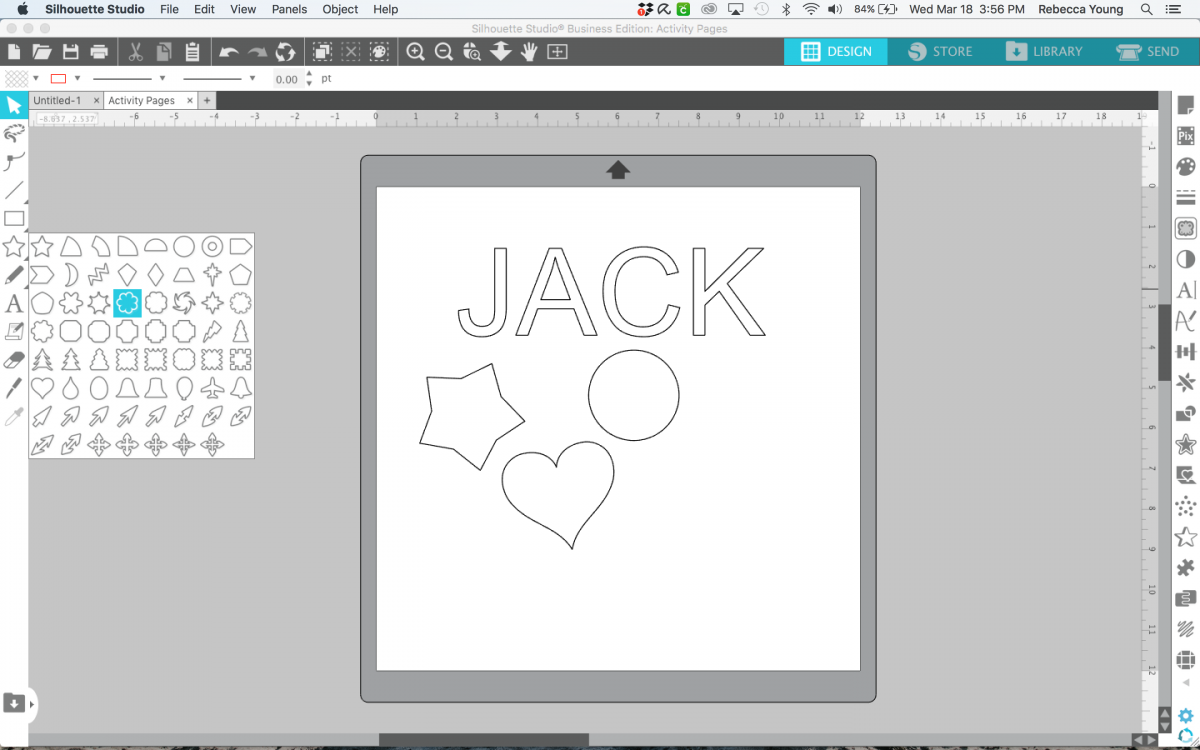
2. Now create a variety of shapes or designs. Use the Flexishape tool if you have access to it (available in Silhouette Studio® Designer Plus Edition or higher), or you can purchase designs from the Silhouette Design Store.
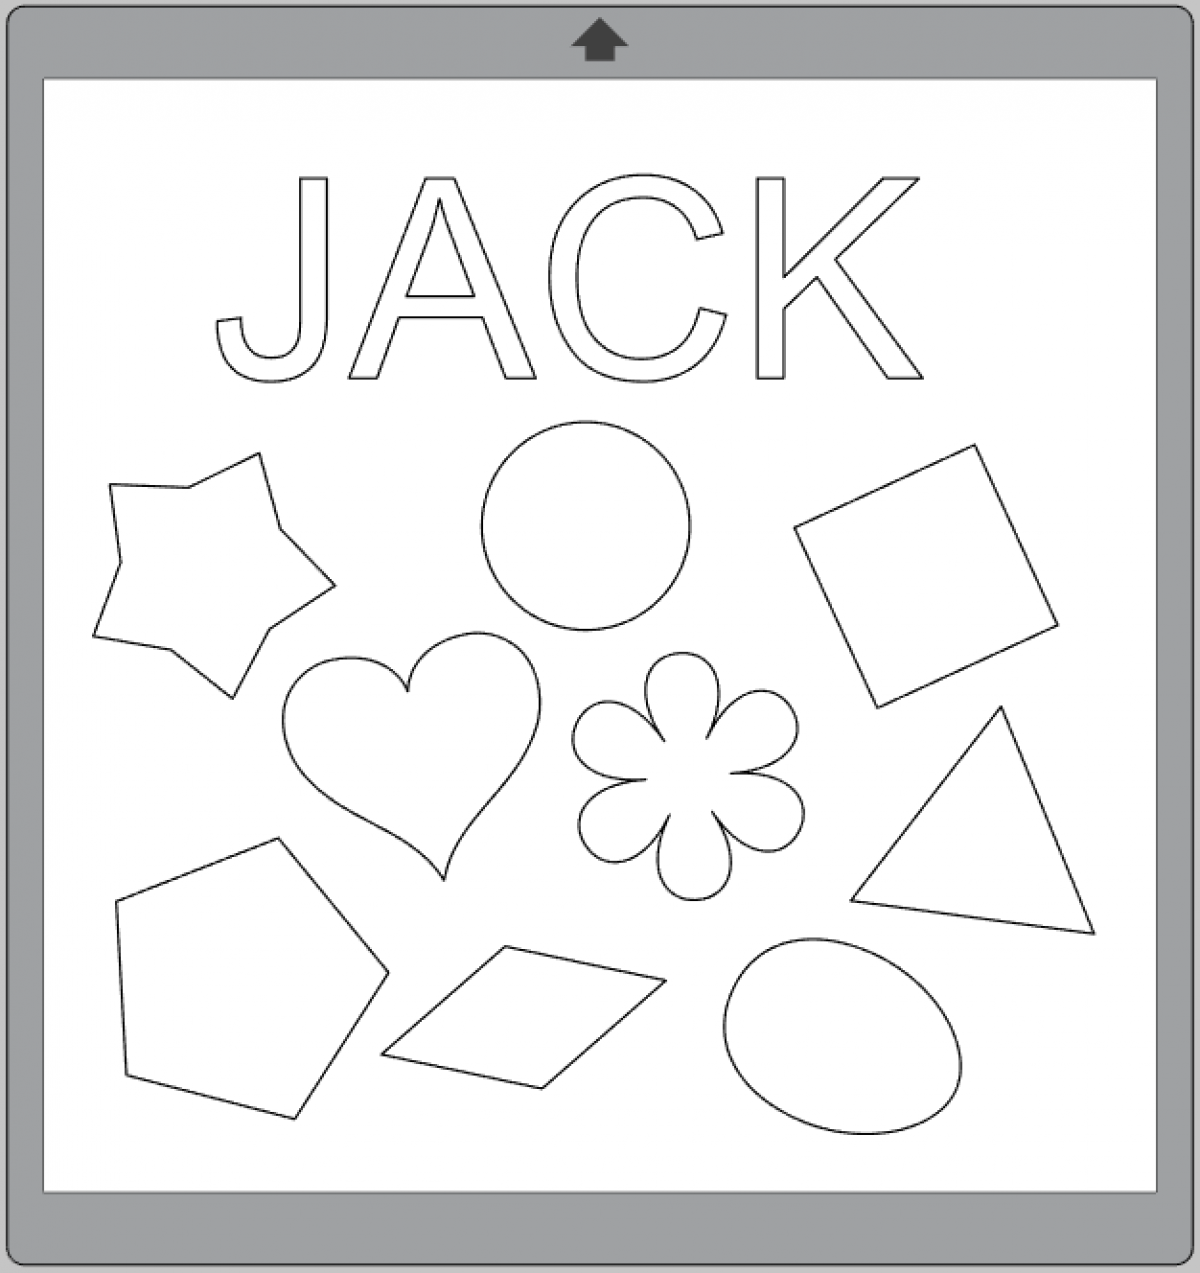
3. All the shapes we used are pretty basic and created with the Flexishape feature.
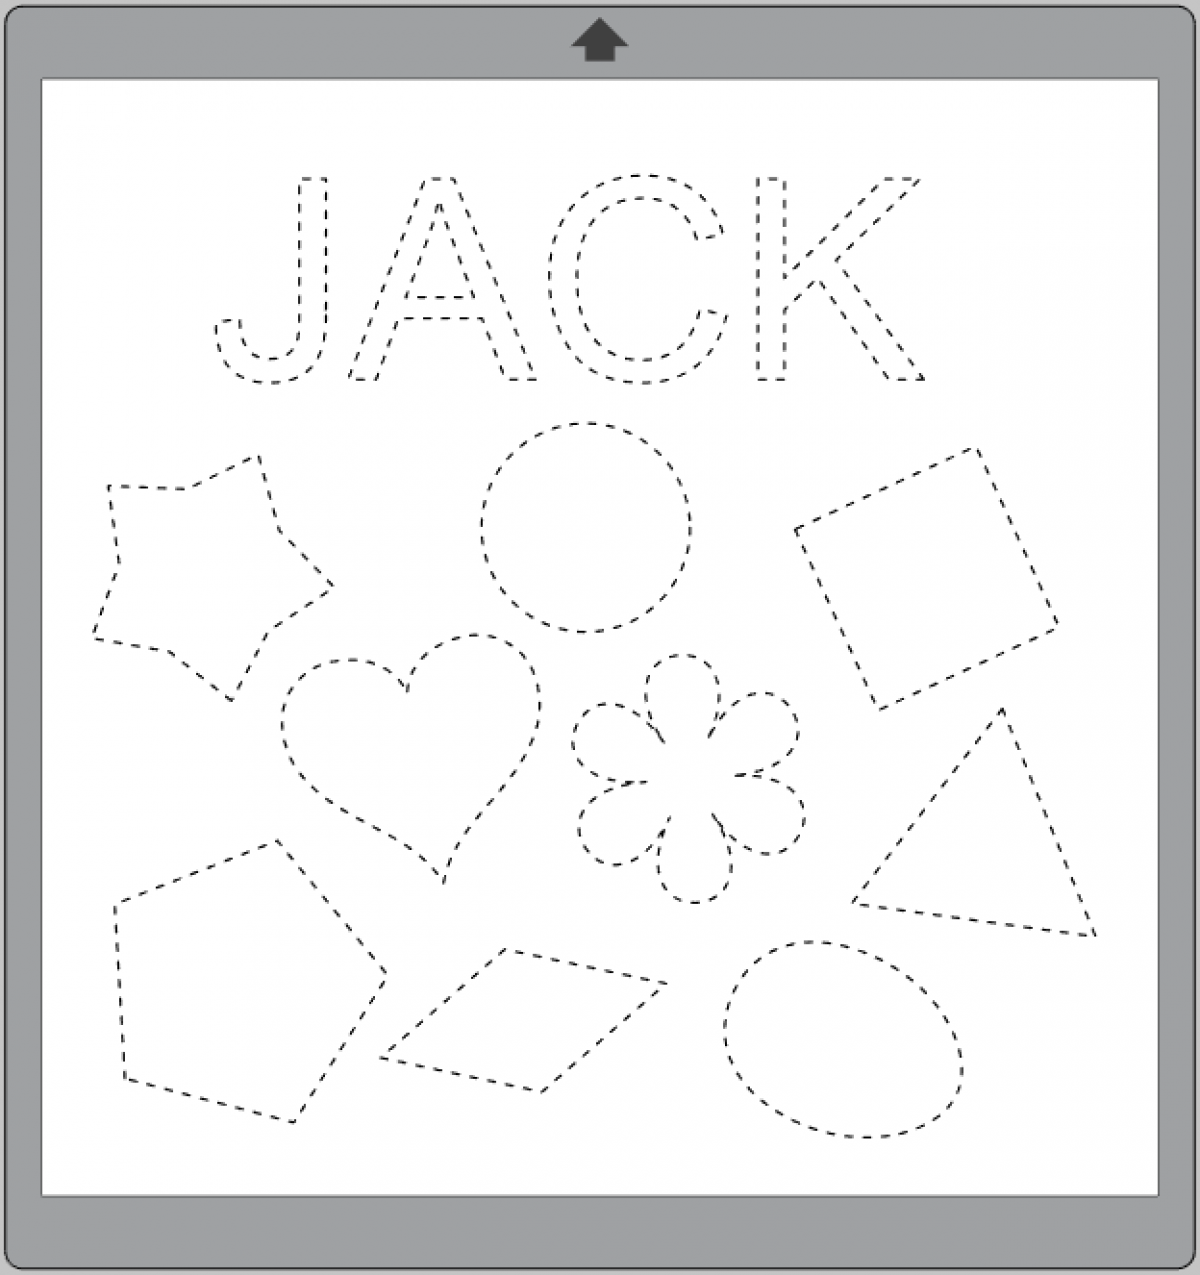
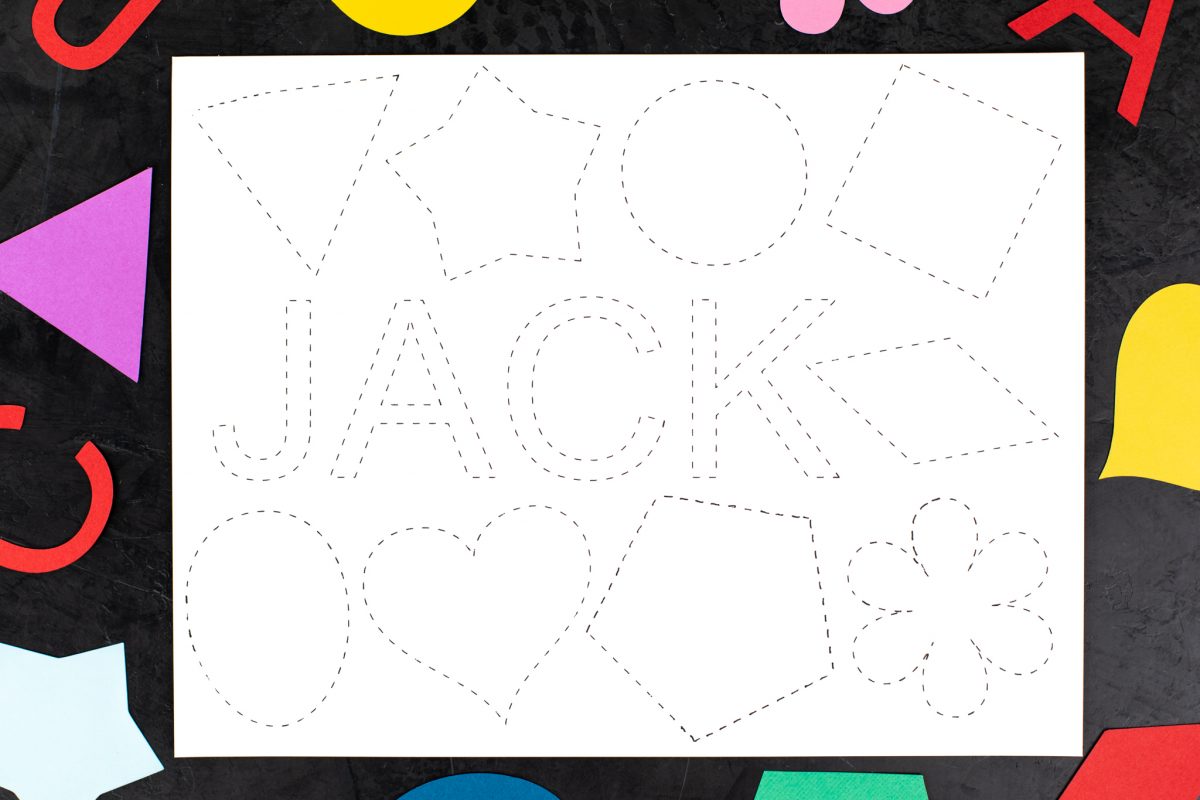
4. Now select all your designs and change the line format to a dashed outline.
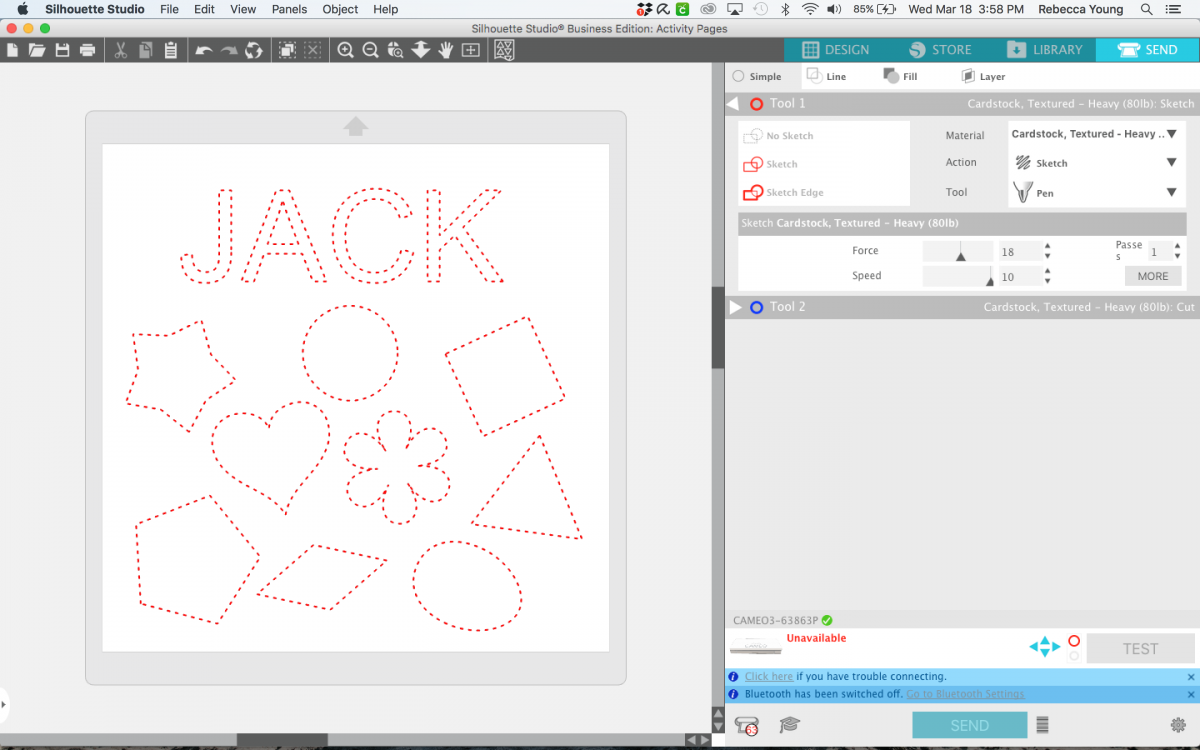
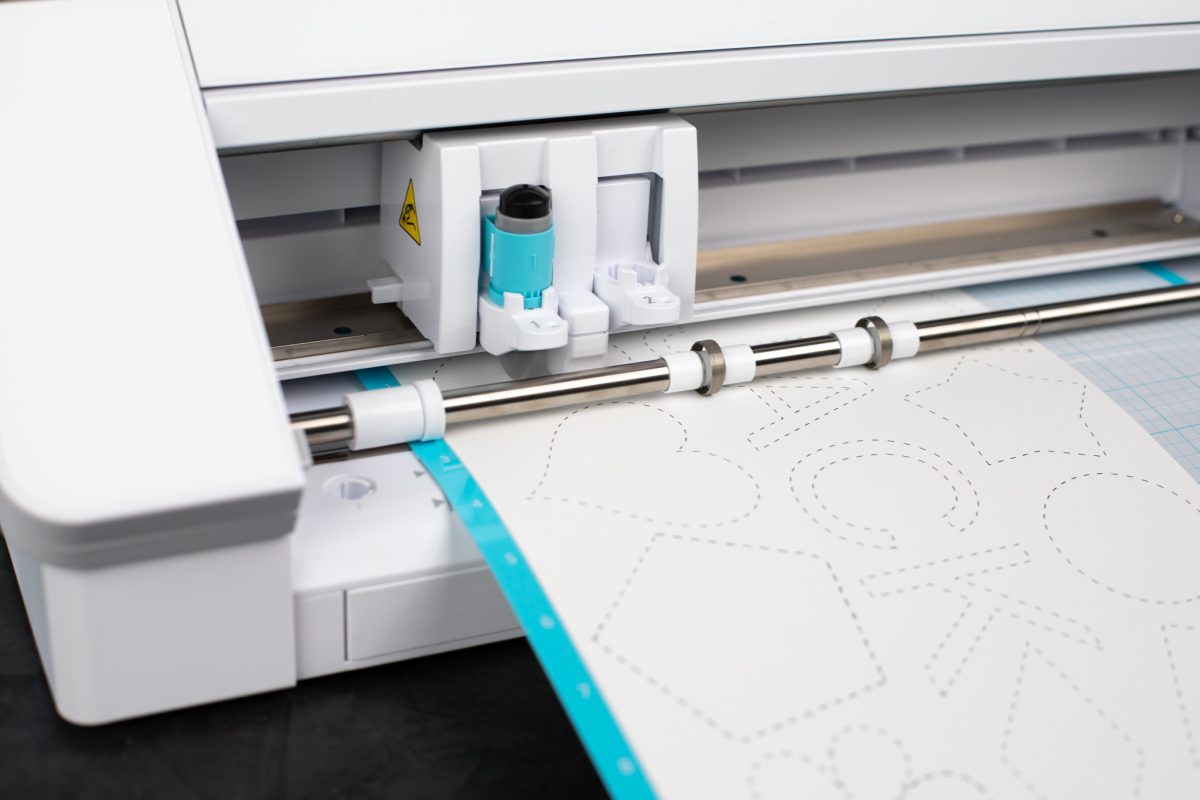
5. Now we’re ready to draw our design! Place your paper on your cutting mat and load the mat into the machine. Set your material and change the action to Sketch. You can either use Silhouette Sketch Pens and place them directly into your carriage or use the pen holder with a pen or marker of your choice. Once your machine and settings are ready, click Send!
Step Two: Creating the Paper Shapes
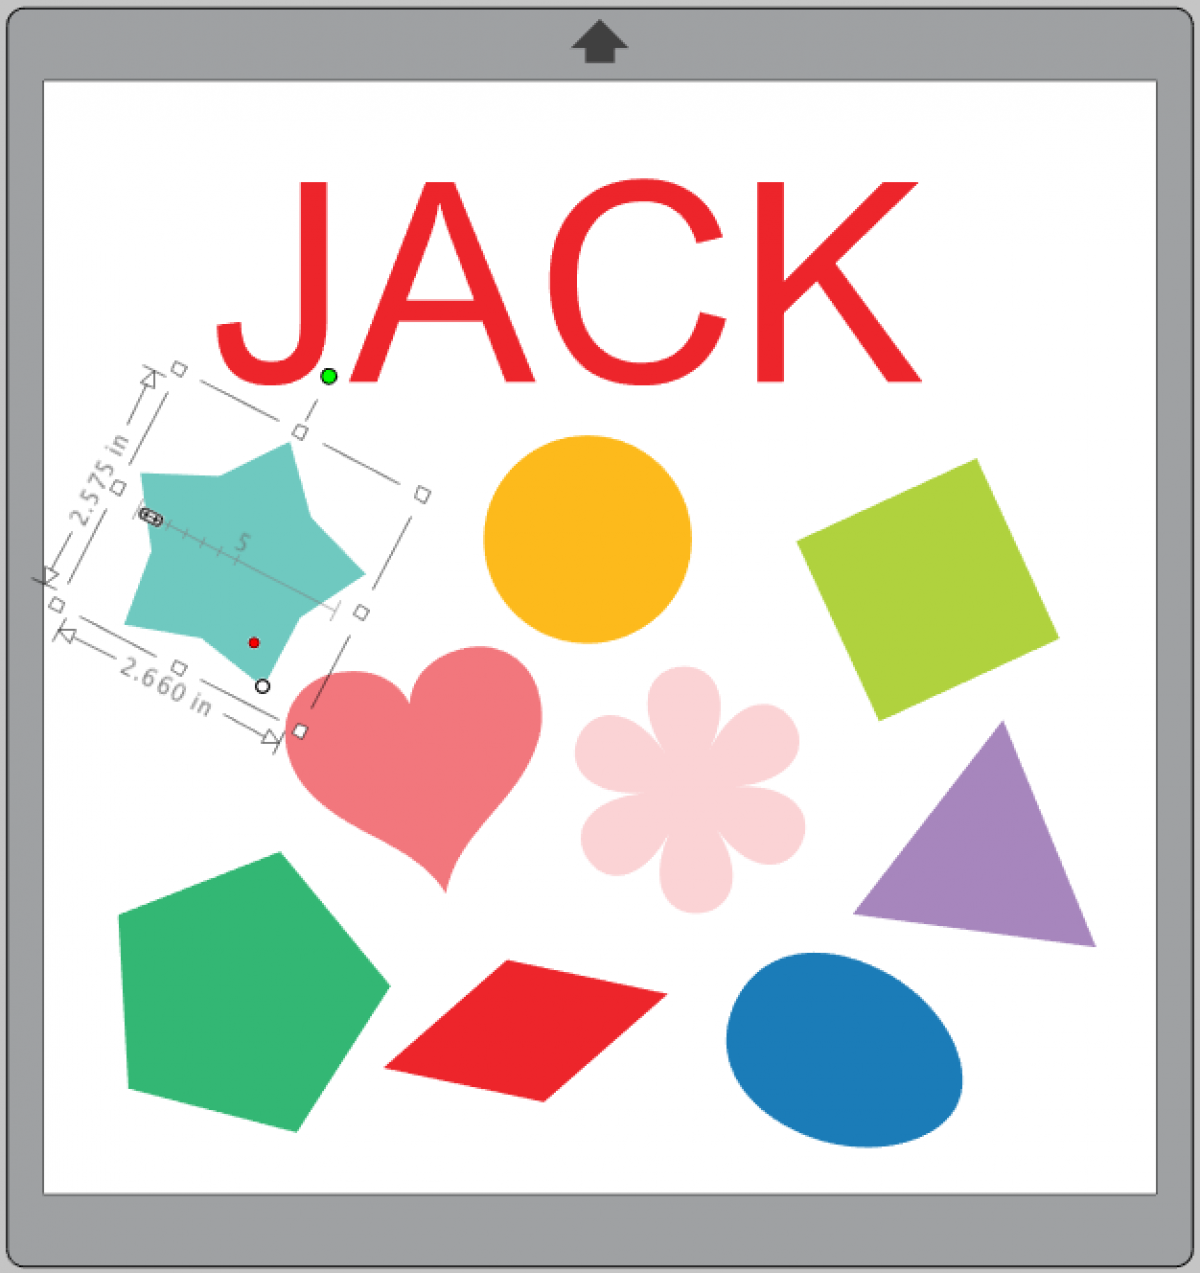
1. Now go back to the original design and adjust the fill color of the shapes and letters to correspond with the cardstock or paper you want to use for all your pieces.
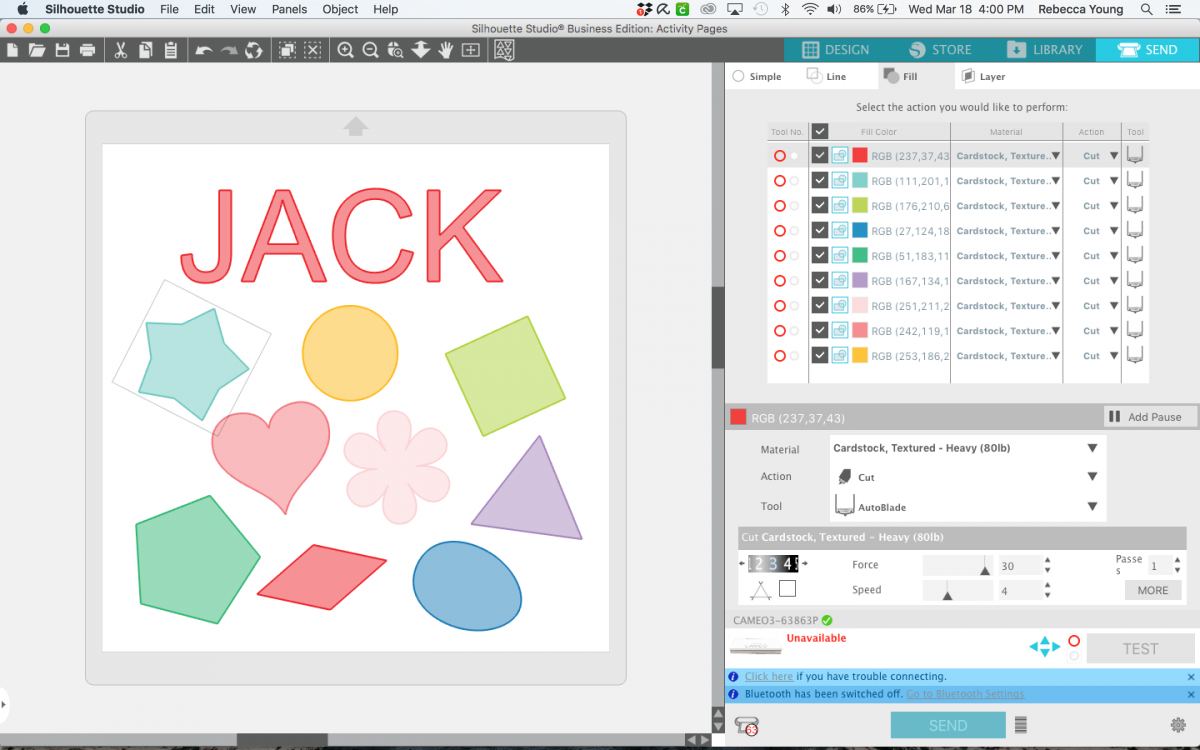
2. In the Send panel, open the Fill panel, which allows you to cut out the elements by colors. This is a great project to use your paper scraps for! Adjust your cut settings for your paper and then cut out all your elements in the colored paper of your choice.
Step Three: Matching the Pieces!
Now that you have sketched your template and cut out your shapes, it’s ready for your little one to have a go!
 Free Class - Shaker Card with the ES Mat
  Free Class - Foiled Gift Tags with the Heat Pen