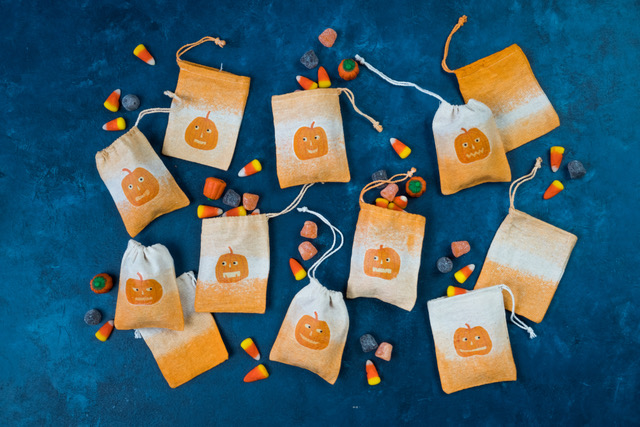
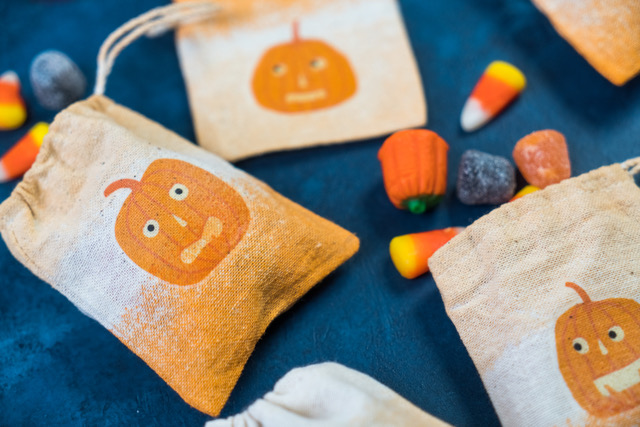
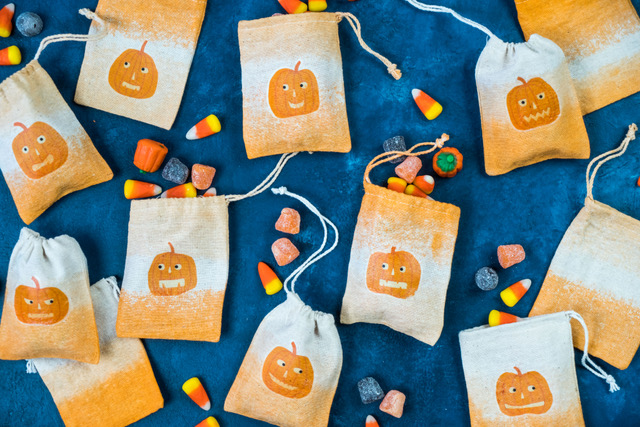
If you have a Halloween party coming up, and you want to send guests home with something a bit more dressed up than a plain candy bar, these pumpkin treat bags are just the thing! We used Printable Heat Transfer sheets to add a sweet pumpkin face to dip-dyed muslin bags to resemble candy corn. Then fill the bags with your favorite seasonal goodies!
Supplies Needed:
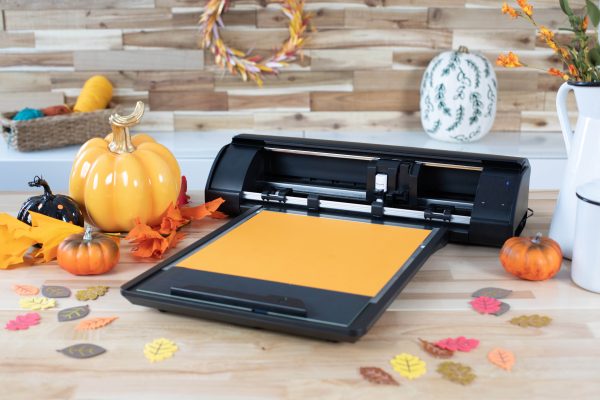
- Silhouette Cameo® or Silhouette Portrait®
- Silhouette Studio®
- Silhouette Cutting Mat
- Silhouette AutoBlade or Silhouette AutoBlade for Cameo 4
- Printable Heat Transfer Sheets for Light Fabrics
- Cotton drawstring bags
- Orange fabric dye
- Jars or mugs for dying
- Iron
- Design ID #304594 by Nic Squirrel
Step One: Dip-dyeing Your Bags
1. Fill two jars with boiling water. Pour in a small amount of orange fabric dye into the jars, filling one with slightly more than the other so you have two shades. Mix with a wooden skewer.
2. Dip your cotton bags into the dye, keeping them submerged for as long as it takes to achieve the desired color—should only be a few seconds.
3. Dip in the other jar for an ombre or variegated look.
4. Set aside and let dry.
Step Two: Formatting Your Pumpkins
1. Insert your design into Silhouette Studio®. Change the page dimensions to 8.5 by 11 inches and turn registration marks on. Size your pumpkins as large as you can, while still fitting within the perimeters of the registration marks.
2. Print your page on the Printable Heat Transfer Sheet, on the unlined side, with a ink-jet printer.
3. Then place your printed design on a cutting mat, load into your machine, and cut around your pumpkins with the appropriate cut settings.
Step Three: Iron on the Designs
1. Cut the pumpkins into squares so you can apply each design individually.
2. Weed the negative space around the pumpkin
3. Peel off the pumpkin and place the design, face up, onto your bag.
4. Cover with the liner paper and set with a hot iron, only pressing for a few seconds.
5. Remove the liner and repeat the above steps for all bags.
6. Fill with yummy goodies!
 Everything to Know About the Electrostatic Mat
  Halloween Wall Décor