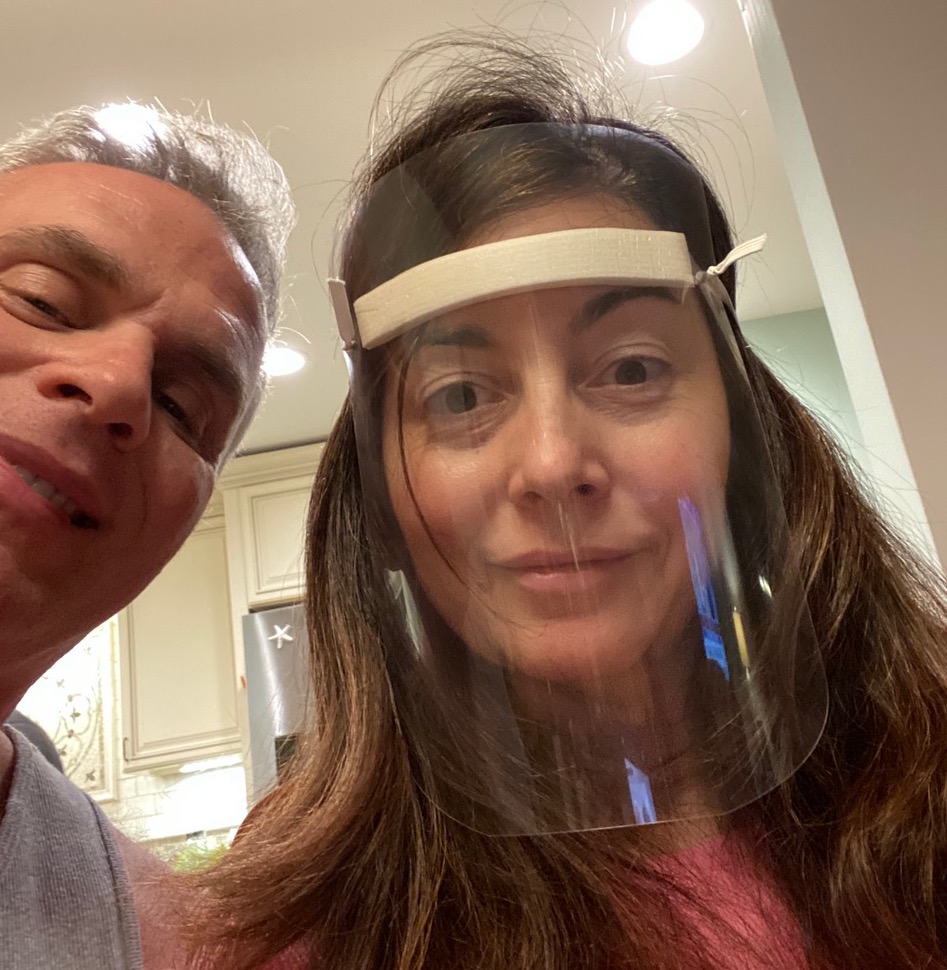
The Silhouette Cameo® community never ceases to amaze us, and this DIY Face Shield project is the perfect example! Teresa Pepe, a licensed Terri Johnson Creates instructor, created a design file for a face shield after being approached by a nurse from a local hospital in their home state of New York. Teresa and her husband Gino delivered! They turned to their Cameo machine and Silhouette Studio® to come up with a solution, and they are generously sharing their design file with us! Read the whole inspiring story over on Terri Johnson Creates and reference additional instructions there, if needed. Thank you for being an incredible community and using your creative minds to care for those around you!
Note: The face shields are specifically made for the medical staff, EMT, frontliners, and anyone coming into possible contact with COVID-19 patients. It’s a barrier to put on over their N-95 mask to keep fluids away, prolong the lifespan of the N-95 mask, and protect the wearer’s eyes. Please use only unused materials in the construction of these masks.
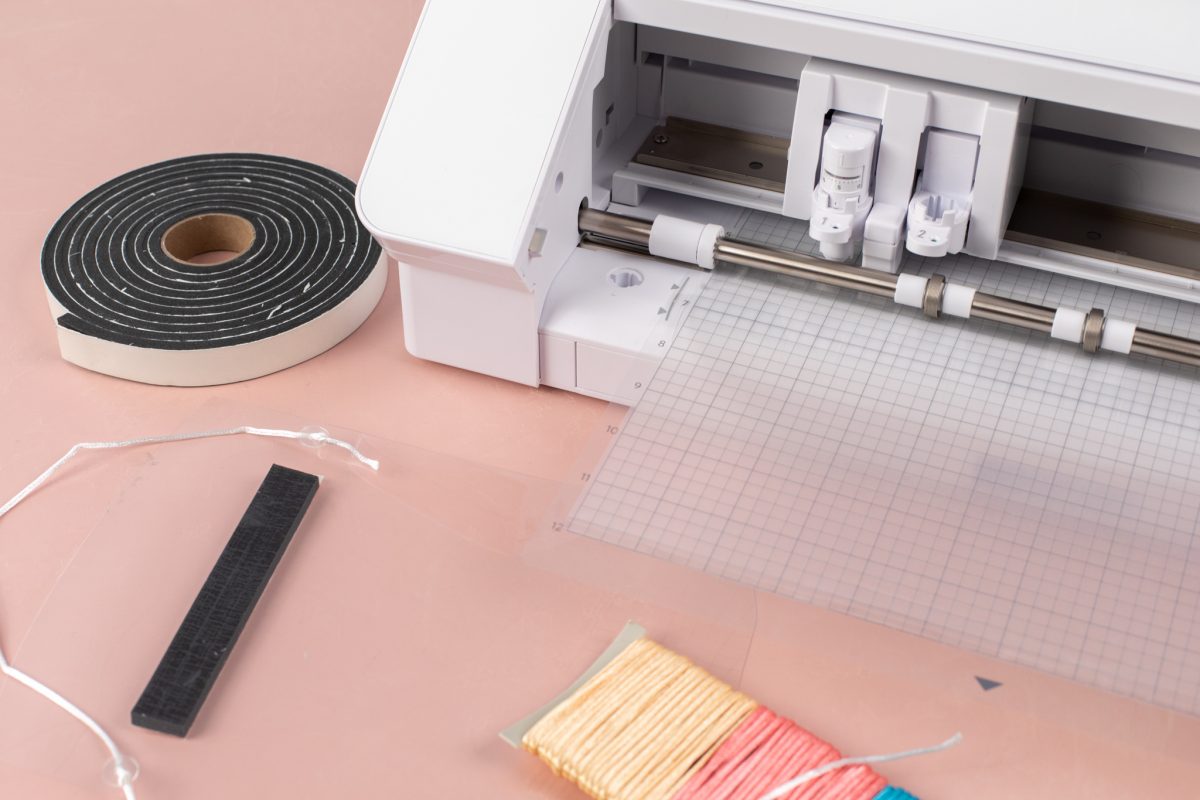
Supplies Needed:
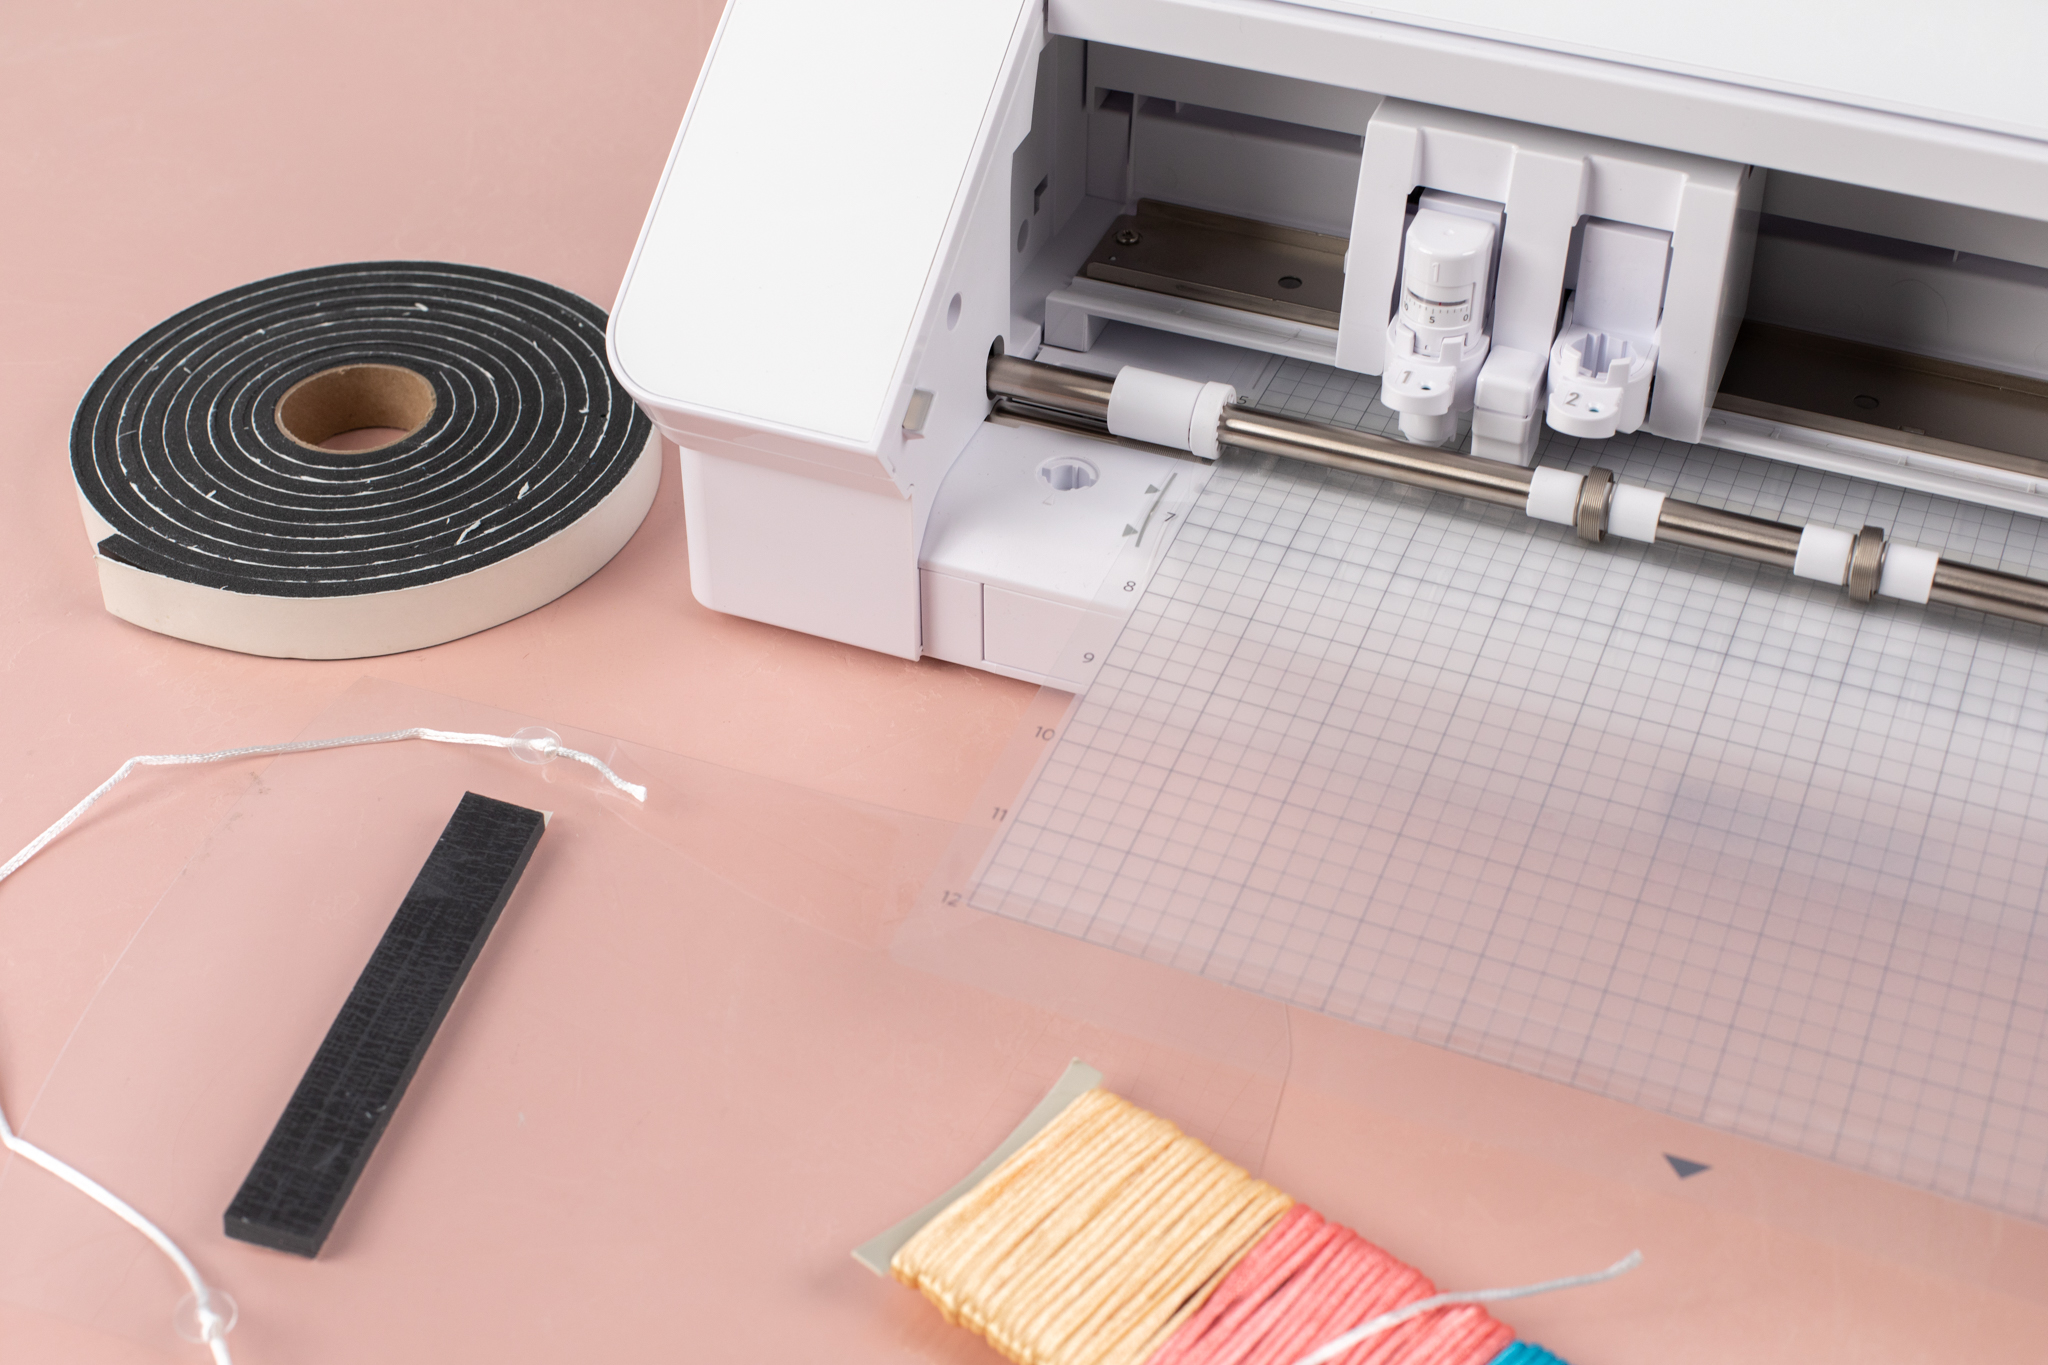
- Silhouette Cameo® 4 Plus or Silhouette Cameo® 4
- Silhouette Studio®
- Silhouette Cutting Mat
- Cutting Blade
- One transparency (3M clear Acetate sheet) available on Amazon or at Staples
- 3/4-inch thick rubber foam (5 inch piece) Frost King (Available at Home Depot)—goes between two holes
- Stretch Elastic Cord 2 mm—this is available at Uline (for gift packaging)
- Design ID #318208 for Face Shield Template
Step One: Format the File
1. Insert the design file into Silhouette Studio®. There are two cut files, one with larger holes included, in case you are using larger elastic cording. Select whichever one works best for the materials you have on hand.
2. Apply your sheet of acetate to your cutting mat and load into your Silhouette cutting machine. Adjust your cut settings to the following to accommodate the acetate. Remember to do a test cut to ensure they will work for your machine. We used the settings for “Textured Cardstock—Heavy (80lb)” and increased the number of passes to 2.
- Blade Depth 3 -— Force 30 — Speed 4 — Passes 2
3. You can get one shield and several washers from one sheet of transparency. It is best to use 2 washers per hole for a total of 4 per mask.
Step Two: Assemble the Shield
1. Cut a 17-inch long piece of elastic cord. Thread the cord through one of the holes in the shield, placing two washers on the cord. Tie a knot and pull back until the washer goes flush against the shield.
2. Repeat on the other side. Whoever receives the shield can adjust the tightness by simply untying the knot and retying to the desired length and tension.
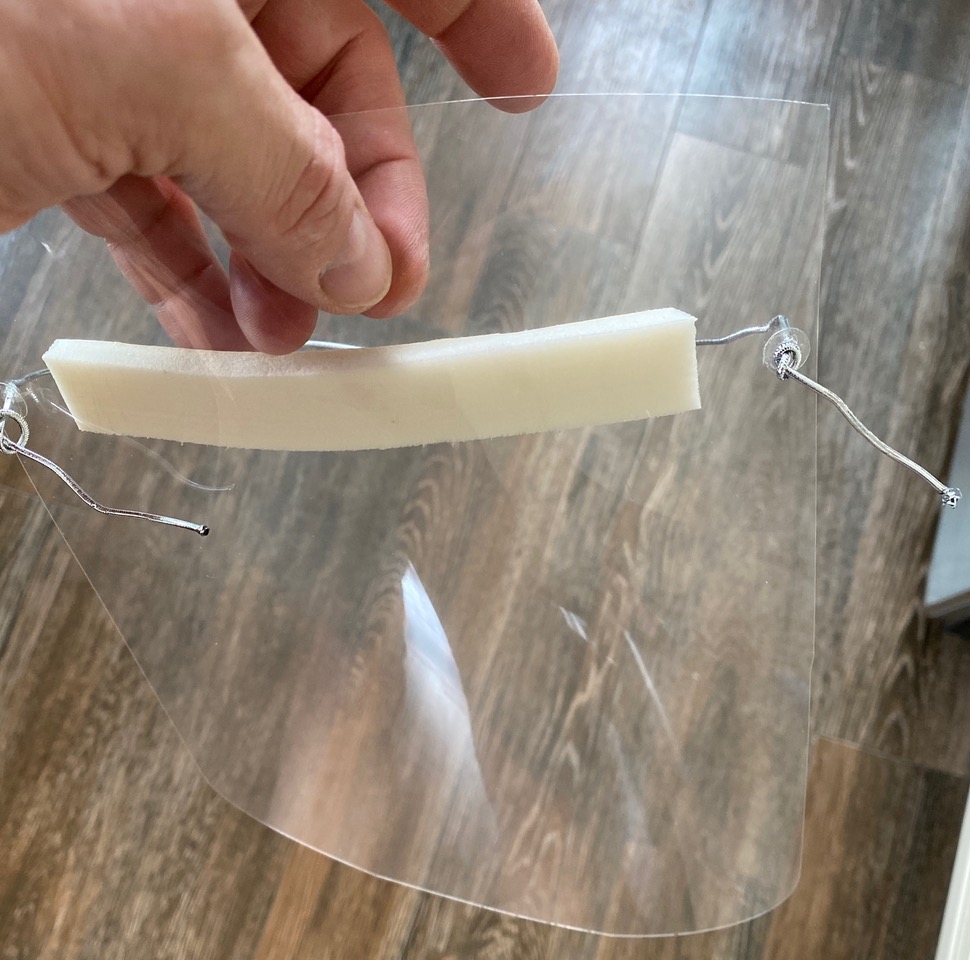
3. Cut a 5-inch piece of the foam strip. Peel the backing off of the foam and place the foam between holes on the mask. There is a second backing on the opposite side of the foam. Do not peel it; leave it for the recipient to peel off.
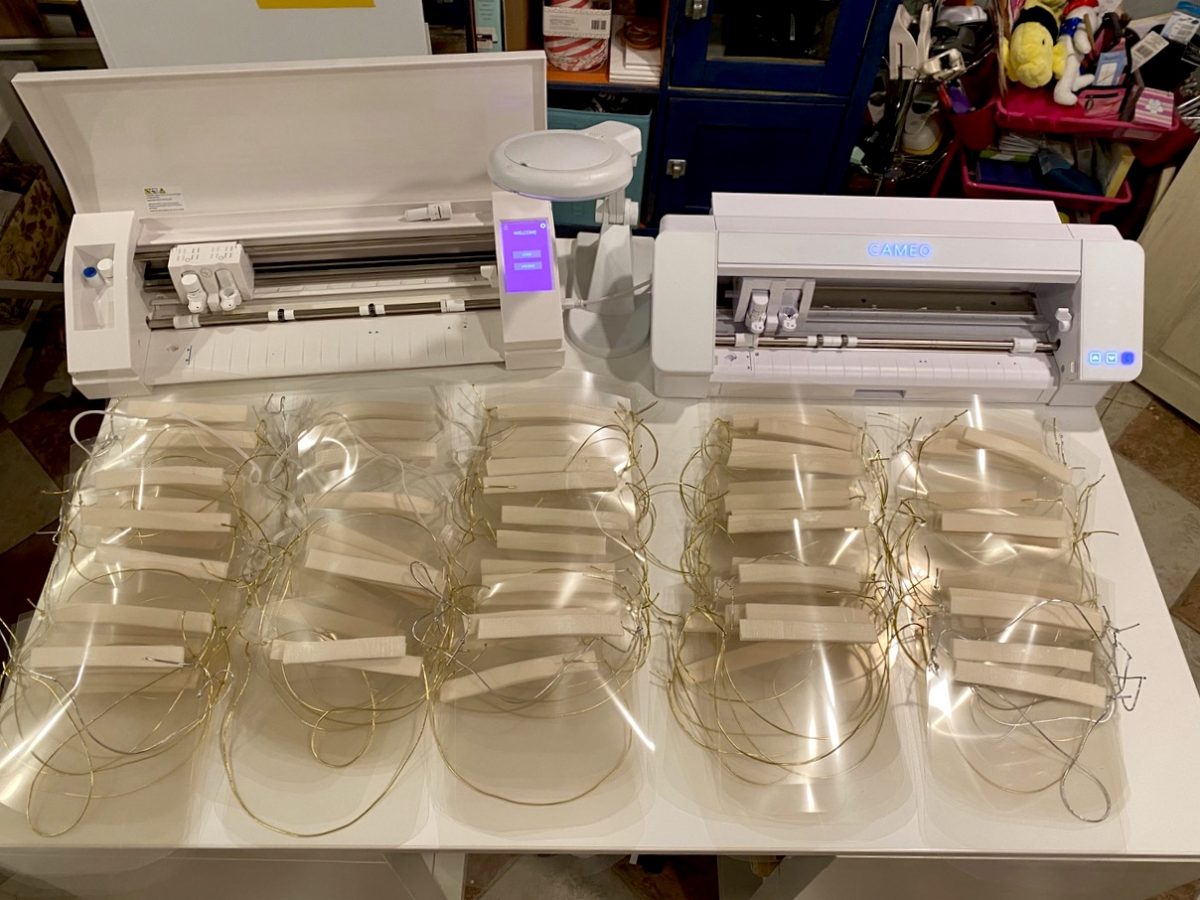
Check with your local hospitals to see what their needs are! Terri also references how else you can help Teresa with face shield production in her post, so check that out! We’re so thankful and inspired by the Silhouette community! Keep up the amazing work!

 Free Class - Father's Day Apron Set
  Free Class - Custom Graduation Tumbler
Kelly Wayment
June 28, 2024
You can use it with vinyl as long as it is smooth and flat to allow the static charge to hold on to it. Rolled vinyl that wants to go back to its rolled shape will not necessarily work well, and it would need to be trimmed to fit the ES mat cutting area.
Kelly Wayment
June 28, 2024
Yes, you can use the heat pen while using the ES mat. 🙂
Yurii
March 2, 2024
Hello. May it be used with heat pen?
Thanks
Jerome
February 24, 2024
Hi, works this with the normal vinyl foils or only with printer papter etc?
Kelly Wayment
February 16, 2024
Once you’ve pushed the mat up against the rollers, just press the “Load” arrow button (bottom right on the display). Does a regular sticky mat load into the machine for you?
Michelle a goodall
January 24, 2024
Hello! I just got my new electrostatic mat and have watched every video i can find on it. However, what i can t find is why it wont feed into my cameo 5/ it slides right up the rollers but wont go any further. and yes- iam pushing the into button. help!