
I love trying new Silhouette products, and for this DIY Laundry Room Sign I used the Silhouette Roll Feeder for my adhesive vinyl. The roll feeder allows me to create large format designs without a cutting mat—the design can be even bigger if you piece your cuts together, but we’ll go over that another day. The design I made was 12 inches wide and 22 inches long. Keep reading to find a great Silhouette tutorial for first-time roll feeder users and all the details regarding how I made my farmhouse-inspired DIY laundry room sign.
Supplies Needed:
- Silhouette CAMEO®, Silhouette Portrait®, or Silhouette Curio™
- Roll Feeder or 24-inch Cutting Mat
- Silhouette Cutting Blade
- Silhouette Studio®
- Adhesive Vinyl
- Transfer Tape
- Scraper Tool
- Wood Sign
- Design ID# 206681
Step One: Creating Your Design
- Open up Silhouette Studio®.
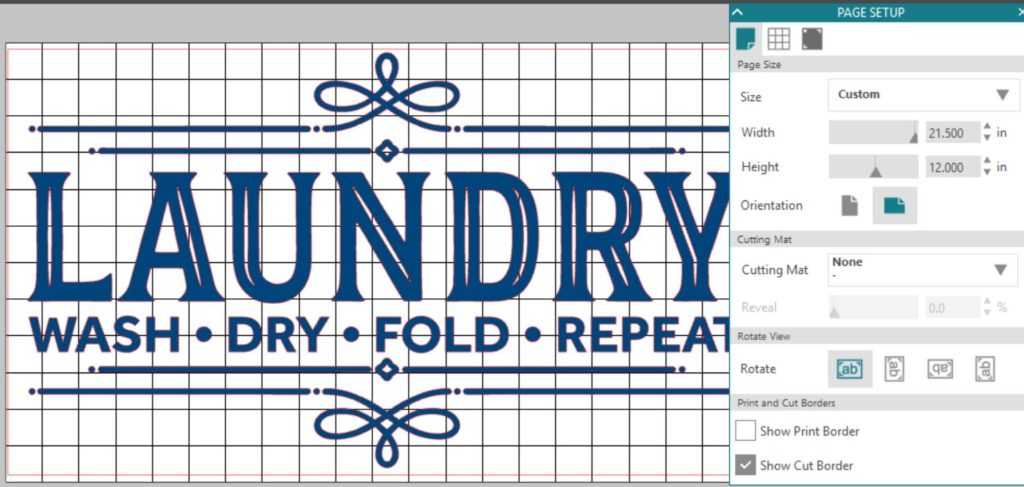
- Select the Page Setup panel and adjust your cutting mat size to 12 x 24 or select “none” if you’re going to cut the vinyl directly from the roll and use the roll feeder. Click here for a great tutorial video for the roll feeder set-up and how to use it.
- Download and open your word art (Design ID# 206681).
- Resize the design to fit your wood sign. Adjust the page size to a custom size and add how long your design will be.

- Prepare your vinyl by either attaching the vinyl to the cutting mat, color side up, and loading into your machine or attaching your roll feeder to your machine, inserting your vinyl roll, and tightening the guides.
- Follow the prompts in the Silhouette Studio® to adjust your blade (if you are using a ratchet blade) for the type of vinyl you are using and double-check to make sure your design has been selected to cut.
- Select “Send” to start cutting.
- Select “Unload” when your machine has finished cutting your design to remove the vinyl from the machine.
Step Two: Preparing Your Design
- Remove your sheet of vinyl from the cutting mat or roll feeder.
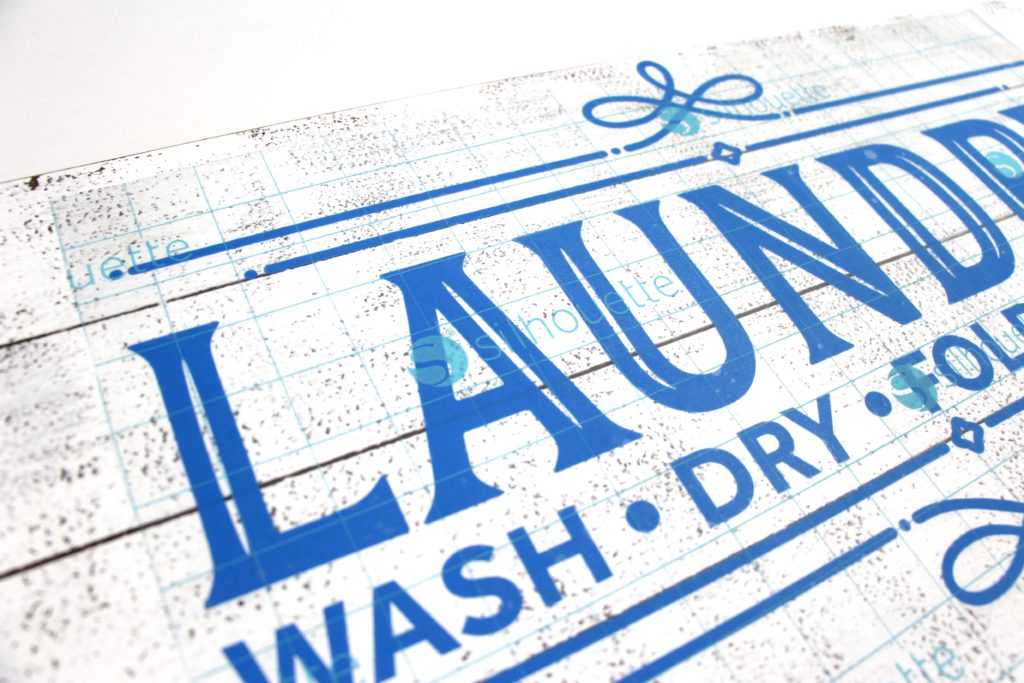
- Use your fingers or a weeding tool to remove the excess vinyl. Be sure to leave your design on the white backing sheet. I found that it was best to do this large design, especially with that small dot details it has, in sections so that it was more manageable.
- Carefully remove the centers of the letters and graphics.
Step Three: Creating Your Laundry Sign
- Place a large piece of transfer tape over your design.
- Use the scraping tool to make sure the vinyl adheres to the transfer tape.
- Gently pull transfer tape away from the backing and make sure the entire design lifts with it.
- Place your design on top of the wood sign.
- Use the scraping tool to smooth the design onto the wood sign.
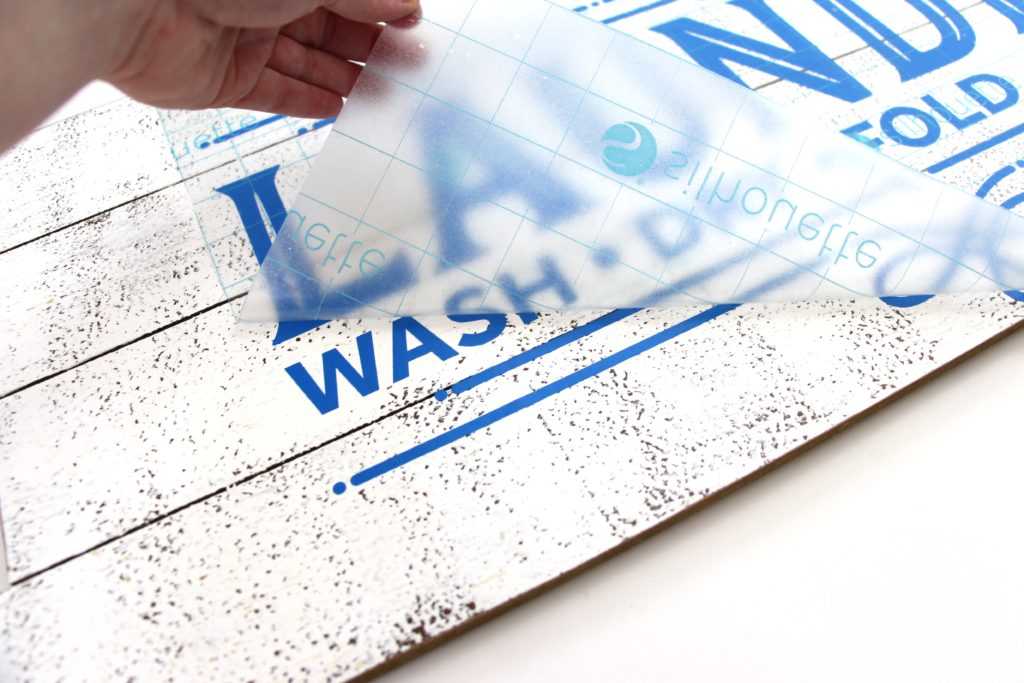
- Slowly and carefully remove the transfer tape, leaving the laundry design adhered to your wood sign.
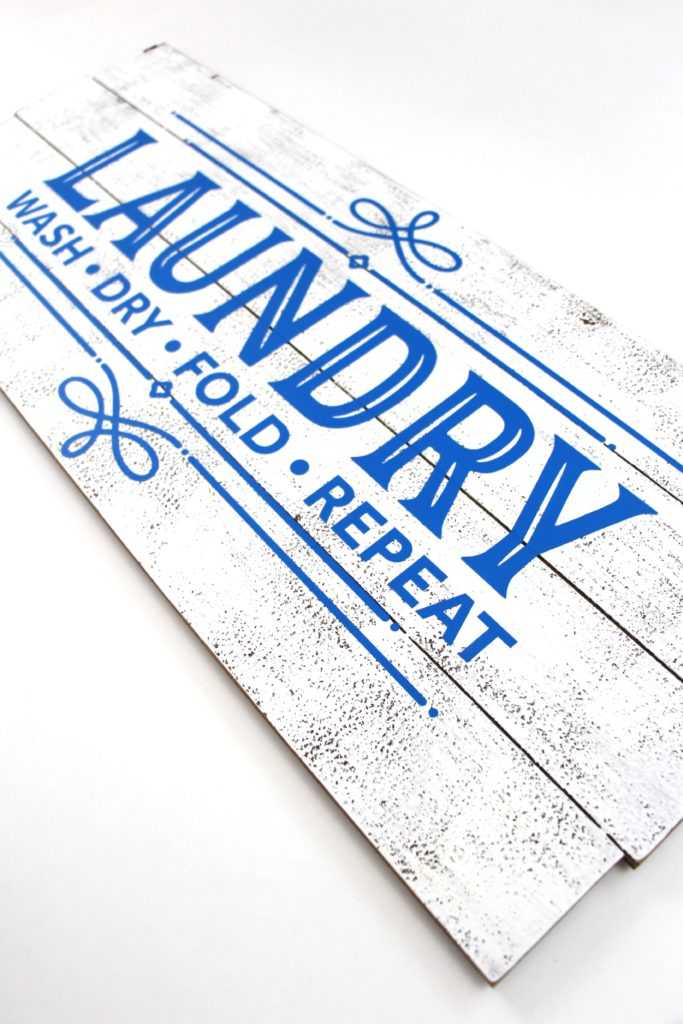
This was my first time using the roll feeder, and I absolutely loved it! I can’t wait to try some more large-format designs.
Tell me what color of vinyl you would use on your laundry room sign in the comments below.
This blog post was originally posted on the Polka Dotted Blue Jay blog. It has been edited and republished with permission from the author.