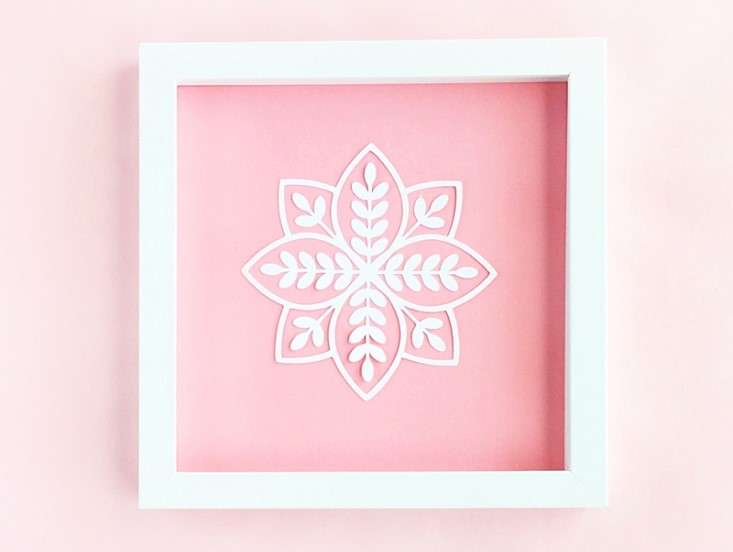
We have a lovely piece of wall art for you to create today. This would make a lovely housewarming gift or summer or spring decor piece. Don’t you think so? Then read on for the tutorial!
Supplies Needed:
- Silhouette CAMEO®, Silhouette Portrait®, or Silhouette Curio™
- Silhouette Studio® (there is a free version!)
- Pink (for the frame’s mat) and white cardstock for the cut design
- Square display frames (white 8 inches by 8 inches)
- Glue
- Design ID #2530
Step One: Cutting the Leaf and Backing
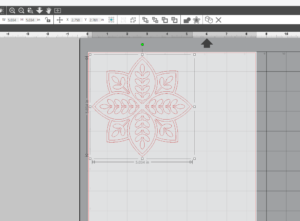
1. Download and open the Leaf In Leaf design (Design ID #2530) in Silhouette Studio®. Resize it so that it fits within your frame.
2. Put white cardstock onto a cutting mat and load the mat into your Silhouette machine. Select “Cardstock, Plain” from the media list that comes up when you click on the Send tab. Adjust your blade accordingly (unless you use CAMEO 3 or Portrait 2 with the AutoBlade, which adjusts automatically). Click Send.
3. Unload your material and remove it from the cutting mat.
4. In Silhouette Studio®, remove your design. Create a square that is 8 inches by 8 inches, or whatever the size of your frame is.


5. Put pink cardstock onto a cutting mat and load the mat into your Silhouette machine. Select “Cardstock, Plain” from the media list that comes up when you click on the Send tab. Adjust your blade accordingly (unless you use CAMEO 3 or Portrait 2 with the AutoBlade, which adjusts automatically). Click Send.
6. Unload the cardstock and remove it from the cutting mat.
Step Two: Assembling the Artwork
1. Glue the cut leaf design to the middle of the square pink cardstock.
2. Remove the backing of your square frame and add your pink and white artwork to it.
3. Reassemble your frame.
4. Optional: You can remove the glass from the frame if you wish.
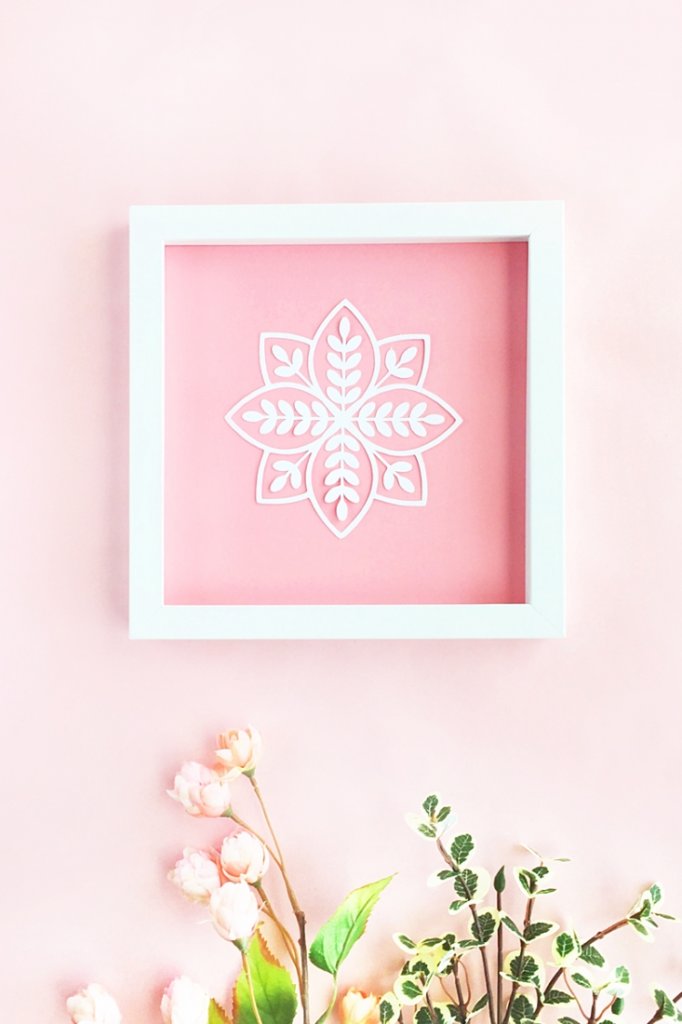
All you need to do is hang your pretty art on your wall, display it on a desk, or give it as a gift. What will you do with yours? Tell us in the comments below.
This blog post was originally posted on the Maritza Lisa blog. It has been edited and republished with permission from the author.
 Free Class - Father's Day Apron Set
  Free Class - Custom Graduation Tumbler
Kelly Wayment
June 28, 2024
You can use it with vinyl as long as it is smooth and flat to allow the static charge to hold on to it. Rolled vinyl that wants to go back to its rolled shape will not necessarily work well, and it would need to be trimmed to fit the ES mat cutting area.
Kelly Wayment
June 28, 2024
Yes, you can use the heat pen while using the ES mat. 🙂
Yurii
March 2, 2024
Hello. May it be used with heat pen?
Thanks
Jerome
February 24, 2024
Hi, works this with the normal vinyl foils or only with printer papter etc?
Kelly Wayment
February 16, 2024
Once you’ve pushed the mat up against the rollers, just press the “Load” arrow button (bottom right on the display). Does a regular sticky mat load into the machine for you?
Michelle a goodall
January 24, 2024
Hello! I just got my new electrostatic mat and have watched every video i can find on it. However, what i can t find is why it wont feed into my cameo 5/ it slides right up the rollers but wont go any further. and yes- iam pushing the into button. help!