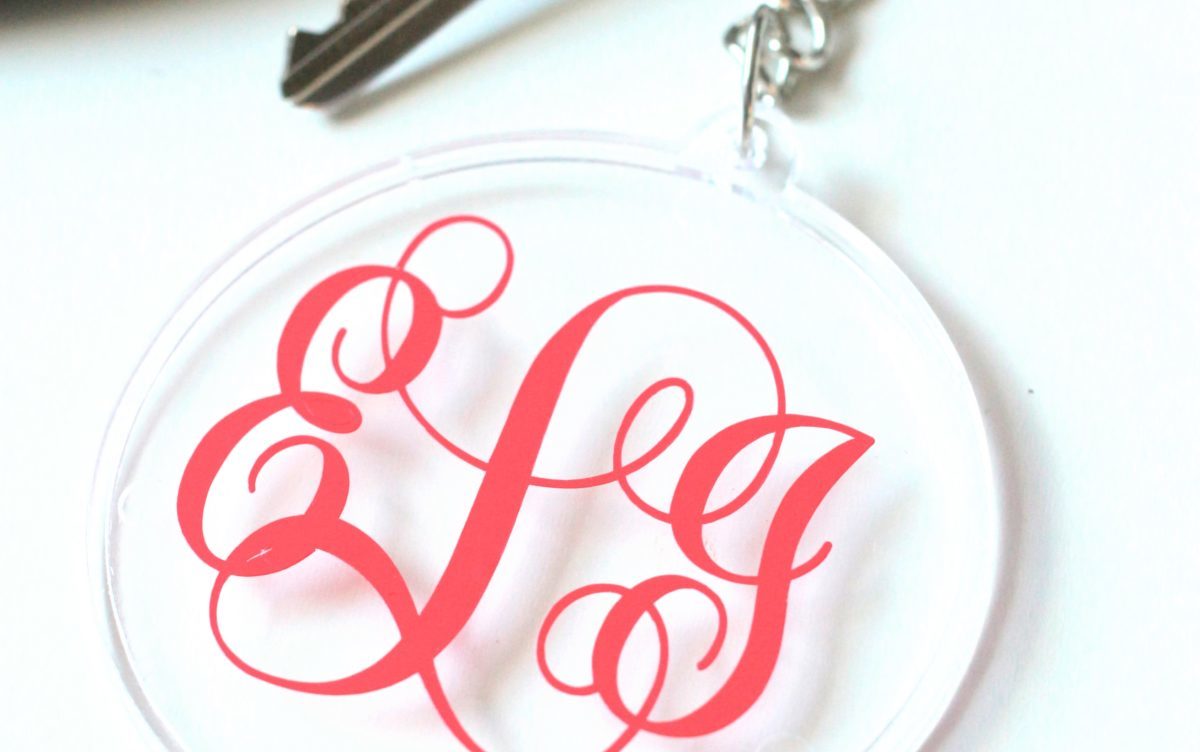
Today I wanted to share my DIY monogrammed key chain I made with vinyl. I used a fun design from the Design Store that formats the letters for you (see directions below). This key chain would be a lovely Mother’s Day gift; just customize with the initials of the ladies you would like to celebrate!
Supplies Needed:
- Silhouette CAMEO®, Silhouette Portrait®, or Silhouette Curio™
- Silhouette Cutting Mat
- Silhouette Cutting Blade
- Silhouette Studio®
- Adhesive Vinyl
- Transfer Tape
- Scraper Tool
- Acrylic or Plastic Key Chain
- Design ID #81300
Step One: Creating Your Design
- Open up Silhouette Studio®.
- Select the Page Setup panel and adjust your cutting mat size to 12 x 12 (or the size of mat you are using).
- Download/open your word art (Design ID #81300).
- Type your initials in this order: First, Last, Middle.
- This font requires you to do the letters with a keystroke to get all three to appear in the circle: type the letters in lowercase, but hit the shift key for the second initial. This should automatically format the letters in the design.
- Select the whole design and adjust the size. I found the size of my key chain by laying it on top of the cutting mat.
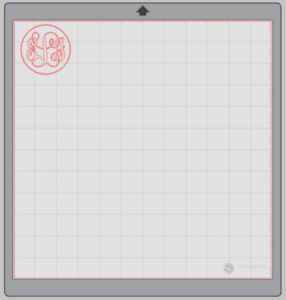
- Attach your vinyl to the cutting mat, color side up, and load into your machine.
- Follow the prompts in the Silhouette Studio® to adjust your blade (if using a ratchet blade) for vinyl and double-check to make sure your design has been selected to cut.
- Select “Send” to start cutting.
- Select “Unload” when your machine has finished cutting your design to remove the cutting mat from the machine.
Step Two: Preparing Your Design
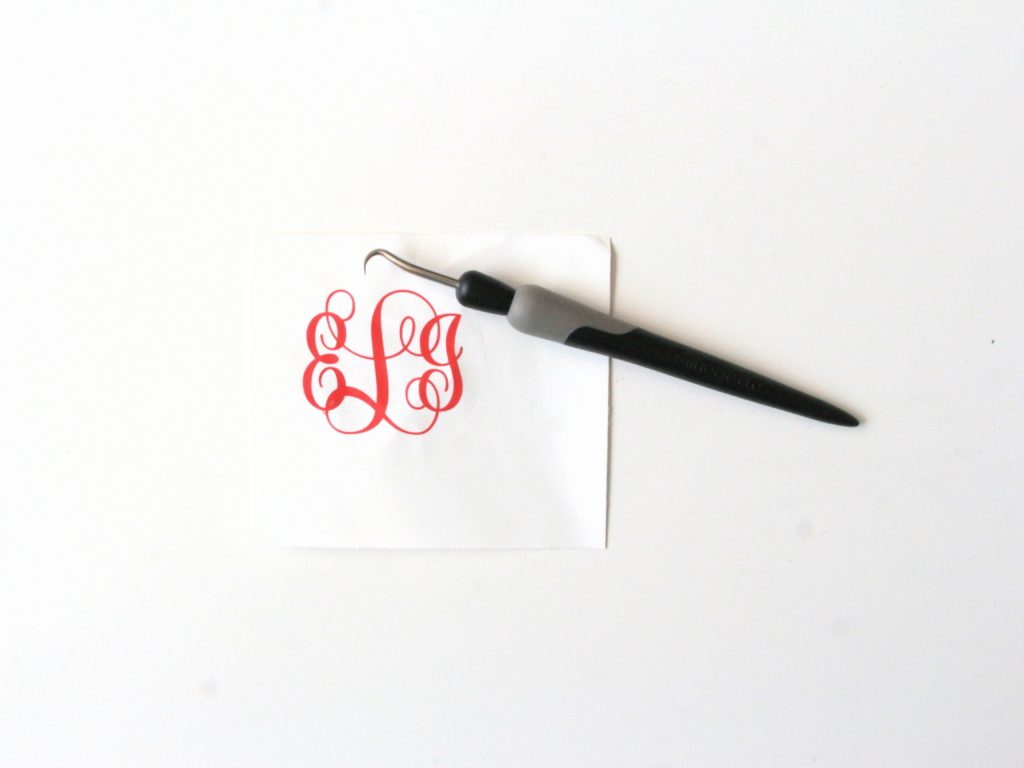
- Remove your sheet of vinyl from the cutting mat
- Use your fingers or a weeding tool to remove the excess vinyl. Be sure to leave your design on the backing sheet. I messed up and accidentally removed the circle that goes around the monogram; it happens to everyone from time to time.
- Carefully remove the centers of the letters and graphics. The letters can be delicate, so take your time.
Step Three: Creating Your Key Chain
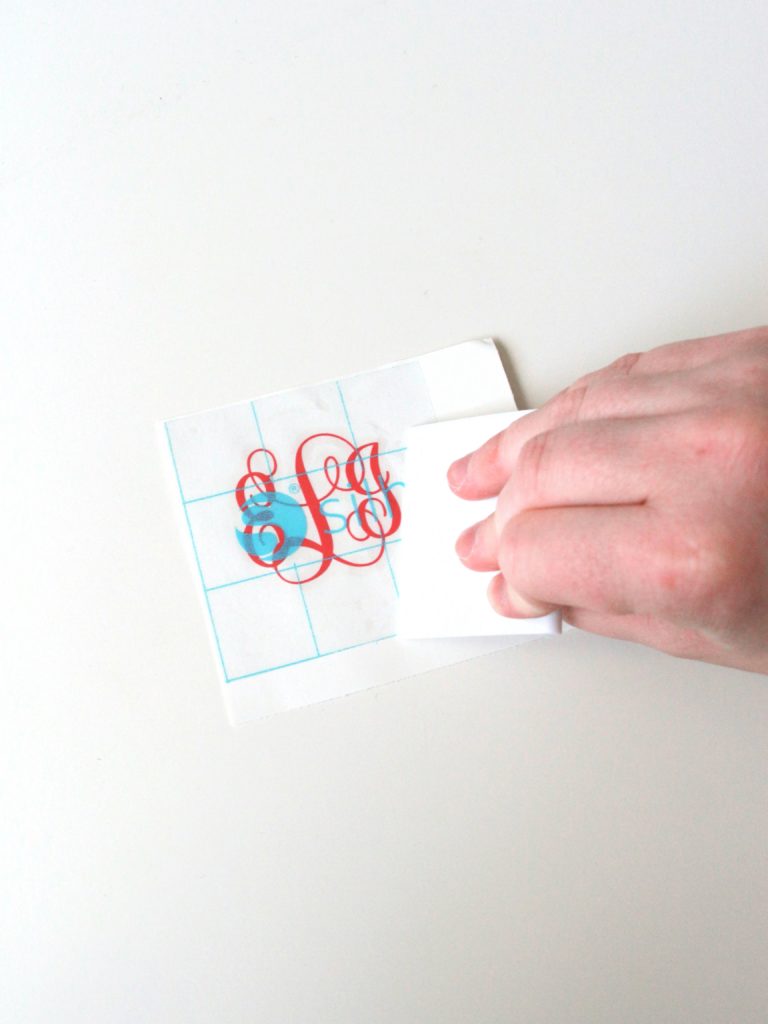
- Place a piece of transfer tape over your design.
- Use the scraping tool to make sure the vinyl adheres to the transfer tape.
- Gently pull transfer tape and make sure the entire monogram lifts with it.
- Place your design on top of the key chain.
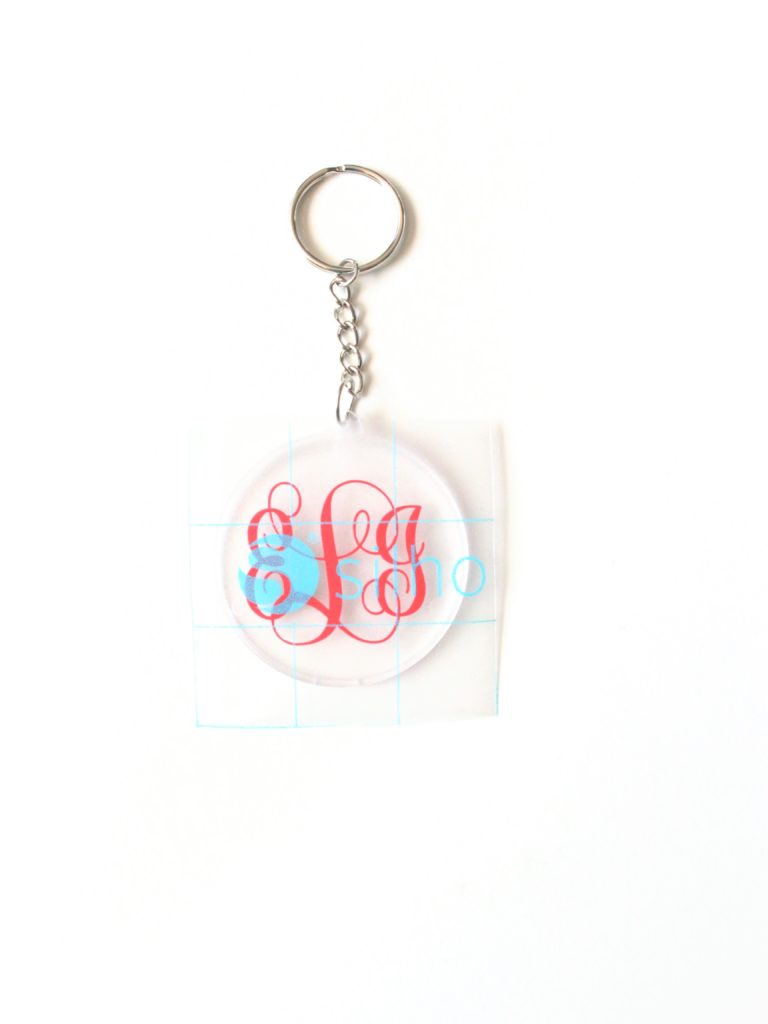
- Use the scraping tool to smooth the design onto the keychain.
- Remove the transfer tape.
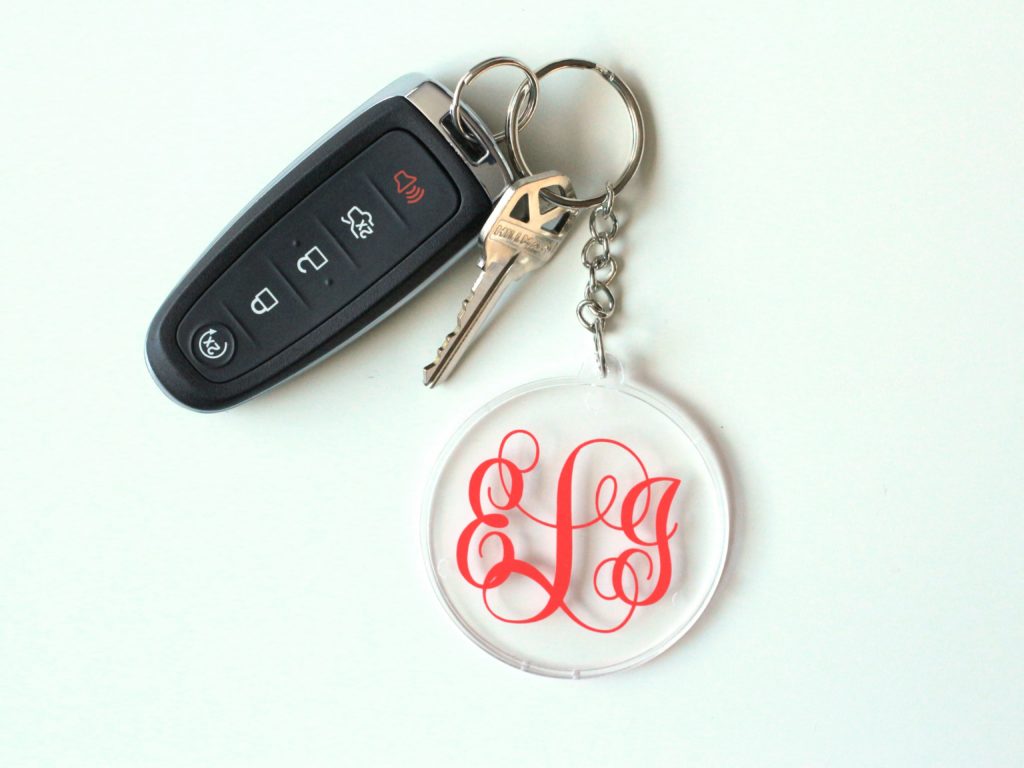
Now you have created a DIY monogrammed key chain. It’s an easy thing to make if you’re looking for a customized gift. Tell me what color of vinyl you will use for your key chain in the comments below.
Kelly Wayment
June 28, 2024
You can use it with vinyl as long as it is smooth and flat to allow the static charge to hold on to it. Rolled vinyl that wants to go back to its rolled shape will not necessarily work well, and it would need to be trimmed to fit the ES mat cutting area.
Kelly Wayment
June 28, 2024
Yes, you can use the heat pen while using the ES mat. 🙂
Yurii
March 2, 2024
Hello. May it be used with heat pen?
Thanks
Jerome
February 24, 2024
Hi, works this with the normal vinyl foils or only with printer papter etc?
Kelly Wayment
February 16, 2024
Once you’ve pushed the mat up against the rollers, just press the “Load” arrow button (bottom right on the display). Does a regular sticky mat load into the machine for you?
Michelle a goodall
January 24, 2024
Hello! I just got my new electrostatic mat and have watched every video i can find on it. However, what i can t find is why it wont feed into my cameo 5/ it slides right up the rollers but wont go any further. and yes- iam pushing the into button. help!