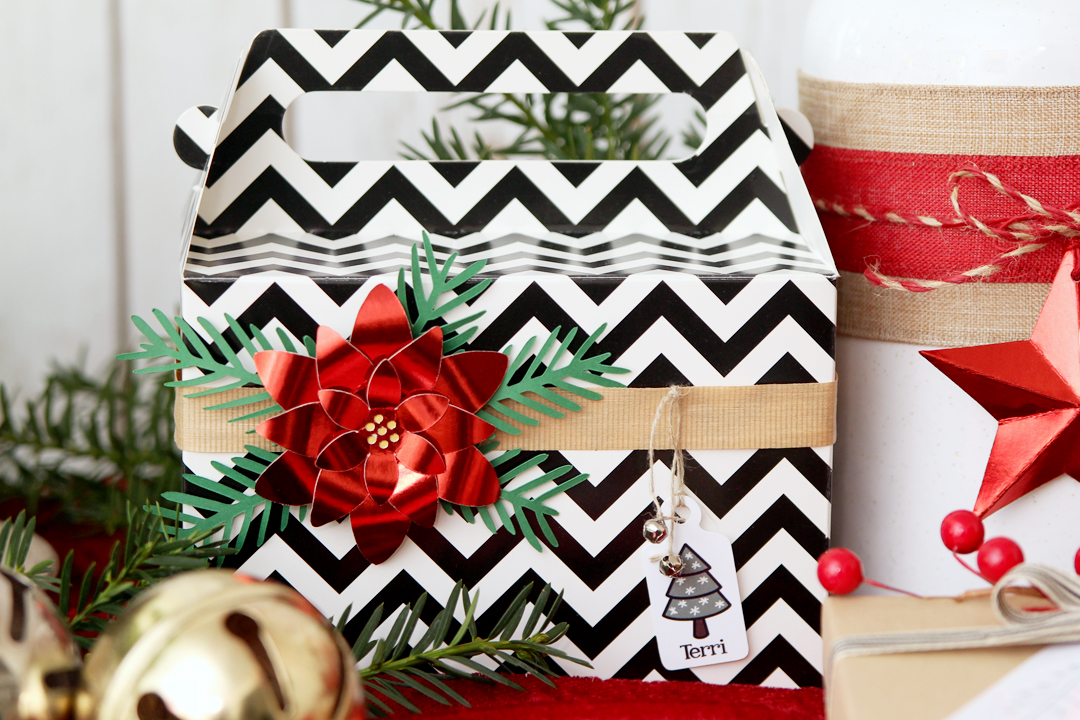
If you’re looking for some easy but impressive gift embellishments, try these paper poinsettias! All you need is some pretty paper and your Silhouette machine. They come together quickly and add a nice “wow factor” to your gifts!
Supply List:
- Silhouette Cameo® or Portrait®
- Silhouette Studio® – Basic Edition or higher
- Red foil cardstock (65 lb.)
- Green cardstock (65 lb.)
- Yellow cardstock (65 lb.)
- White paper glue
- Hot glue
- Design ID #309748 by Silhouette
Step One: Create Design
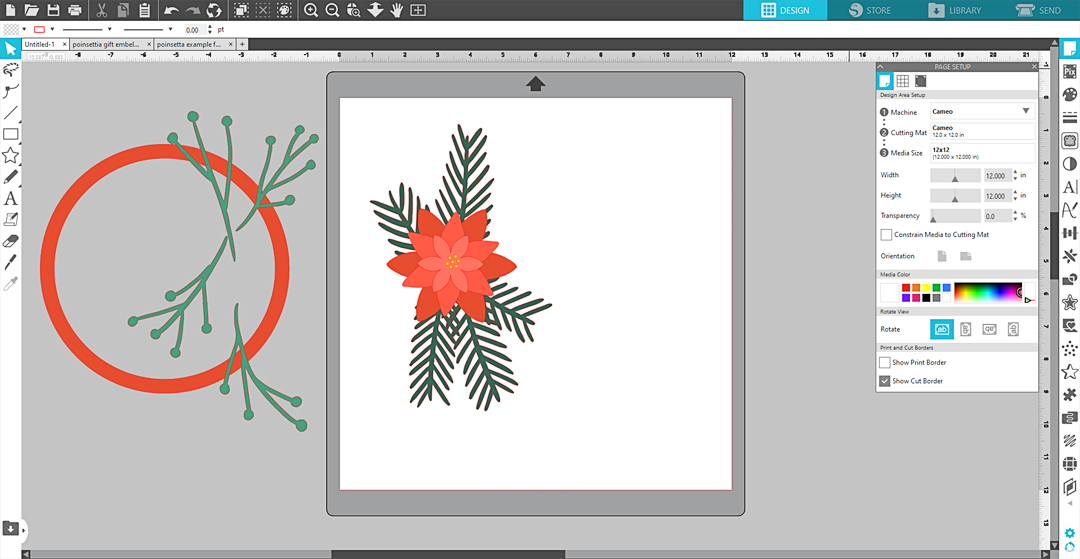
Open the Poinsettia Wreath (Design ID #309748) in Silhouette Studio.
Ungroup all of the design elements, then remove the circle and lighter greenery pieces. We won’t need them for this project, so you may delete them.
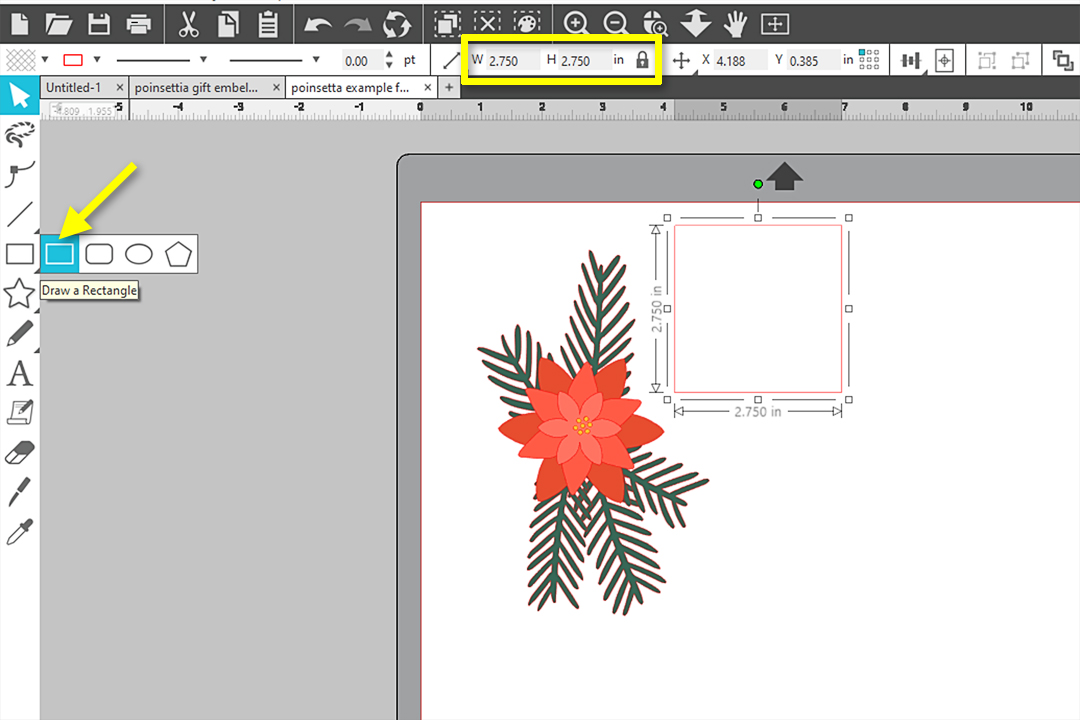
I want my embellishments to be about 2.75 in. Use the drawing tools to create a square for reference.
Select the poinsettia and greenery pieces, then resize them by clicking and dragging one of the corner handles until the largest flower piece fits within the 2.75 in. square. Keep all of your pieces selected so they scale proportionally.
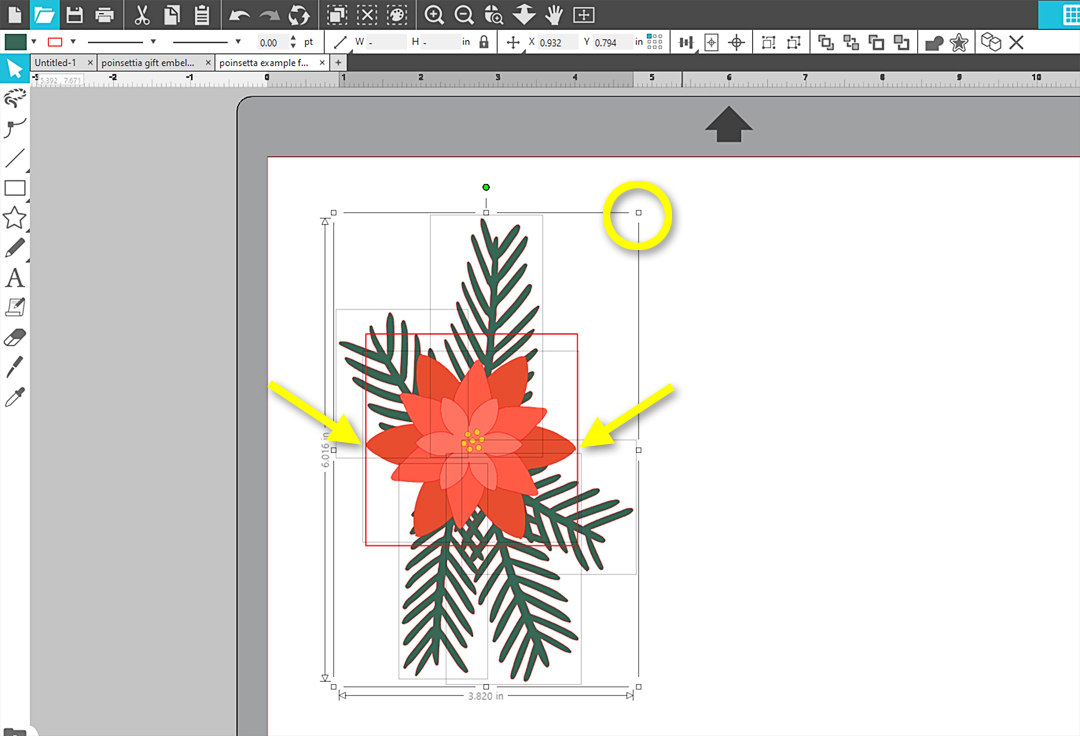
Once the pieces are resized, remove the square. Then, ungroup the poinsettia and separate the pieces.
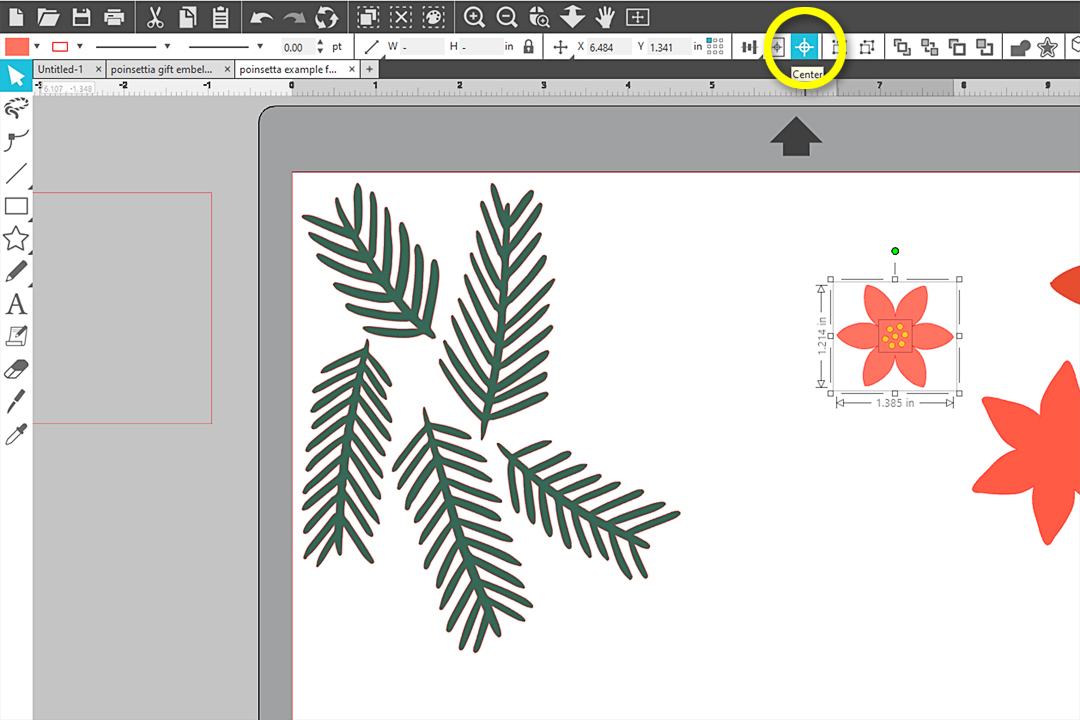
For the smallest flower, center the yellow dots by selecting the flower and the dots, then clicking the Center button on the Quick Access Toolbar.
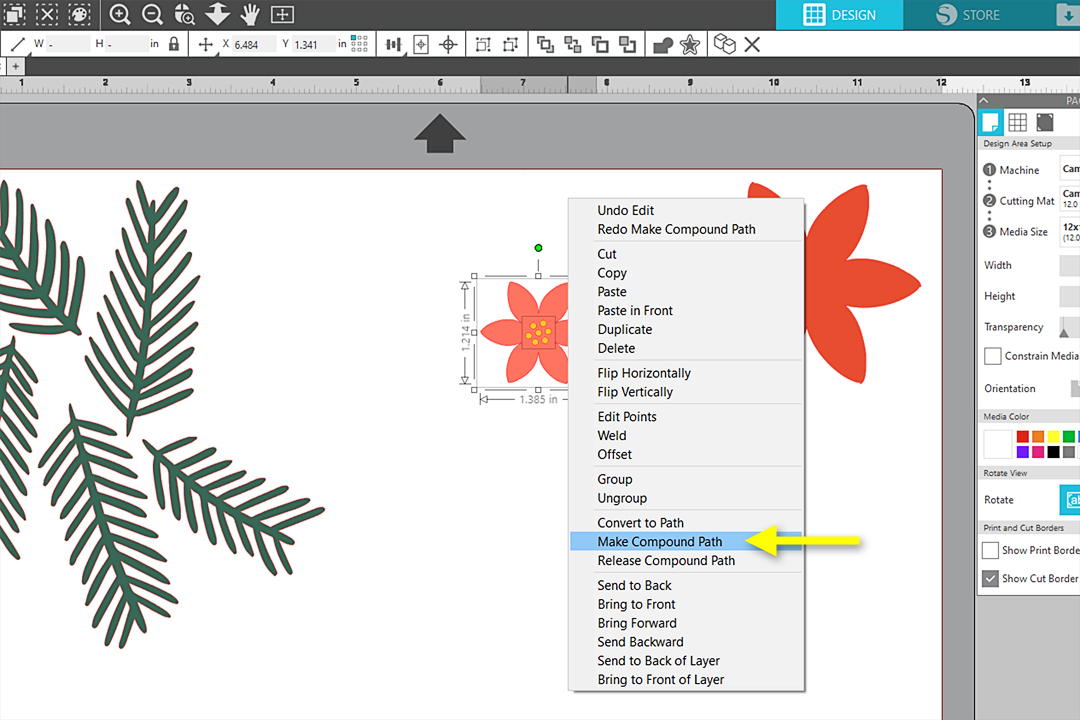
While the flower and center are still selected, right click and choose Make Compound Path. This will turn the yellow dots into negative space in the flower.
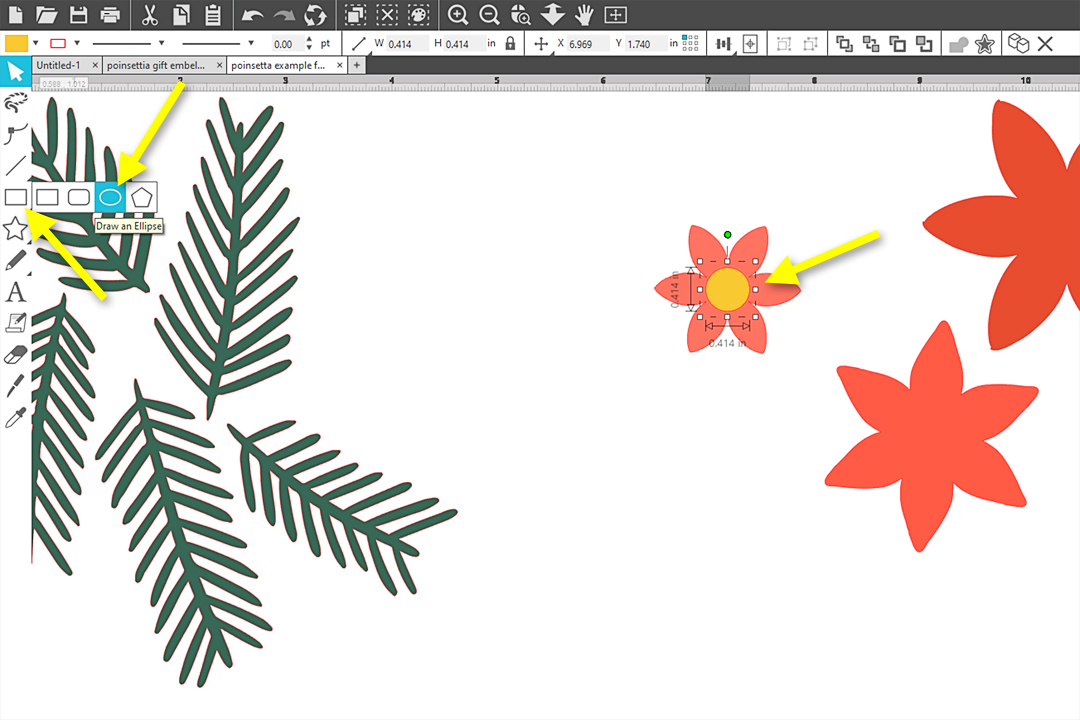
To add the yellow dots to your embellishments during assembly, add a yellow circle underneath the smallest flower. This will make the flowers much easier to cut and assemble. Using the drawing tools, create a small circle. It should be large enough to cover the holes and small enough so you won’t see it poke out from beneath the petals later.
Tip: I filled my circle with a yellow fill color to help me organize my pieces when cutting. This is optional, but it may help you keep track of which pieces you need to cut from each cardstock color.
Step Two: Cut Pieces
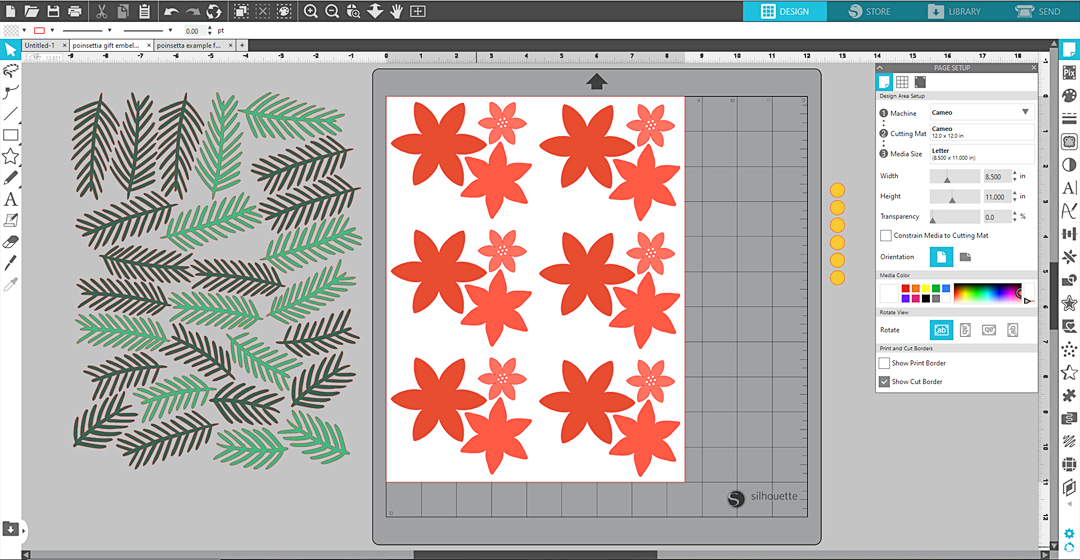
Change your Page Setup Panel’s settings to match your machine, mat, and media size. My media is letter-size cardstock, but you can set this to whatever you are using.
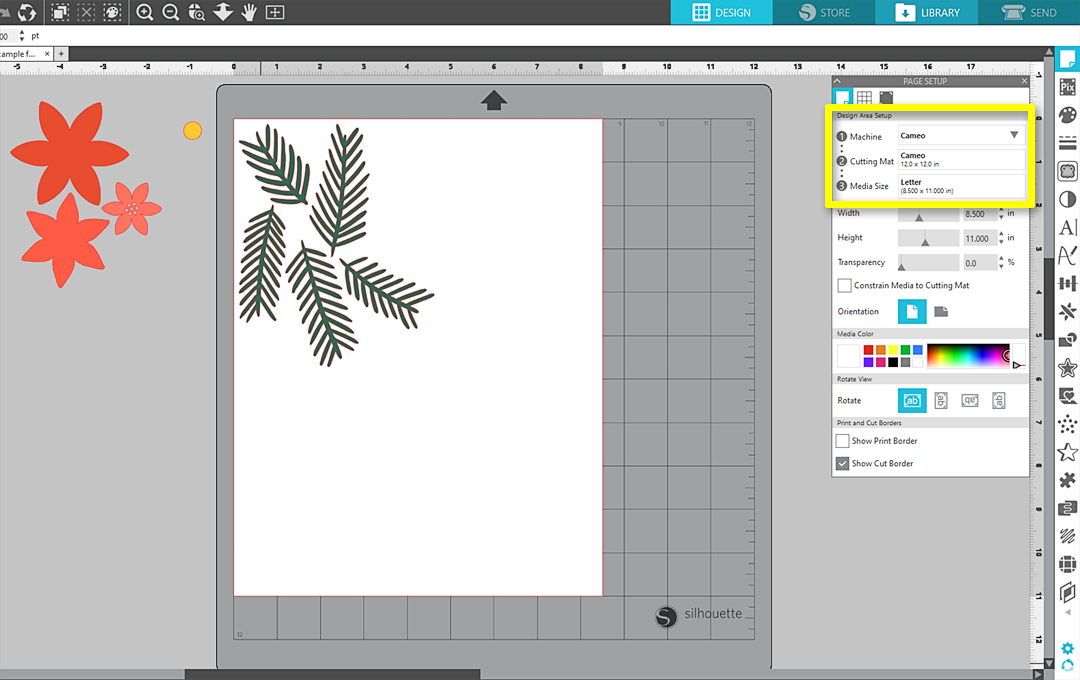
Divide the pieces so you are cutting only one color on the virtual mat at a time. Any designs off to the side of your virtual mat will not cut until you move them onto the virtual mat.
You may wish to cut multiple flowers to make several poinsettias at once. In this case, you may fill your page with duplicates. Copy and paste the design enough times to fill your page or create the number of embellishments you need.
Tip: If you don’t want to right-click to copy and paste, use the keyboard shortcuts Ctrl/Cmd + C to copy your designs and Ctrl/Cmd + V to paste.
Load the paper onto your mat that corresponds with the page you wish to cut (e.g. red foil cardstock for the red petals). I always recommend using a sharp blade and clean mat for best results for all paper projects, but this is especially important for the intricate green fir needles.
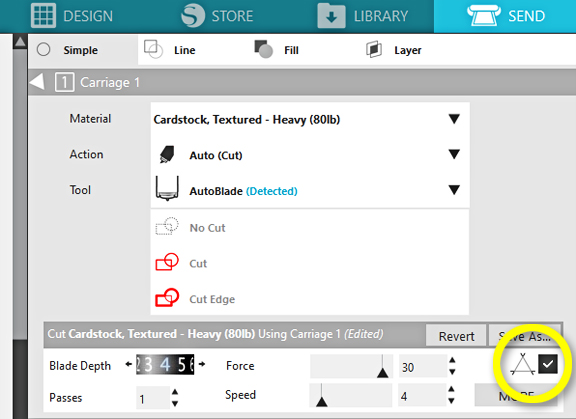
Go to the Send Tab and select your media settings. You should perform your own test cut to determine your settings, but I cut my red foil cardstock with the following settings:
- Blade depth = 4
- Force = 30
- Speed = 4
- Passes = 1
I cut my green cardstock with the same settings, but also turned on Line Segment Overcut by checking the box near the triangular icon near the rest of the settings. I find this helpful when cutting a lot of corners.
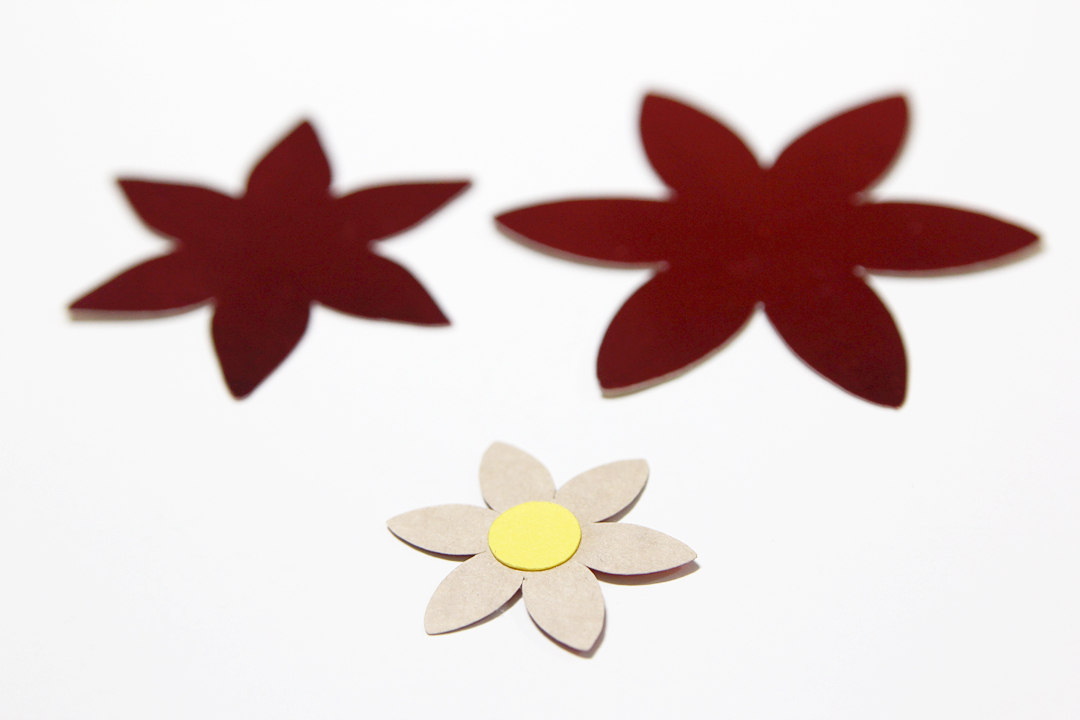
Cut each design element out of the different colors of cardstock, making sure to move the correct designs onto the virtual cutting mat within the software before cutting each page.
Step Three: Assemble Poinsettias
To start creating your embellishments, attach the yellow circle to the back side of the smallest flower with a small amount of white glue. The glue will dry clear, and the yellow will show through the holes on the front side.
Fold each petal on all of your flower pieces upwards at the base, where it connects to the center of the flower. Then, curl the petals back gently with your fingers.
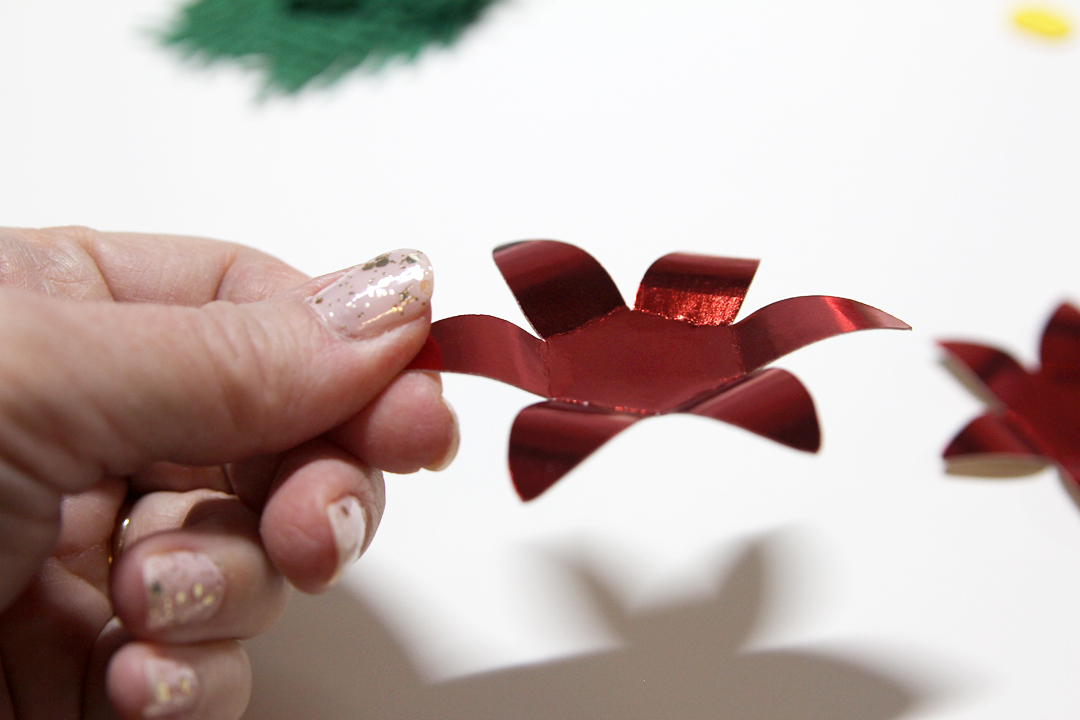

Hot glue the flower layers together, making sure to avoid lining up the petals with the closest layer. The petals should sit between the gap of the petal layers below them.
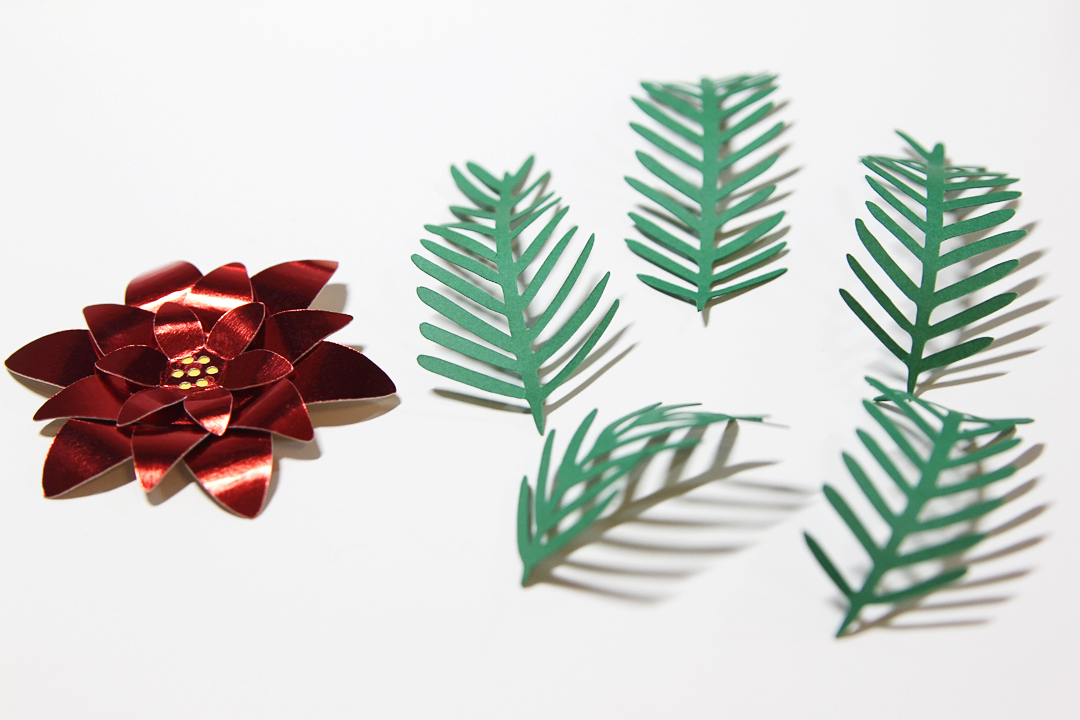
Gently curl the fir leaves using your fingers, and then hot glue –5 of them to the back of the poinsettia.
Attach the completed poinsettia to a ribbon or package with tape. With that, your presents are ready to give.
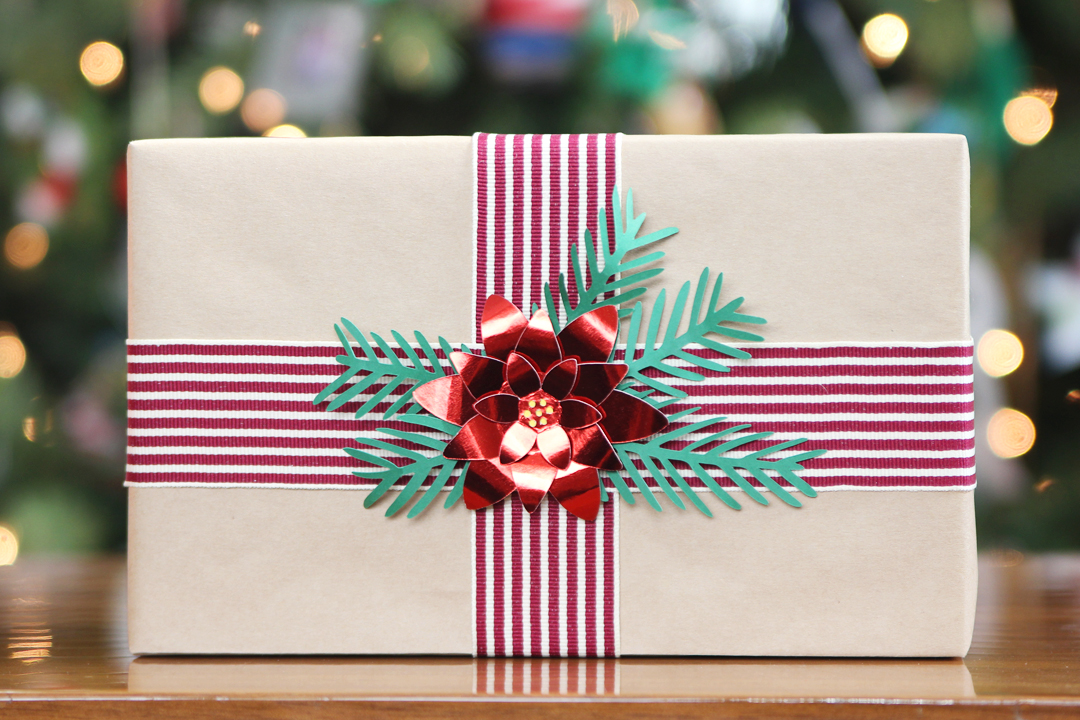
This is an easy project that really dresses up your gifts! Will you add embellishments to your gifts this year?
 Free Class - Father's Day Apron Set
  Free Class - Custom Graduation Tumbler