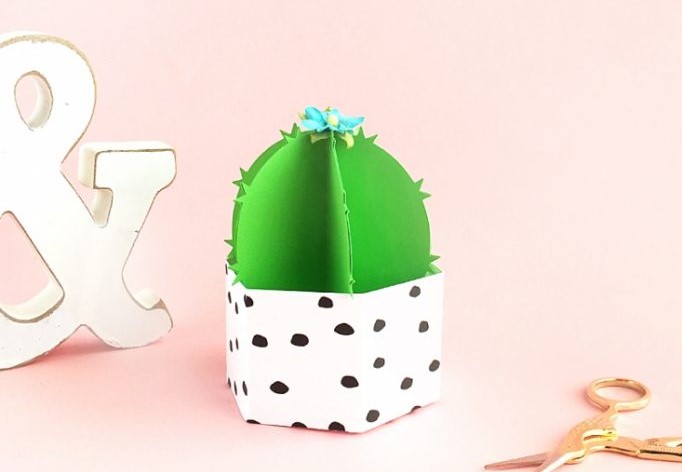
This little DIY potted paper cactus is low maintenance and cute. It can be part of a sweet gift to a fellow not-so-green thumb or they can be used to decorate place settings—they are small enough to fit on a plate! Are you in? Read on for the how-to!
Supplies Needed:
- Silhouette CAMEO® or Silhouette Portrait® or Silhouette Curio™
- Silhouette Cutting Mat
- Silhouette Cutting Blade
- Silhouette Studio® (there is a free version!)
- Design ID #181963
- Colored and patterned cardstock
- Glue
Step One: Cutting Out the Cactus Leaves
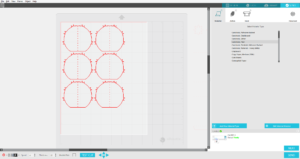
- Download and open your cactus in a pot design (Design ID #181963) in Silhouette Studio®.
- Select the design and ungroup it (to ungroup something, select the object and either click the Ungroup icon or right-click and select Ungroup).
- If you don’t use the Print & Cut option and use your own patterned paper and colored cardstock, set the shapes’ colors to blank.
- Place your cactus leaves in the print/cut area.
- Load your patterned cardstock into your machine.
- In Silhouette Studio®, select the Send tab in the upper right-hand corner. Select the type of cardstock you are using as your material (could differ depending on which cardstock you are using) in your cut settings. Adjust your blade to the depth setting specified (unless you use a Silhouette machine with an Autoblade, which adjusts automatically), and select Send.
- After your machine is done cutting, unload the Cardstock from your machine and weed away unnecessary parts of the design.

Step Two: Cutting Out the Pot and Flower
- In Silhouette Studio®, replace your cactus leaves with the pot shape.
- Load your cardstock into your machine.
- Cut out the pot shape using the cardstock material settings.
- Finally load your pink cardstock in your machine and repeat the above steps for the flower.
Step Three: Assembling the Cactus
- Fold the tabs along perforated lines.
- Apply glue to the tabs and assemble.

And that’s it! Will you keep yours for your desk or give it as a gift? Tell us in the comments below!
This blog post was originally posted on the Maritza Lisa blog. It has been edited and republished with permission from the author.
Nasze Naturalne
September 3, 2025
Your authentic voice really shines through in everything you create and share
Naszenaturalne
September 2, 2025
Really love your style
Kelly Wayment
June 28, 2024
You can use it with vinyl as long as it is smooth and flat to allow the static charge to hold on to it. Rolled vinyl that wants to go back to its rolled shape will not necessarily work well, and it would need to be trimmed to fit the ES mat cutting area.
Kelly Wayment
June 28, 2024
Yes, you can use the heat pen while using the ES mat. 🙂
Yurii
March 2, 2024
Hello. May it be used with heat pen?
Thanks
Jerome
February 24, 2024
Hi, works this with the normal vinyl foils or only with printer papter etc?