Have you seen those cool maps you can buy and scratch off where you’ve been in your travels? We gave our kids some a few years ago and ever since then I’ve been trying to figure out how I can make a personalized one. Well, along came Printable Scratch-off Sticker Paper and I’ve been a little scratch map crazy lately!
Want to make one of your own, too? Let me walk you through it! This project is both CAMEO® and Portrait® friendly.
You Will Need:
- Silhouette CAMEO® or Portrait®
- Printable Scratch-off Sticker Paper
- Cardstock
- Printer
1. Create Your Design in Silhouette Studio®
This is the fun part. Time to customize your map!
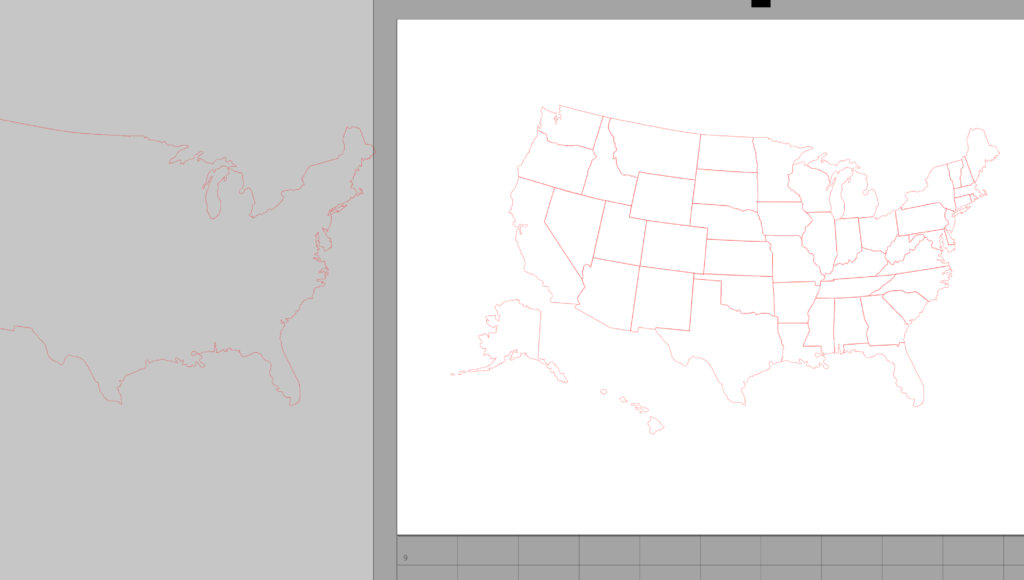
(1) Import the map design.
I chose USA Map (Design ID #26338) for this project. Ungroup the design so you can separate the two designs. You don’t want need the one that is just the outline of the country. You want the one with all of the states defined, so delete or move the other away.
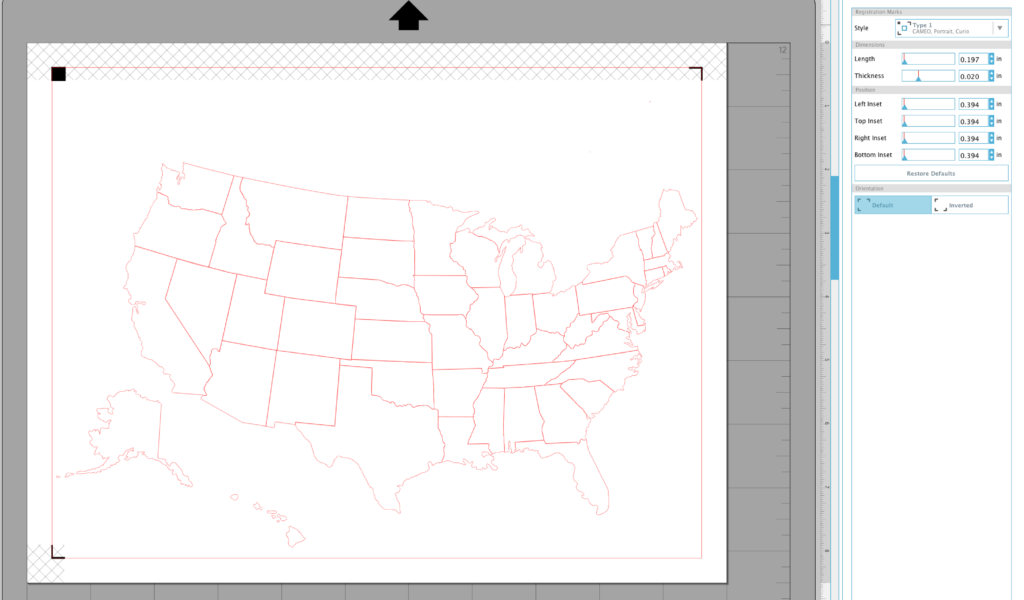
(2) Resize the design to fit your page.
Now is a good time to make sure your page settings are 8.5 in. x 11 in. because that is the size of the sticker paper we will be using to print on.
Open the Registration Menu and select “Type 1”. You need those registration marks to print so your CAMEO or Portrait knows where to cut. I was able to make my map as big as possible by sliding my “Inset” settings all the way down to the lowest setting.
Because we will be creating a two- layer project (one map will be underneath the scratch-off map) you will need to duplicate the map once you have resized it to fit. Do this by selecting the map then right click>duplicate. Move the duplicate to the side to use later.

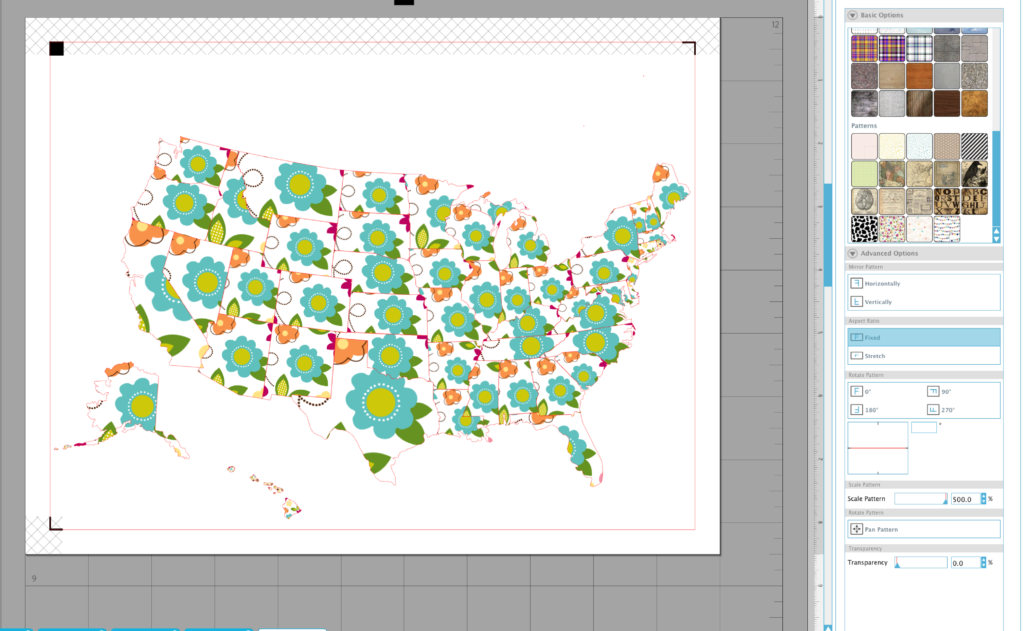
(3) Add patterns and colors to your design.
Open the Fill Pattern window and explore the options there. Or if you prefer a solid color, simply open the Fill Color window and fill in the shape with your color preference from there.
I love florals these days so I chose a default fill pattern. I like how it filled in each state according to it’s size. Look at Texas being a big old show-off, as usual. 😉
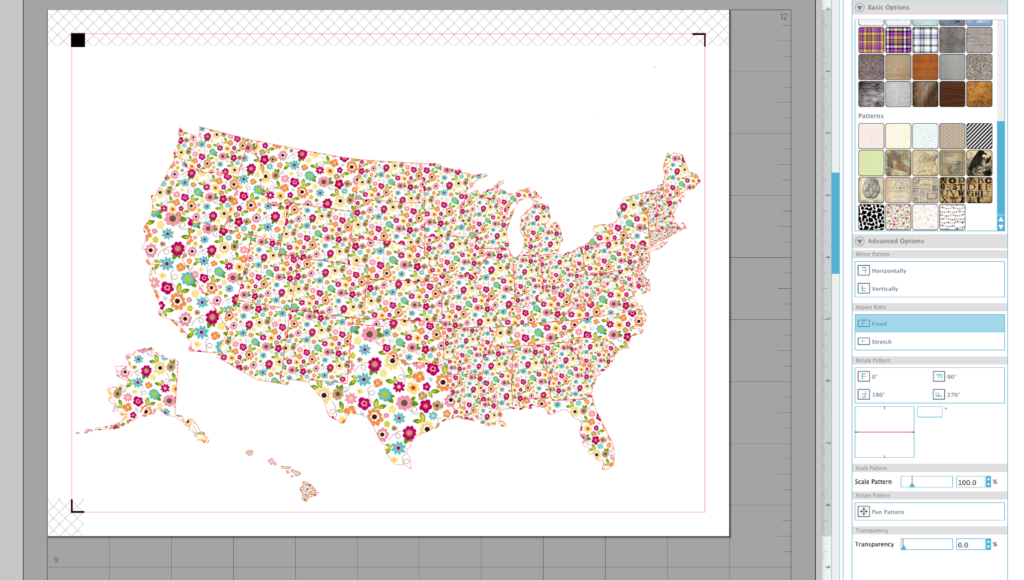
In the Fill Pattern menu you can change the scale of the pattern as well as the transparency. This is the same pattern as above, it’s just scaled to 500%. You can see it looks like a completely different pattern!
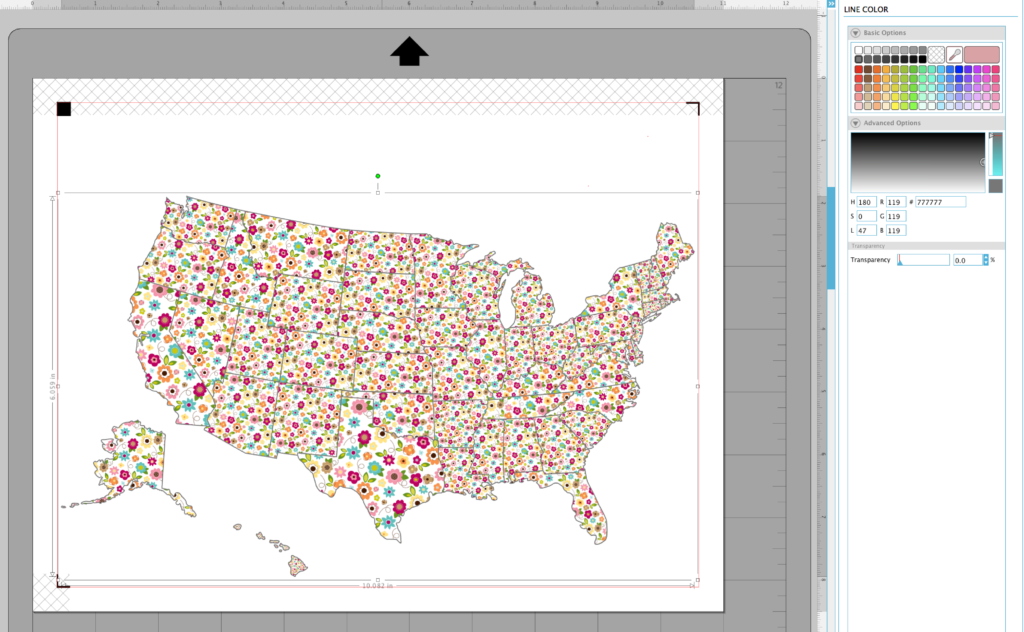
Here is what I ended up with after filling my image and changing the line color to a more visible color.
2. Print and Cut the Map
No turning back now! Just kidding. You can totally change anything at this point. But if you’re ready to move on, let’s get this project headed towards the finish line!
- Print the map on a sheet of Printable Scratch-off Sticker paper.
Here’s a tip: I almost always print a test copy on a regular sheet of printer paper first. I like to make sure my printer settings are correct before I use my beloved Silhouette products.
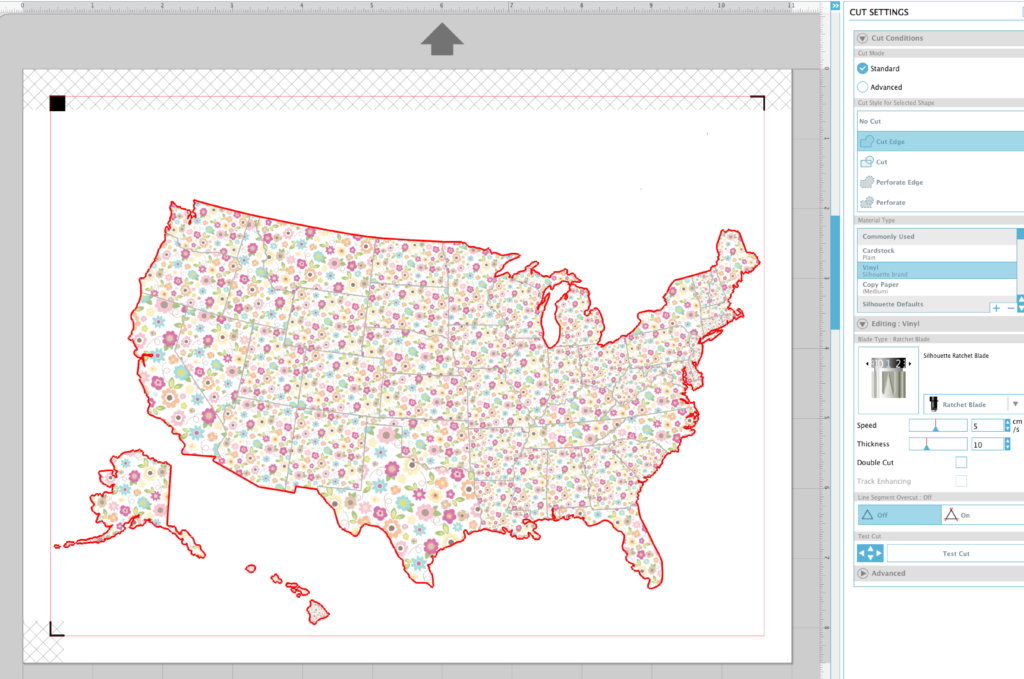
2. If you have printed it correctly with Registration Marks, you are ready to send it to your Silhouette machine to cut. Adjust your blade and according to the recommended settings for Scratch-off Sticker Paper and send it through on your cutting mat. First, be sure to select “Cut Edge” so it will only cut around the perimeter of the map. Although, it won’t be a big deal if it cuts each state individually, so don’t stress about it if you forget!
3. Design and Print the Second Layer Map
Remember how we made a duplicate map at the beginning? Well, it’s time to pretty that one up, so set the finished map aside.
- Add patterns, colors, and a title to this second map (optional).
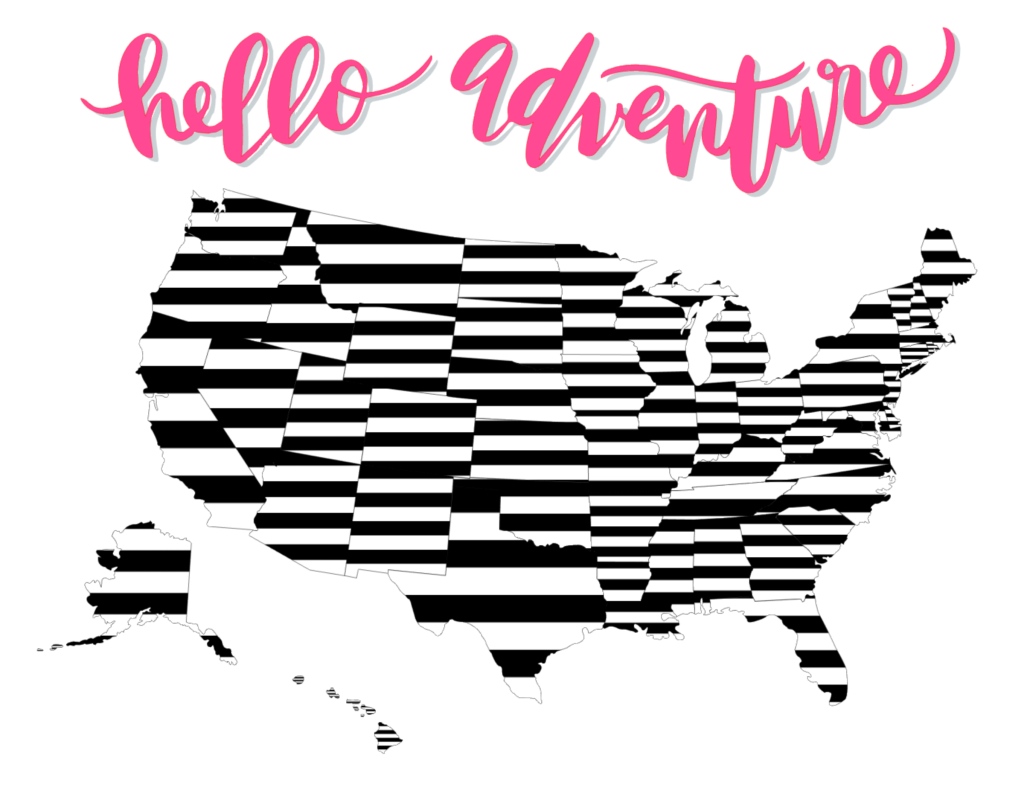
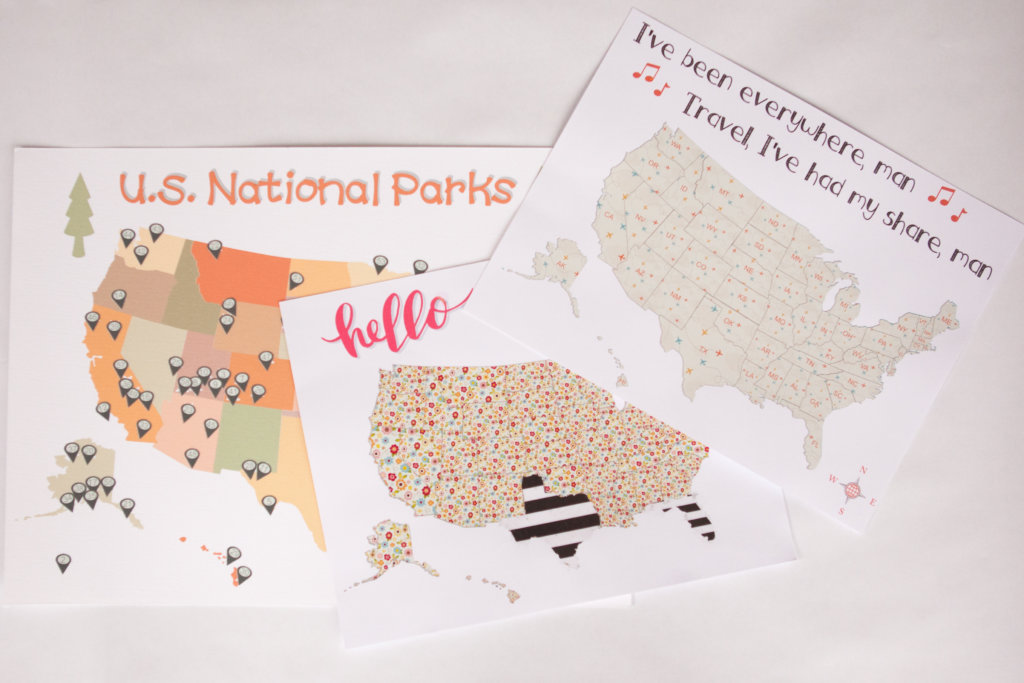
So, this is the map that will slowly be exposed as you scratch off the top layer as you visit each state. However, a title or quote above the map will be visible now, and always. (This will all make better sense if you check out the photos of the end result, if you haven’t already!)

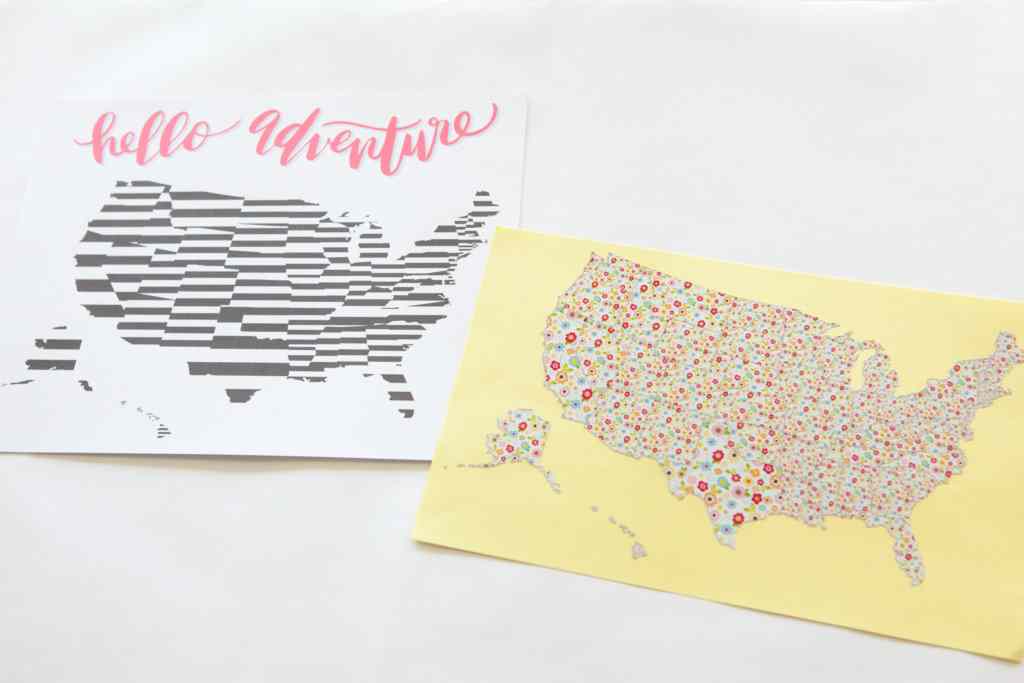
I like stripes as much as I like florals, so I went with stripes from the Fill Pattern window. Here’s my final design for this map.
- If you’re ready, print it! (I printed mine on heavy cardstock for durability.)
4. Assemble the Map
I have two maps ready to be put together, do you?
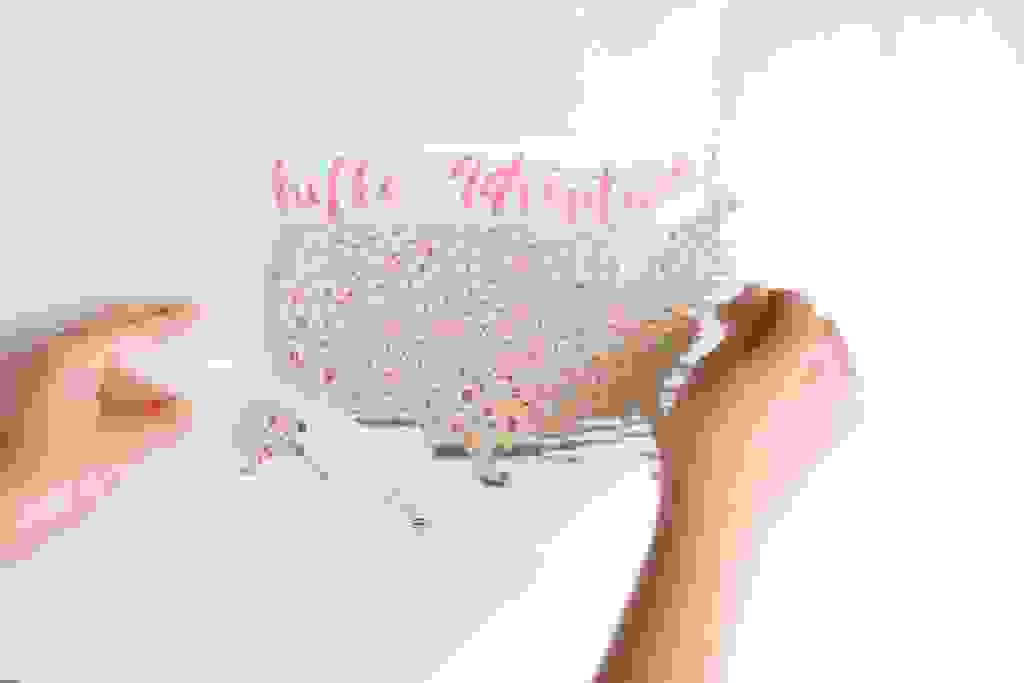
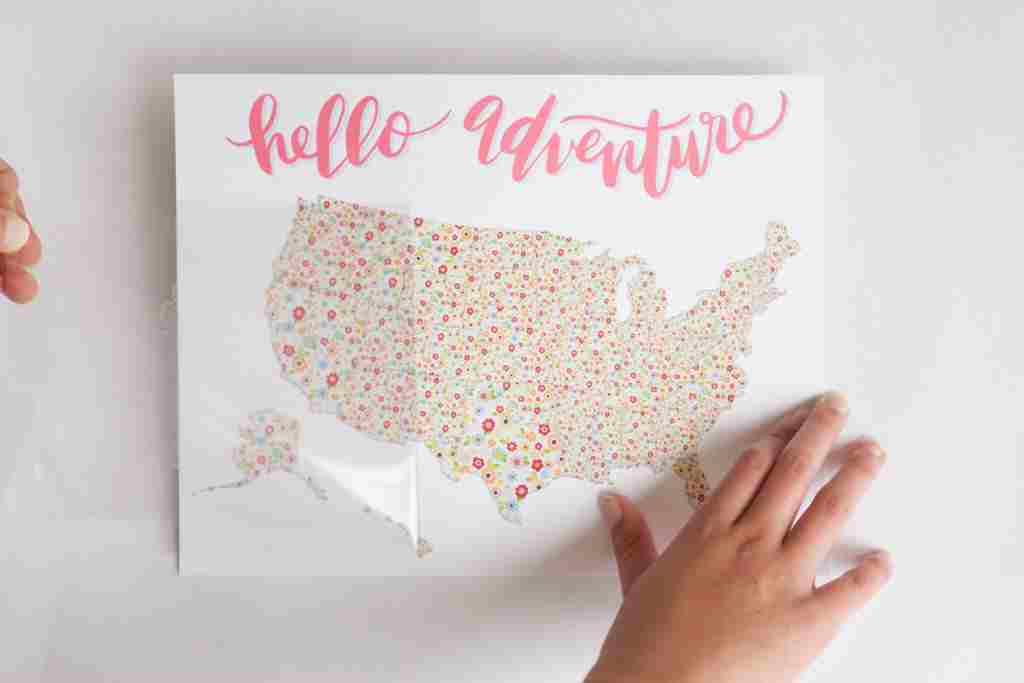
Using Transfer Tape on the map printed on the scratch-off paper, align it with the other map and carefully place it on top of it. Don’t rush this step because once you touch the sticker paper to the cardstock it’s pretty difficult to pull it back up cleanly if you had to.
Burnish it with the Scraper tool to make sure it stays, then slowly peel back the Transfer Tape.
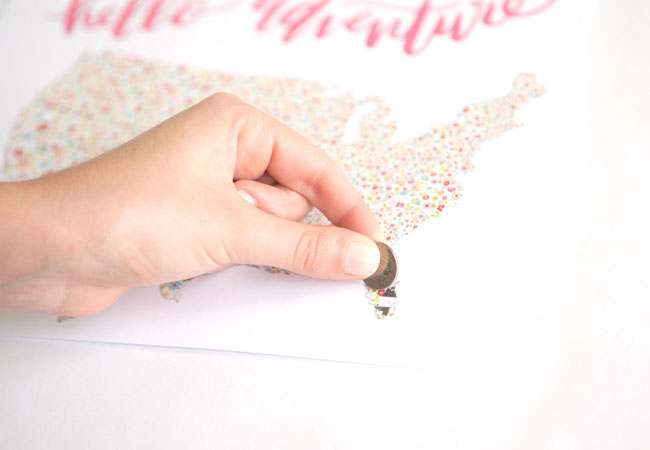
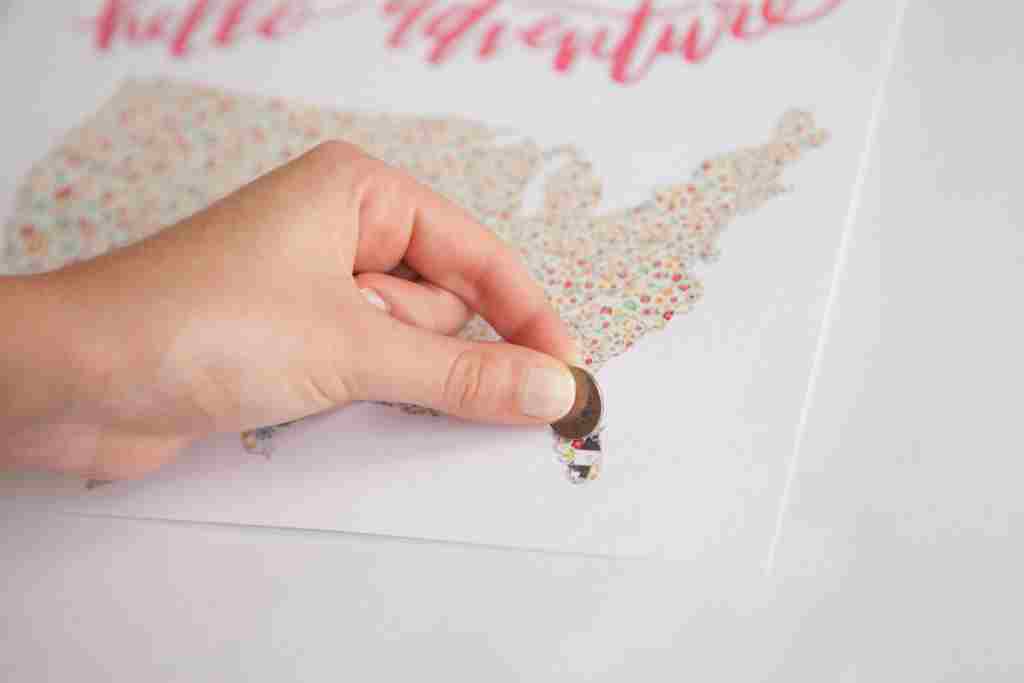
You did it! I’m sure it looks awesome! Now grab a coin and start scratching off the states you have visited.
Now that you know what you’re doing, I have no doubt you will want to make some more like I did.
Where will you go next? Happy Travels!