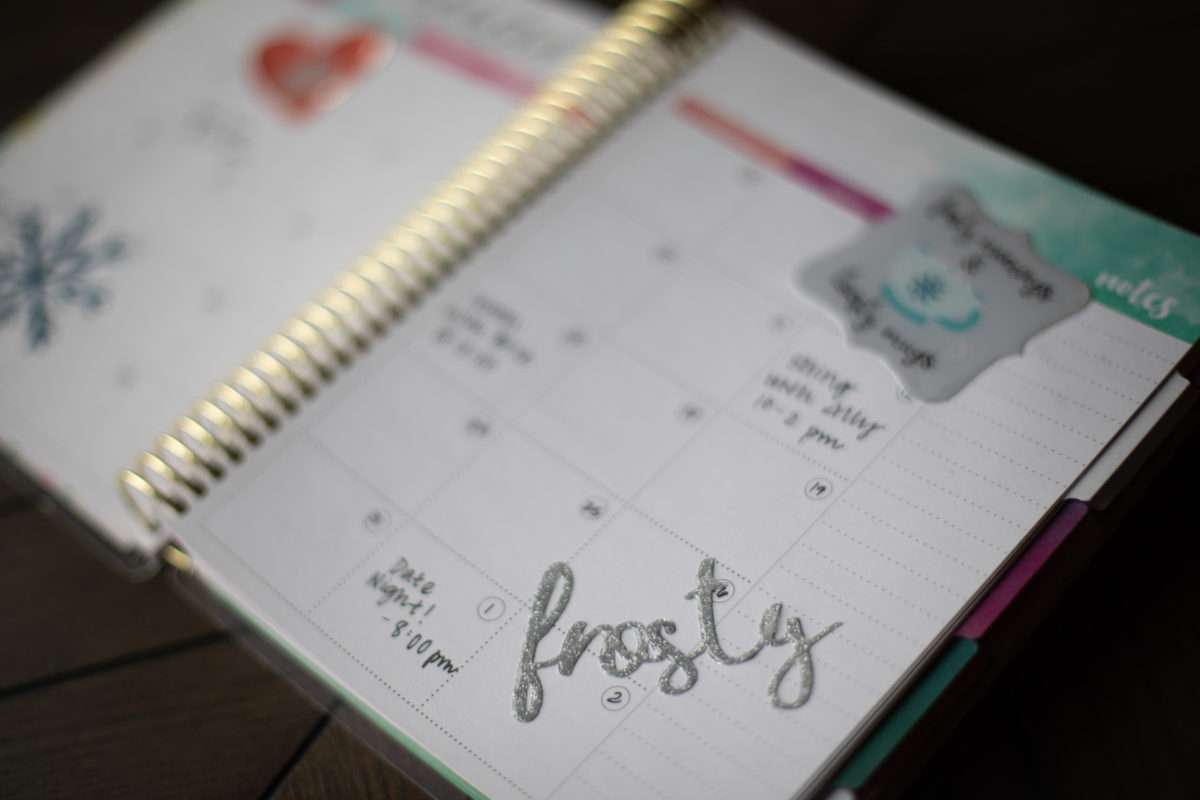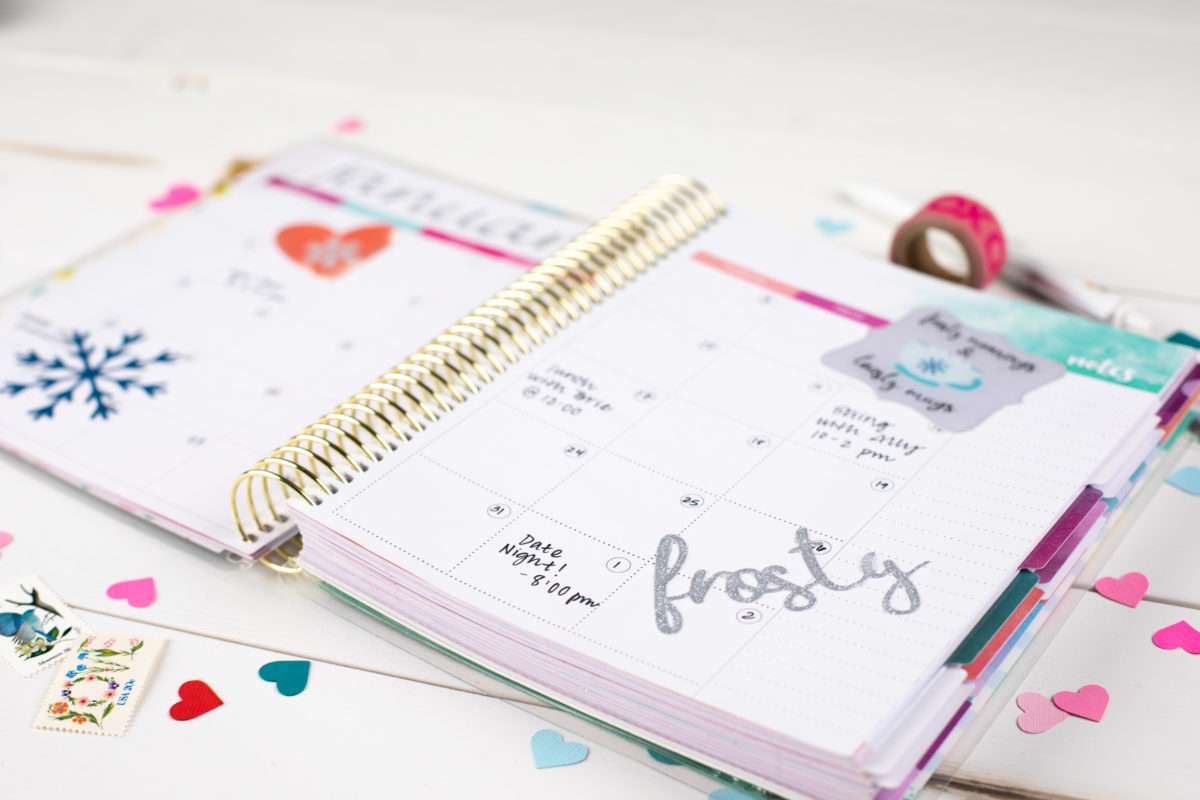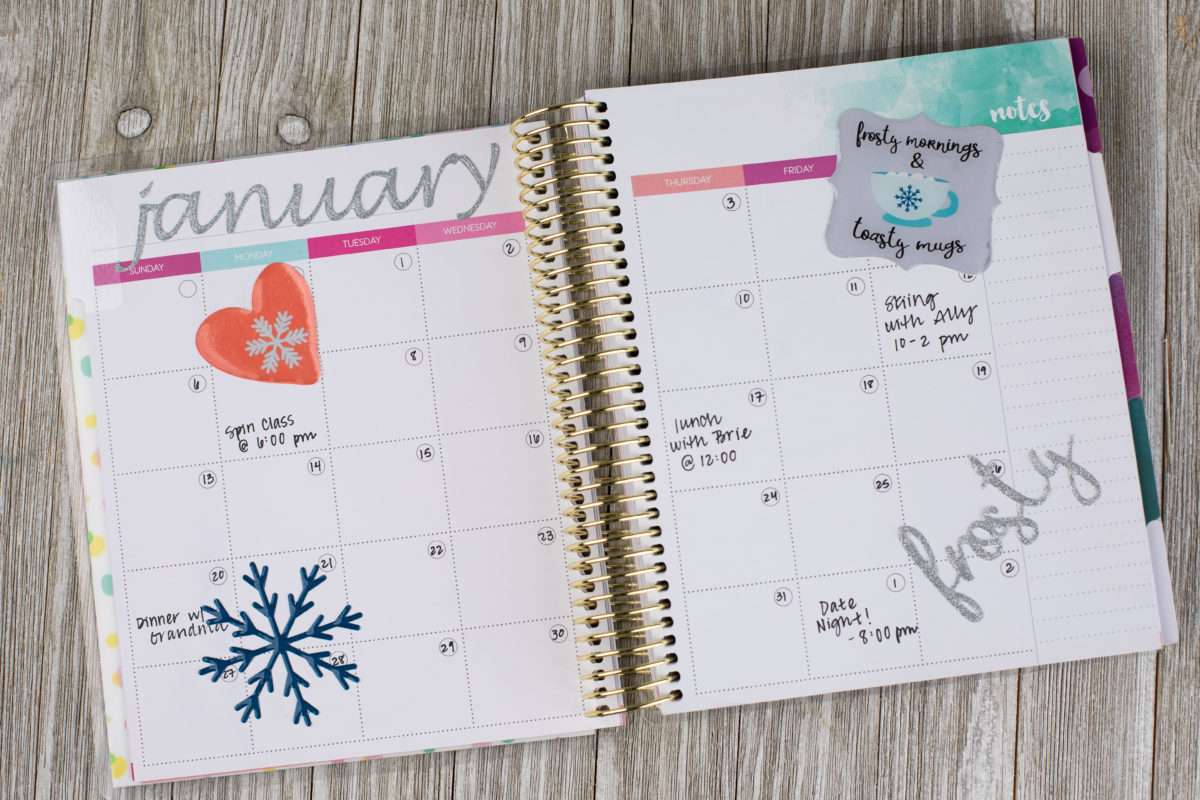
Winter can be dreary, and you may be counting down to warmer days. While you are ticking off the days on your calendar how about giving yourself something fun to look at? Today we are going to add a little dimension to our planners with some custom doming planner stickers.
Supplies Needed:
- Silhouette CAMEO® or Silhouette Portrait®
- Silhouette Studio®
- Silhouette Cutting Mat
- Silhouette Cutting Blade
- Silhouette Doming Starter Kit
- Silhouette Glitter Vinyl – Silver
- Inkjet Printer
- Planner
- Design ID #283761
- Design ID #46566
- Design ID #73423
Step One: Preparing Design
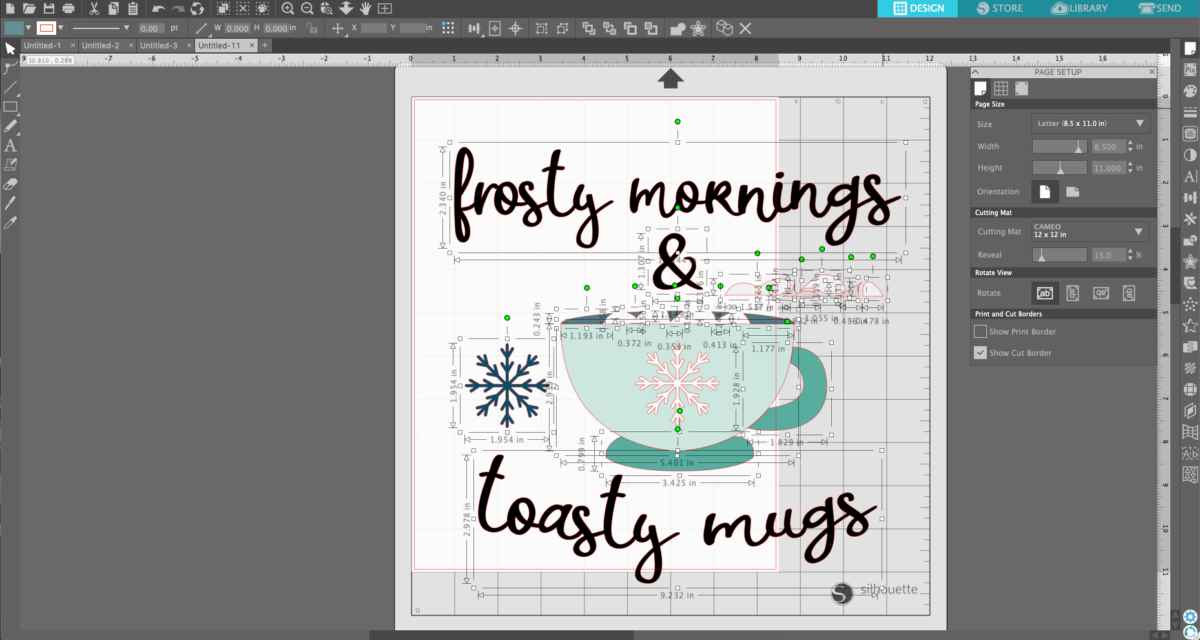
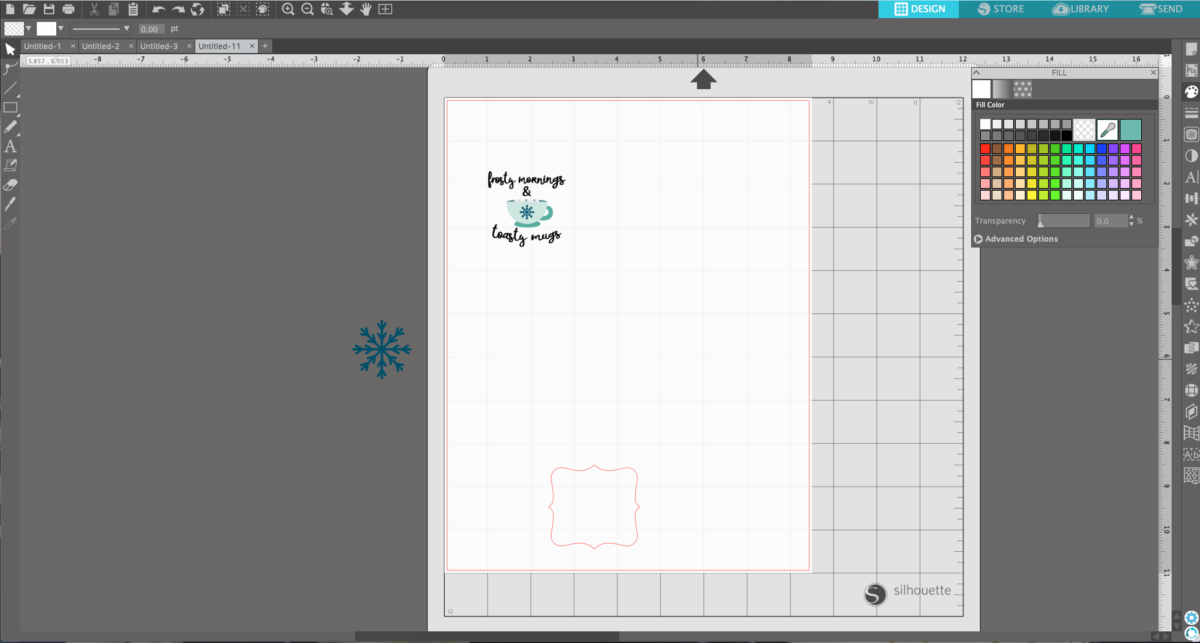
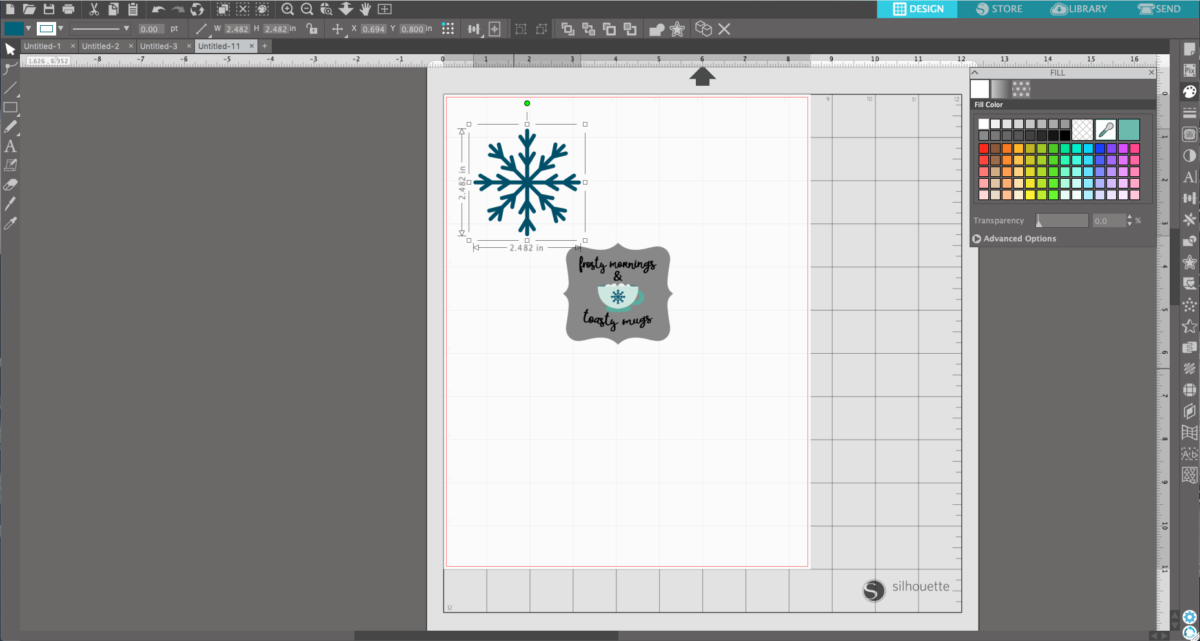
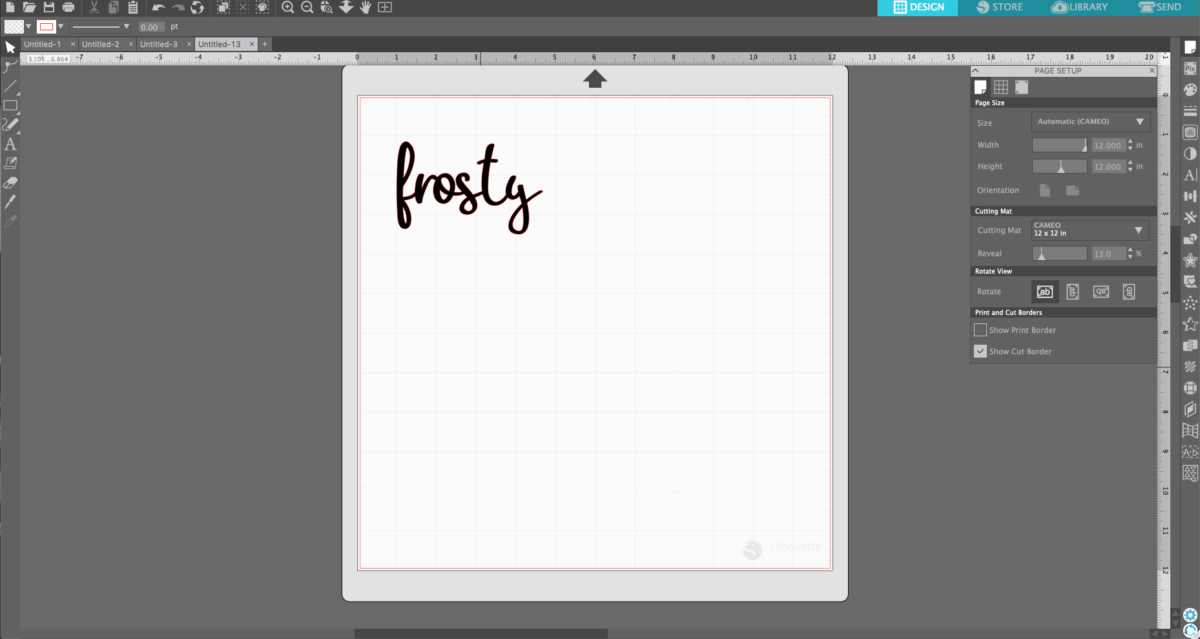
1. Open the Mug design (ID #283761) in Silhouette Studio®. This design comes ungrouped, so we are going to fit all the pieces together by simply clicking and dragging them to their place.
2. Now everything is layered correctly, but before we group the design, we want to make a copy of the snowflake. To do that right-click on the blue snowflake and choose Duplicate from the drop-down menu. Move the duplicated snowflake away from the design space to be used later.
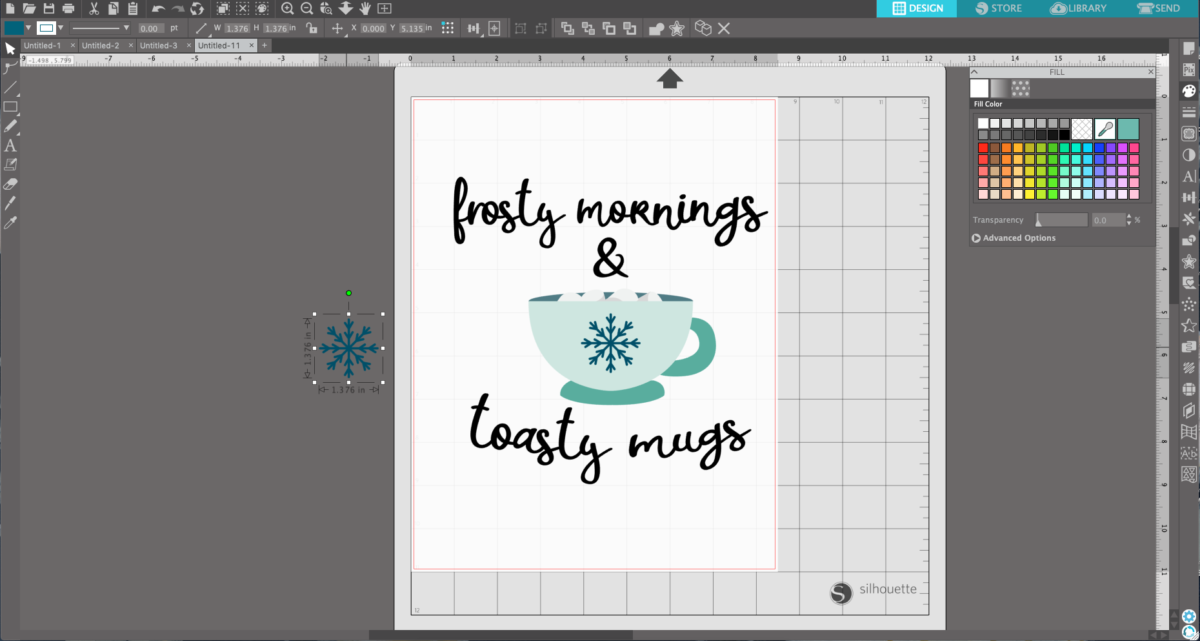
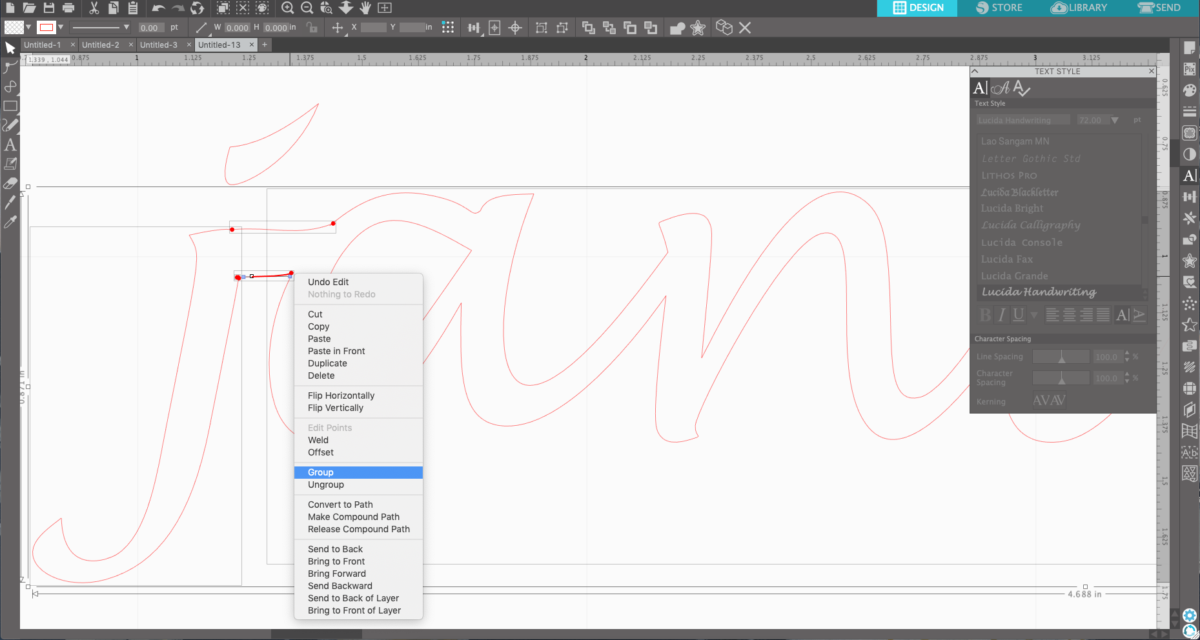
3. Select the entire design in the design space, right-click, and choose Group from the drop-down menu.
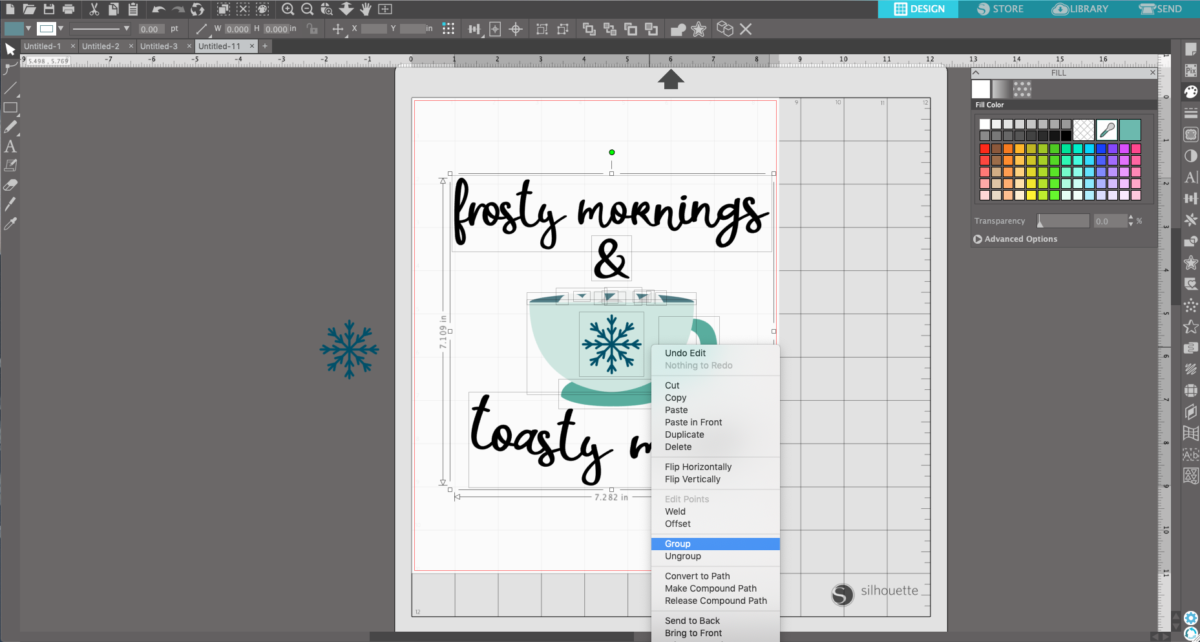
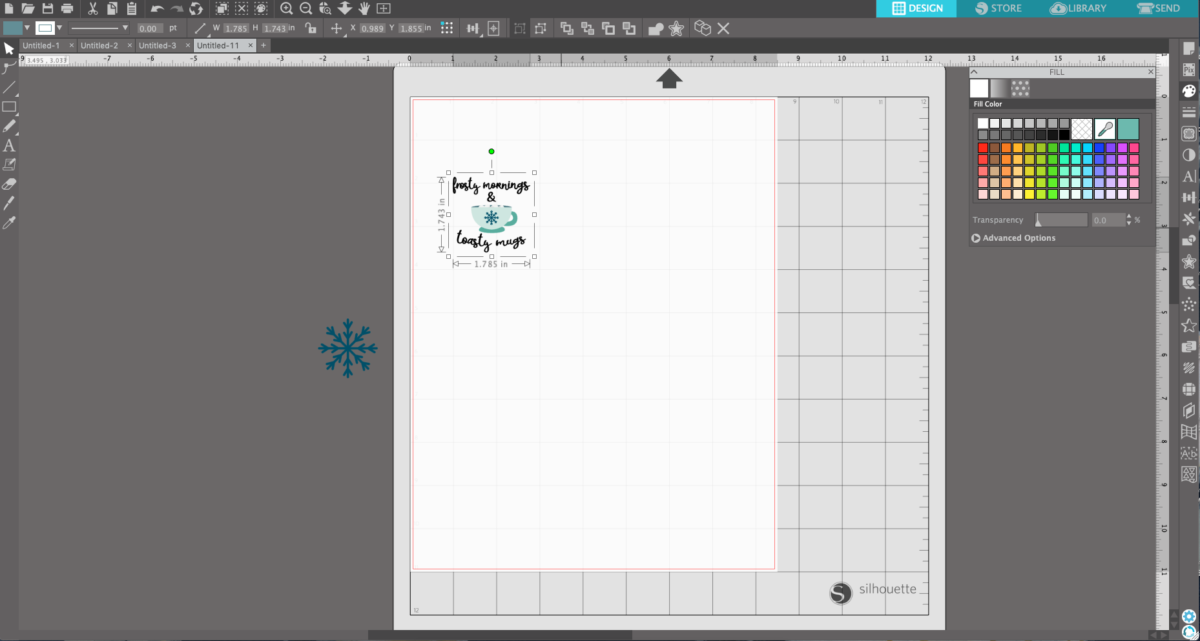
4. Resize the design by clicking and dragging the corner squares.
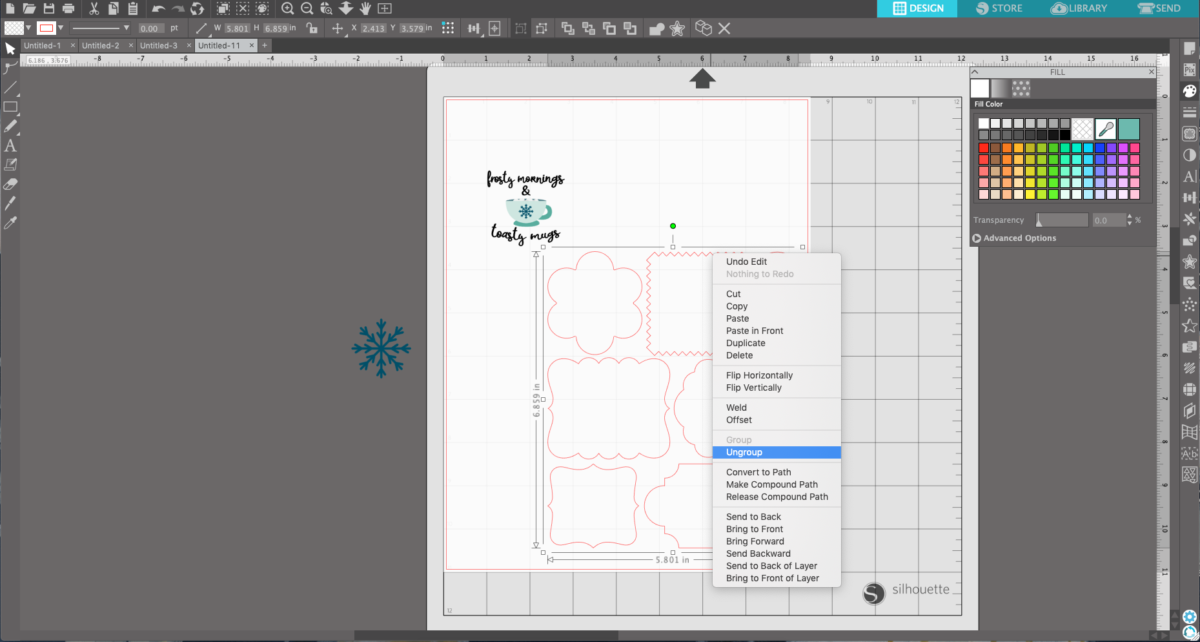
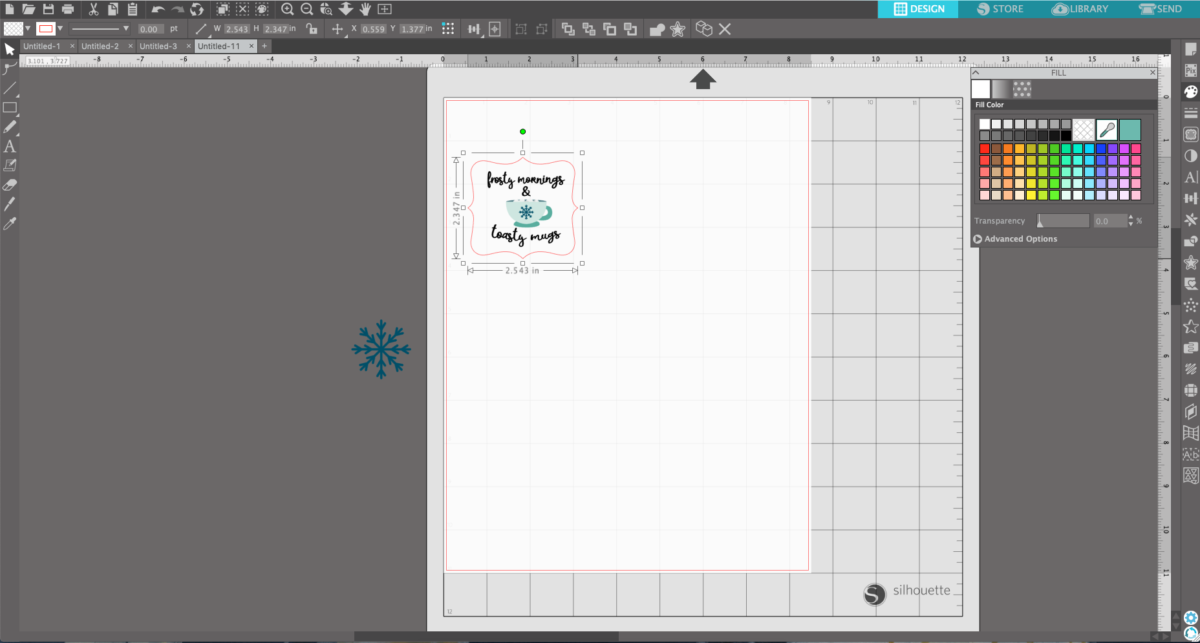
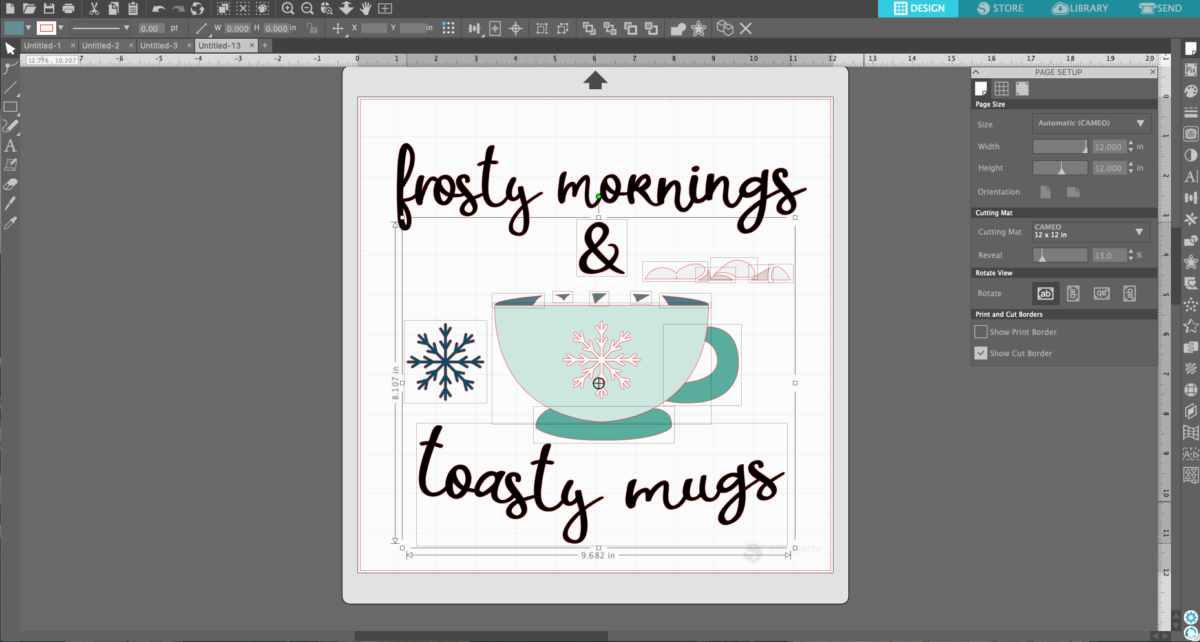
5. Open the label shapes (Design ID #46566) from the Silhouette Design Store. Right-click on the shapes and select Ungroup from the drop-down menu. Delete all the shapes except for the bottom left corner shape.
6. Place the shape over the “Frosty Mornings” design and then adjust the size of the shape by clicking and dragging the corner squares.
7. Now select both the shape and the design and choose the Transform menu from the right-hand side toolbar. With both objects selected, choose both the horizontal and vertical alignment options to center the design within the shape.
8. Now selecting just the shape tool open up the Fill menu, found on the right-hand toolbar, and select a fill color.
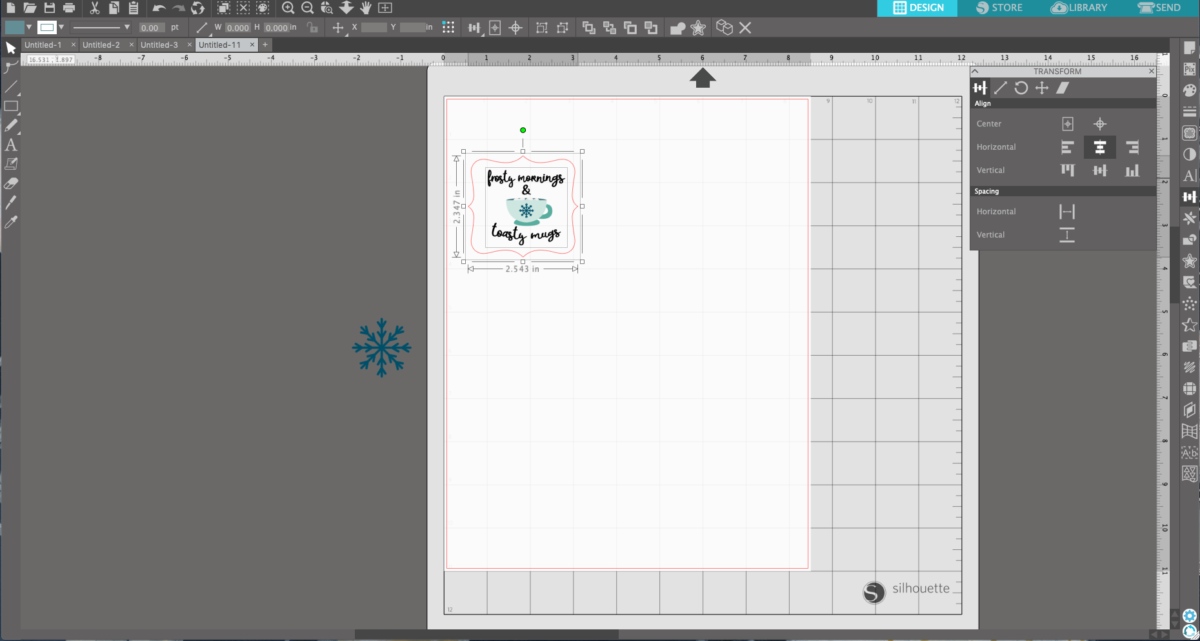
9. You will be unable to see the “Frosty Mornings” design, so next we need to send the gray shape to the back by selecting the “Send to Back” tool found on the top menu bar.
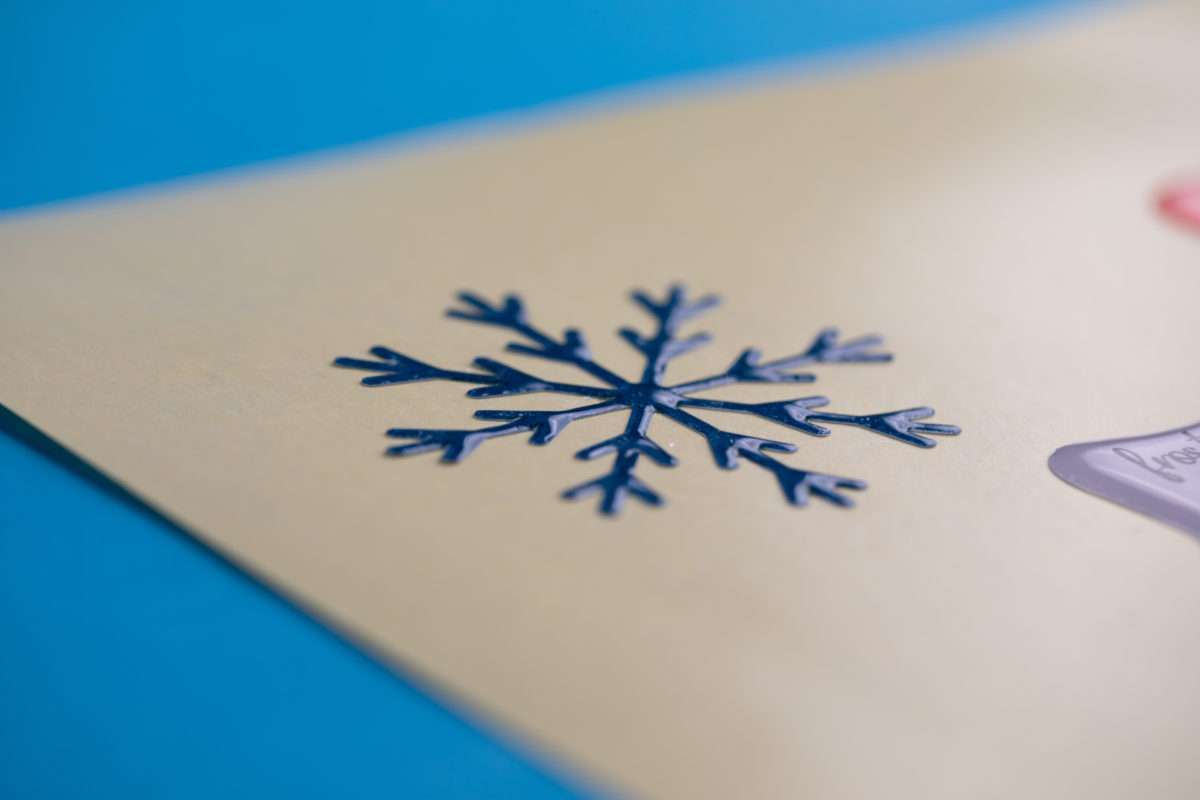
10. Now bring the duplicated snowflake back into the design space and scale it to the desired size. We also used the heart design from this design (Design ID# 73423).
11. Now select the Page Setup menu from the right-hand toolbar. Click the Registration Marks tab and choose the corresponding style. We are using the CAMEO, so we chose type 1.

12. We adjusted the bottom inset Print & Cut registration markers under the Advanced options tab and moved it up to 4.250 inches.

Step Two: Print the Designs
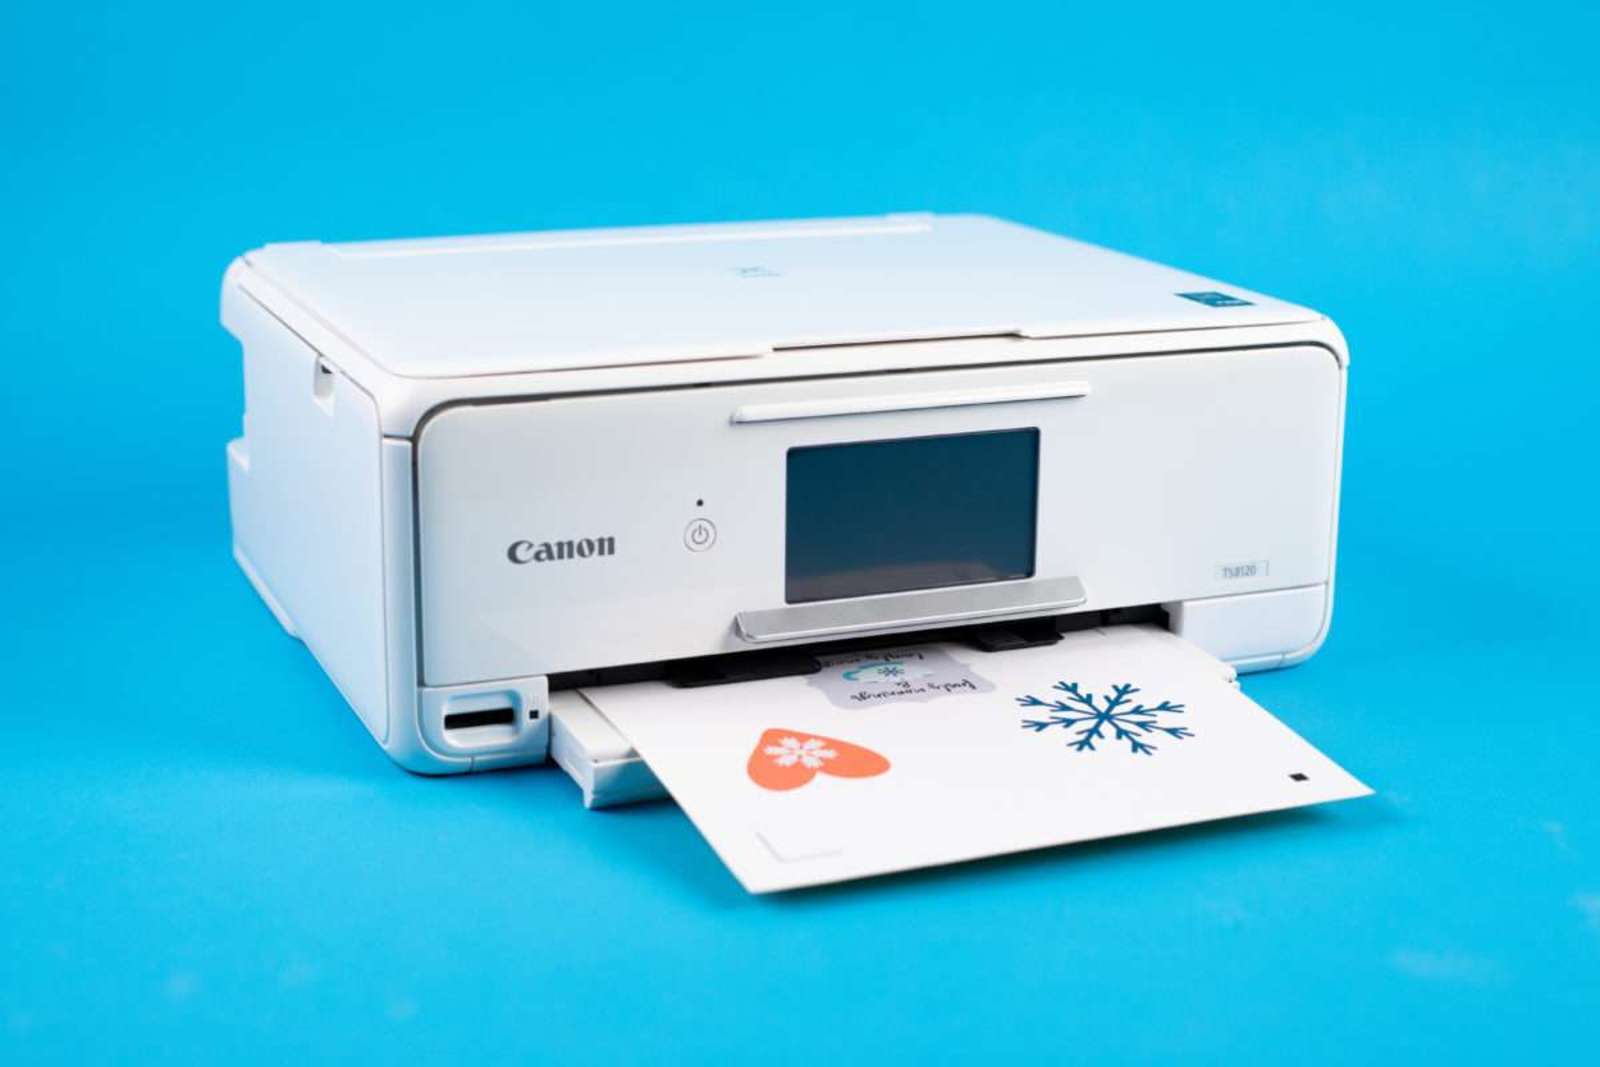
1. Now send the design to your inkjet printer and print on the white sticker paper.
Step Three: Create Glitter Vinyl Words
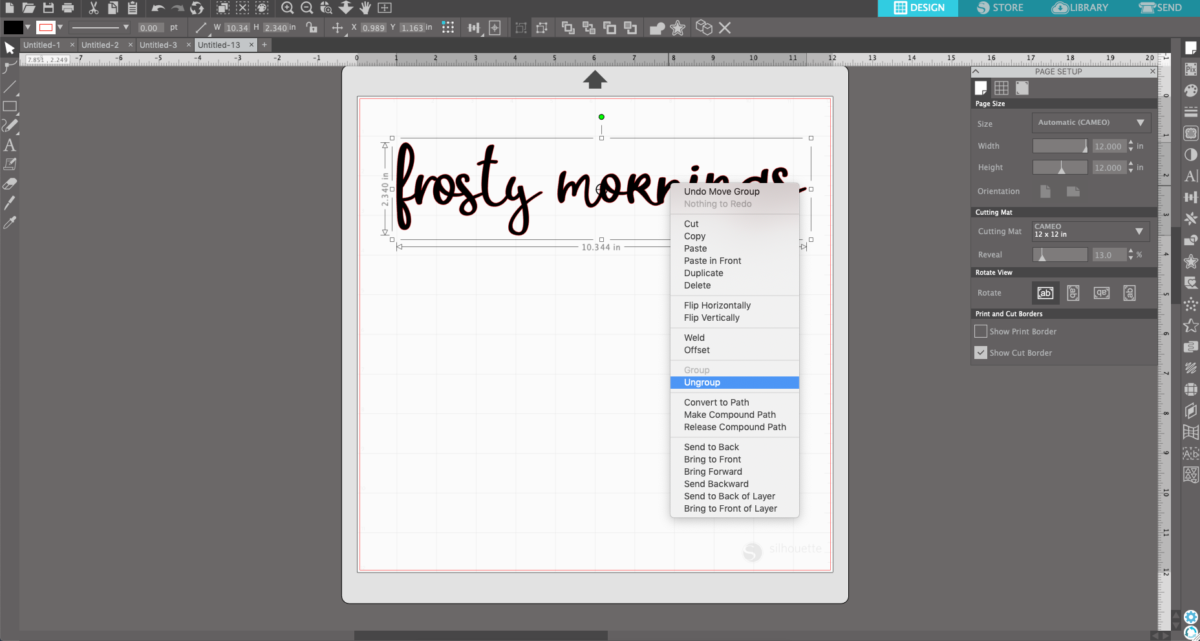
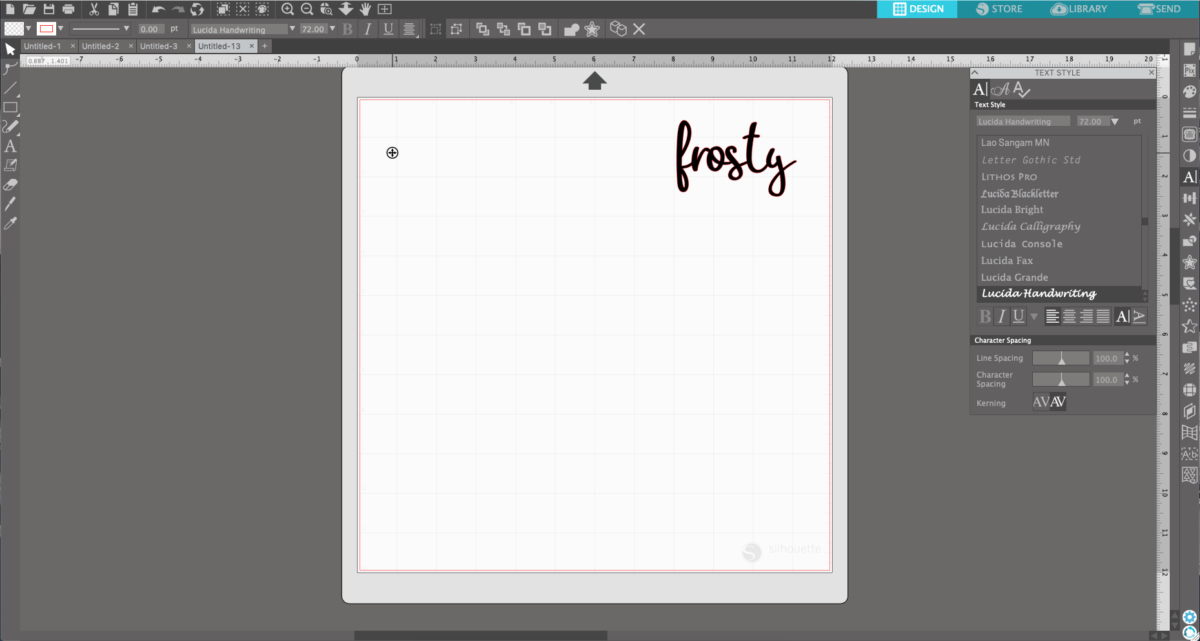
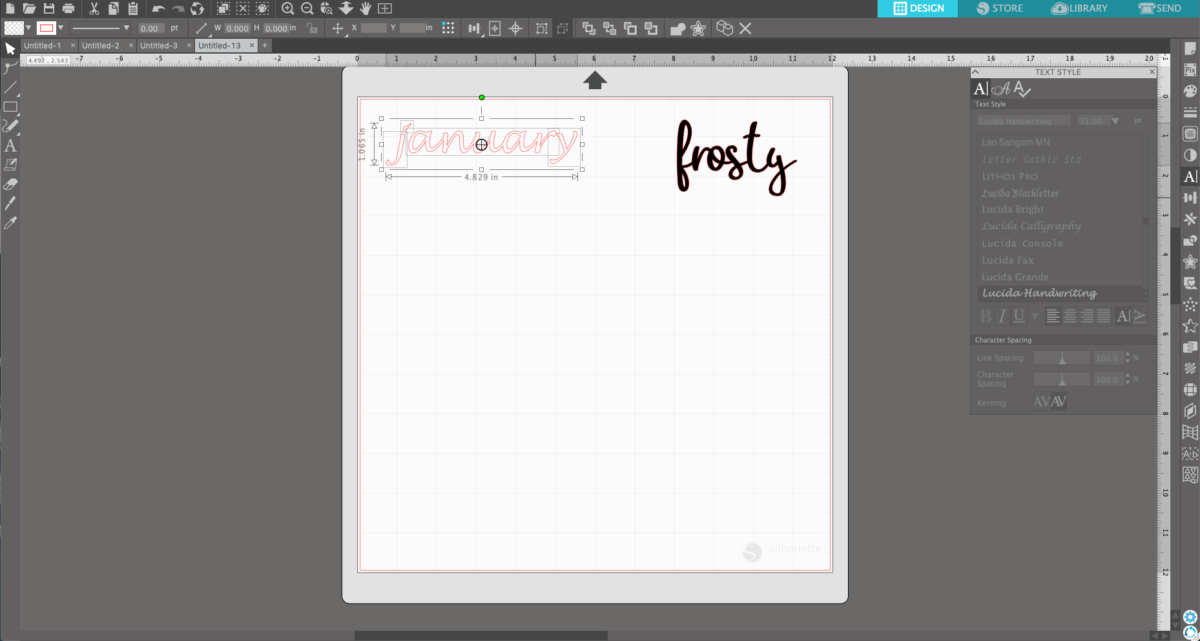
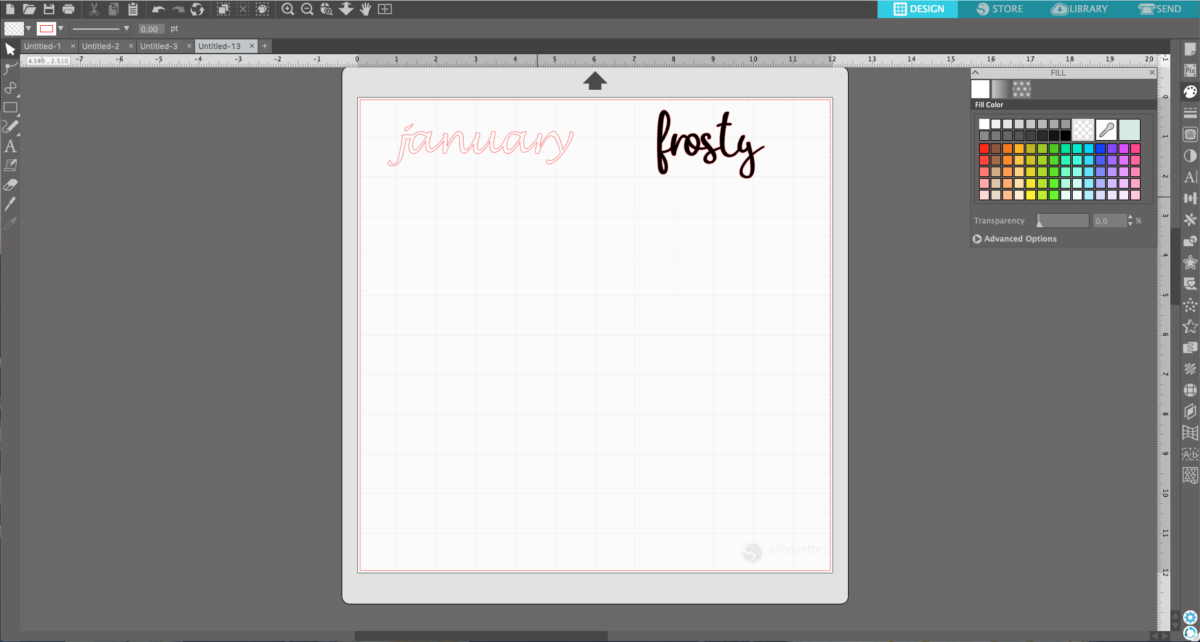
1. Open the design (Design ID #283761) and delete everything but the phrase “frosty mornings.”
2. Select the words, right-click, choose Ungroup from the drop-down menu. Select and delete “mornings.”
3. Now select the font tool from the left-hand toolbar and the Text Style panel from the right-hand toolbar.
4. Select the font Lucinda Handwriting or another cursive font.
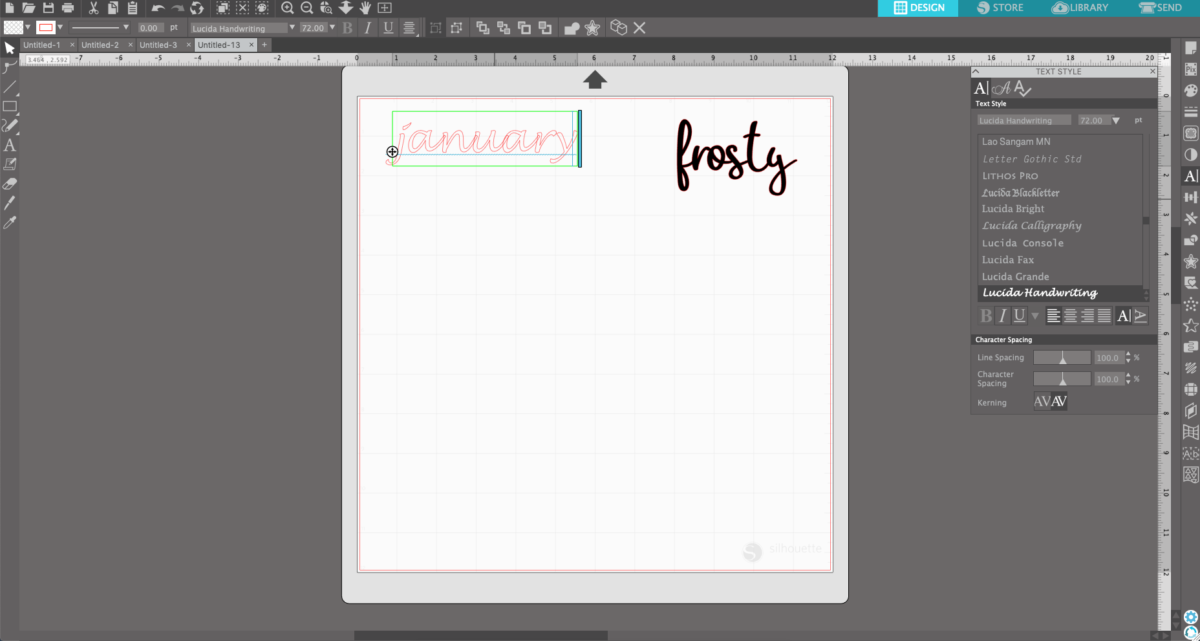
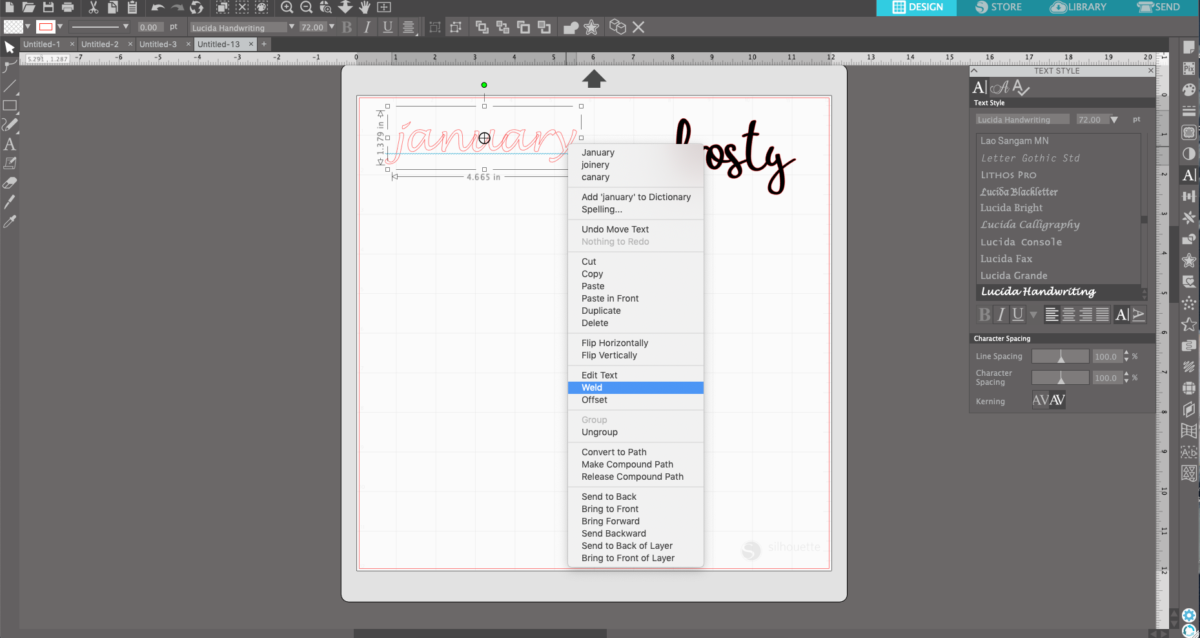
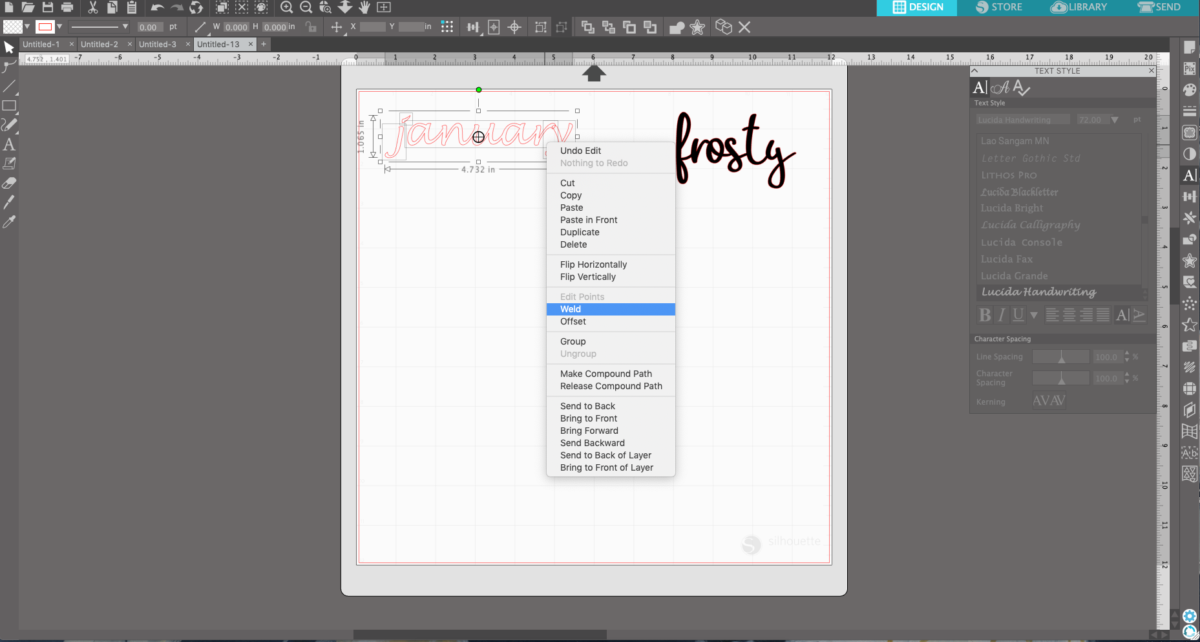
5. Type “January” in the design space. Right-click on the word and choose “Weld” from the drop-down menu. This will join together the letters wherever they overlap.
6. With this font, the J and the Y are not automatically connected to the rest of the word.
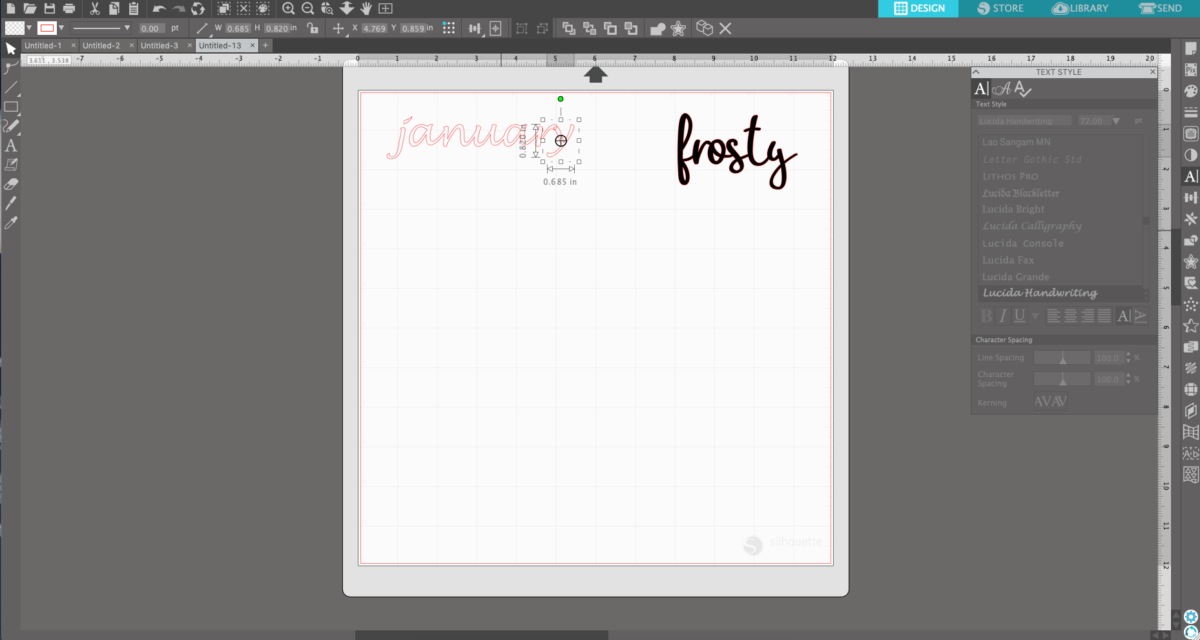
7. So select just the Y and drag it over to the rest of the letters until it is slightly overlapping the end of the R.
8. Now select all entire word, right-click, and choose “Weld” again from the drop-down menu.
9. Now we need to join the J to the rest of the word. We will use the Draw Line tool from the left hand tool bar. And draw two lines to connect the J and the A.
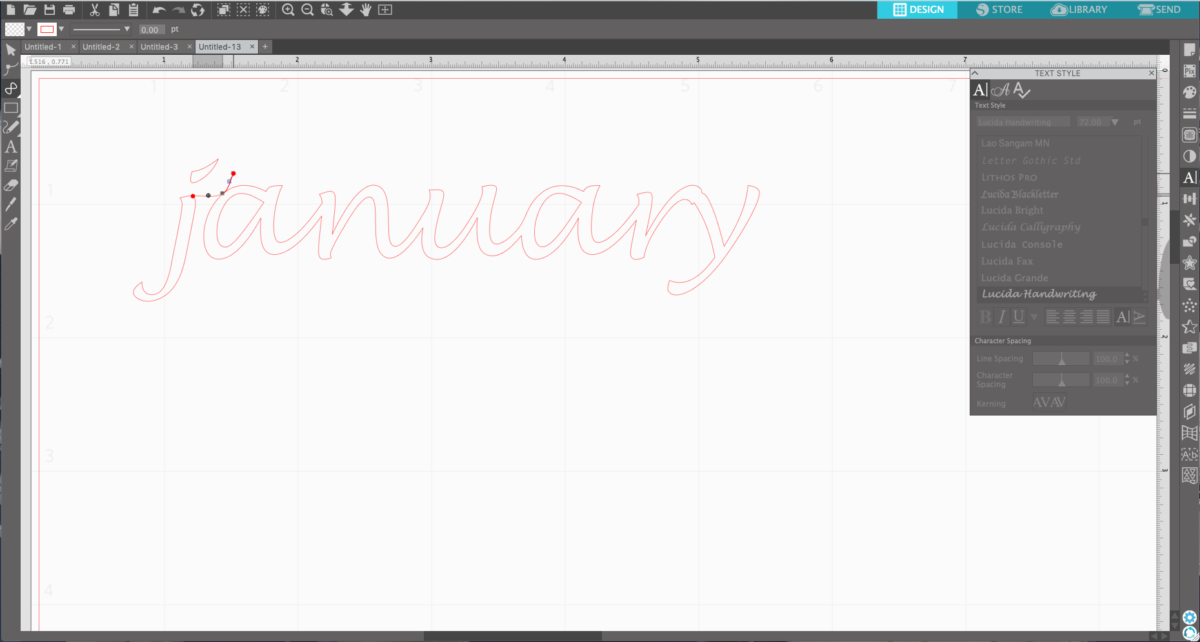
10. Once the lines are drawn, you can now erase the horizontal lines on the J and the A. Select the lines and the whole word, right-click, and choose group from the drop-down menu.
Step Four: Cut the Words
- Now it’s time to cut!
2. Send the design to your CAMEO or Portrait using the corresponding cut settings for the vinyl you will be using.
Step Five: Prepare the Sticker Materials
1. Go back to the printed sticker paper. We are going to place a doming laminate sheet over the sticker paper. This will ensure that ink colors don’t bleed when it’s time to put the epoxy solution over the top of the designs.

2. Press and rub the entire laminating sheet to ensure there are no air bubbles.
3. Once the laminate sheet is adhered to the sticker paper, place it onto the cutting mat and send it to the CAMEO using the white sticker paper cut settings. Note: When you are cutting sticker paper with the laminate sheet over the top, increase the blade depth by 1 to make sure the Silhouette will cut the sticker paper all the way through.

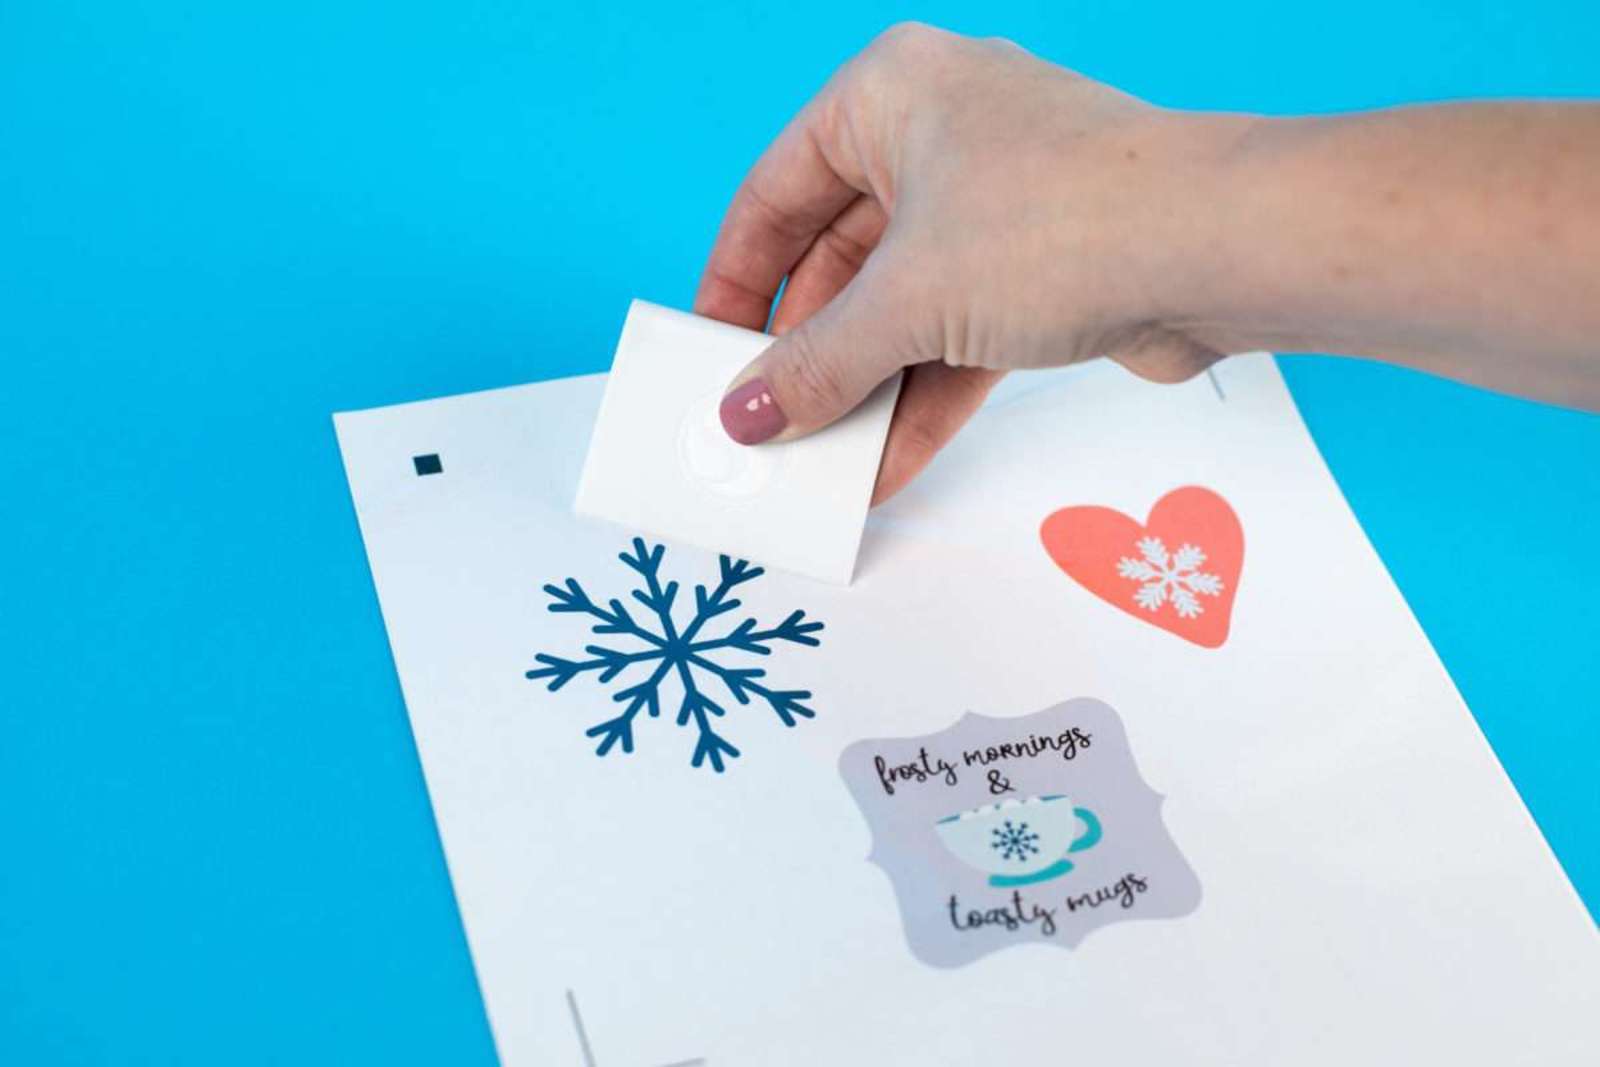
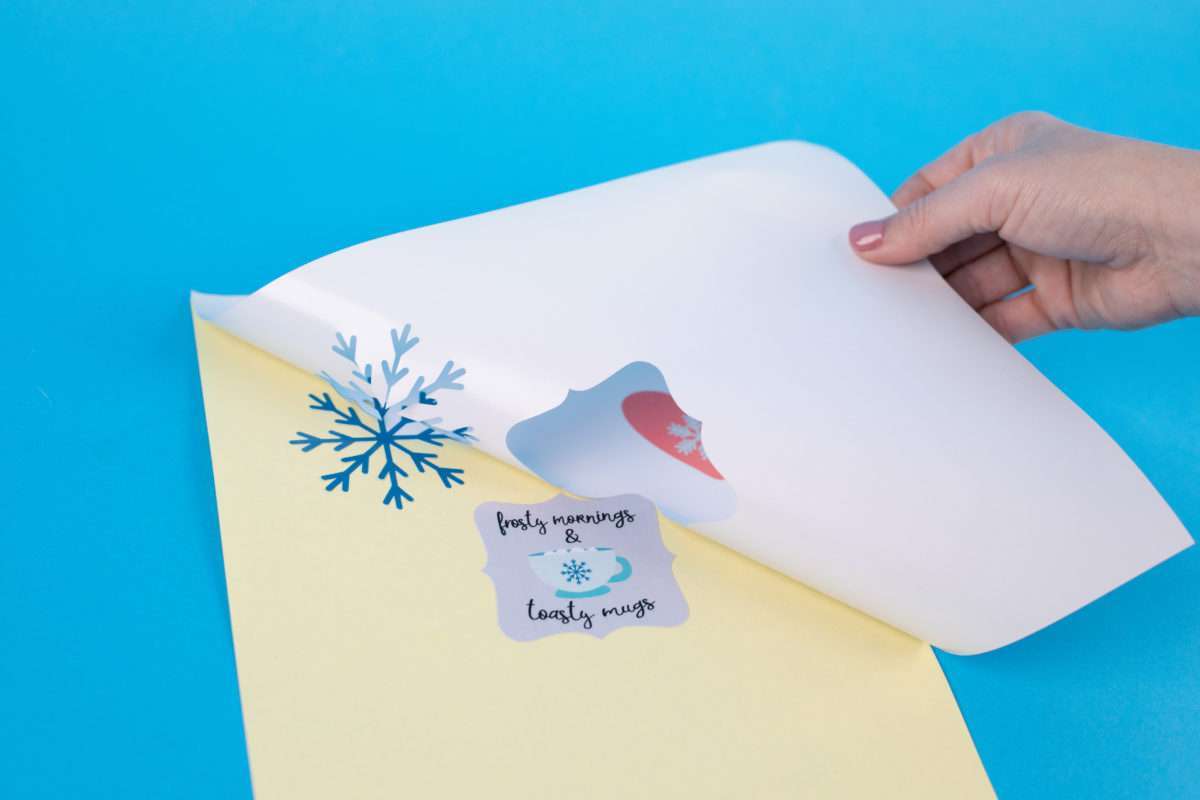
4. Once the designs have been cut, remove the sticker paper from the cutting mat and peel away the excess sticker paper from the backing.
Step Six: Prepare the Vinyl
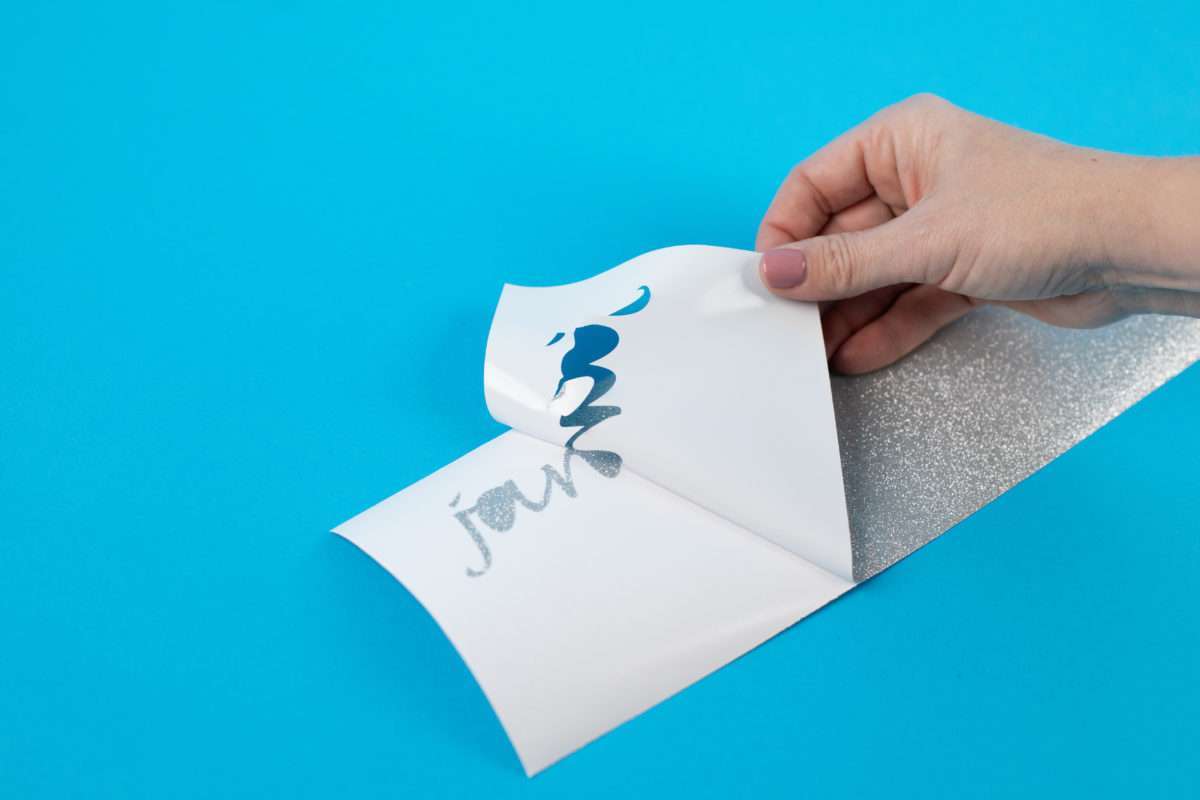
1. Remove the vinyl from the cutting mat. Weed away the excess vinyl.
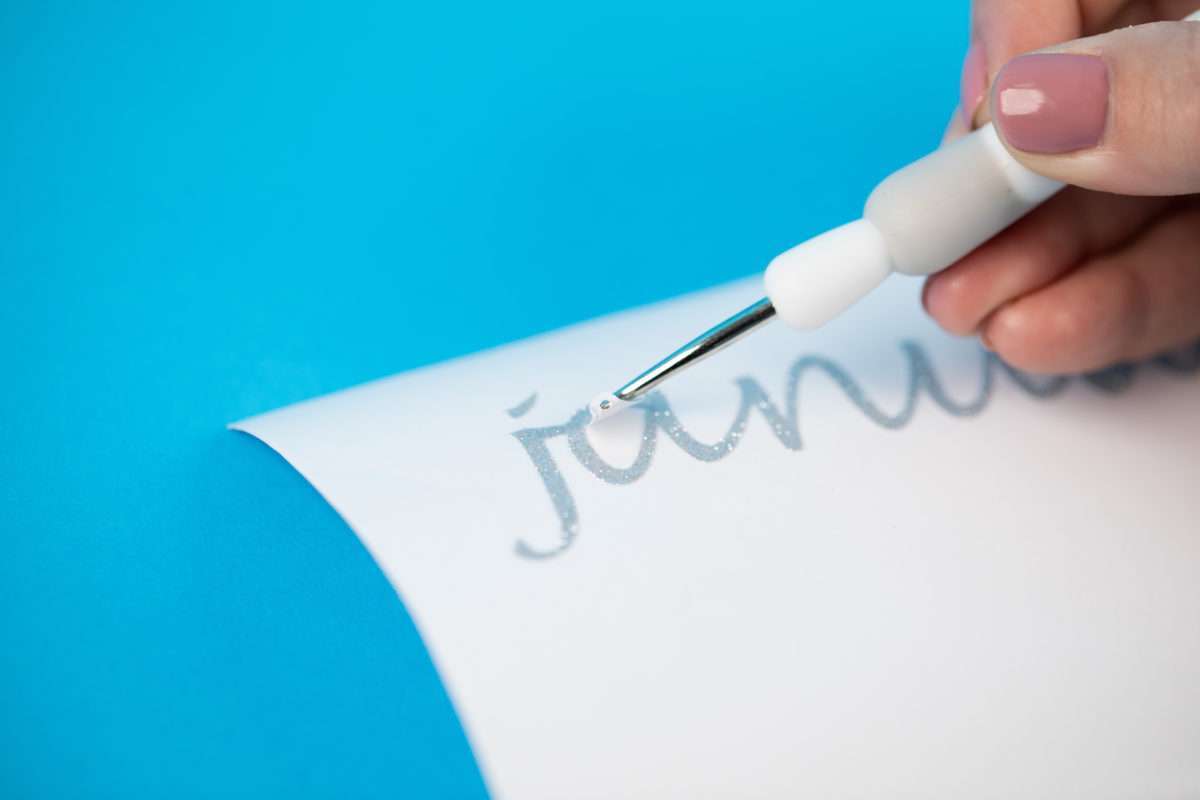
2. After the vinyl has been weeded, place the vinyl on a flat surface. Make sure the backing is as flat as possible so that the epoxy solution won’t run when you apply it. Tape the backing flat if you need to. Make sure to tape the backing in a place where you won’t have to move it while the epoxy solution dries.
Step Seven: Prepare and Apply the Epoxy Solution
1. Make sure you have all the items shown in the picture below. All of these items are included in the Doming Starter Kit.
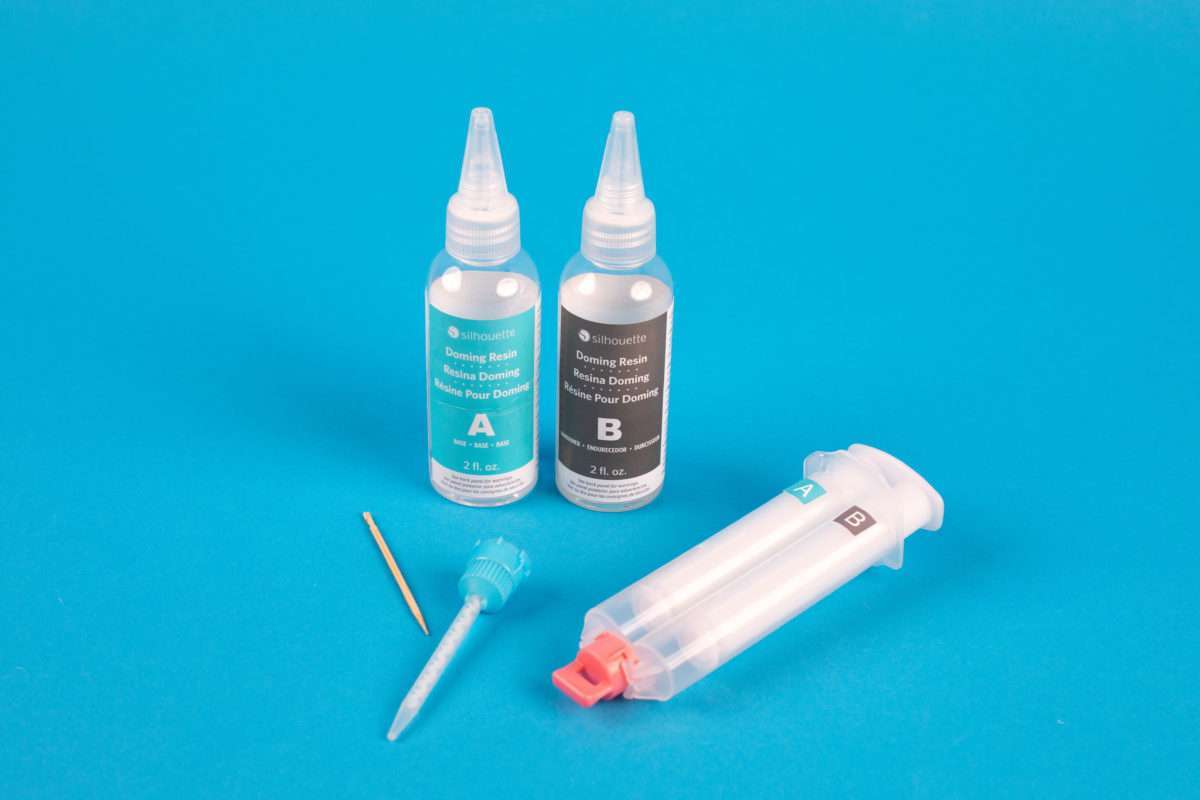
2. Start by filling each chamber of the syringe with its corresponding resin.
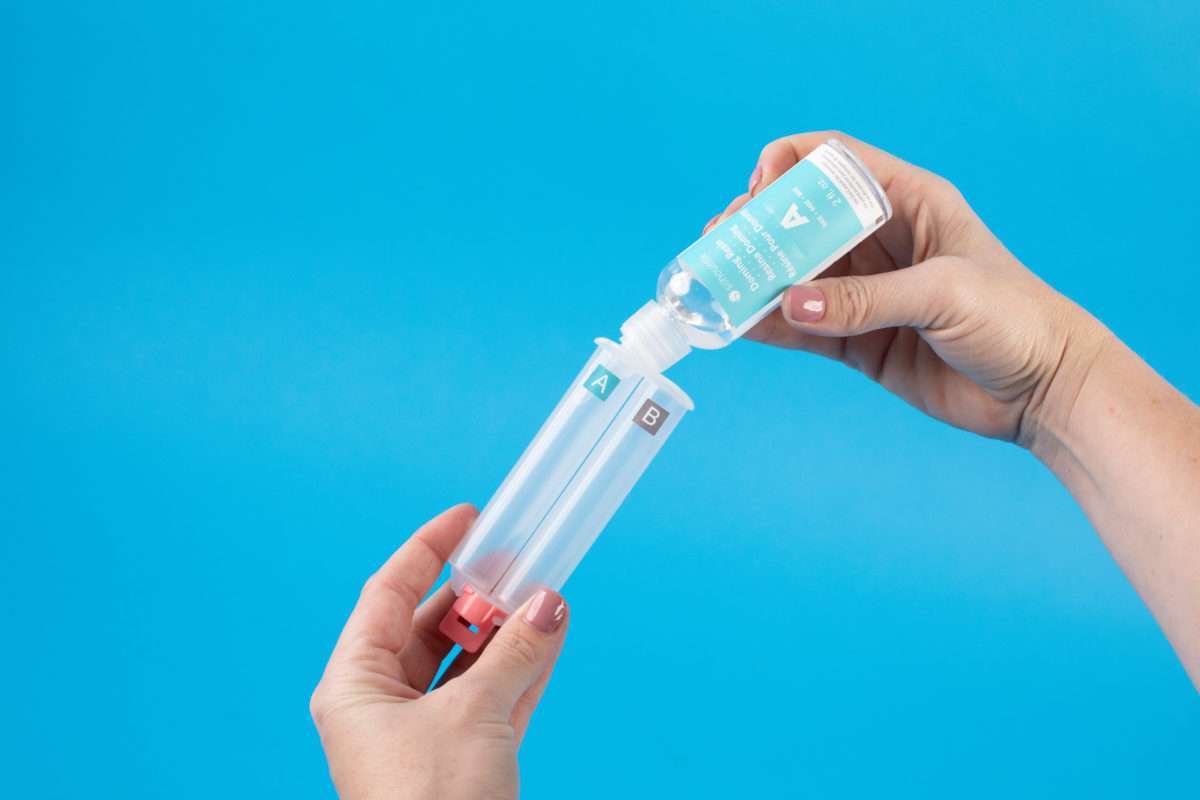
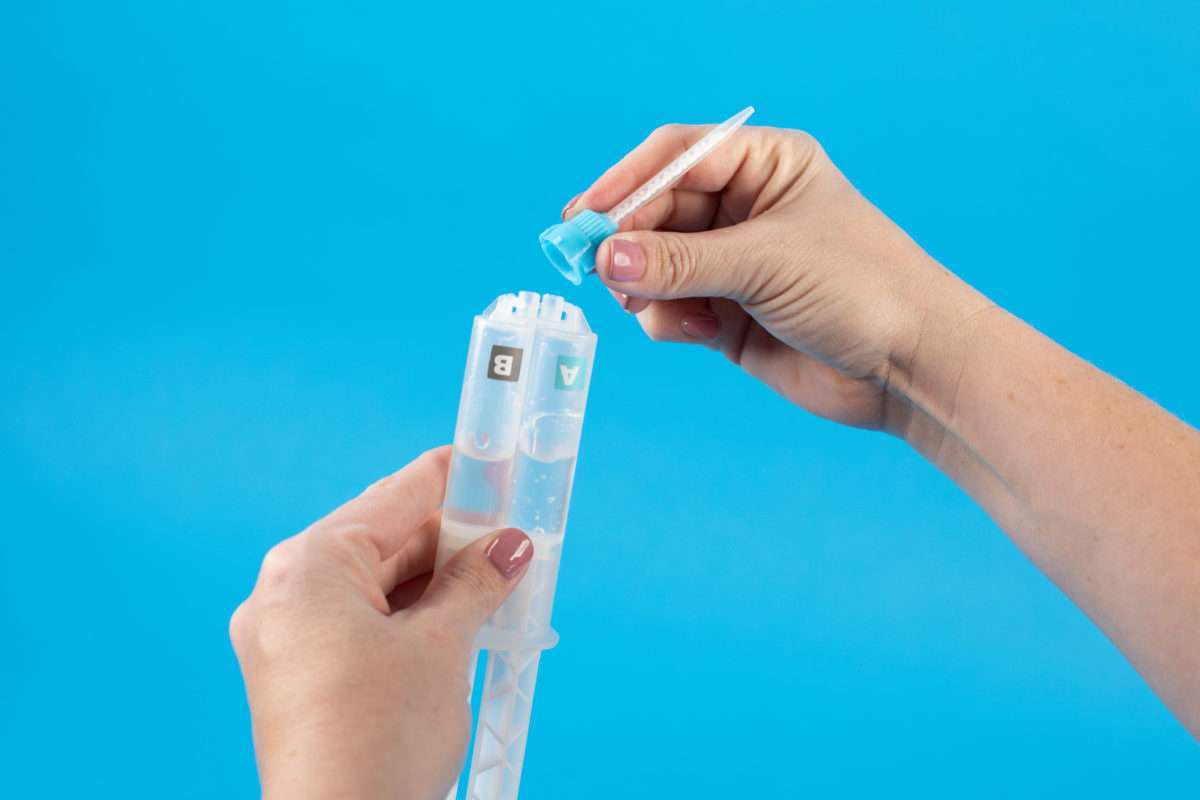
3. When the chambers are full, attach the syringe tip to the chamber and twist it into place.
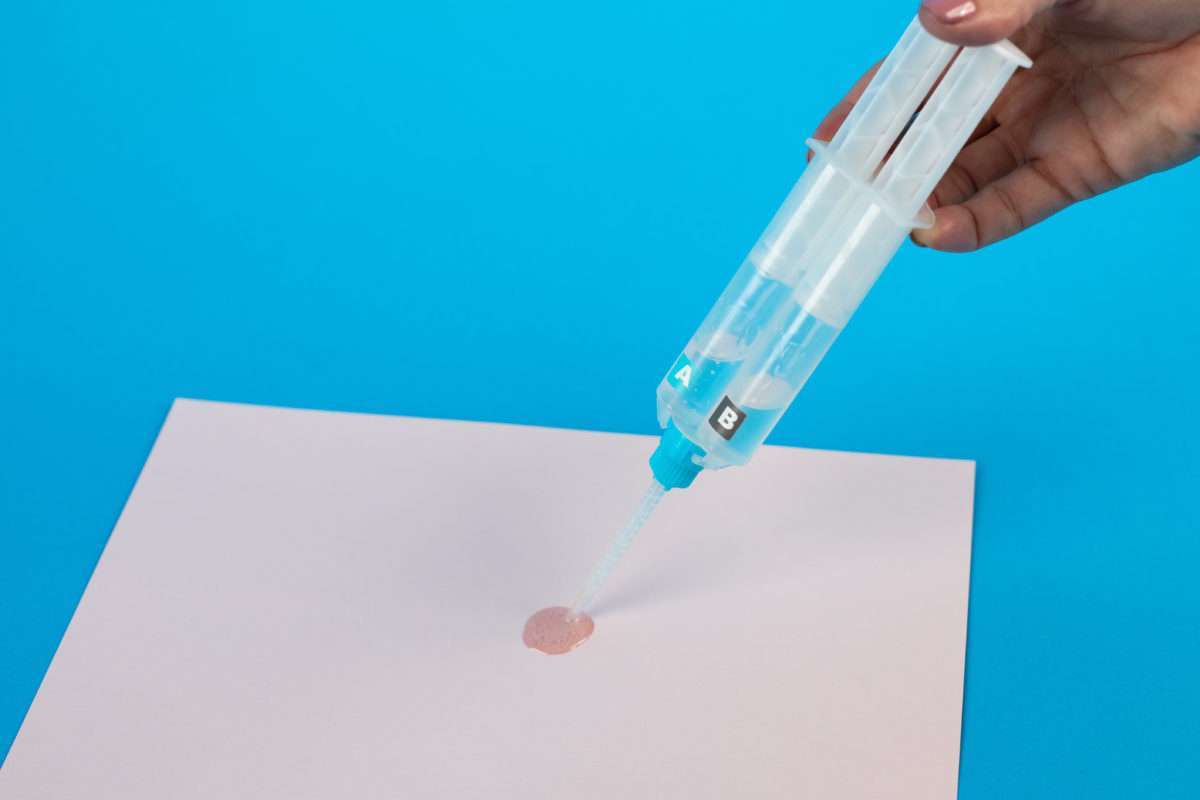
4. Always squeeze a little bit of the solution onto a bit of scrap paper first to ensure the mixture is the right consistency for your final product. It only needs to be about an inch in diameter.
5. When you are ready, you will flood the sticker or vinyl with the doming resin. Start in the center of the design and work your way to the edges.
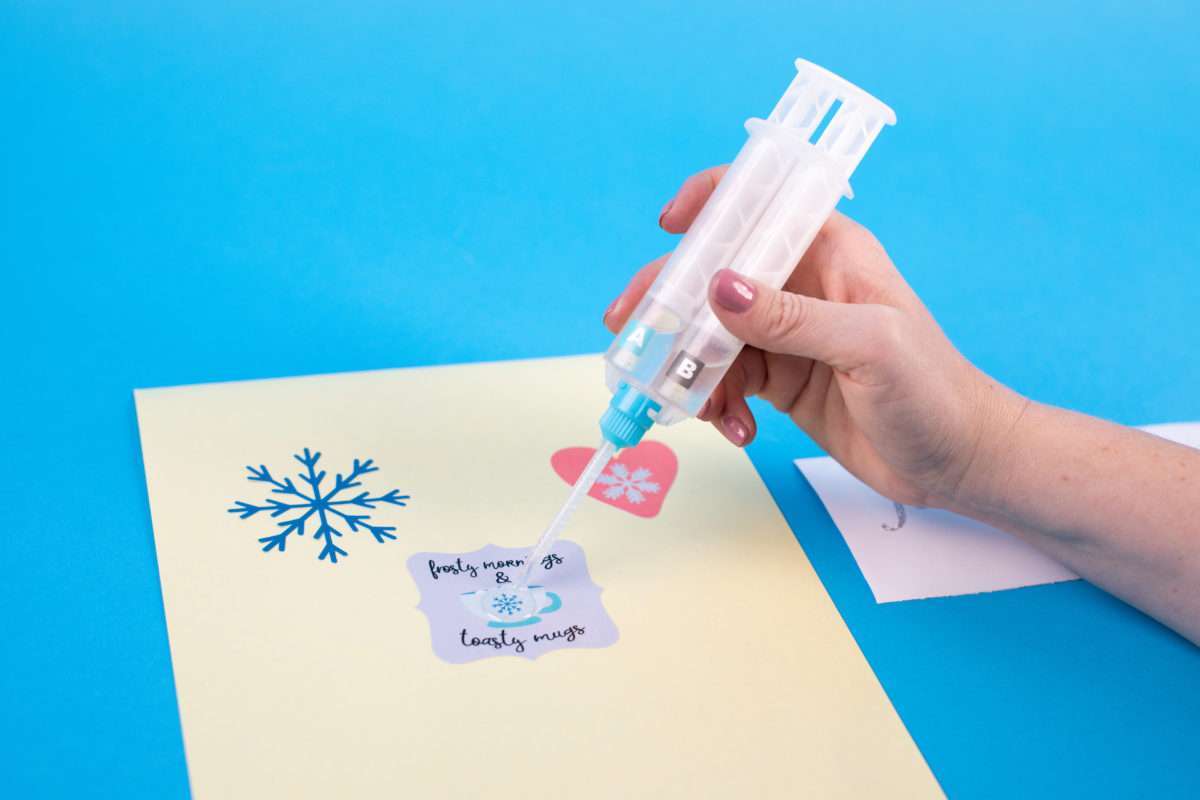
6. Once you have resin pooling on your sticker, take a toothpick and swirl the resin to the edges.
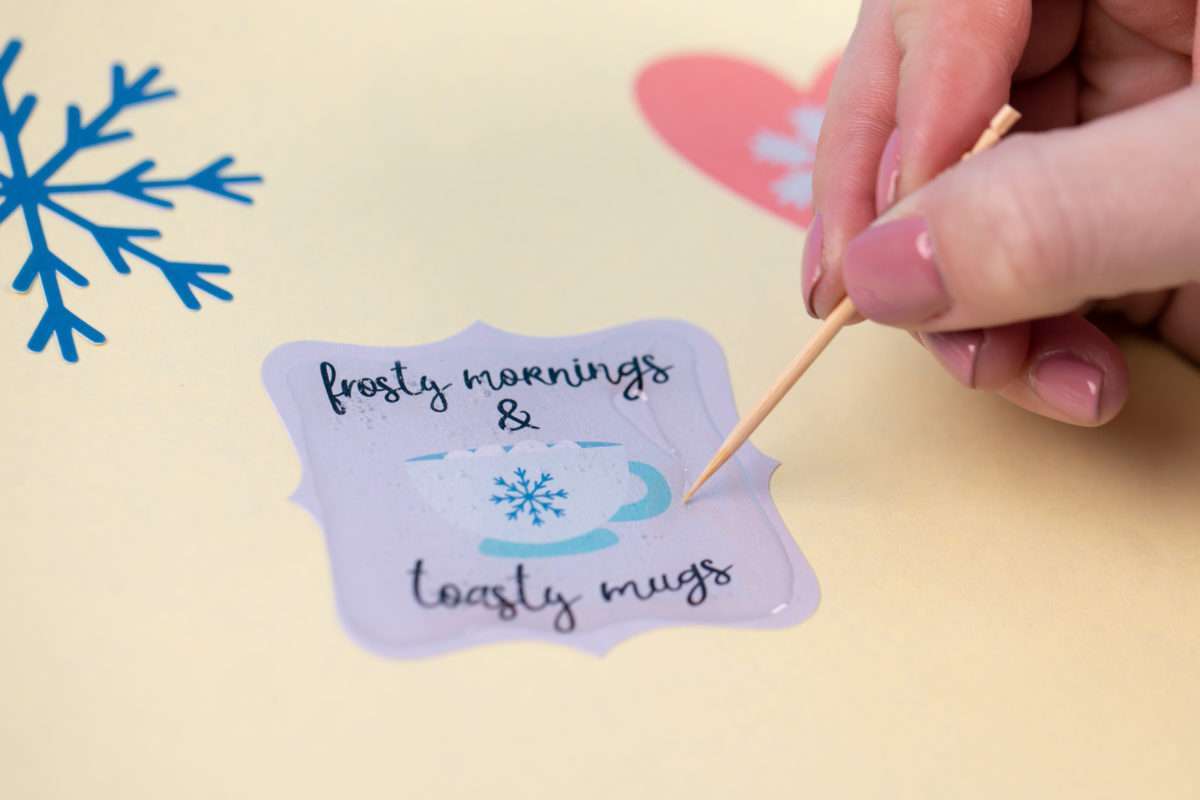
7. Also use the toothpick to work out the bubbles that may appear in the resin.

8. Take care around the edges to make sure the resin doesn’t spill off the edge.

9. When applying the epoxy solution to finer cut areas, make sure the flow from your syringe is slow and apply a thin amount.
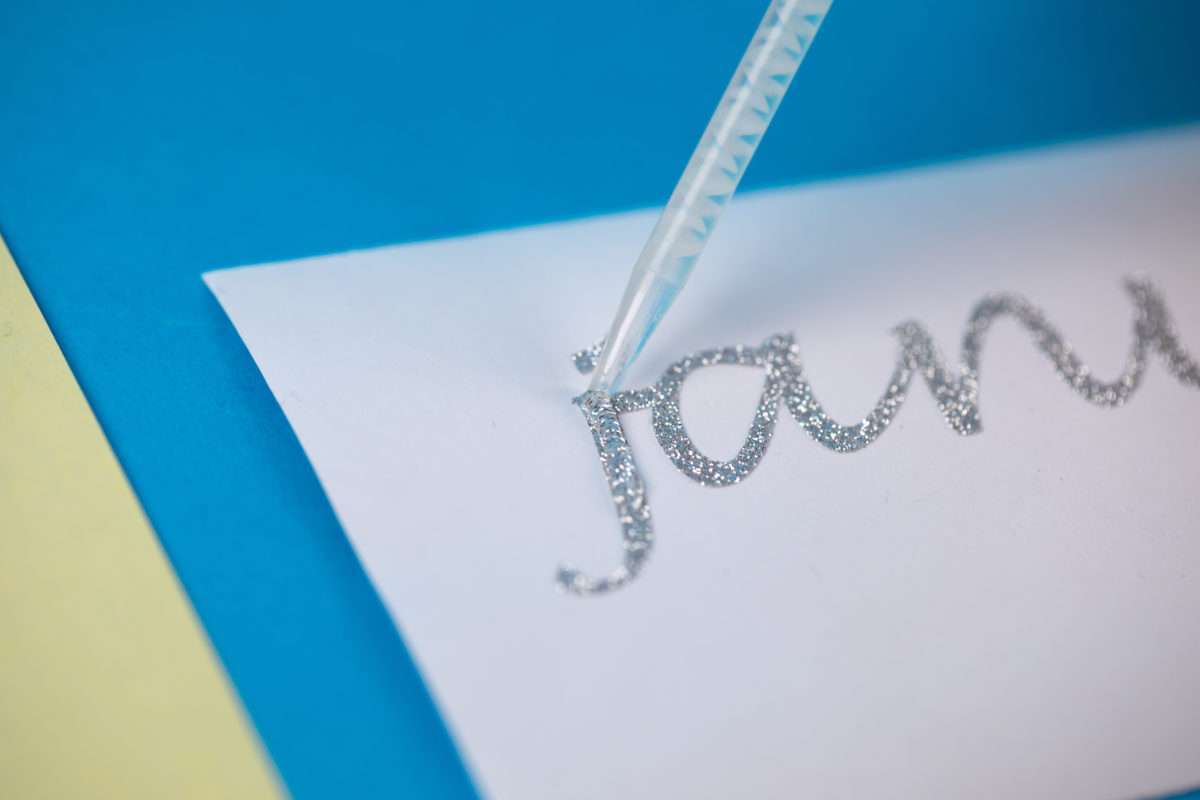
10. Use the same method as above for the vinyl letters.
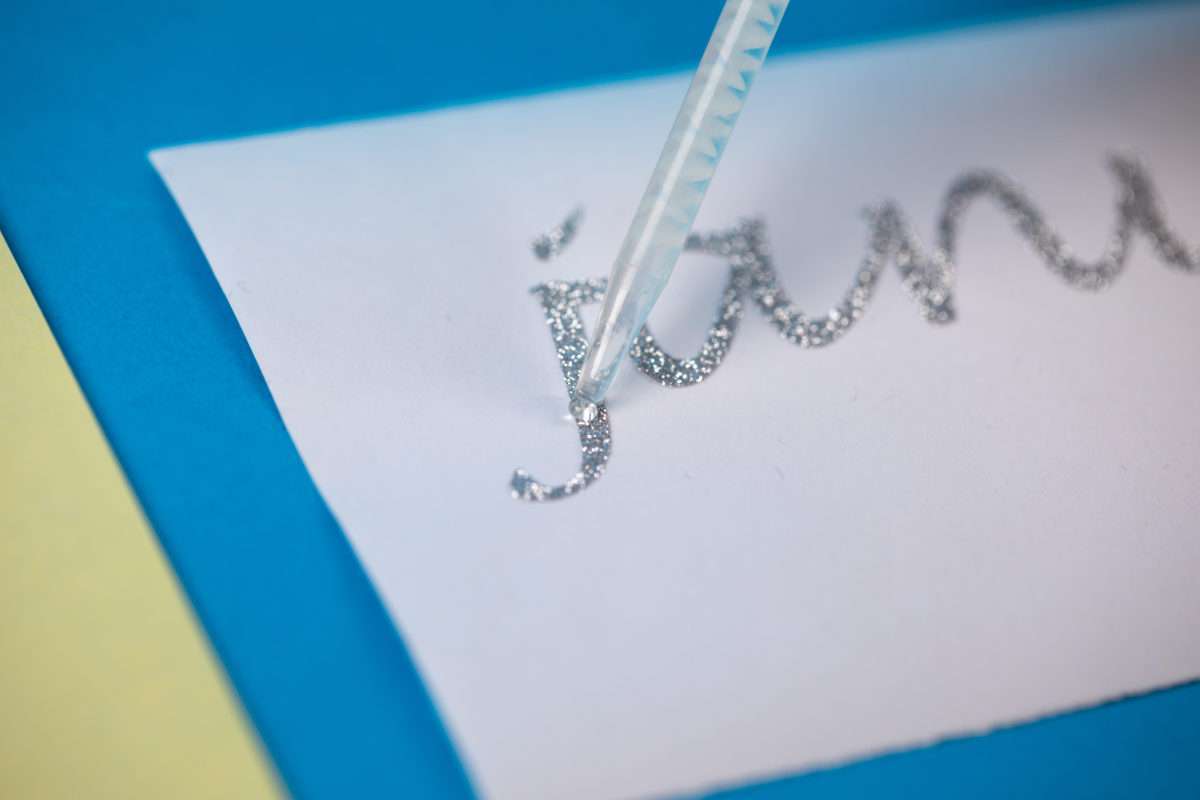
11. For the snowflake and the words, we let the resin sit for a few minutes to become a little more gel like. This helps to prevent the solution from flooding over the design.
Step Eight: Apply the Stickers
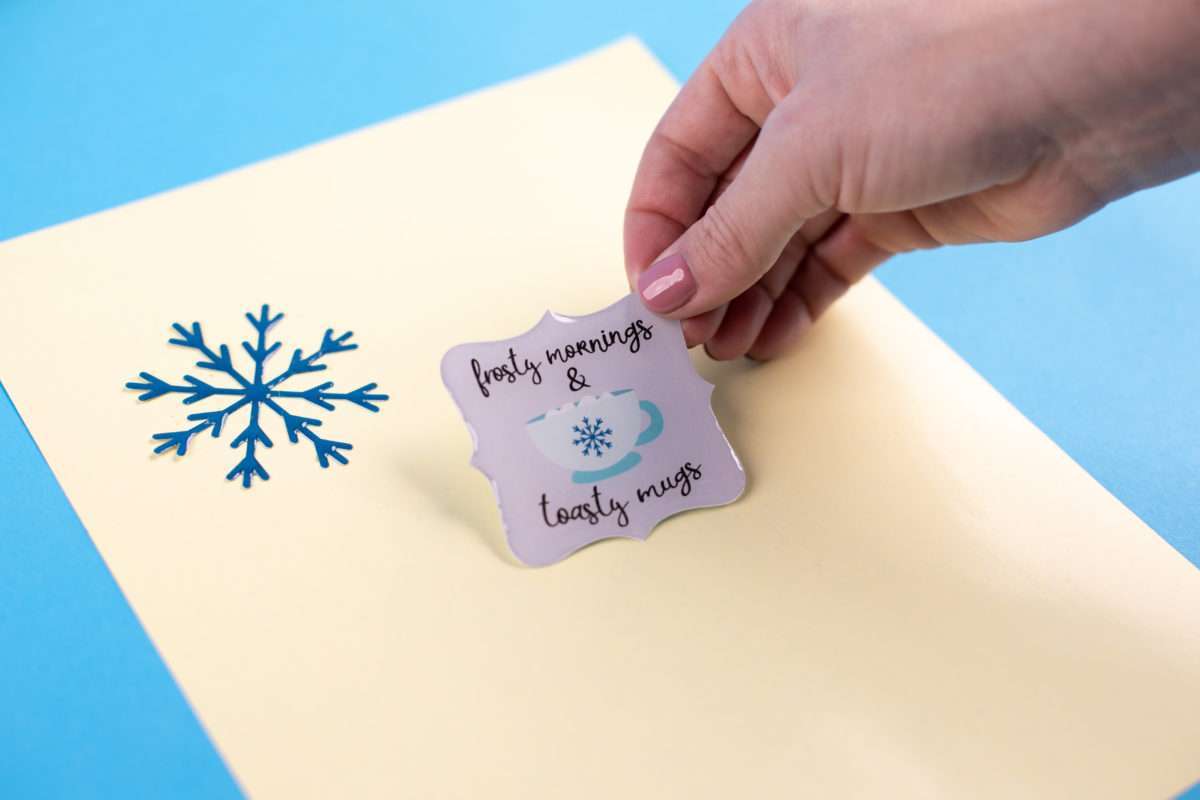
1. After the doming solution has dried completely (wait the recommended time before attempting to remove the stickers), now comes the fun! Peel the sticker or the vinyl from the backing and stick away!!
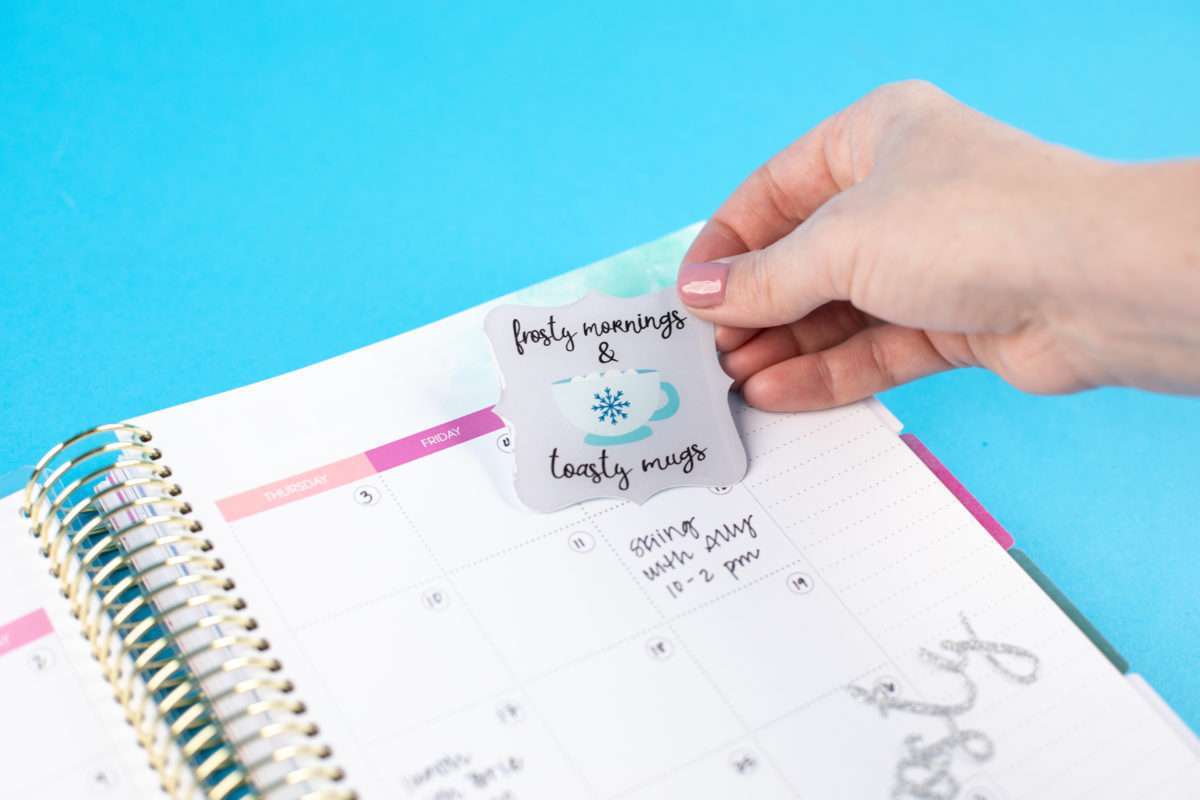
Now you have added not only some cute designs to your planner but also some fun visual dimension. Now you can create custom puffy letters along with domed sticker for any occasion. Where are you going to use your doming skills? Let us know in the comments below!