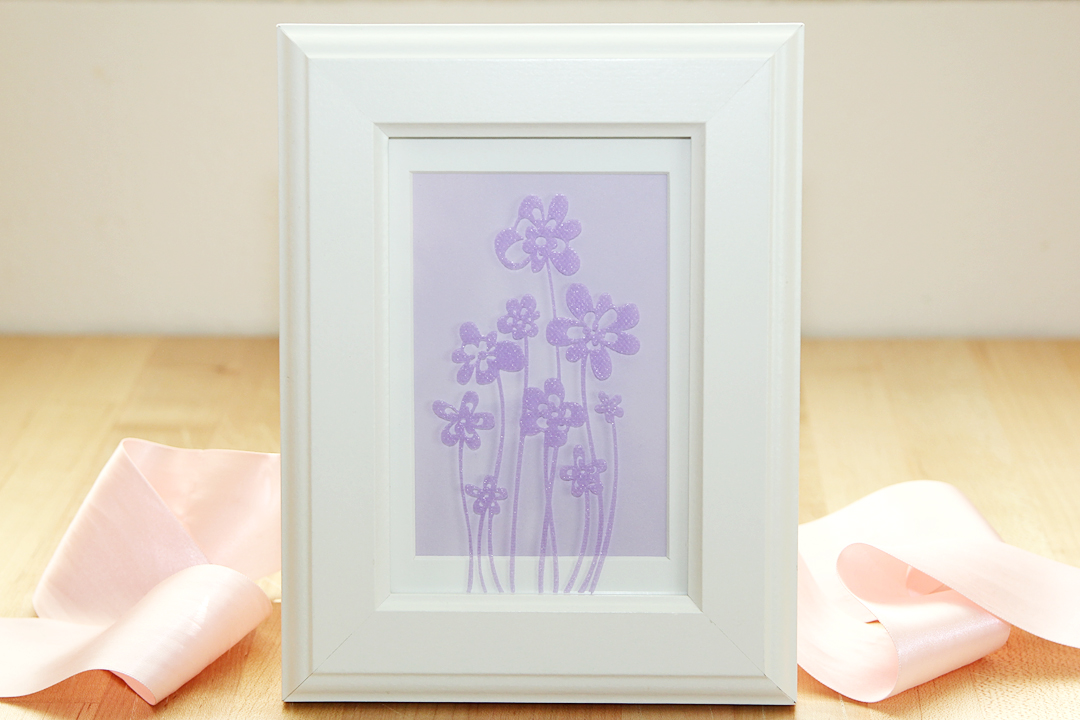
I don’t know about you, but I’m ready for spring! It’s this time of year that I start adding bits of color and flower décor around my house to whisk away the winter blues. In this tutorial, I’ll show you how to dress up a simple frame by adding vinyl to the glass. I’ll be using Silhouette’s textured translucent vinyl, but you can use any adhesive vinyl of your choice. You can also use any Silhouette machine and any single-layer design for this project.
Supplies:
- Silhouette Cameo® or Portrait®
- Silhouette Studio® – Basic Edition or higher
- Textured translucent vinyl – lavender
- Strong tack transfer tape
- Colored paper or cardstock
- Hook tool
- Picture frame
- Design ID #43192 by Hero Arts
Step One: Measure Frame
Before you get started on your design, you’ll need to measure your frame. Because my frame has a glass opening and a mat opening, I took two measurements. My frame’s exposed glass is 5 1/2 in. x 3 5/8 in. My mat opening is 4 5/8 in. x 3 in.
Step Two: Create Design
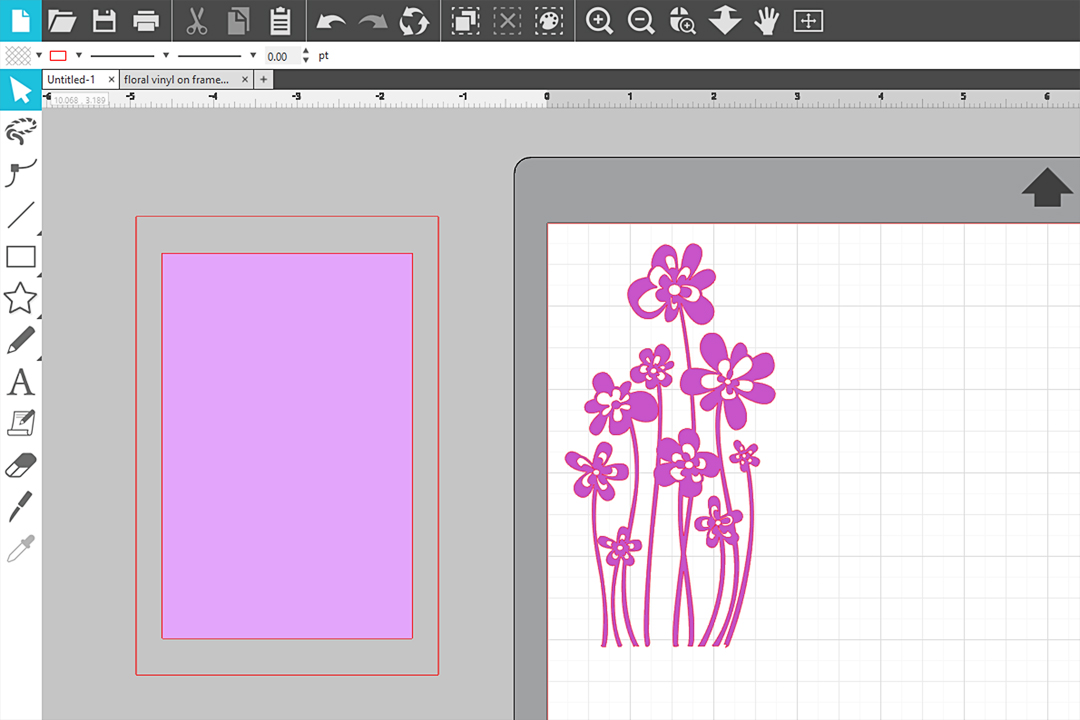
In Silhouette Studio®, draw a box with the Draw a Rectangle tool to fit your frame. Since I have two measurements, I drew two boxes to match those measurements.
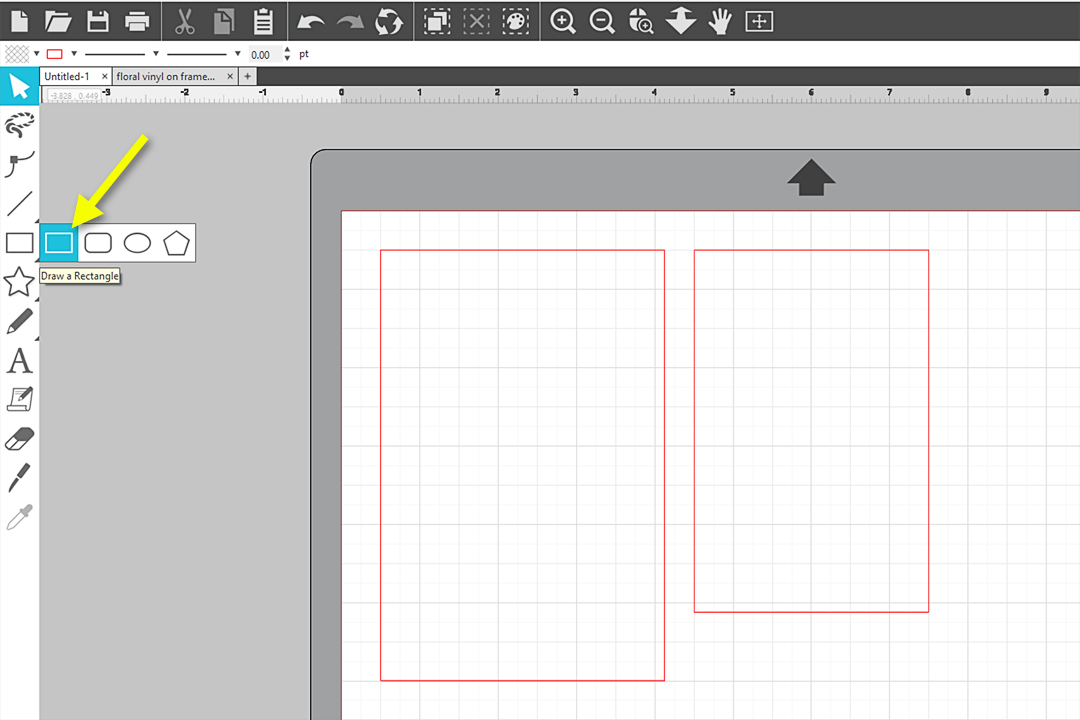
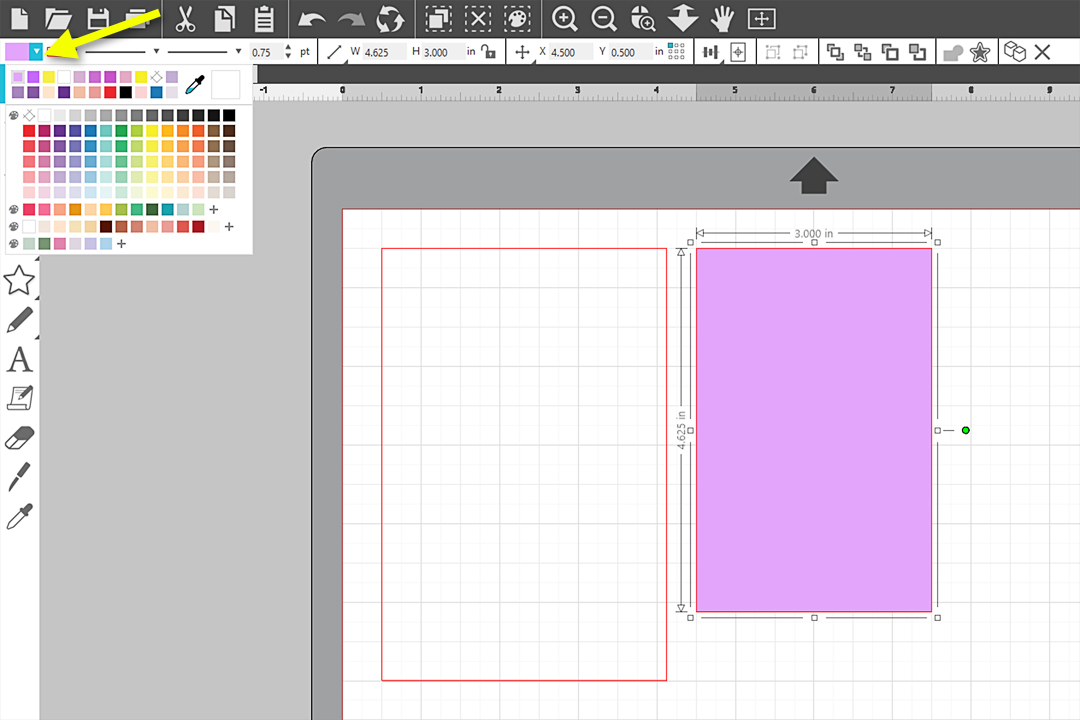
You can choose to fill these boxes with color to help visualize your final design. I left my larger rectangle blank to represent the glass borders, and I colored the smaller box purple to represent the paper that will show under the mat area.
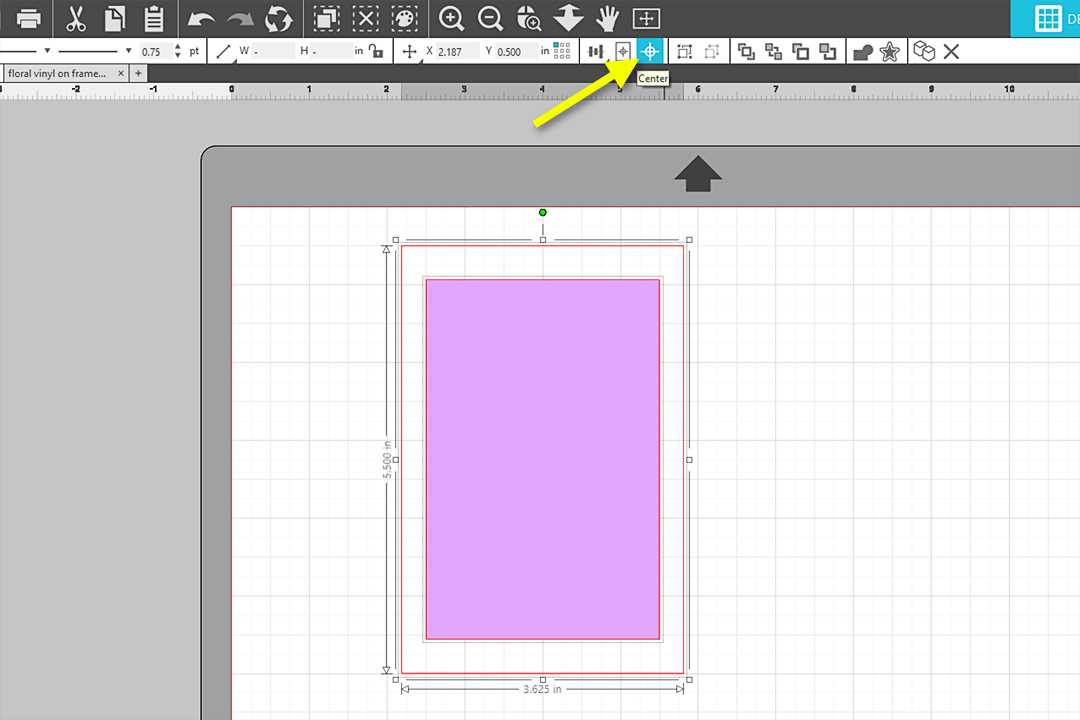
Select both boxes and align them together using the Center alignment in the Quick Access Toolbar.
Open the vinyl design you wish to use. I’m using this Jumping Flowers design. Fill the design with color if you’d like to see how it will look against the cardstock. Then, select your design and resize it smaller with a corner handle until it fits your frame.

I made a design choice with mine that I want the bottom of the design to meet the bottom of the glass, and I want the top not to extend beyond the top of the colored paper. Having those rectangles there helps you get the size right.
Step Three: Cut Design
Once you’ve got your design sized correctly for your frame, you’re ready to cut. Move the design to the upper left corner of your virtual mat, and move the frame pieces and other elements you don’t want to cut off to the side.
Since this is a pretty small design, I cut the design from a small piece of translucent vinyl placed on the cutting mat. My grid shows me the vinyl I place on the upper left corner of my mat needs to be about 3 in. wide and 5 1/2 in. high.
Tip: Toggle the grid on your virtual mat on and off by pressing the G key on your keyboard.
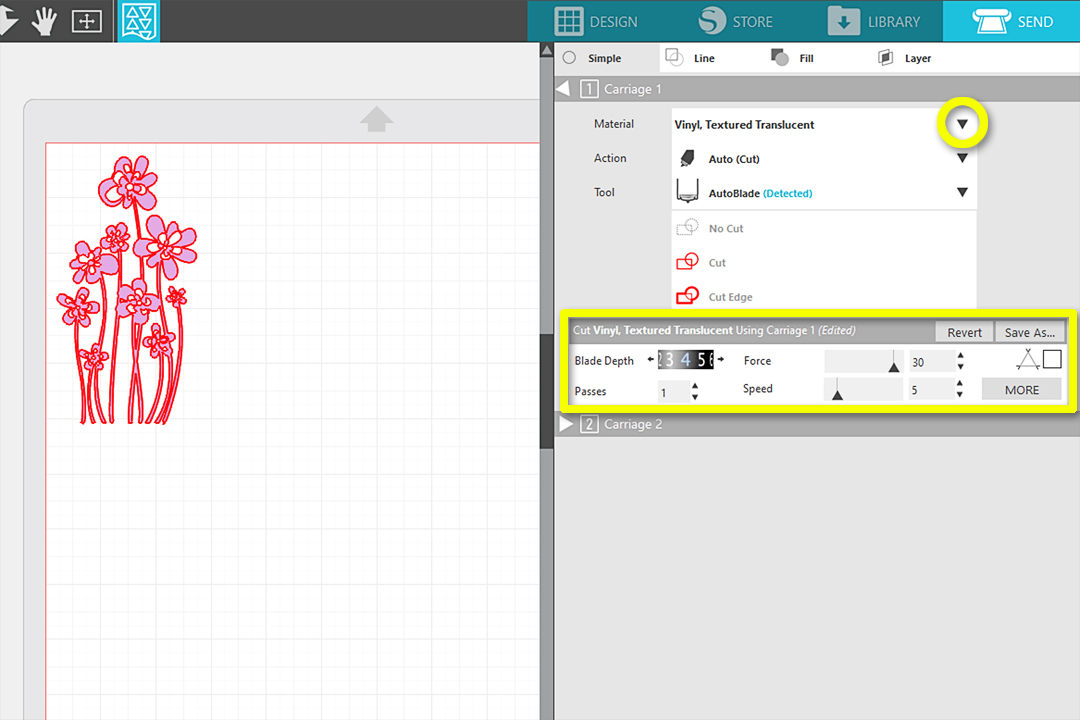
In the Send Tab, choose the correct settings for your vinyl. I’m using the “Vinyl, Textured Translucent” cut settings to match the vinyl I’m using. These are the default settings for this material:
- Blade Depth = 4
- Force = 25
- Passes = 1
- Speed = 5
I recommend doing a Test Cut and adjusting your settings as necessary. I felt the default was a little light for my blade in its current condition, so I increased the Force to 30 and it was perfect.
If you are using a different type of vinyl, choose that material in the settings, make a Test Cut, and adjust your settings as necessary.
With the vinyl on your mat and loaded into the machine, click Send to cut your design.
Step Four: Weed and Apply Design
Once your vinyl design is cut out, use a hook tool to weed away the excess. Only the flowers should remain on the backing.
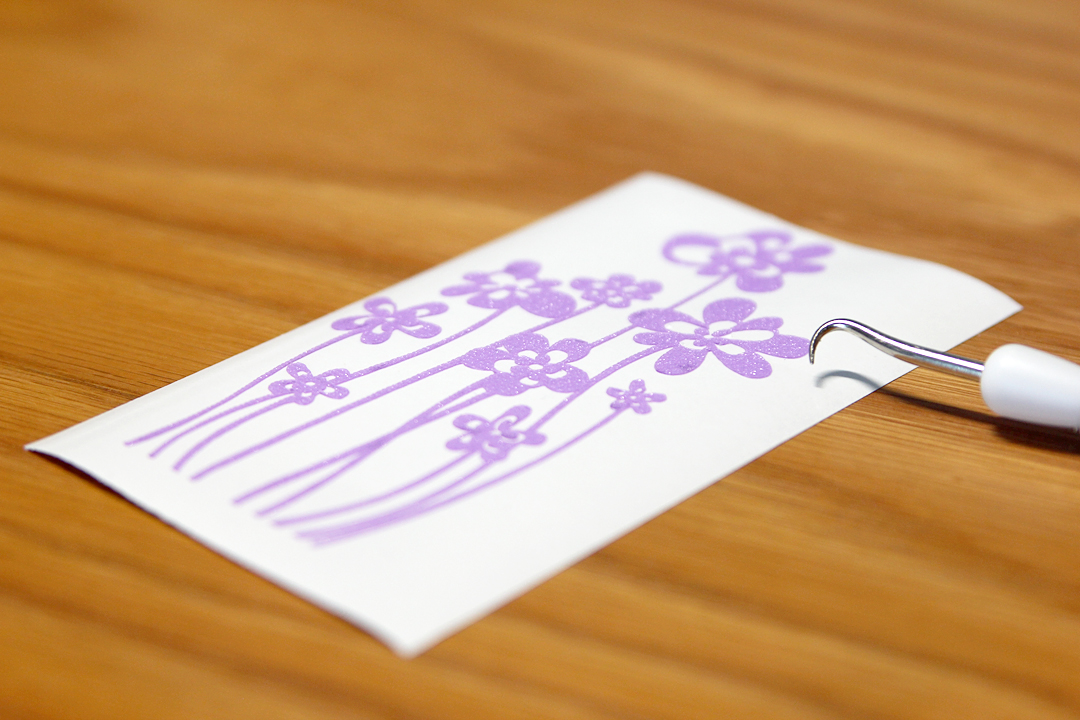
Place a trimmed-down piece of transfer tape onto your design to lift it off the backing and apply it to the glass in the frame.
Tip: For textured translucent vinyl, you must use strong tack transfer tape. If using glossy or matte vinyl, you should use standard transfer tape.
To place the bottom stems of my flowers exactly where the glass meets the frame, I left the glass in its frame. I lined up the transfer tape’s bottom edge to the bottom edge of the flower stems. This way, it was easy to get perfect placement as I laid the design and transfer tape against the glass.
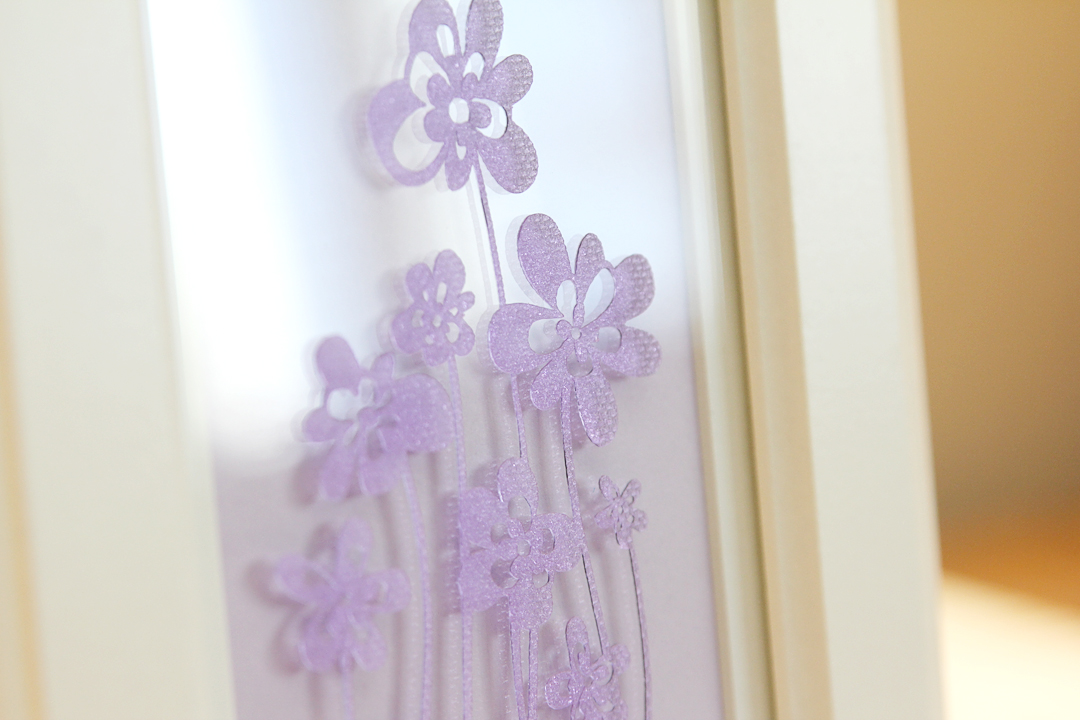
Burnish the design onto the glass, then remove the transfer tape.
Place a piece of colored paper in the frame where a photo would normally go. This is where you can get creative. I used a solid color of coordinating paper because the textured vinyl is somewhat see-through, but you could opt for pattern paper or a contrasting color.
This is an easy project that can be changed as often as you want by removing the vinyl from the glass and starting over!
 Free Class - Father's Day Apron Set
  Free Class - Custom Graduation Tumbler
Kelly Wayment
June 28, 2024
You can use it with vinyl as long as it is smooth and flat to allow the static charge to hold on to it. Rolled vinyl that wants to go back to its rolled shape will not necessarily work well, and it would need to be trimmed to fit the ES mat cutting area.
Kelly Wayment
June 28, 2024
Yes, you can use the heat pen while using the ES mat. 🙂
Yurii
March 2, 2024
Hello. May it be used with heat pen?
Thanks
Jerome
February 24, 2024
Hi, works this with the normal vinyl foils or only with printer papter etc?
Kelly Wayment
February 16, 2024
Once you’ve pushed the mat up against the rollers, just press the “Load” arrow button (bottom right on the display). Does a regular sticky mat load into the machine for you?
Michelle a goodall
January 24, 2024
Hello! I just got my new electrostatic mat and have watched every video i can find on it. However, what i can t find is why it wont feed into my cameo 5/ it slides right up the rollers but wont go any further. and yes- iam pushing the into button. help!