Home organization is one of my heartthrobs. Though, you wouldn’t guess that based on the looks of my desk and craft room right now. Ya feel me? So while I work on getting all of the things back in order, I’ll share with you these very easy-to-make organizer tags that you, too, can make with a little love from your printer and desired machine. This design uses the Print & Cut feature, which you can read more about here.
You Will Need:
- Silhouette CAMEO®, Silhouette Portrait®, or Silhouette Curio™ (I used the CAMEO for this project.)
- AM Fresh Font (Design ID #54795)
- Silhouette Chipboard
- Printer (preferably one that prints 12 x 12)
STEP ONE: CREATE DESIGN
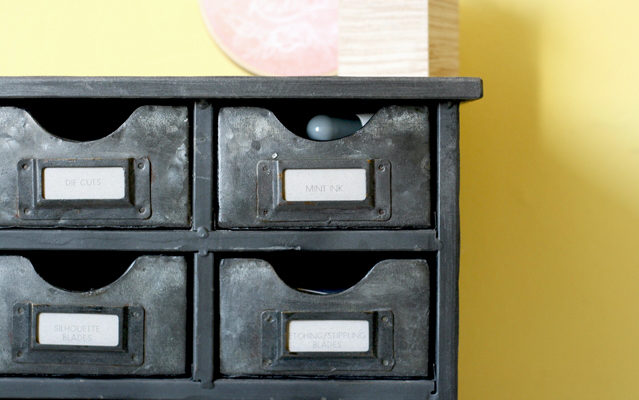
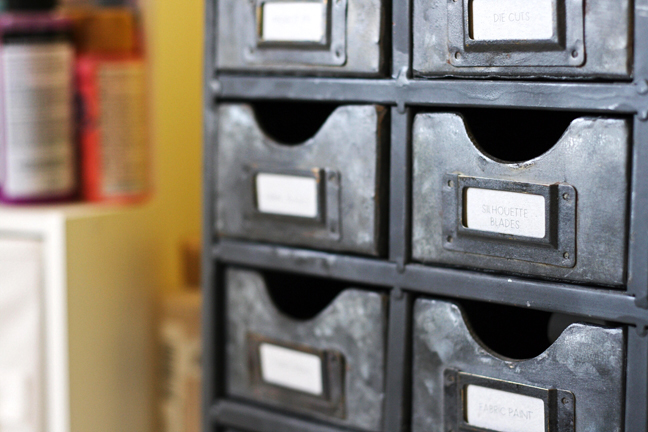
- Since I already knew where I was going to use these labels, I started by measuring the slot part and the window element of the drawer fronts (where the words would be visible) of my organizer. Then I created a quick template in Silhouette Studio® that matched the size and number of labels I wanted to create.
- I knew I wanted the labels to be visible but not with such a heavy font that the text was overbearing. I love the little drawers of my organizer and didn’t want to lose their style. The font I chose from the Silhouette Design Store was the AM Fresh Font by Amanda McGee, and I love the thinness and simplicity. (Design ID #54795)

STEP TWO: PREPARE DESIGN FOR PRINT & CUT
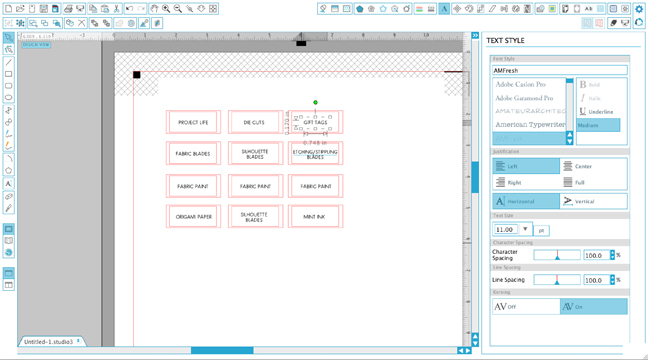
- Once you have all your item categories listed in your design, delete those interior guide windows. Then highlight all your text and choose the “No Cut” option in the Cut Settings window. This will ensure that only the edge of the tag itself will be cut from the chipboard and not the individual letters.
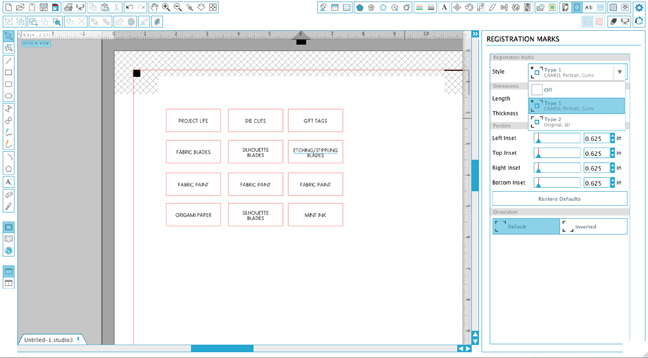
- Another important part of Print & Cut is making sure that your registration marks are turned on in Silhouette Studio® before sending your project to print. This feature is under the Registration Marks window. Select “Type 1” and your project will print accordingly with the registration marks in place. Selecting this option helps in the magic of Print & Cut because the machine will use the registration marks to accurately cut the rectangular shape around your words.
Note: If you are printing 12 x 12, be sure to also alter your print page settings under the file menu at the top before sending your project to print.
STEP THREE: PRINT & CUT AND INSERT LABELS
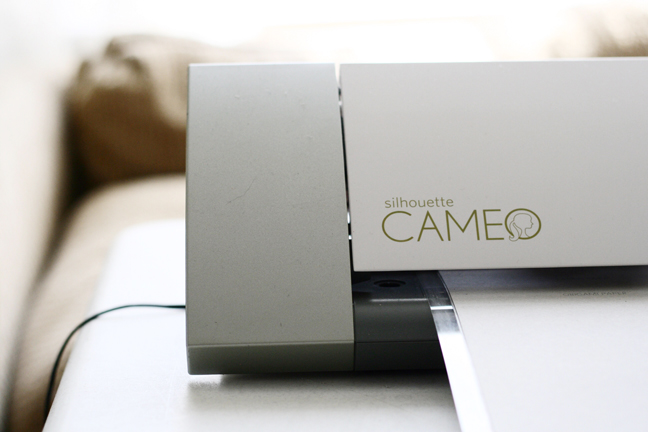
- Once your project has printed, load your printed piece onto your cutting mat and into your Silhouette CAMEO®. I manually adjusted my blade to the recommended setting of 5 for chipboard, and sent my labels to cut.
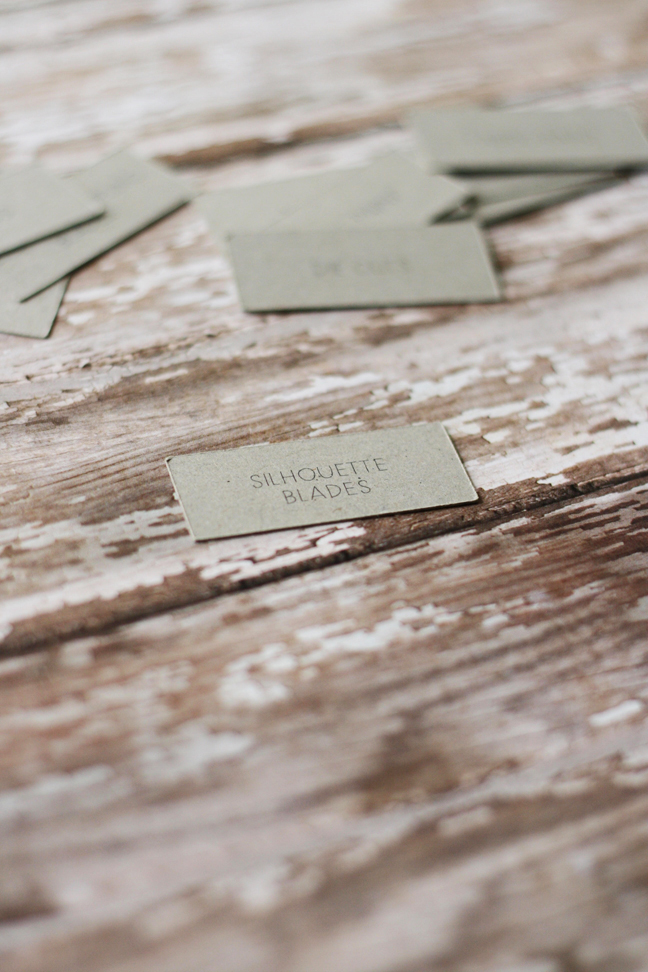
- After your project is finished cutting, remove the labels from the cutting mat and slide them in to their respective spots! Now, doesn’t that feel nice? Yes, yes it does.
What are your favorite ways to organize?
Nasze Naturalne
September 3, 2025
Your authentic voice really shines through in everything you create and share
Naszenaturalne
September 2, 2025
Really love your style
Kelly Wayment
June 28, 2024
You can use it with vinyl as long as it is smooth and flat to allow the static charge to hold on to it. Rolled vinyl that wants to go back to its rolled shape will not necessarily work well, and it would need to be trimmed to fit the ES mat cutting area.
Kelly Wayment
June 28, 2024
Yes, you can use the heat pen while using the ES mat. 🙂
Yurii
March 2, 2024
Hello. May it be used with heat pen?
Thanks
Jerome
February 24, 2024
Hi, works this with the normal vinyl foils or only with printer papter etc?