It’s Lindsay again with an easy tutorial on how to change the color of your shapes so that you can be more organized when you’re using your Silhouette Studio® software.
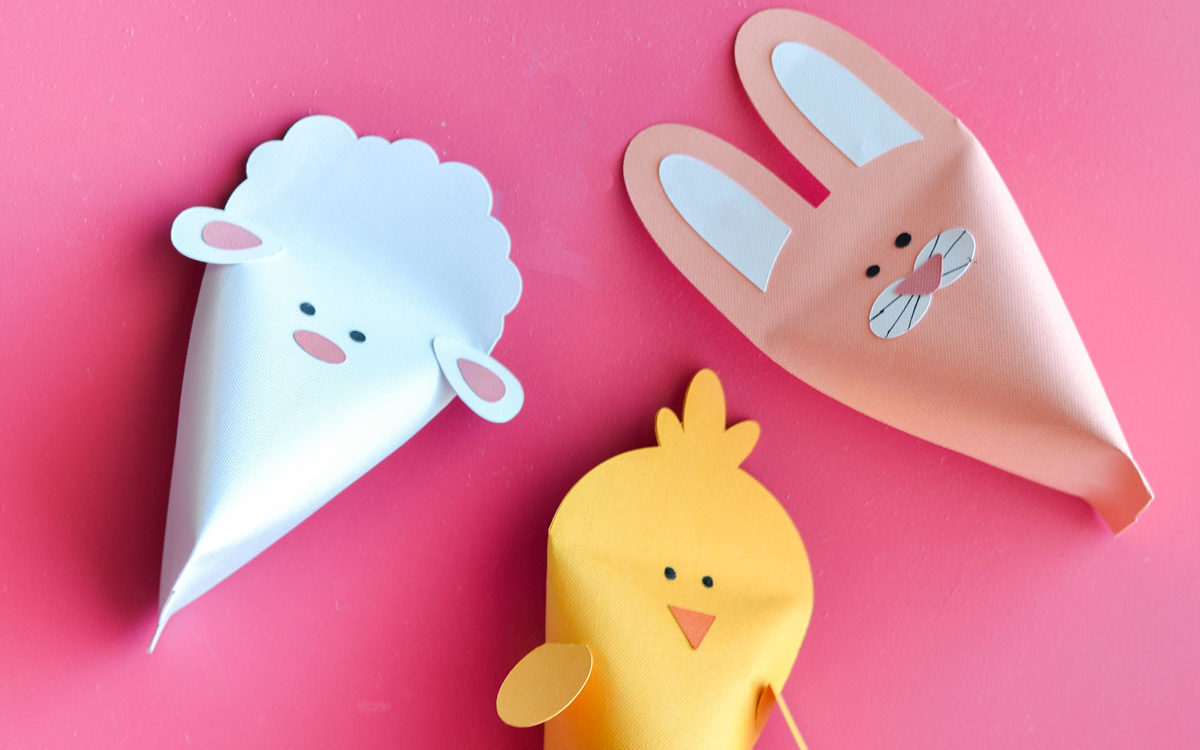
Easter is just around the corner, and what better way to celebrate than with these Easter animal treat packets. Amy Robison’s shapes, available in the Silhouette Design Store, are perfect for little egg hunters.
Supplies Needed:
- Silhouette CAMEO® or Silhouette Portrait®
- Cardstock
- Black marker
- Strip Adhesive
- Design ID #39104
- Design ID #39103
- Design ID #39102
I’ve got a bit of a tendency to like all my shapes colored so that I know what the finished project will look like in the end. I’m going to show you how to color your shapes to color so that you know what should go on what canvas, and it’s easier to keep yourself on track using this method.
Step One: Preparing the Design
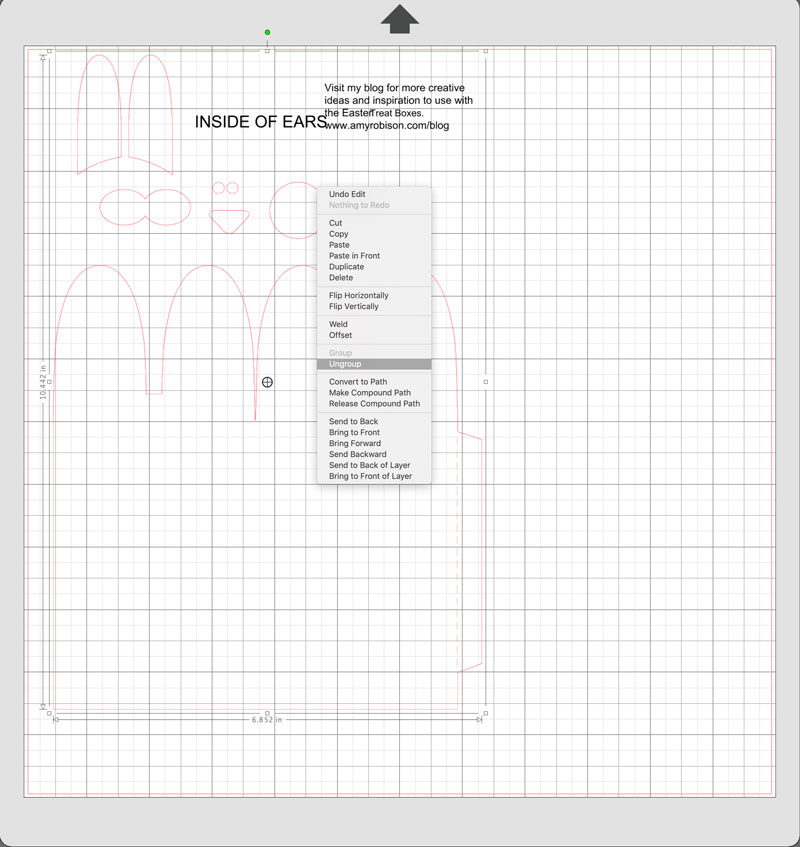
1. Begin by opening up the design and ungrouping all of the shapes. Select the shape and then open the Fill panel by clicking on the Fill icon, which is located on the right-hand side of the window. Choose a color, and it will fill the shape automatically.
2. This method keeps my mind clear and never leaves me wondering whether I’ve cut a certain shape at all. After you’ve assigned the small shapes a color, group the shapes with the same color together.
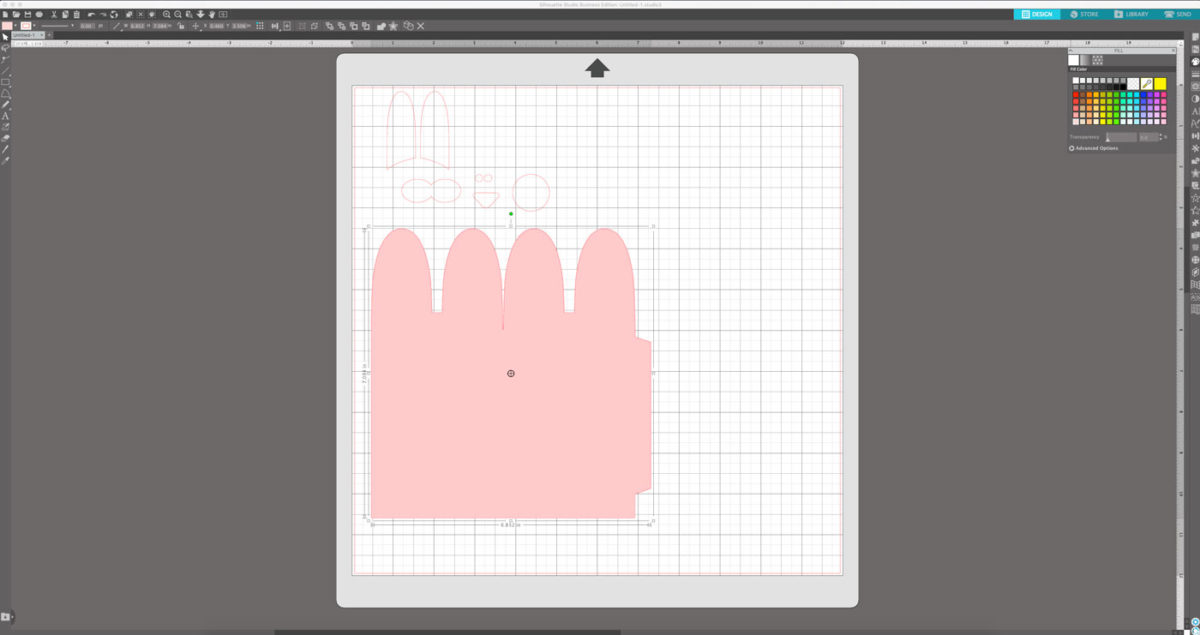
3. Click the Send tab and Send each group to your Silhouette machine to be cut. For this project, I’m using cardstock as the material.
Step Two: Assembling the Project
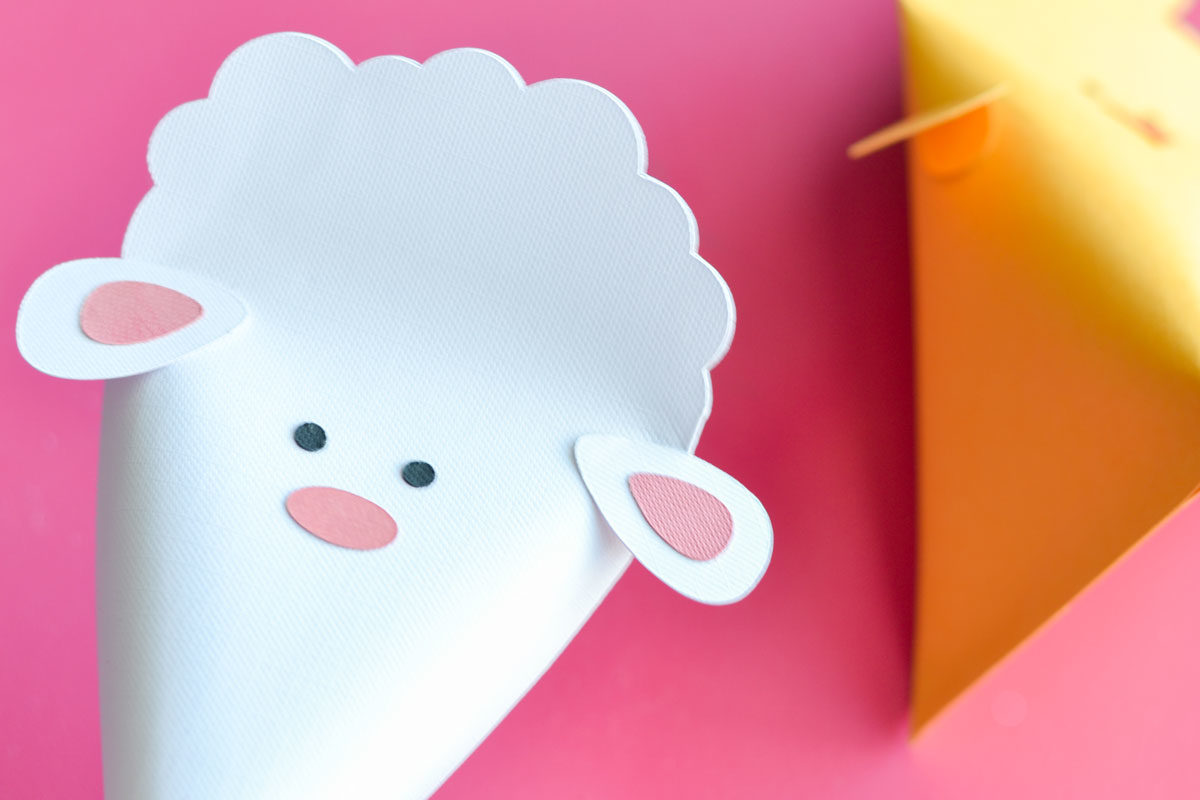
1. I drew some whiskers on the bunny’s cheeks and used a black marker on the eyes or you can cut them out of the cardstock.

2. When you make these, you don’t want to make a crease on the sides. You will use some strip adhesive and adhere the tops to match each other. Fill them with your goodies and then adhere the bottom in the opposite direction.
3. Attach the smaller shapes to the boxes using your adhesive.
That’s it! Use this tip to help keep your crafting on track and more organized. Be sure to follow me on Facebook, Instagram, or my blog to see what I’ve been crafting lately.