
I know many of you crafty folks have multiple hobbies like me, so why not combine them? I found a way to display my calligraphy mandala by having my Silhouette machine emboss it in embossable foil.
The embossable foil comes in 5 x 7 inch sheets and was created for Silhouette Curio™ use, but I’ve had equal success using my Silhouette CAMEO® 3 to emboss it. I’ll show you how to do this with Curio, along with tips along the way for the CAMEO as well.
Supplies Needed:
- Silhouette Curio™ or Silhouette CAMEO®
- Silhouette Studio® v 4.2.471 or higher (any edition)
- Curio standard base with platforms + cutting or embossing mat; or CAMEO cutting mat
- Embossable foil
- Fine embossing tool
- 5 x 7 inch frame
- Original artwork or a mandala design such as Design ID #188374 or #188383
Step One: Import Artwork
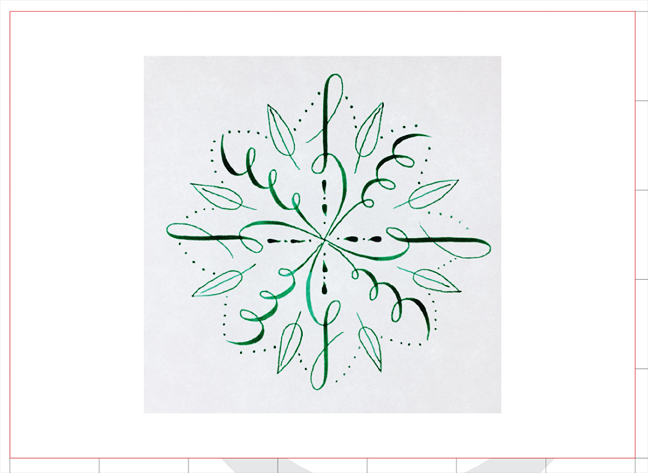
1. Start by bringing a hand-drawn or hand-lettered piece into Silhouette Studio®. I used a calligraphy pointed dip pen to create this mandala, but you can use a wide variety of designs with high contrast (no shading) that will fit well on a 5 x 7 inch piece of embossable foil.
Note: I scanned this piece and saved it as a JPG file, but you could also take a photograph or use your PixScan mat to import it. (See Lesson 6 of this PixScan class for more information on using the PixScan mat to import hand-drawn artwork.)
2. Use your Open icon or go to File > Open to find the file and open it. Resize smaller, if necessary.
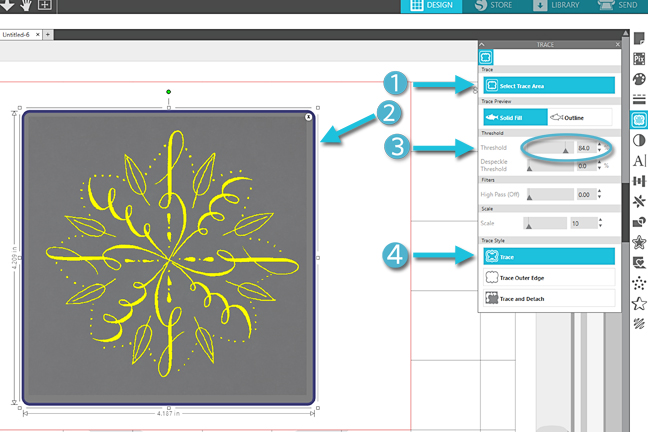
3. Use the Trace tool to trace the artwork. (Note: You do not need to trace a mandala design from the Silhouette Design Store; the cut lines are in place already, so you can skip to Step Two.)
- Click Select Trace Area
- Draw a box that surrounds the image to trace
- Increase the Threshold until everything you want to show in the design turns yellow
- Click Trace
4. Move the original image off the mat so the only thing that remains is the newly-created red cut lines.
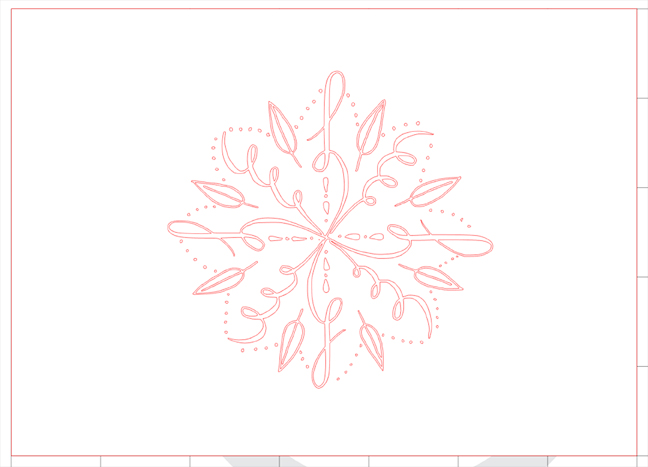
5. Use point editing to clean up the design, if necessary.
Step Two: Convert to Embossable Design
1. If you haven’t already, use the Page Setup panel to make sure you’ve got the correct page size and cutting mat set for your machine.
- For the Embossable Foil, set the page size to 7 inches wide x 5 inches high (either machine).
- For Curio, the cutting mat choice should be Curio (cut) 8.5 x 6 inches.
- For the CAMEO, the cutting mat choice should be CAMEO 12 x 12 inches.
2. Resize and Center the design to fit the 5 x 7 inch page size. Assuming you will frame this piece, leave plenty of room around the edges so no part of the design will be covered by the frame.
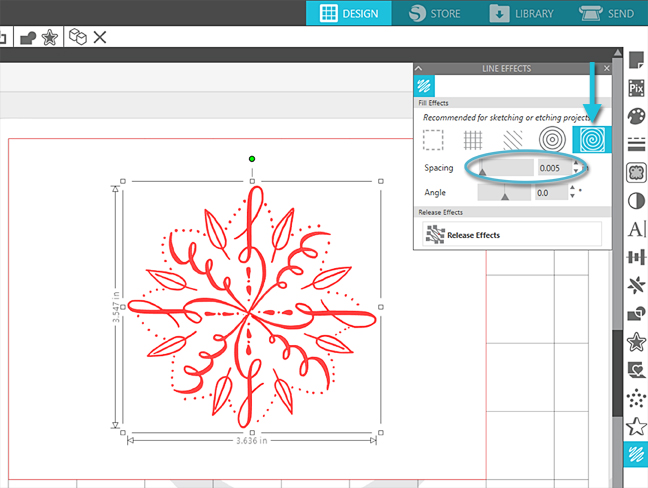
3. Open the Line Effects Panel (formerly Sketch Panel) to access Line Effects. (This is only available beginning in Silhouette Studio® v 4.2.471.) Designer Edition users and above will have more options in this panel, but you only need the basic edition for the fill effects we want.
Note: Curio users, you can get the same following effects with your Emboss Panel, but the tool selection is different so I’m doing it through the Line Effects Panel for this project. Line Effects are available for all users.
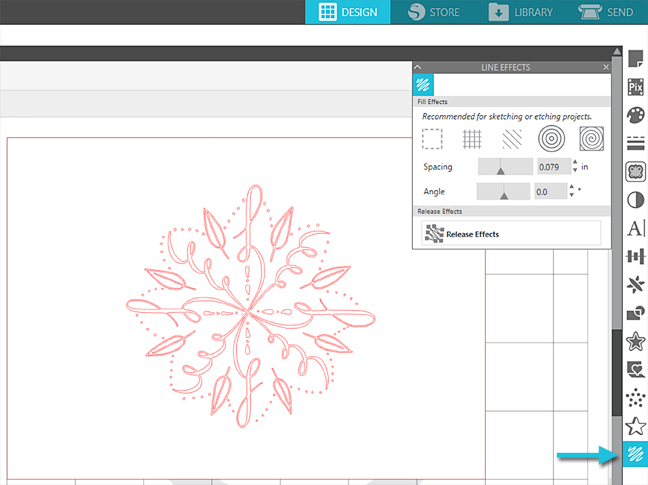
4. With your design selected, choose the Spiral pattern. Reduce the Spacing to its minimum 0.005 inches.
Note: With the spacing that small, any of those patterns will give you a similar effect. I use Spiral as a personal preference.
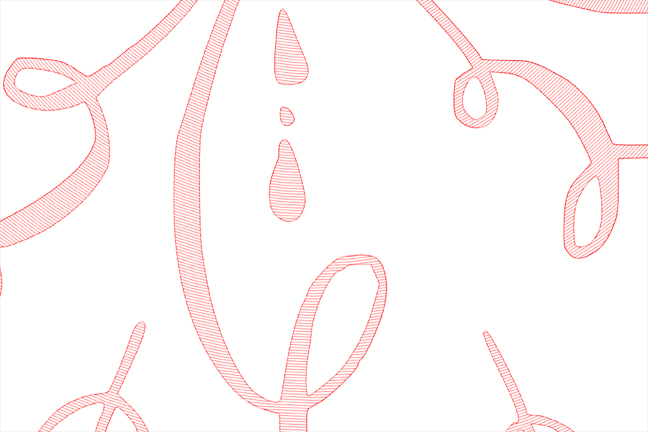
5. The design should look like it fills with red, but if you zoom in closely, you’ll be able to see a series of tightly-spaced lines.
Step Three: Emboss the Foil
1. Place your 5 x 7 inch piece of Embossable Foil on your cutting mat as seen on your virtual mat. (Tip: I recommend using a light-tack mat or a well used mat that’s not too sticky.)
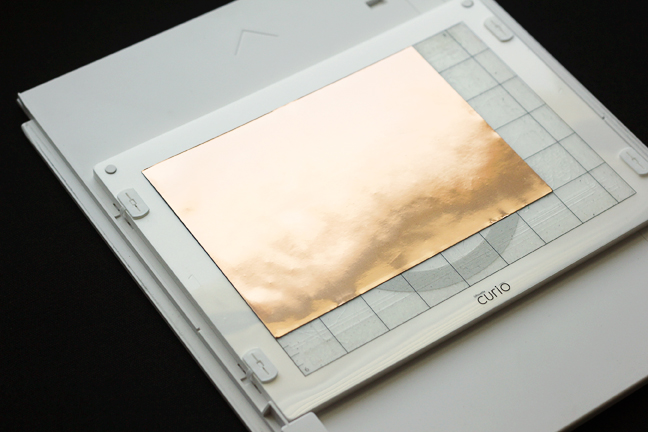
- Curio users, use platforms at a value of 6 with the cutting mat as the top platform. You can use the embossing mat instead of the cutting mat for a similar look (but keep the platforms at 6).
- CAMEO users, use your cutting mat as normal.
Note: Embossable foil is too dense to cut with the blade, so only emboss and do not cut this material with your machine.
2. Place the fine embossing tool in the left (red) tool holder for dual-carriage machines, or in the only tool holder for single-carriage machines.
3. In the Send Tab, set your Material to “Foil, Embossable.”
- Curio users, this should automatically set the Action to “Emboss”, the Tool to “Embossing Tool (Fine)”, and lets you know to use platform value 6.
- CAMEO users, because this embossable foil was originally only intended for the Curio machine, your Action and Tool will say “Default” and will not let you change it. Don’t worry! As long as it shows Speed = 5, Force = 33, and Passes = 1, it should work just fine.
4. Load your mat and embossing foil into your machine, and click SEND.
5. Once the embossing is finished, carefully bend the mat away from the embossing foil in order to keep the foil as flat as possible when you remove it. This is where a low-tack mat is helpful.

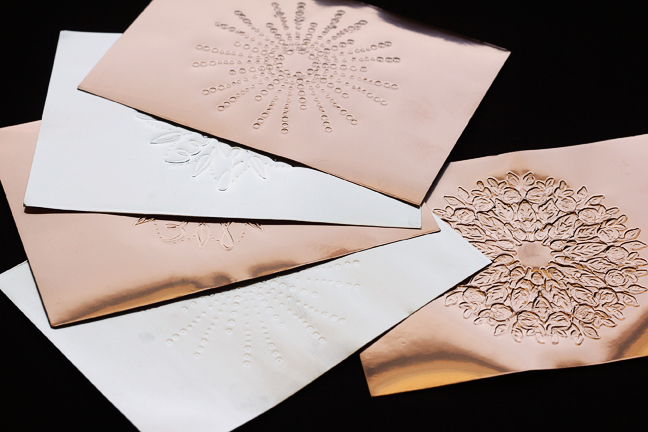
Your artwork is ready to frame!
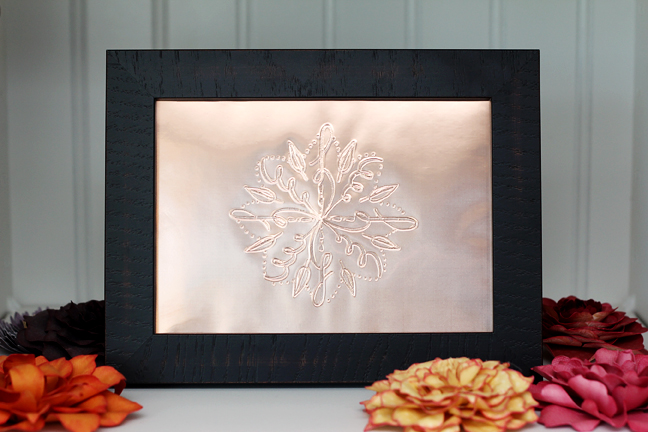
I tried this with several designs using my Curio, Portrait 2, and CAMEO 3. I found all three machines were able to use the Line Effects fill patterns with this embossable foil. What a fun way to display mandalas or other artwork with a little shimmer and shine!
Have you tried the embossable foil? What do you think?
 Free Class - Father's Day Apron Set
  Free Class - Custom Graduation Tumbler