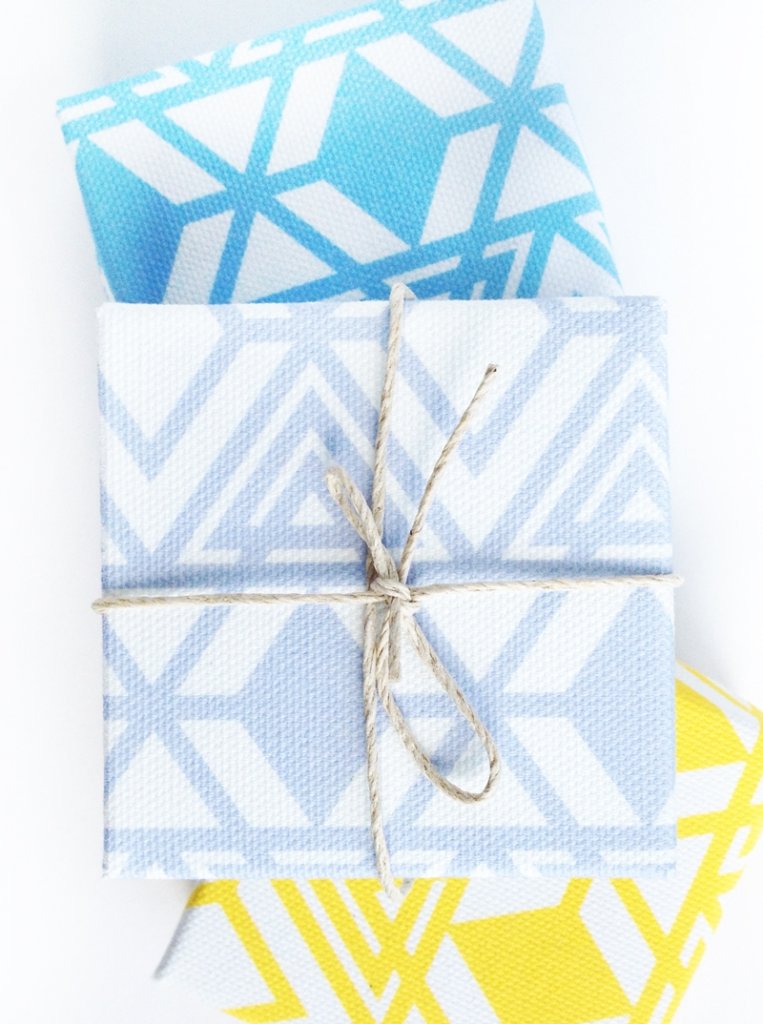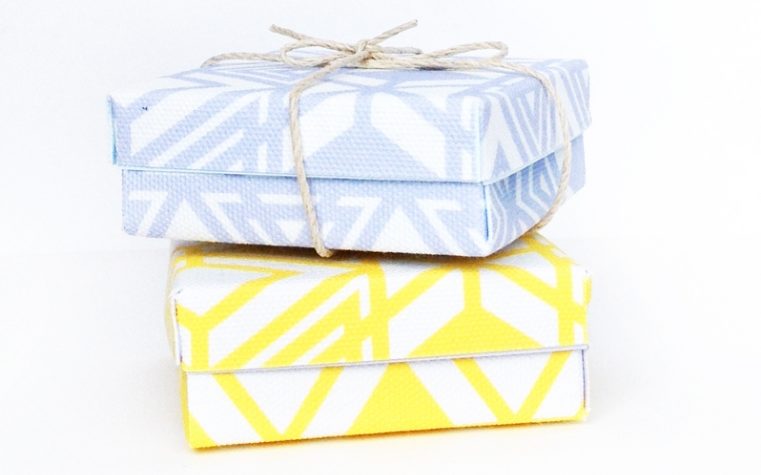
Printable Cotton Canvas is going to become your new favorite Silhouette material to play with. What’s so awesome about it is that you can print full patterns on it to give a textured element to a project. I used the gift-box shape and shrunk it down, cut it out in cardstock, then cut it in the canvas and stuck the two materials together to make these cute boxes that can be used as gift boxes or storage for your little bits of craft supplies.
Before we start the project, a couple of notes:
- Pay close attention to how you feed the canvas sheet into your printer. It is basically cotton canvas on a backing, similar to printable sticker paper sheets
- I recommend using the Fabric Blade when cutting the canvas.
Supplies Needed:
- Silhouette CAMEO® or Silhouette Portrait® or Silhouette Curio™
- Silhouette Cutting Mat
- Silhouette Fabric Blade
- Silhouette Studio®
- Printable Cotton Canvas
- Cardstock
- Glue
- Design ID #61298
- Design ID #59832
Step One: Cut Out the Base
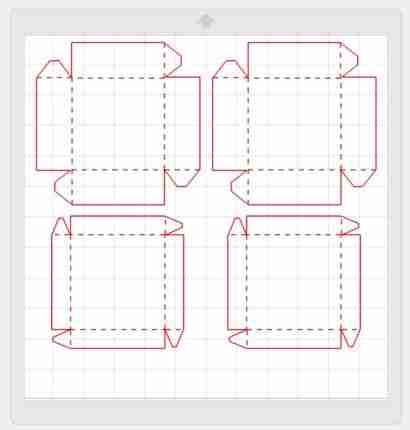
- Open up Design ID #59832 (Box and Flower Tags) in Silhouette Studio®. Delete the flower tag leaving only the two box shapes.
- Cut the two shapes out of cardstock (using a ratchet blade, a premium blade, or an Autoblade). Once cut, set them to the side for later.
Step Two: Fill a Cut File with a Color
- First thing, you’ll need to change the page’s dimensions. Before we were using 12 x 12 inch paper. The Printable Cotton Canvas is 8.5 x 11 inches, so our page will need to reflect that. Change the Page Setup in the Page Setup Panel located on the tool bar on the left-hand side of the page.
- You’ll notice that your 4 shapes do not fit, DO NOT RESIZE THEM. If you resize them all to fit they will not be the same size as the cardstock pieces we just cut. Delete the two pieces that do not fit instead.
- Open Design ID #61298 and fill it with a color. There is a Fill Panel on the tool bar on the left-hand side of the page. To fill a shape, select the shape and then select the color.
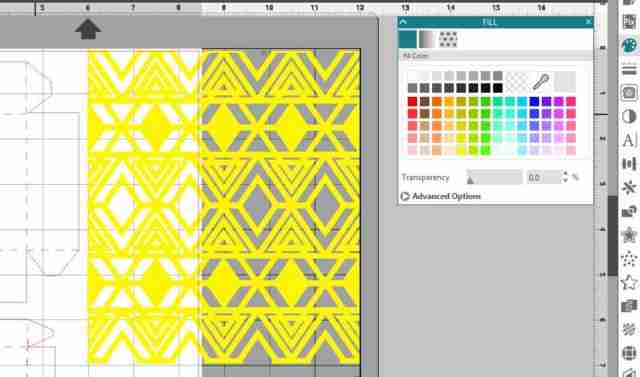
- After you have filled your geometric shape with color, duplicate it to cover the page (right-click the yellow shape and select duplicate). Drag the duplicated shape below the original to create a seamless pattern.
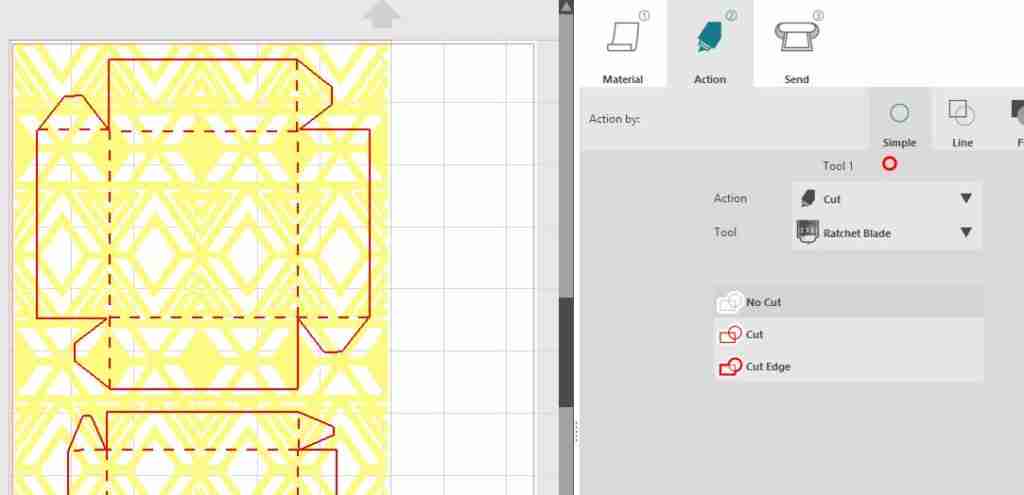
- The geometric shape will need be set to “No Cut,” and your box shape should be set to “Cut.”
Step Three: Print, Cut, and Assemble
- Go back to the Design window and hit the Print. Place the Printable Cotton Canvas into your printer so that it prints on the fabric side.
- After it’s printed, place the Printable Cotton Canvas on your cutting mat and cut it out. Make sure to change your material setting to “Cotton Canvas, Printable.”
- I recommend changing your blade to the Fabric Blade to achieve a cleaner cut. Adjust your blade to the recommended pressure and cut settings.
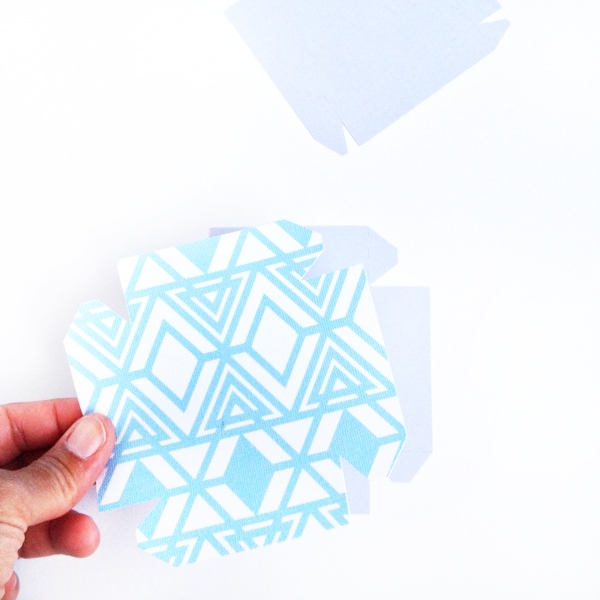
- Gather all your cut pieces. Peel the backing off the canvas and stick it to the matching cardstock version, fold along the dashed lines and glue the tabs to form the box.
- Tip: I used a tacky glue then held the pieces together with pins for about 20–30 minutes.
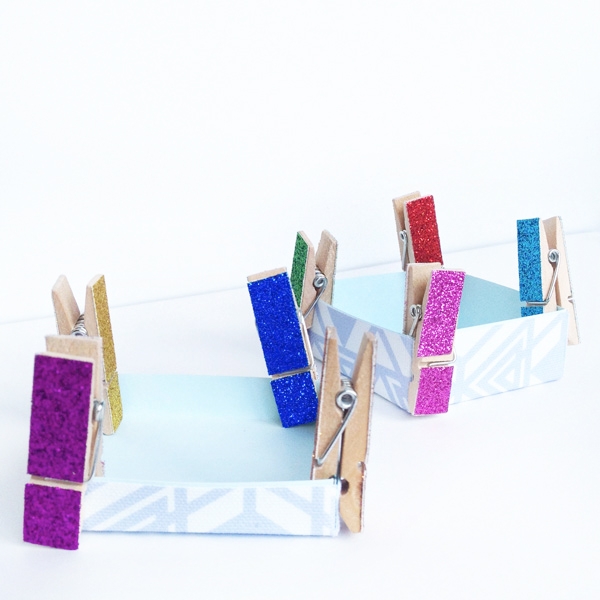
- Once dried, you can use your lovely fabric boxes for gifts or storage!