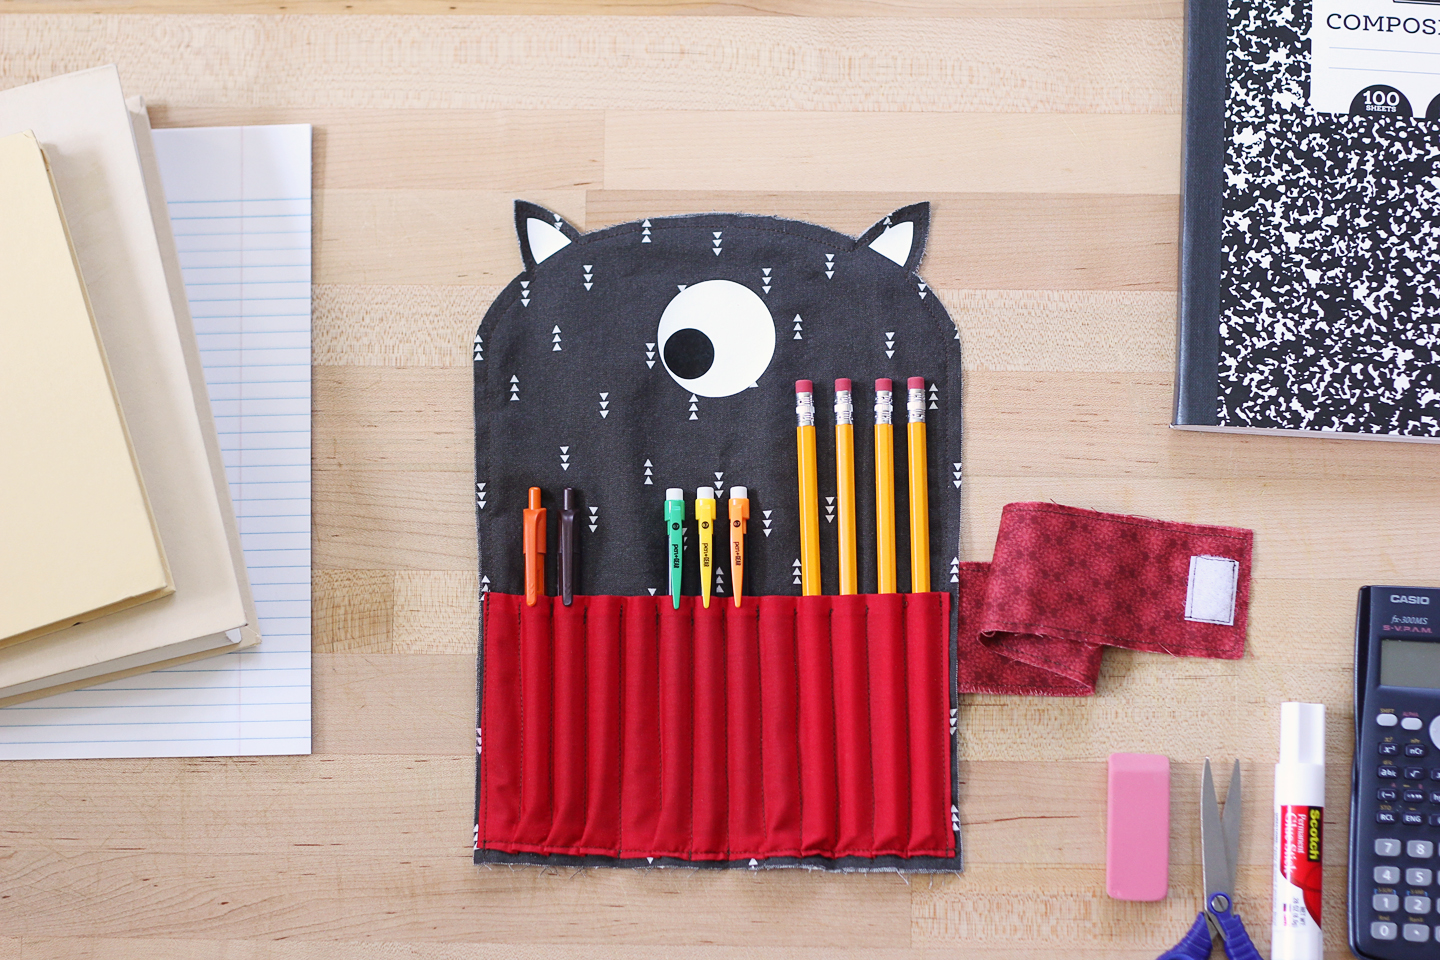
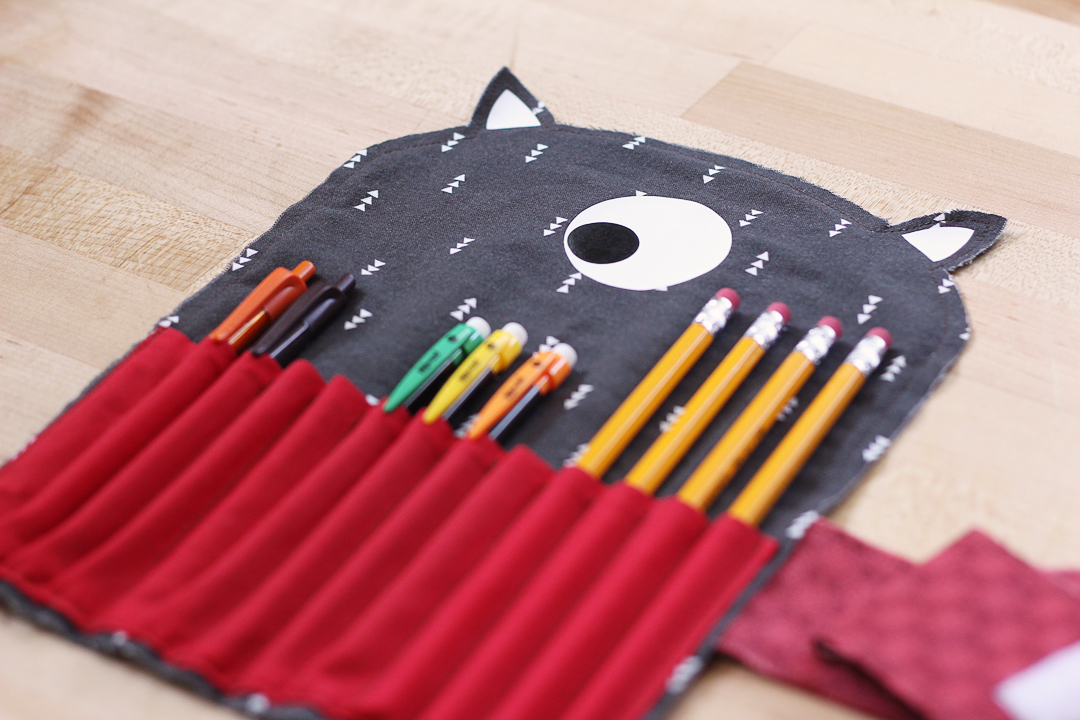
This cute monster pencil case is a great back-to-school project that uses the Silhouette Rotary Blade. I don’t do much sewing and still found it relatively easy, so I consider it a beginner sewing project.
The Rotary Blade is compatible exclusively with the Cameo® 4 series and is used in Carriage 2. If you’re familiar with other rotary blades, the Silhouette Rotary Blade cuts fabric in a similar way. Instead of cutting the fabric traditionally like other cutting machine blades, the Rotary Blade rolls across your fabric to create clean cuts. With the Rotary Blade, you can cut fabric without any interfacing or other fabric stiffener.
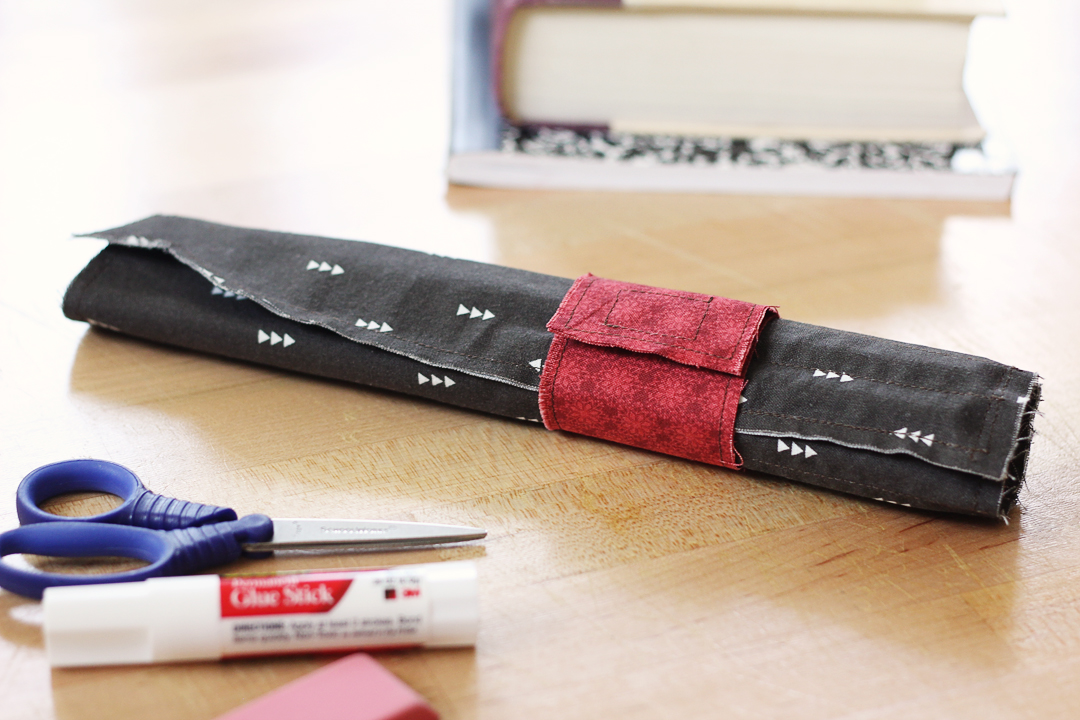
I cut this project with my Cameo Pro so I could cut the largest pieces from a single piece of fabric all at once, but you can use any Cameo 4 model for this pencil case. This tutorial assumes you will assemble this as the designer intended, meaning it will end up with a “frayed” stylistic edge. Let’s get started!
Supply List
- Silhouette Cameo® 4
- Silhouette Studio® Basic Edition
- Silhouette Rotary Blade
- Silhouette Cutting Mat – Standard Tack (if new) or Strong Tack
- Three fat quarters of lightweight cotton fabric in contrasting colors
- White & black smooth heat transfer material
- Sewing machine with zipper foot
- Thread
- Velcro
- Iron
- Design ID #49875 by Carina Gardner
- Monster Pencil Case Instructions by Carina Gardner
Step One: Prepare Main Body Pieces to Cut
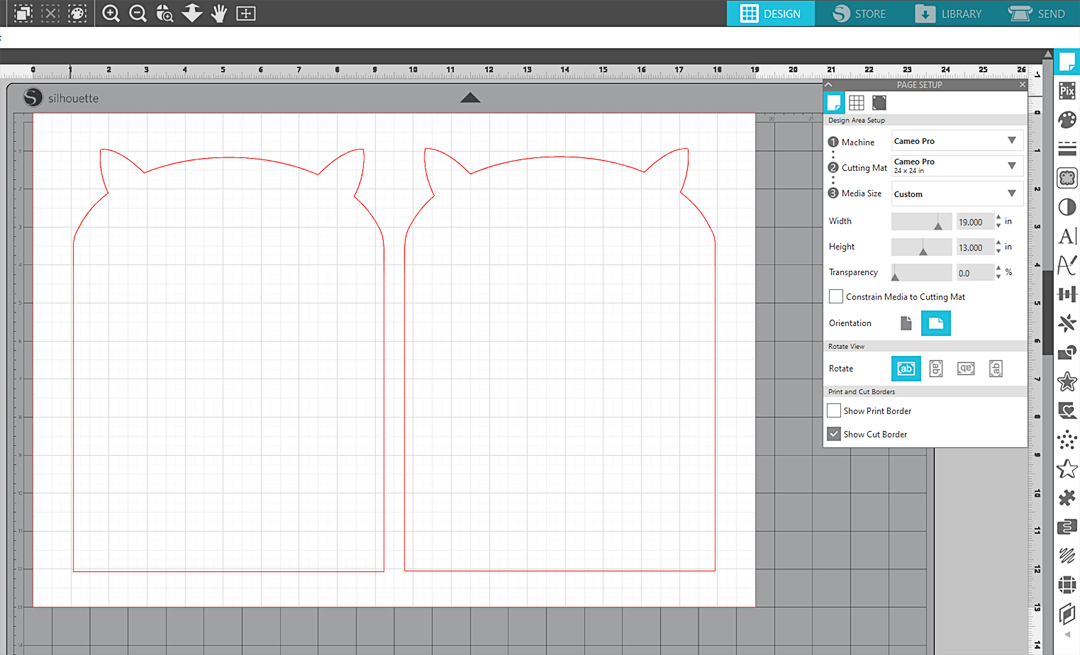
In Silhouette Studio®, open the Monster Fabric Pencil Case file. Ungroup the design, then select only the main body piece and make a mirror copy (Object > Replicate > Mirror Right).
If you are using the Cameo Pro, set your Page Setup Panel as follows:
- Machine: Cameo Pro
- Cutting Mat: Cameo Pro
- Media Size: Custom (19 in. width x 13 in. height)
Position the two body pieces so they are centered on the virtual media. You need some extra space around the design for Smart Cut hooks and loops, which I’ll explain in Step Two. Move the other design pieces to the gray holding area and off the virtual cutting mat.
Note: If you’re using a smaller Cameo 4 model, you’ll need to cut this from two fabric pieces. Set your media size so it has 0.5 – 1 in. of space between the design and the media’s edge.
Step Two: Cut Main Body Pieces
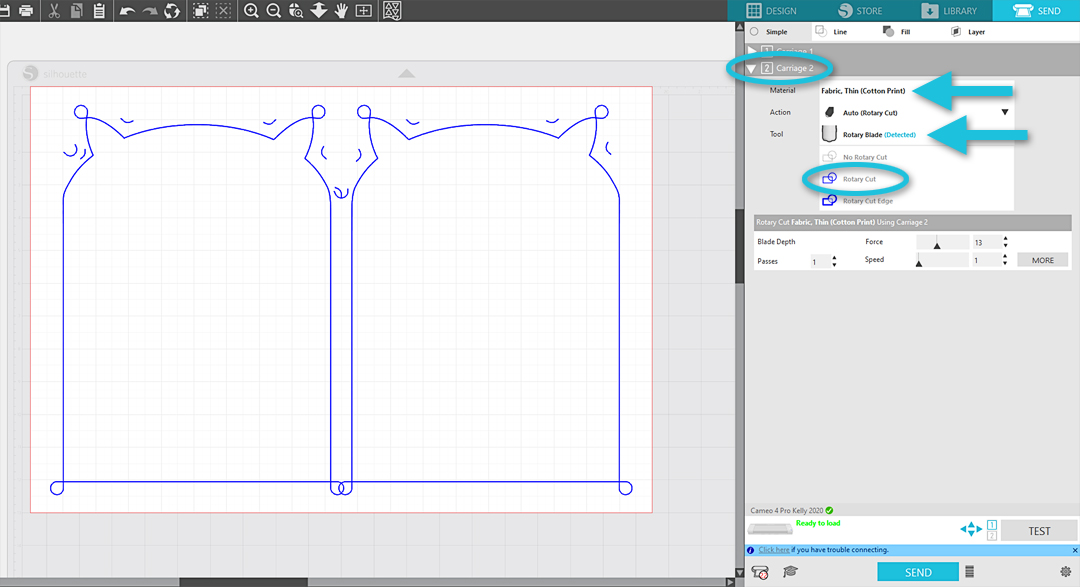
Go to the Send Panel and make sure your machine is connected, turned on, and has the Rotary Blade loaded in Carriage 2, the right-hand tool slot on the machine. Under the Carriage 2 section of the panel, set the material to “Fabric, Thin (Cotton Print).”
Select the designs that will be cut from your main fabric and choose “Rotary Cut.” At this point, your cut lines on the virtual media should turn blue, with extra hooks and loops for Smart Cut. The Rotary Blade needs these extra cuts to orient itself during the cutting process because it can’t make sharp turns like a regular blade.
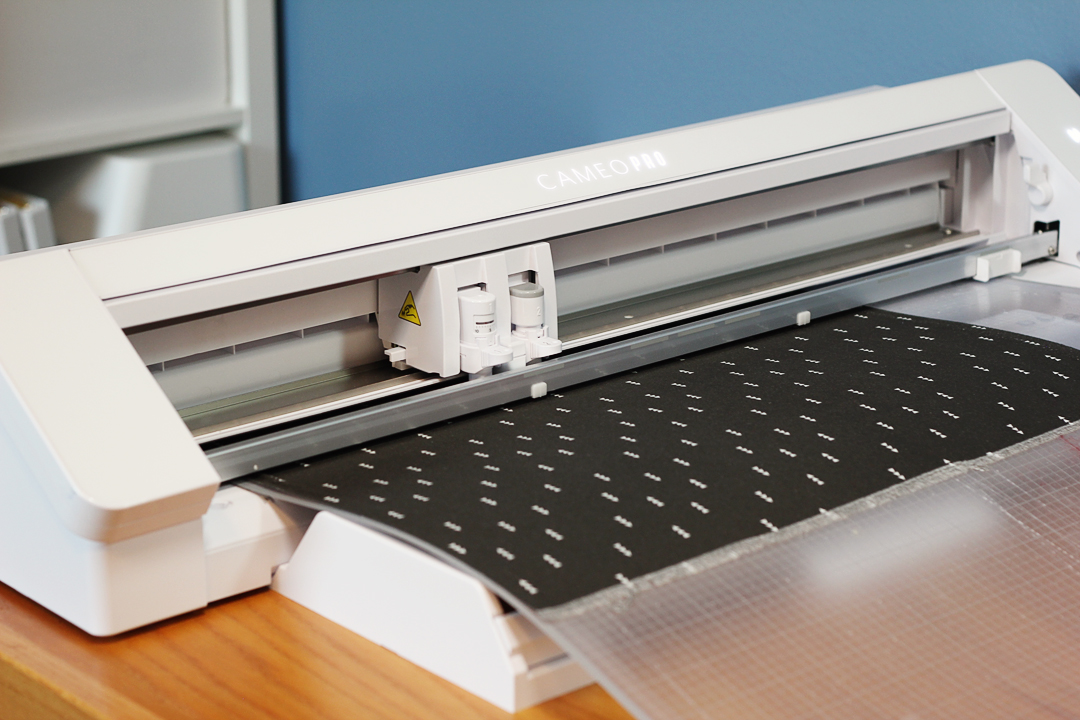
Prepare your main-body fabric by trimming it down to match the media size you input in the Page Setup Panel. I’m cutting mine to be 19 x 13 in. Carefully place the fabric onto the sticky part of the cutting mat so it matches the virtual media.
Note: On the Cameo Pro, you will leave 0.5 in. of the left side’s grid on the mat exposed where it’s not sticky. This is the case any time you are using media that is less than 24 in. wide on the Cameo Pro cutting mat.
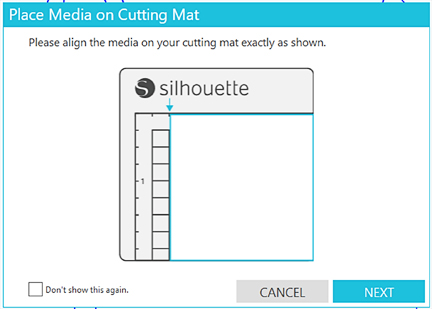
Load the Cameo Pro cutting mat into the machine so the left edge of the mat aligns with the left-most guideline. You also need to use the Cameo Pro mat supports. Send the job, and the software will remind you how to load your media (with 0.5 in. of the mat’s left-side grid exposed) before continuing on to cut.
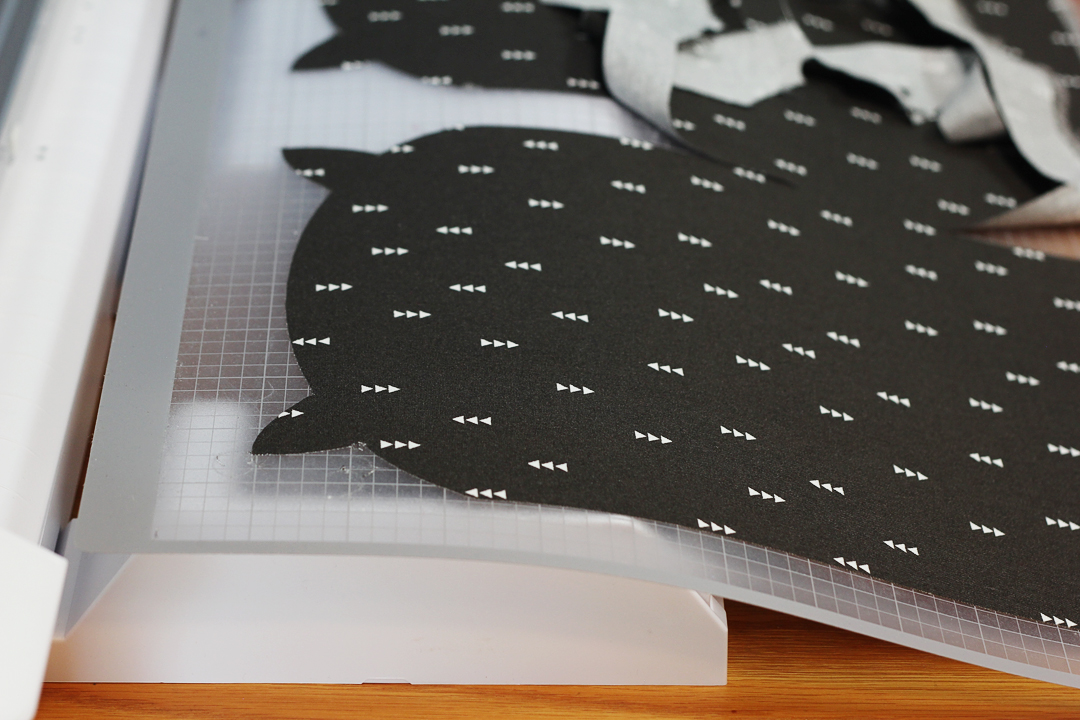
The Rotary Blade will cut the fabric with Smart Cut hooks and loops, lifting and pivoting as needed.
Carefully remove the excess fabric from the mat. You may need to snip bits of connected fabric with fabric scissors. Then, carefully remove the main body pieces from the cutting mat and set aside.
Using a sharp Rotary Blade and a clean, sticky mat results in clean cuts. If you’re not happy with how your machine is cutting, you may try adding interfacing or fabric stiffener for even cleaner cuts. The Silhouette Rotary Blade does not require adding any additional material to your fabric, but doing so is a good way to troubleshoot your cut quality.
Step Three: Cut Pocket Piece
To prepare the pocket piece for cutting, the process is mostly the same. In the Page Setup Panel, set the media size to match the fabric for the pocket piece. I set mine to 13 x 7 in., but if you are working with the Cameo 4, you can reduce this to 12 in. The Smart Cut hooks and loops will compensate for the reduced width.

Center the rectangle to the virtual media. Go to the Send Panel, and if the lines are red instead of blue, select the rectangle and choose “Rotary Cut” for Carriage 2. They should turn to blue lines with Smart Cut hooks and loops.

Place your trimmed 13 x 7 in. fabric carefully on the sticky portion of the mat as before, and send to cut. When finished cutting, remove the piece from the mat and set aside.
Step Four: Cut Wrap-Around Pieces
Make a copy of the wrap-around piece and center both on the virtual media. Adjust your Page Setup Panel media size as necessary. I set mine to 12 x 6 in. and trimmed my fabric to match.
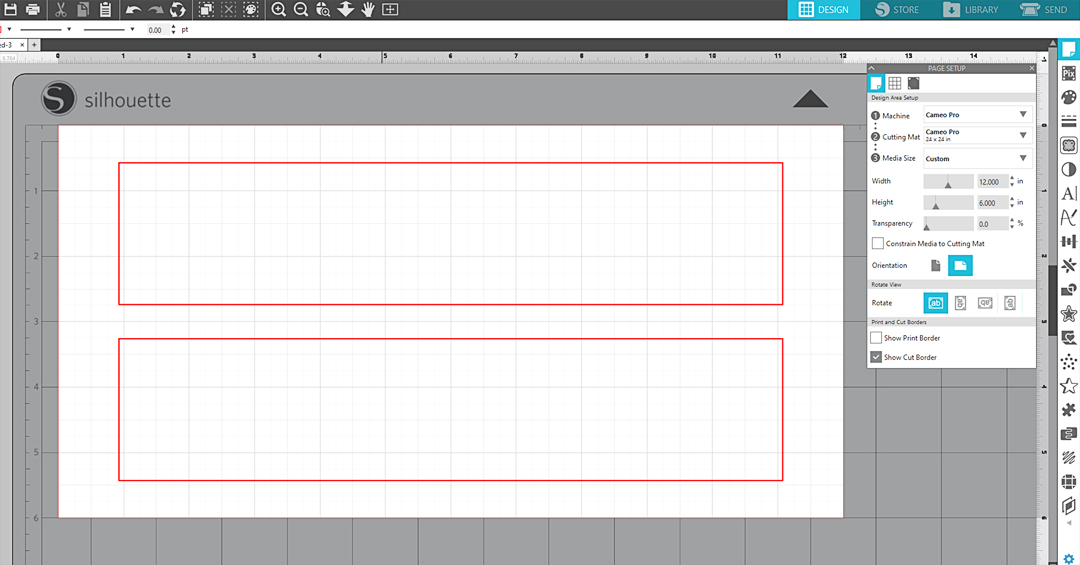
Follow the same steps as before in the Send Panel, selecting Rotary Cut for Carriage 2. Place the fabric on the mat, load the mat into your machine, and send to cut. Unload the mat, remove the fabric pieces, and set aside.
Step Five: Cut Heat Transfer
I chose to cut the eye and ear pieces with white and black heat transfer scraps, but you could do it with fabric scraps and sew them on later. To use heat transfer, you would usually mirror the design. However, these pieces are symmetrical, so mirroring is not necessary.
Cut the triangle ears and larger eye circle from smooth white heat transfer, and cut the smaller circle for the pupil from smooth black heat transfer. You know the drill—set the media size to match the actual media you will be cutting.
Note: If you’re cutting your heat transfer directly from the roll, be sure to set the Cutting Mat setting under the Page Setup Panel to “None.” Use your roll feeder to load your heat transfer material into the machine.
In the Send Tab, be sure to select the heat transfer pieces and choose “Cut” for Carriage 1, unlike the fabric pieces. The cut preview lines should be red, not blue this time. Set your material to “Heat Transfer, Smooth.” A sharp AutoBlade or manual blade should be fine with the default settings, but a duller blade may need the force set as high as 15. Always perform a test cut just to be sure.
Place your heat transfer vinyl onto your cutting mat with the shiny side facing down and the dull side up. Then, send to cut. Weed the excess heat transfer and snip the white pieces apart on their backing so they can be laid individually against the fabric in the correct places.
Use a household iron using the cotton setting and no steam to apply the heat transfer to the main monster body.
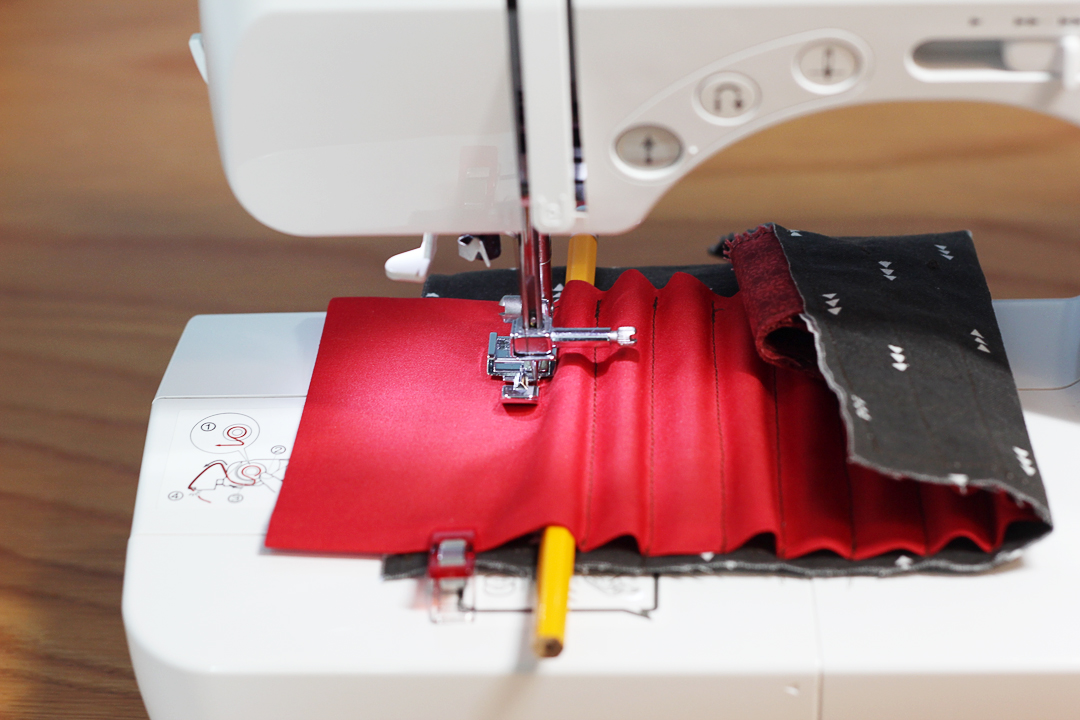
Step Six: Sew the Monster
1. Follow these instructions by Carina Gardner for her monster pencil case with the following adjustments:
- Ignore the part about using fabric interfacing
- Use heat transfer for the eyes and ears instead of stitching fabric

Load with pencils and pens, and that’s it!
I hope you enjoyed this tutorial. I’d love to hear about the fabric projects you are making with the help of your Cameo 4! Let me know in the comments below.
 Free Class - Father's Day Apron Set
  Free Class - Custom Graduation Tumbler