For this Farm to Table date, you and your significant other can pick a favorite recipe, head off to the Farmers Market to grab some local ingredients, and then continue the fun of your date by going home to cook together! What I love about this date is that it’s simple and inexpensive enough to make the outing a weekly affair. You can even save the recipes that you prepare together by storing them in a DIY recipe box filled with your very own recipe cards.
Let’s get this party started!
You Will Need:
STEP ONE: Create Your Recipe Box
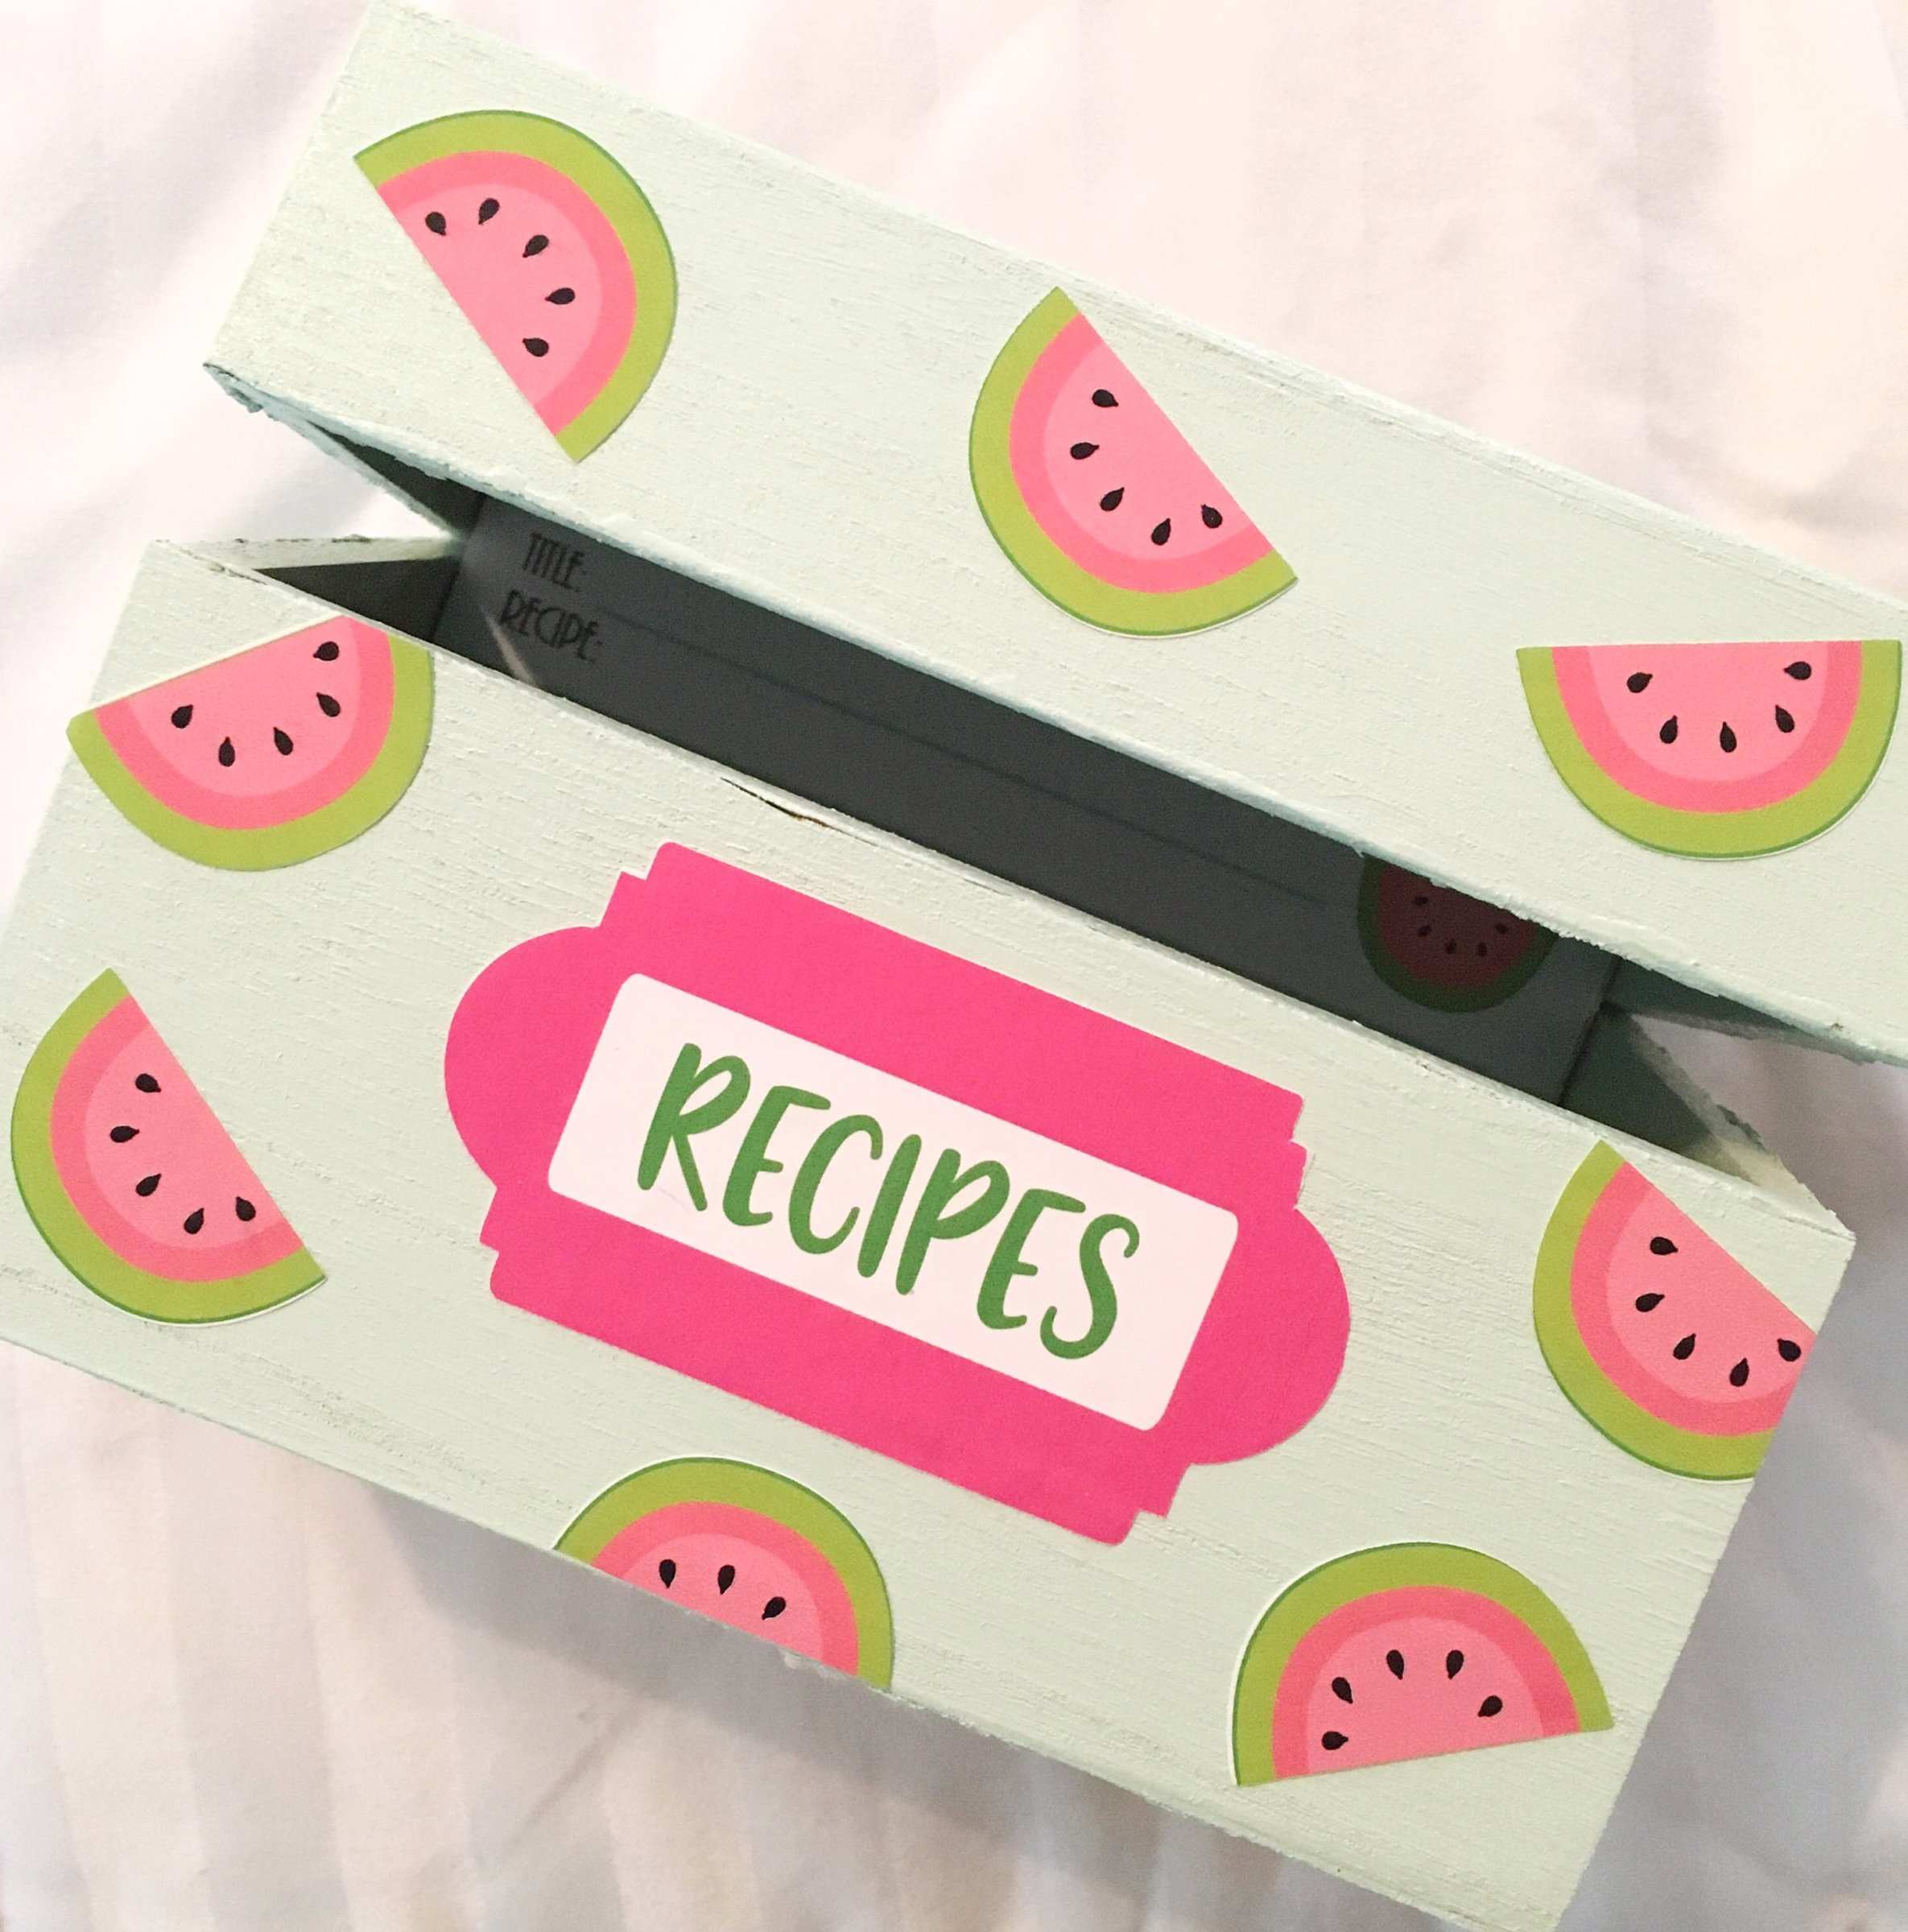
I picked up a wooden recipe box at a local craftstore and painted it a light blue. Next, I used Design ID #185296 to sass it up! Open the design in the Silhouette Studio®, ungroup by right clicking the design and selecting “ungroup”, piece the design together, and then regroup by right clicking again and selecting “group”. Size the design according to how big you want it to be on your recipe box.
Once it has been sized, copy and paste, and arrange the designs on the page so that you can maximize what you’re able to cut from a single sheet of printable vinyl. To create a label, use Design ID #143768, ungroup, resize, remove the “NAME:” portion, and add the word “recipes” using LW Grateful. Arrange your recipe box embellishments on one page. I’m all about making the most of my precious craft supplies!
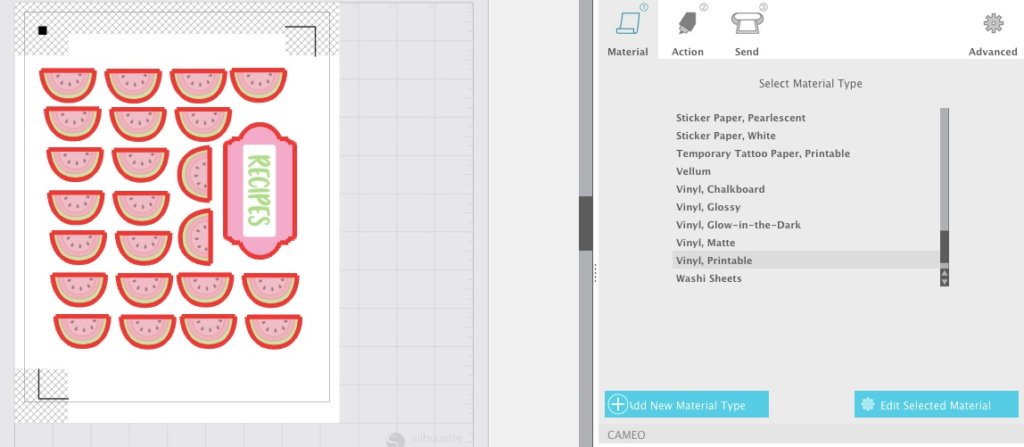
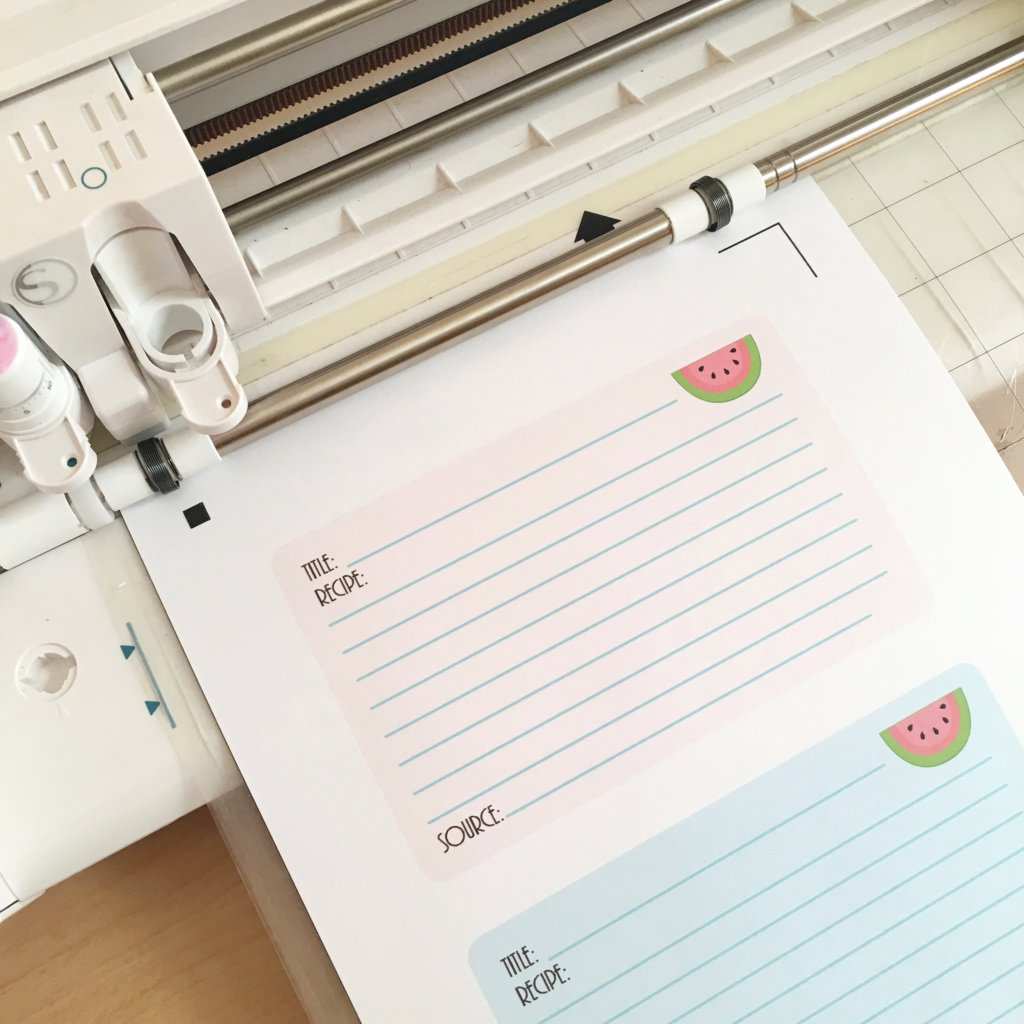
Add the registration marks. Place printable vinyl in your printer and send the design to print. After it has printed, load the printable vinyl on your cutting mat into your Silhouette CAMEO®, double check your cut settings, and cut away! Arrange the watermelons on the box and add your label to the front.
STEP TWO: Create Your Recipe Cards and Tabbed Dividers
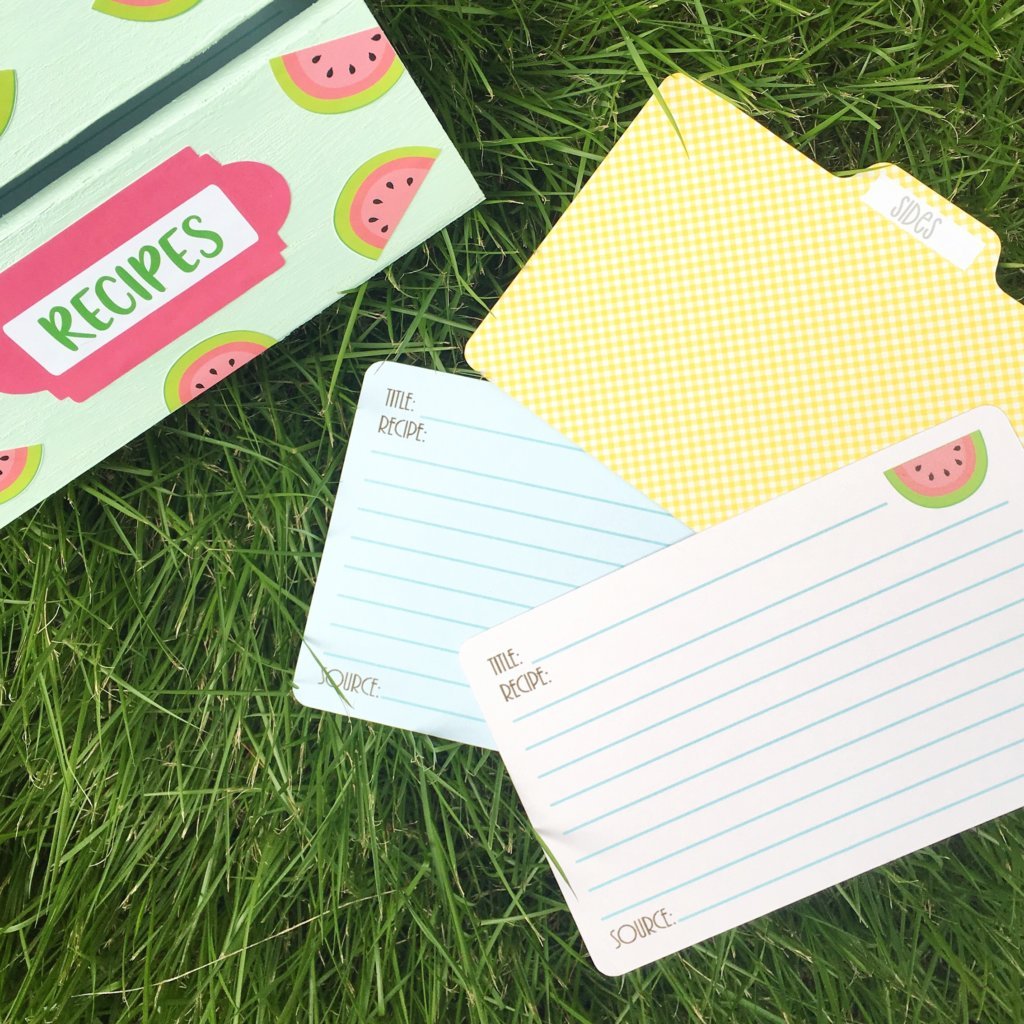
Now that your box is done, it’s time to fill it! I decided to go ahead and fill my box with blank recipe cards so that every time my hubby and I go on this date, all I have to do is grab a blank card and fill in my recipe for that day. The first thing you will want to do is measure your recipe box to make sure that you cut everything down to the appropriate size.
For the dividers, open Design ID #5834 in the Silhouette Studio® and get creative. You can fill these with patterns or leave them solid, totally up to you. I decided to use different colored gingham patterns to fill mine. I used the shape tool to draw a rectangle for the label on the tab and font LW Simple to add my section names. Be sure to add your registration marks when you have sized the dividers correctly.
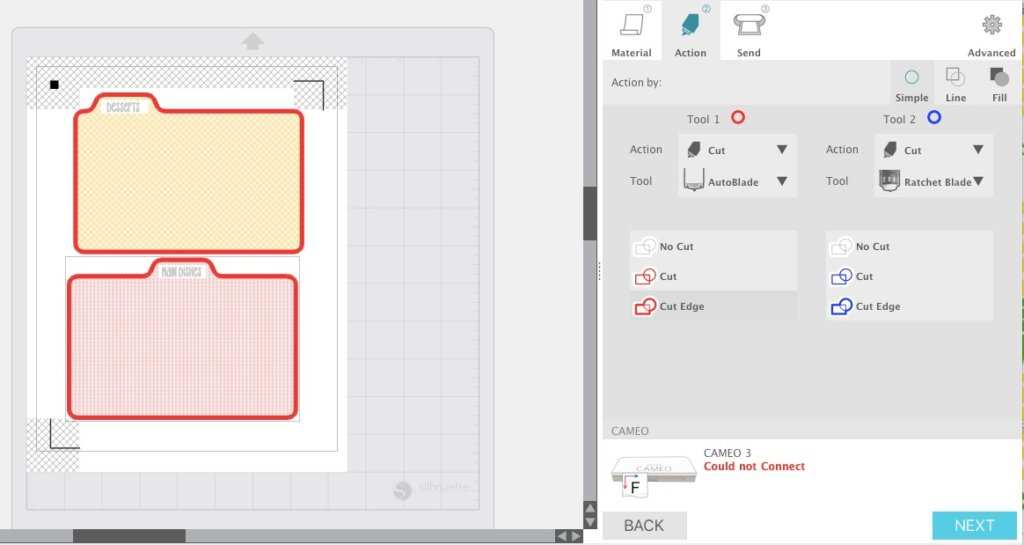
For the recipe cards, open Design ID #6197. I added color to the background of each card and increased the transparency so it would be a lighter hue. I then copied one of the watermelons from step 1 and pasted it in the corner of each card. When you are happy with the look of your cards, add your registration marks. Since you will once again utilize Print & Cut, print both the dividers and the recipe cards on card stock, cut, and fill that recipe box up!
STEP THREE: Get Your Date On!
Now that you have done all of the preparation for your date, tell your spouse it’s time for some fun! Grab a recipe card, fill it in with the recipe that the two of you would like to make, and head to the Farmers Market to gather your ingredients.
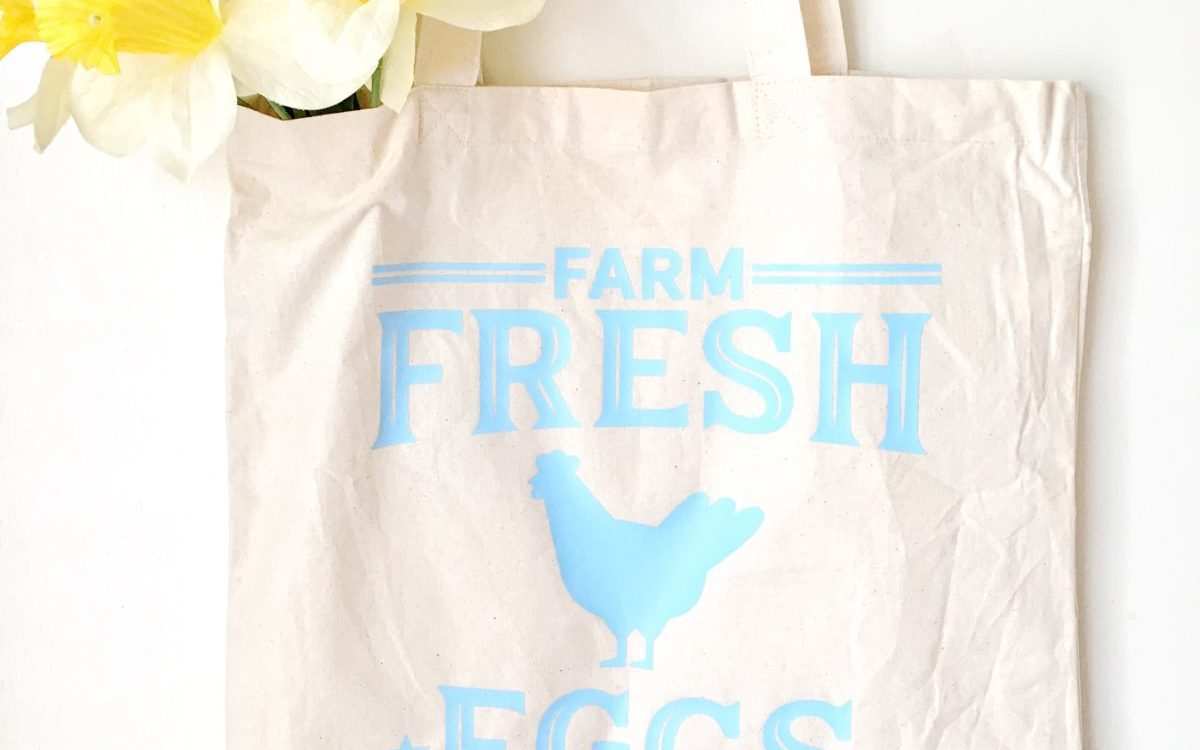
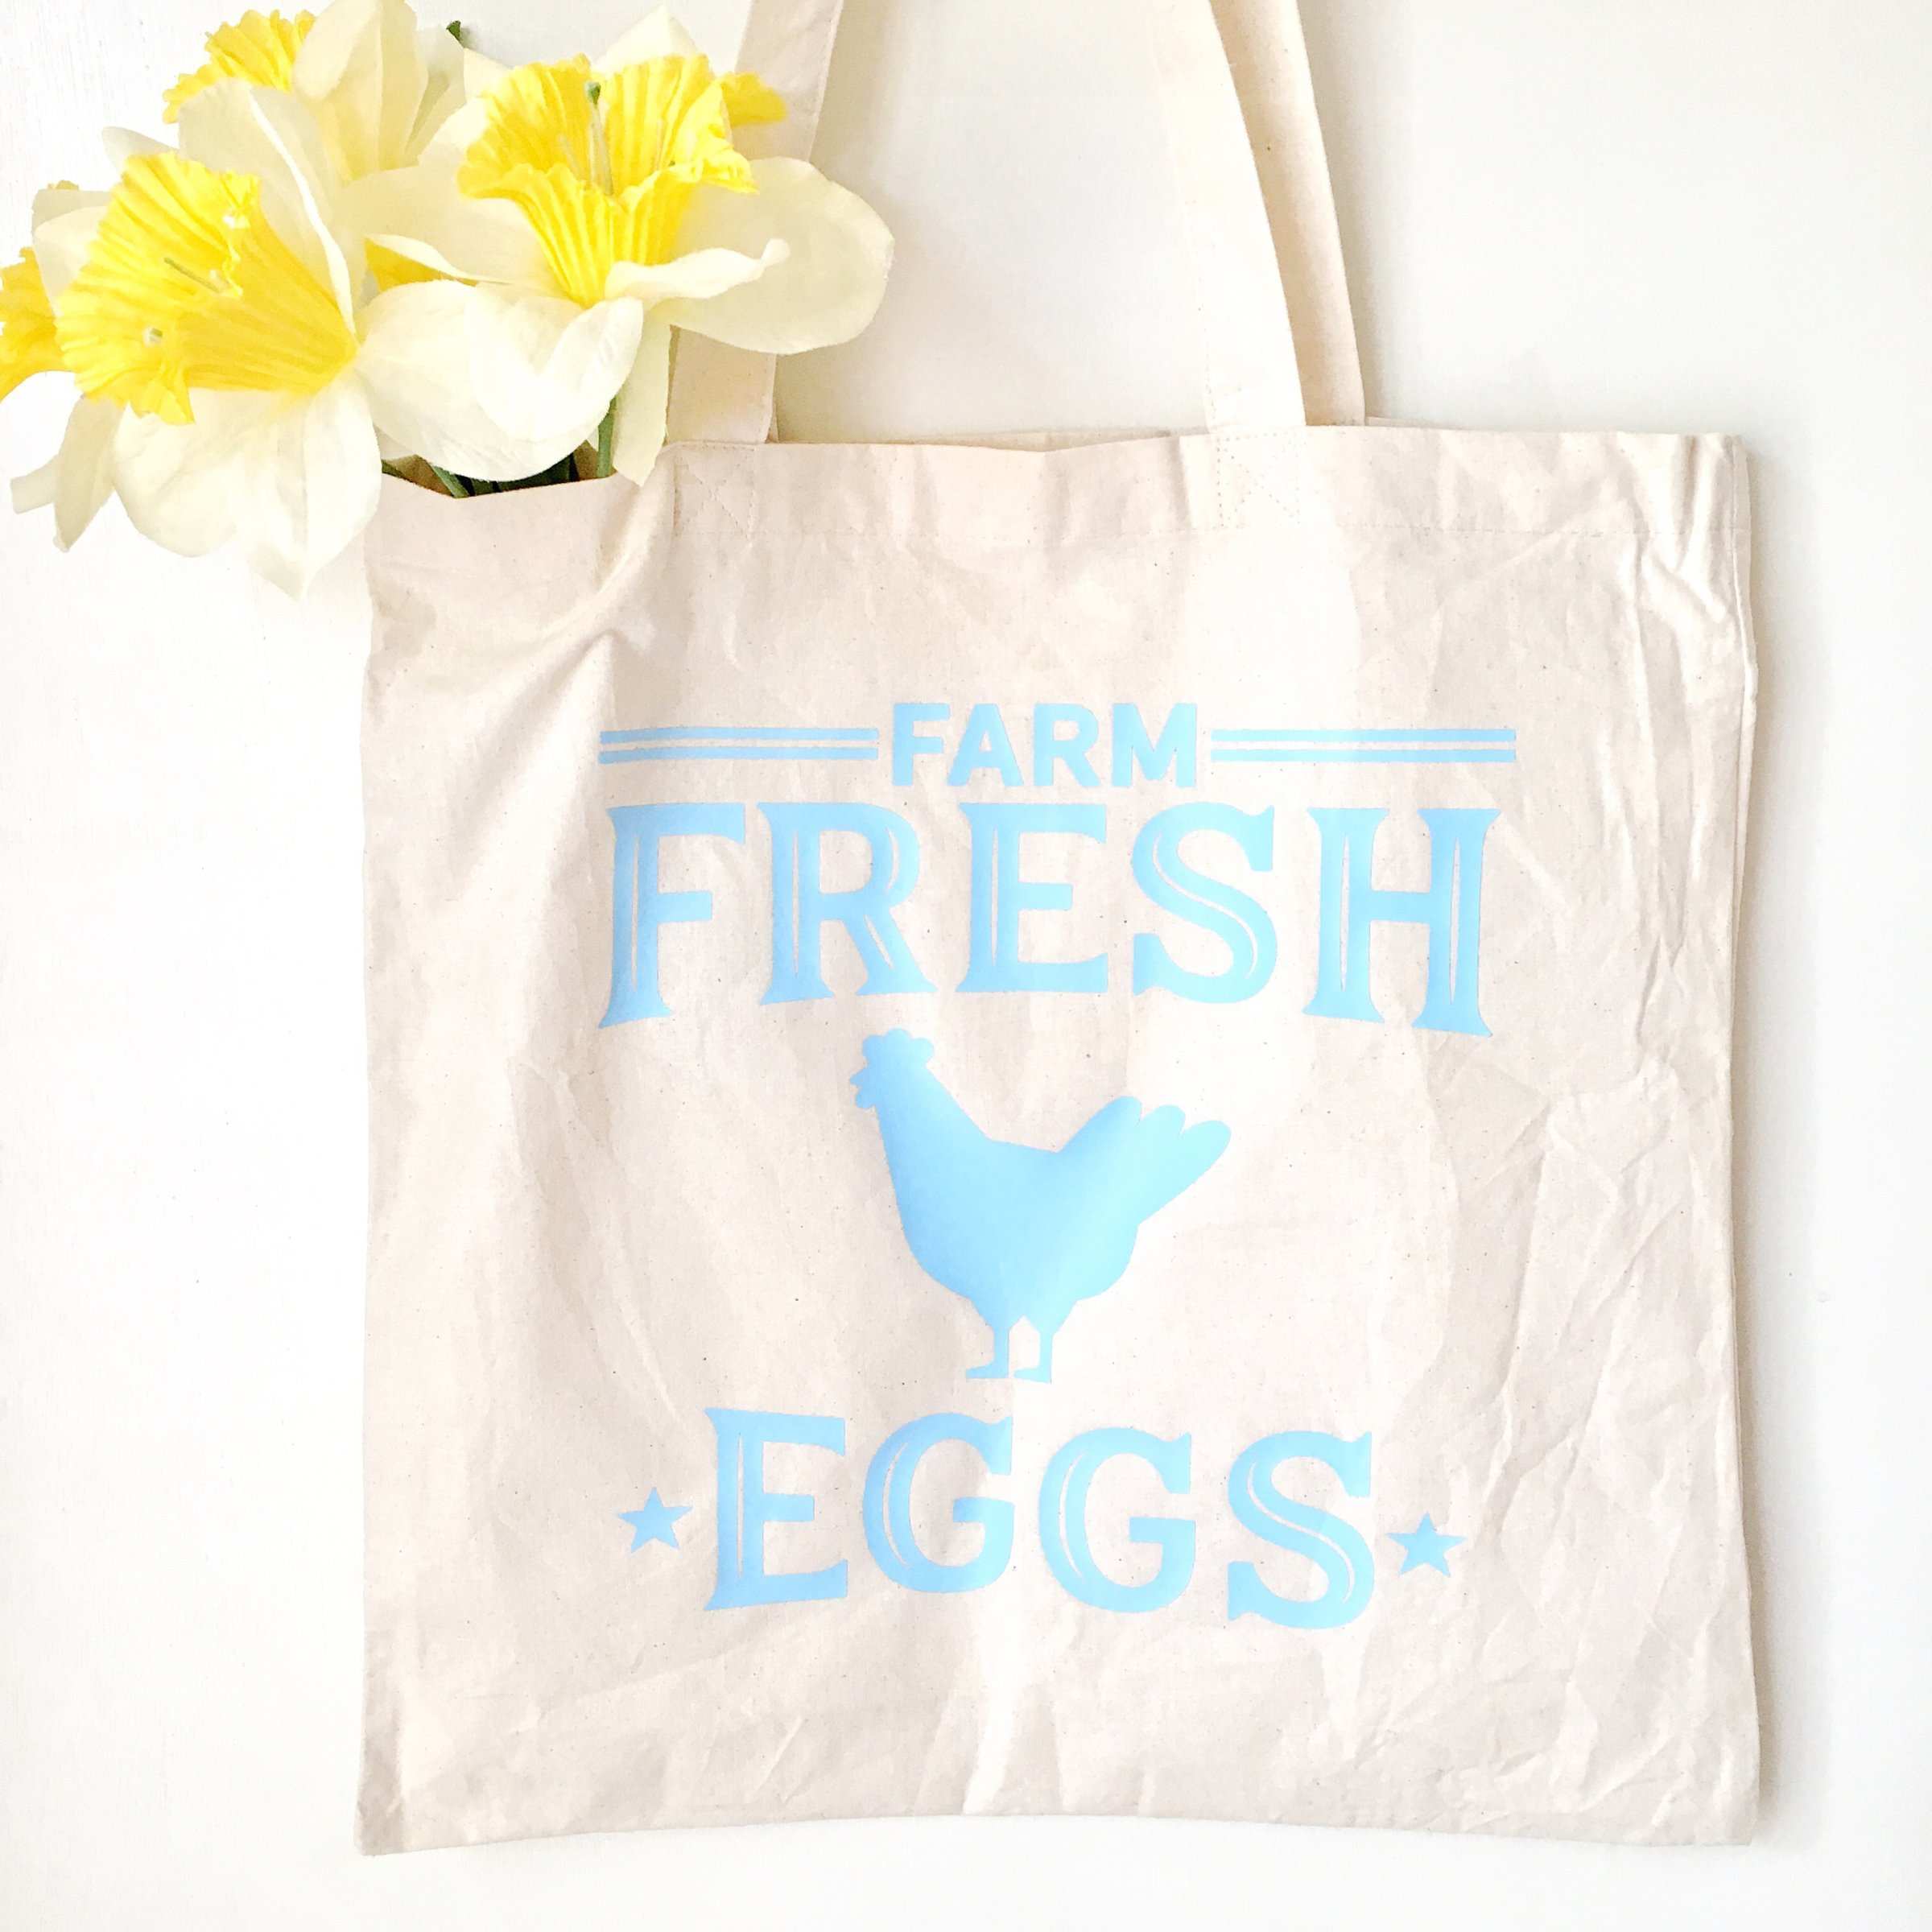
And of course, don’t forget your market tote! You can find a tutorial on how to make a tote with Heat Transfer Vinyl here.
When you return from the Market, use your recipe card as a guide to get to cooking. After you have finished, be sure to file the recipe card away in your fabulous new recipe box!
I hope that you have as much fun on your Farm to Table day as we had on ours! We love getting out together to explore our city, support local farmers, and we really love to be able to laugh together and create timeless memories.