
Mehndi is a ceremonial art form that originated in ancient India. In this practice, henna is applied to the skin in beautiful, intricate designs typically to a bride’s hands and feet. While traditional henna is brown, the latest trend is to use white dye to make the mehndi designs. You can create these beautiful designs at home in less than 30 minutes, and you don’t even need to be an artist!
Supplies Needed:
- Silhouette CAMEO® or Portrait®
- Silhouette Studio®
- White Temporary Tattoo Paper
- Wet Washcloth
- Design IDs #138278, #11215, #11214, #11216, #11210
Step One: Open Your Designs In Silhouette Studio®
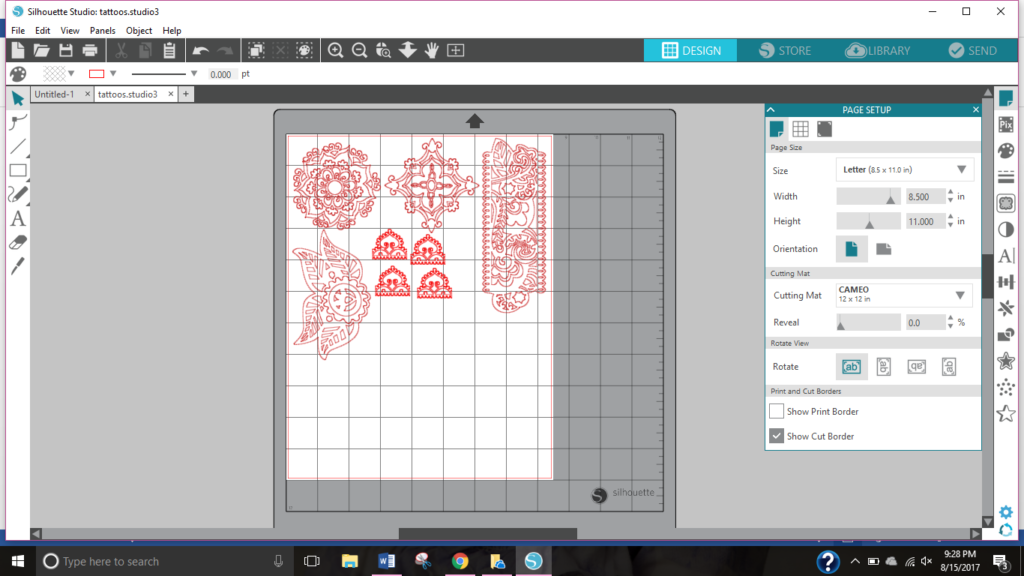
- Open a new document. In the Page Setup Panel, select Letter as your page size.
- When you open each design in Silhouette Studio®, select the entire design and group it together.
- Size your designs according to where you will place them on your body. I sized my designs about 2.5 in. x 2.5 in. for the back of my hand, 1 in. x 1 in. for my fingers, and about 2 in. x 5 in. to wrap around my wrist. The designs I used are listed in the supplies. You can find more designs by searching “Mehndi” or “Henna” in the Silhouette Design Store.
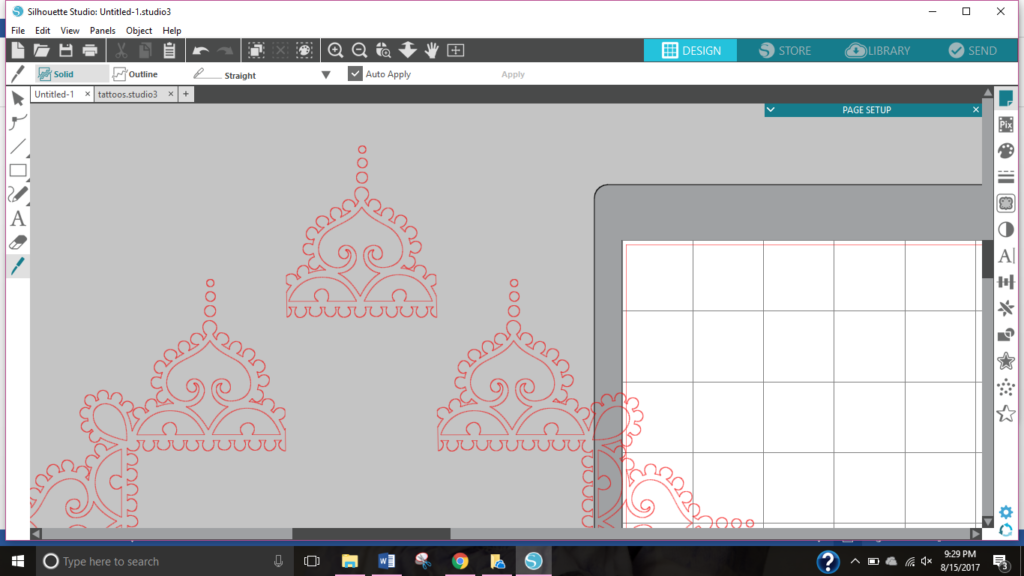
For the finger designs, I used Design ID #138278, which is a border. To cut the border into pieces for your fingers, I used the Knife tool. Be sure to select the option Solid in the top left corner when using the knife tool.
Step Two: Prepare The Temporary Tattoo Paper
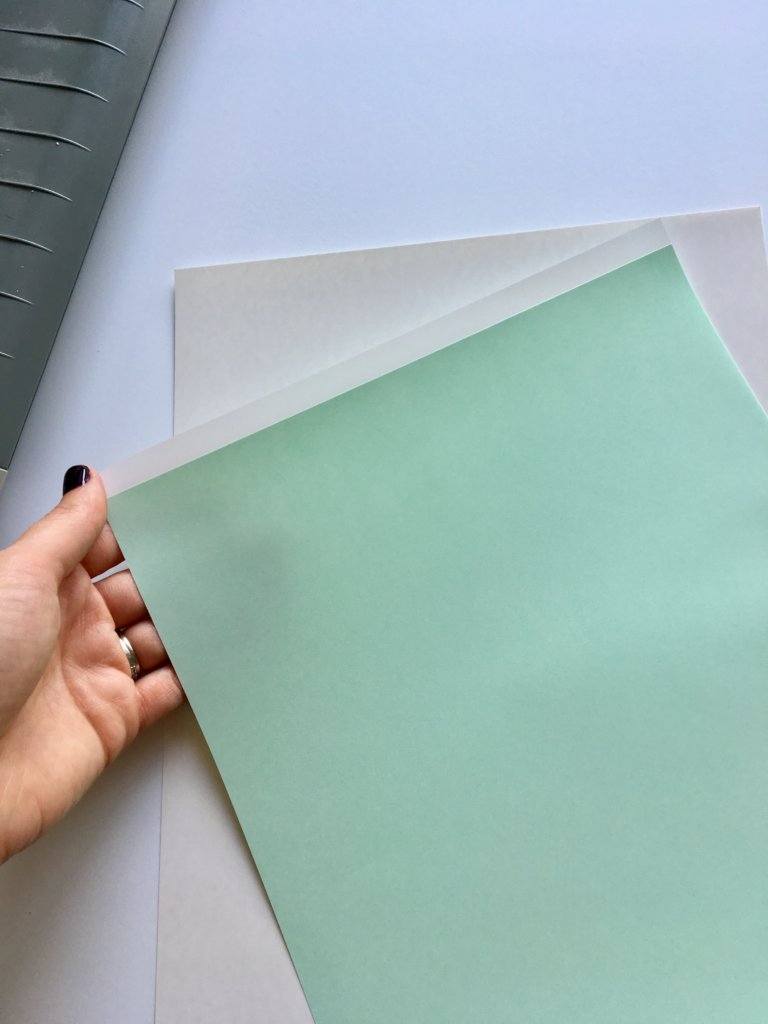
- Peel off the top strip of green backing from the tattoo paper.
- Place the tattoo paper onto the glossy side of the transfer paper.
- Peel off the remainder of the green backing and adhere the tattoo paper to the transfer paper.
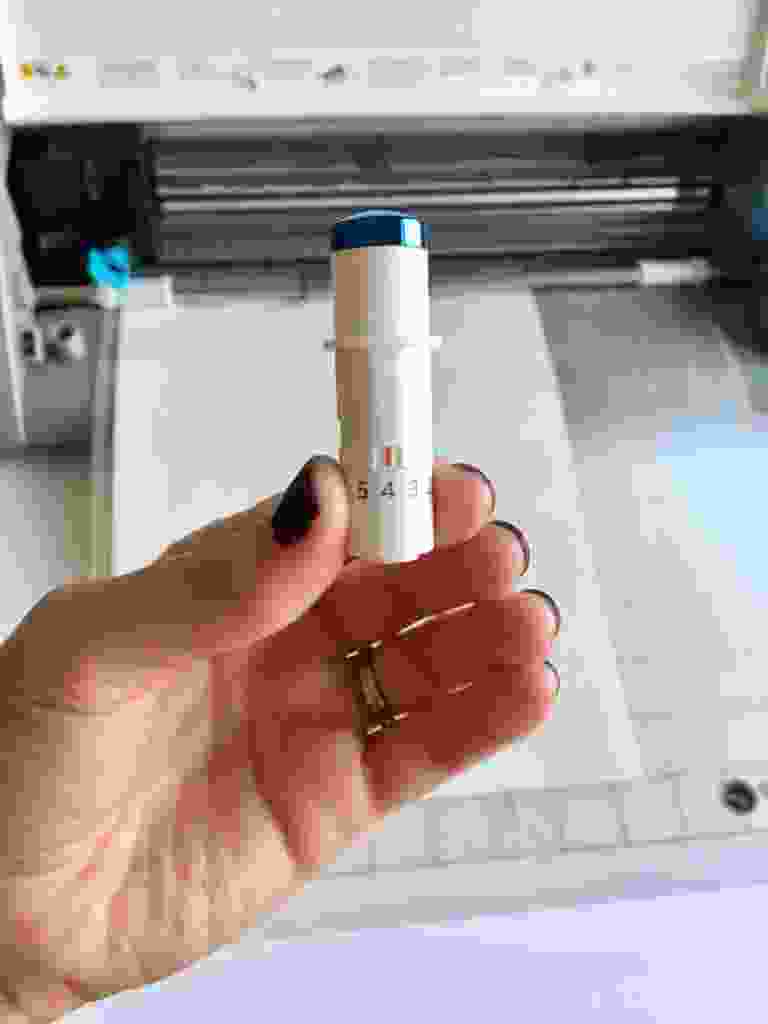
- Place the tattoo paper onto the CAMEO® or Portrait® cutting mat, shiny side up, and load mat into the machine.
If this is your first time using temporary tattoo paper, here is a great video tutorial.
Step Three: Cut Your Tattoos
- Select Send in Silhouette Studio.
- Select your material as “Temporary Tattoo Paper, Printable.”
- Adjust your blade to the appropriate length and select Cut from the action menu.
- Select Send.
Step Four: Apply Your Tattoos

- After your tattoos have been cut out, peel off the clear plastic from the front. Tweezers can help remove the plastic from delicate pieces.
- Apply the sticky side to your skin.
- Press the tattoo with a wet washcloth or paper towel for 5–10 seconds.
- Peel off the paper.

These temporary tattoos are easy to make and beautiful. I have gotten so many compliments on them! Mine last about 3 days as long as I’m careful with them in the shower.

Regardless of whether you are getting married, these faux henna tattoos are such a fun accessory.
How will you personalize your mehndi?
Nasze Naturalne
September 3, 2025
Your authentic voice really shines through in everything you create and share
Naszenaturalne
September 2, 2025
Really love your style
Kelly Wayment
June 28, 2024
You can use it with vinyl as long as it is smooth and flat to allow the static charge to hold on to it. Rolled vinyl that wants to go back to its rolled shape will not necessarily work well, and it would need to be trimmed to fit the ES mat cutting area.
Kelly Wayment
June 28, 2024
Yes, you can use the heat pen while using the ES mat. 🙂
Yurii
March 2, 2024
Hello. May it be used with heat pen?
Thanks
Jerome
February 24, 2024
Hi, works this with the normal vinyl foils or only with printer papter etc?