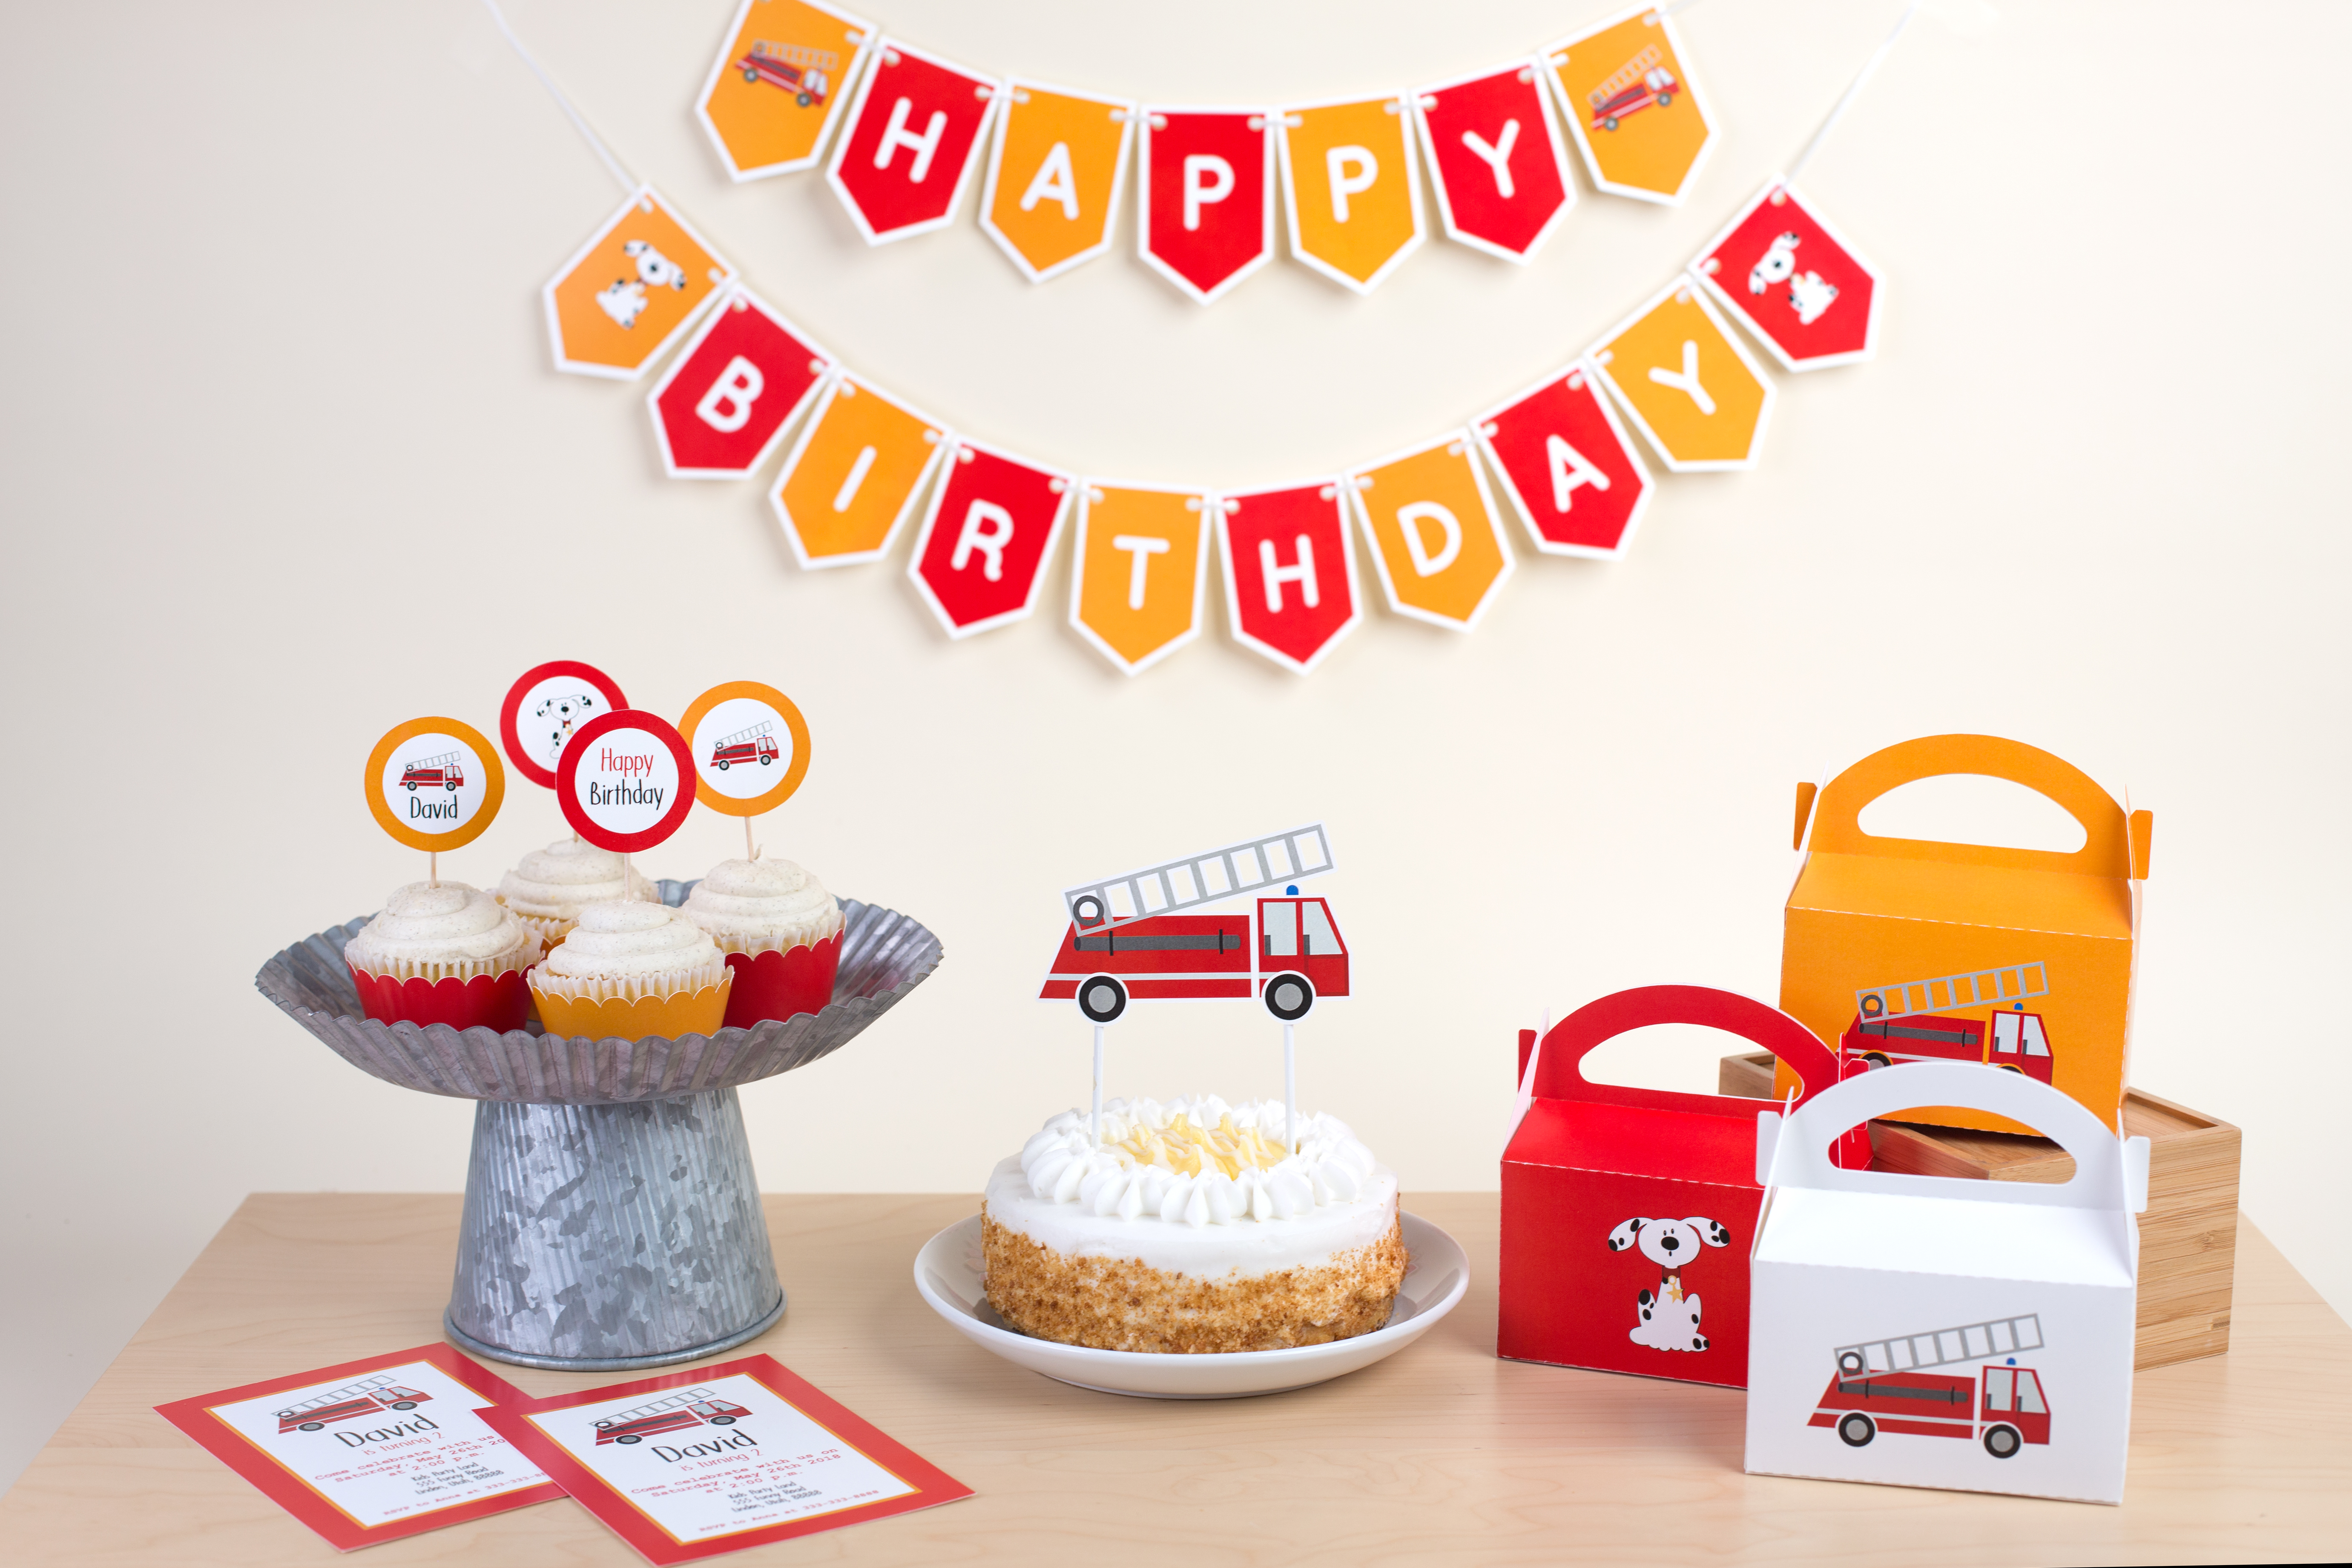
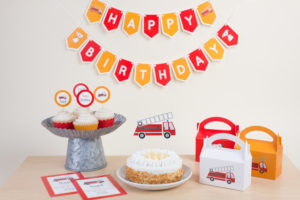
We’re going to show you how to create your own custom party set for any upcoming parties you may have. Follow along to see how it’s done!
Supplies Needed:
- Silhouette CAMEO® or Silhouette Portrait® or Silhouette Curio™
- Silhouette Cutting Mat
- Silhouette Cutting Blade
- Cardstock – white
- Printer
- Wood sticks
- Tooth picks
- Ribbon – white
- Tape
- Glue or double-sided tape
- Design ID#259754
- Design ID #47536
- Design ID #9994
- Design ID #94457
- Design ID #246490
- Design ID #74286
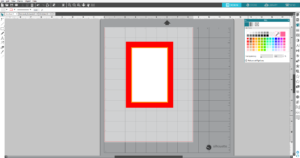
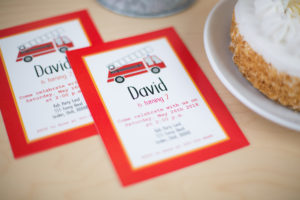
Step One: Creating the Invitation
1. Draw a 6.3 in. x 4.5 in. rectangle using the Rectangle tool, which is located on the left-hand side of the screen. Select the rectangle, go to the Fill panel, and fill it with red color. Draw smaller rectangle (5.3 in. x 3.5 in.) inside the base and color it in white. Inside this white rectangle, draw two smaller rectangles to create the frame. Select these two rectangles, right-click, and select “Make Compound Path.” You can also access the compound path feature through the Modify panel.
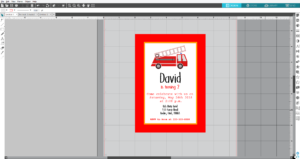
2. Download the fire engine design (Design ID #259754) from the Silhouette Design Store. Ungroup entire design and place the rest of the resized, grouped fire engine on the top part of the invitation. Delete ungrouped parts of fire engine. Type your text and the address using the Cheetah font (Design ID #246490). For the rest of the information, we used the Courier New font, which is most likely one of the fonts on your computer.
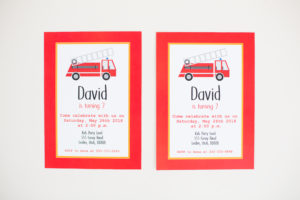
3. Add registration marks and print the invitation. Place the printed sheet on your mat and feed it into your Silhouette machine. In Silhouette Studio®, go to the Send tab, choose “Cardstock, Plain” as the material, choose the Cut Edge option and click Send. Remove the cut designs from the cutting mat.
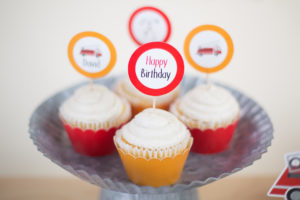
Step Two: Creating the Cupcake Toppers and Wrappers
1. Draw circles (2 inches in diameter each) using the Ellipse tool, which is located on the left-hand side of the screen. Select the circle, go to the Fill panel, and fill it with red and orange colors. Draw smaller circle inside the base and color it in white. Download the fire dog design (Design ID #9994) from the Silhouette Design Store (ungroup the design, color the outer line of the dog in black, and increase the line thickness to 0.25 pt from the Line Style panel). Place the dog and the fire engine designs in the middle of the white circles. You also can write the name of the birthday boy or just “Happy Birthday” and place it in the middle of the white circle.
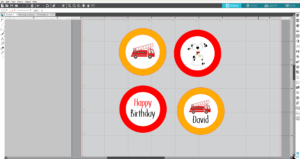
2. Download the cupcake wrapper design (Design ID #74286) from the Silhouette Design Store. Resize it, if it is needed, fill with red and orange colors. Add registration marks and place the cupcake toppers and wrappers within registration marks borders.

3. Print as many copies as required on white cardstock.
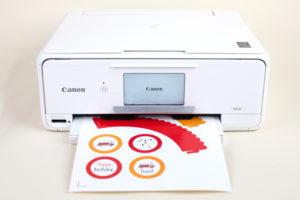
4. Place the printed sheet on your mat and feed it into your Silhouette machine. In Silhouette Studio®, go to the Send tab, choose “Cardstock, Plain” as the material, choose the Cut Edge option and click Send. Remove the cut designs from the cutting mat.
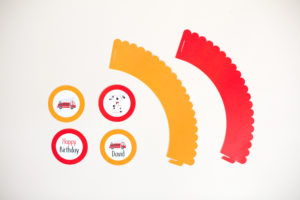
5. Glue wood sticks to the back of the cupcake toppers. Assemble the cupcake wrappers.
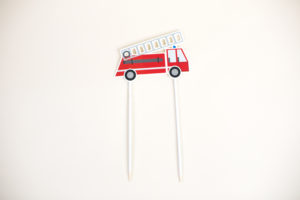
Step Three: Creating the Cake Topper
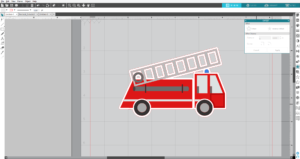
1. Resize the fire engine design according the size of your cake. Add an offset line around design. In order to do so, go to the Offset panel. Select the design, adjust the offset distance by sliding a bar, and click Apply.
2. Add registration marks and print the cake topper. Place the printed sheet on your mat and feed it into your Silhouette machine. In Silhouette Studio®, go to the Send tab, choose “Cardstock, Plain” as the material, choose the Cut Edge option, and click Send. Remove the cut designs from the cutting mat.
3. Glue two wood sticks to the back of the cake topper.
Step Four: Creating the Banner
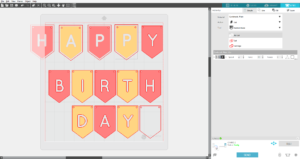
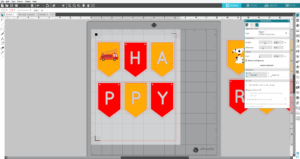
1. Download the happy birthday banner design (Design ID #94457) from the Silhouette Design Store. Adjust the page size if needed. Ungroup the design. Select the inner part of the letter and the outer lines of the card with letter “A” (without holes on the top of the card), right-click, and select “Make Compound Path.” Do the same with the cards that have the letters “P,” “B,” “R,” and “D.”
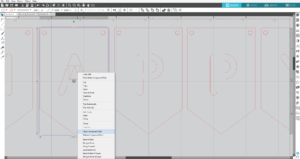
2. Fill the cards with red and orange. Add an offset line to the card. To do so, select a card and go to the Offset panel, which is located on the left-hand side of the screen. Click Offset, adjust the offset distance, choose the type of corner, and click apply. If you have some trouble with the inner offset parts, erase them by using the Eraser tool, which is located on the right-hand side of the screen. Select the inner part of the card, go to the send panel, and choose the option No Cut, then go back to the work space and group all parts of the card. Repeat the same actions for each card.
3. Add cards with the fire engine and the fire dog to the banner.
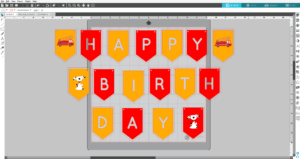
4. Change the page size to the Letter size. Add registration marks and place the first part of cards within the registration marks borders.
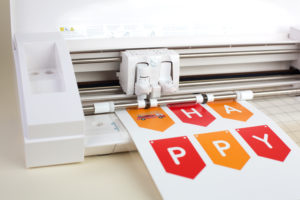
5. Print all cards on white cardstock. Place the printed sheet on your mat and feed it into your Silhouette machine. In Silhouette Studio®, go to the Send tab, choose “Cardstock, Plain” as the material, and click Send. Remove the cut designs from the cutting mat.
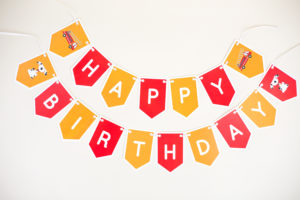
6. Arrange the cards on the ribbon. Tape the ribbon to the back of the cards.
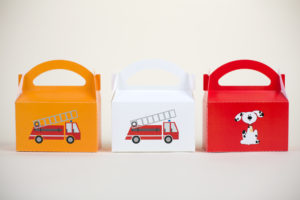
Step Five: Creating the Treat Boxes
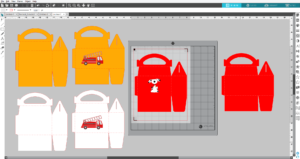
1. Download the box design (Design ID #47536) from the Silhouette Design Store. Ungroup the design and delete the “happy birthday” phrase. Group each part of the box separately. Make a compound path for each part of the box. Fill the box with color and add a fire engine or a fire dog design.
2. Add registration marks and print the boxes. Place the printed sheet on your mat and feed it into your Silhouette machine. In Silhouette Studio®, go to the Send tab, choose “Cardstock, Plain” as the material, choose the Cut Edge option, and click Send. Remove the cut designs from the cutting mat.
3. Assemble boxes using glue or double-sided tape.
We’ve finished our party! We hope you enjoy it as much as we do.

Tell us about the party sets you’ve made for your kids.