

Hi friends! Brittany here, sharing an easy heat transfer material project.
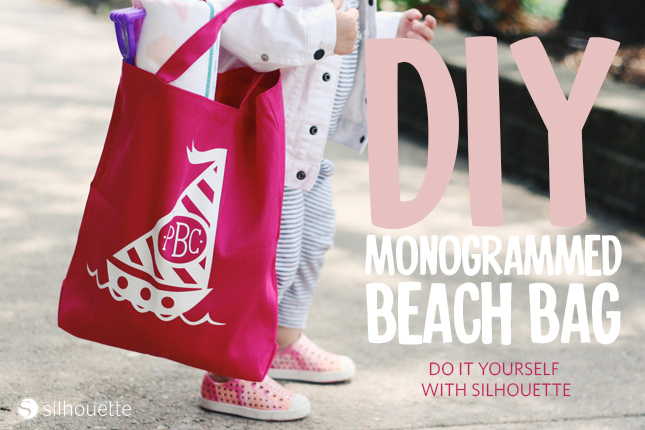
I don’t know about you, but with the way Chicago’s weather has been acting lately, I’ve got one thing on the brain– SUMMER! When I saw this Sailboat Monogram shape from Megan Hardy, I knew it was going to make a great little beach bag for one of my tiny friends and I’ve got to say, I wasn’t wrong.
What you’ll need:
Free Shape of the Week (It’s free, people—but this week only!)
Silhouette CAMEO® or Portrait
Canvas Bag (from your local craft store)
Heat Transfer Material
Beach (take me there, now!)
STEP ONE: OPEN DESIGN IN SILHOUETTE STUDIO®
Download the free design of the week. This shape can be found on the homepage of the Silhouette Design Store.
Once your shape is downloaded, open it in Silhouette Studio®.
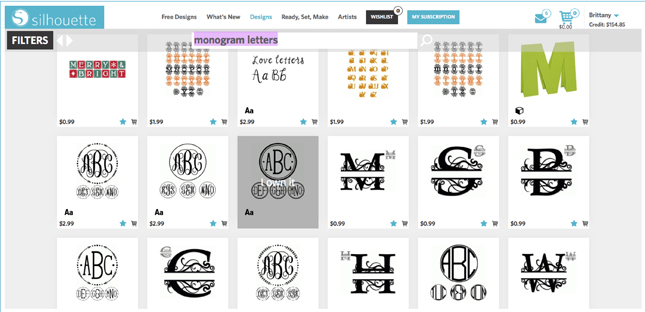
You’ll notice that once you download the shape, there are no monogram letters included. That’s okay! Search “monogram letters” in the Silhouette Design Store and choose whichever monogram letters you like best. I went with the Monogram Full Circle font. (Design ID #80334)
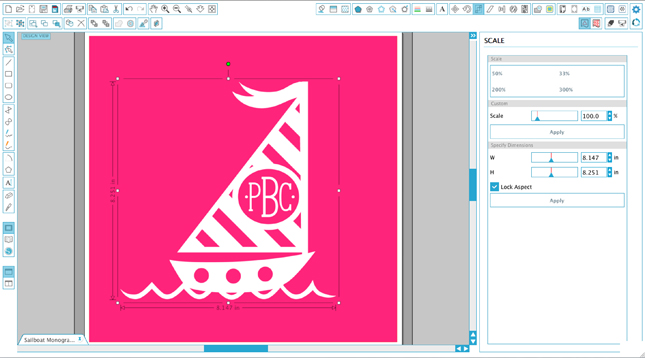
STEP TWO: SCALE YOUR DESIGN
Open the scale window and resize your design to fit the front of your bag. Now you can size your monogram letters to fit within the circle portion of the sailboat shape.
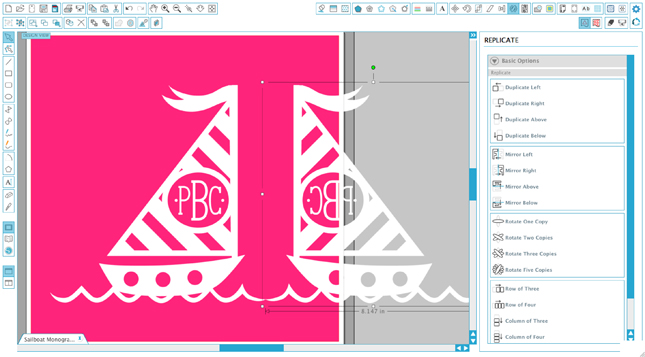
STEP THREE: MIRROR IMAGE
Important: When using heat transfer material, it is important to remember to mirror your whole shape.
This will assure your design doesn’t iron on backwards. To mirror your shape:
1. Select your entire shape(s) and group them. (Command + G)
2. In the replicate Window, select mirror right. This will create a mirrored copy of your design.
You can delete the original and Place the mirrored shape on your active cutting area.
STEP FOUR: SET CUT SETTINGS
In the cut settings window, with all shapes selected, choose “cut edge” to cut your design out as a whole.
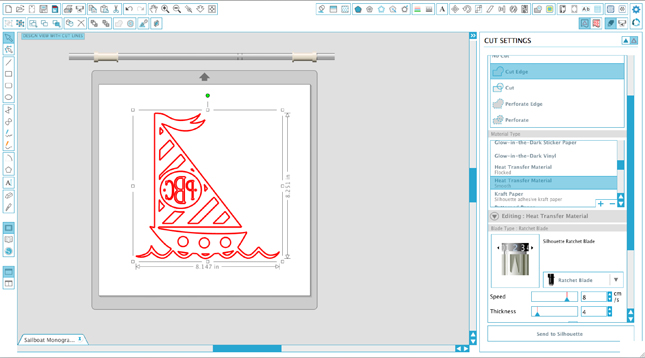
STEP FIVE: SEND TO SILHOUETTE
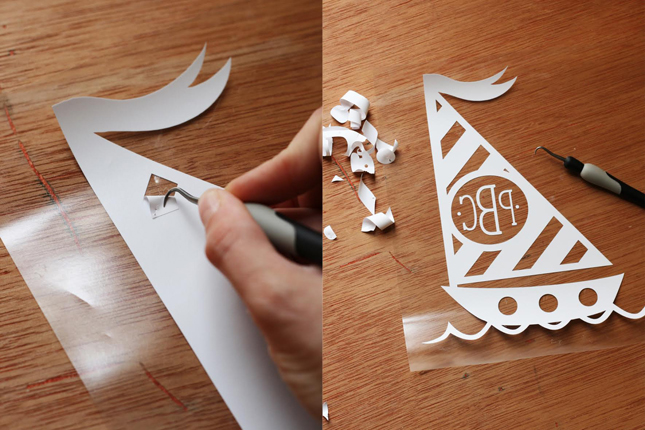
With your heat transfer material fed plastic side down in your Silhouette CAMEO®, manually adjust your blade to the recommended setting of 2 and send your project to cut! Once your design is cut, use the hook tool to weed out the extra bits of heat transfer material until only your design remains.
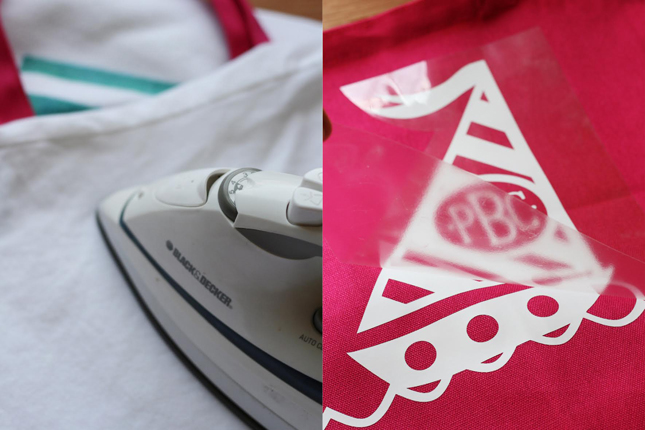
STEP SEVEN: IRON
Iron-set your heat transfer material. With your material face down against your bag, iron the heat transfer material until it has adhered to your bag. Once it is set, peel back the plastic backing and voila!
Throw in the beach towel and and sand toys and hand this bag of fun off! Happy Crafting!
Nasze Naturalne
September 3, 2025
Your authentic voice really shines through in everything you create and share
Naszenaturalne
September 2, 2025
Really love your style
Kelly Wayment
June 28, 2024
You can use it with vinyl as long as it is smooth and flat to allow the static charge to hold on to it. Rolled vinyl that wants to go back to its rolled shape will not necessarily work well, and it would need to be trimmed to fit the ES mat cutting area.
Kelly Wayment
June 28, 2024
Yes, you can use the heat pen while using the ES mat. 🙂
Yurii
March 2, 2024
Hello. May it be used with heat pen?
Thanks
Jerome
February 24, 2024
Hi, works this with the normal vinyl foils or only with printer papter etc?