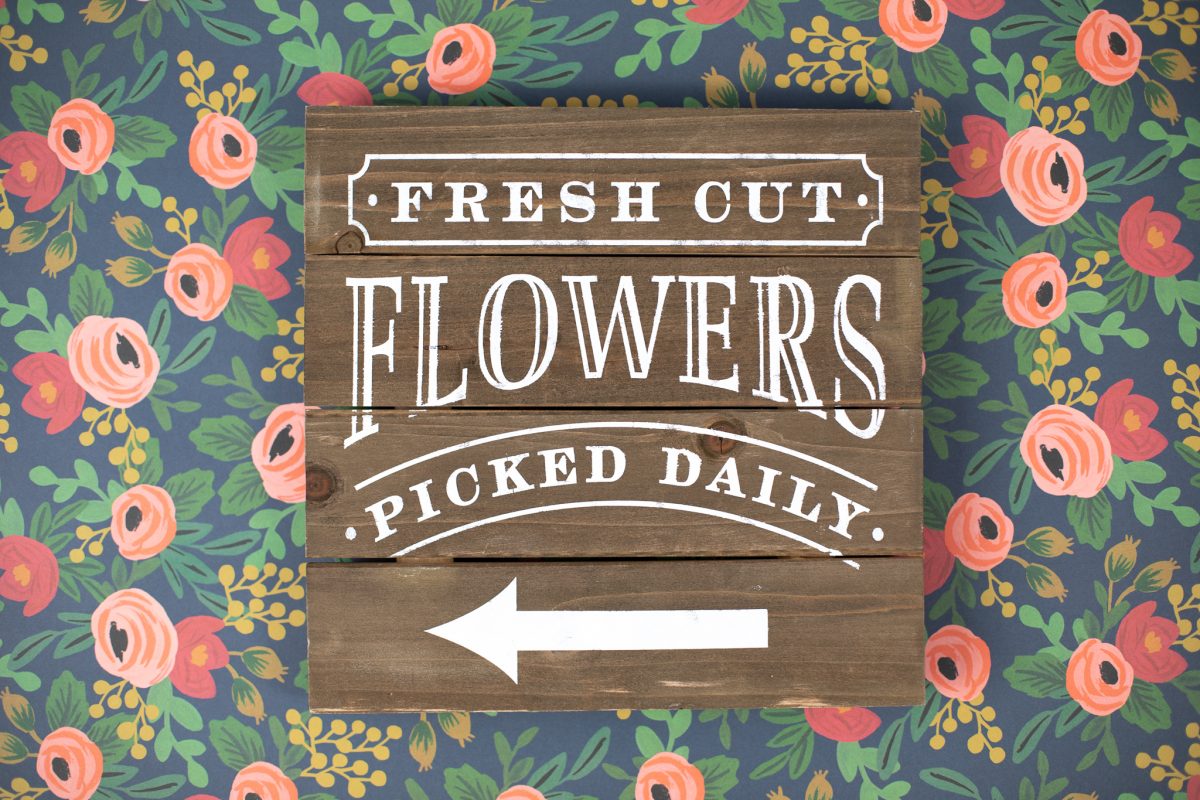
Is there anything better then fresh picked flowers? Today we are going to use our stencil material to create a painted sign for you to hang in your garden or wherever your freshly picked flowers are.
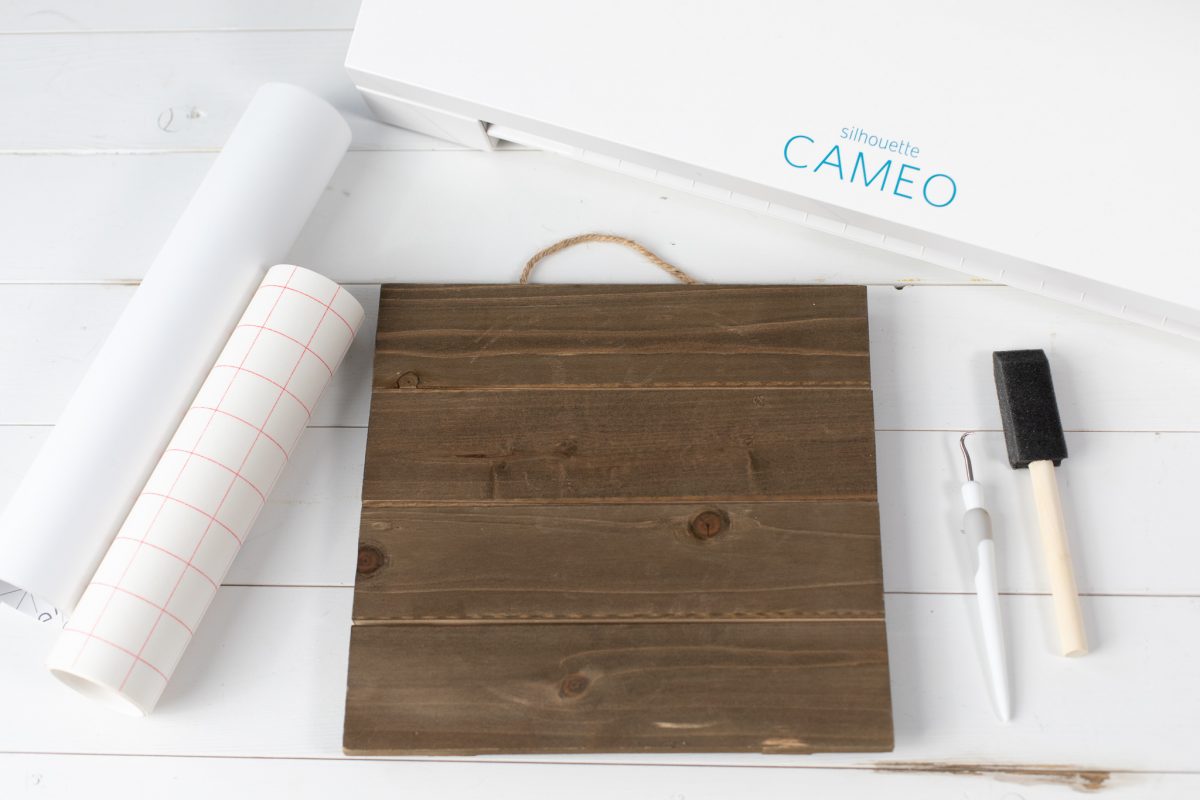
Supplies Needed:
- Silhouette CAMEO® or Silhouette Portrait®
- Silhouette Studio®
- Silhouette Cutting Mat
- Silhouette Cutting Blade
- Silhouette Hook Tool
- Silhouette Stencil Material
- Blank Wood Sign
- White paint
- Sponge Brush
- Design ID #298956
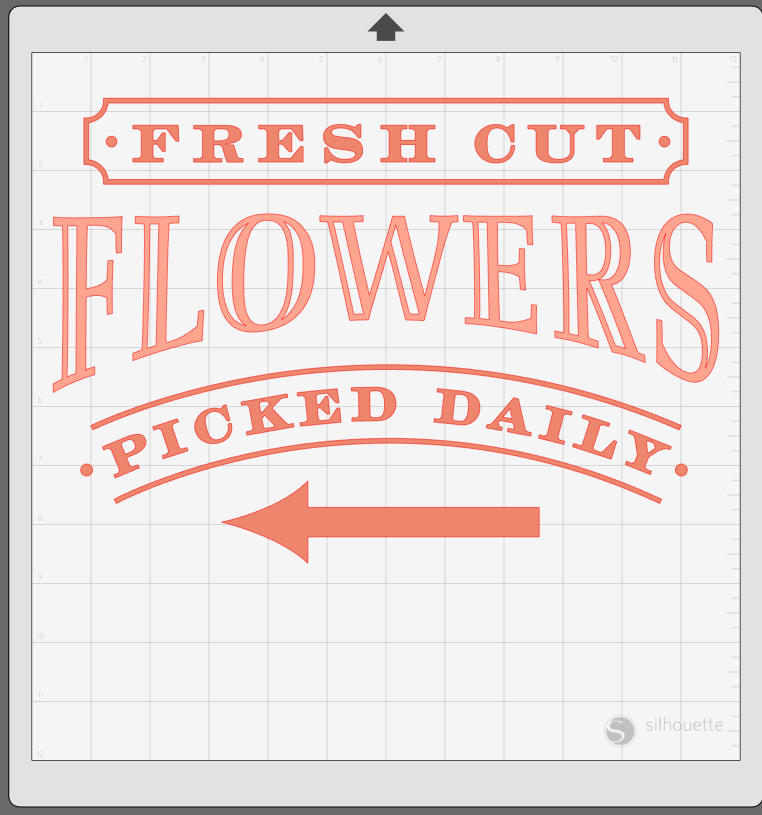
Step One: Prepare Design in Silhouette Studio®
1. Open the design (ID #298956) in Silhouette Studio®.
2. Our sign is 10 inches by 10 inches. We added a square 9-inch-by-9-inch square in Silhouette Studio® to use as a guide and as the outside of the stencil. Then we adjusted the scale of the design to fit within the square.
3. We wanted to stretch the design out a little bit, so we ungrouped each line and stretched it using the scale handles.
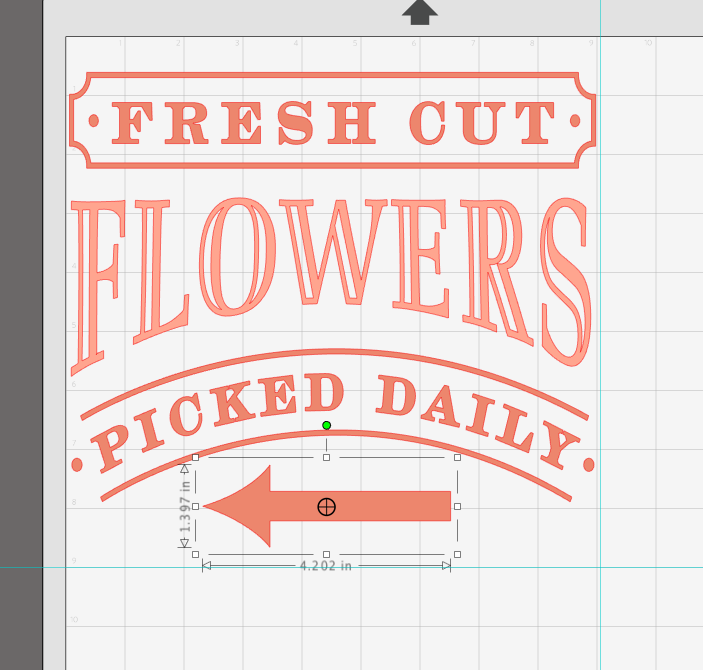
4. When the design is the correct size, send it to your machine to cut with the correct cut settings.
Step Two: Cut, Weed, and Transfer Design
1. Cut the stencil on your Silhouette cutting machine and then weed the design. (Remember that you need to weed the parts that you want to be painted.)
Note: We used vinyl in the pictures below because it is easier to see for the tutorial. If you’re using stencil material, it will be clear.

2. Place transfer tape over the stencil and transfer the stencil onto your sign.
Step Three: Paint and Peel
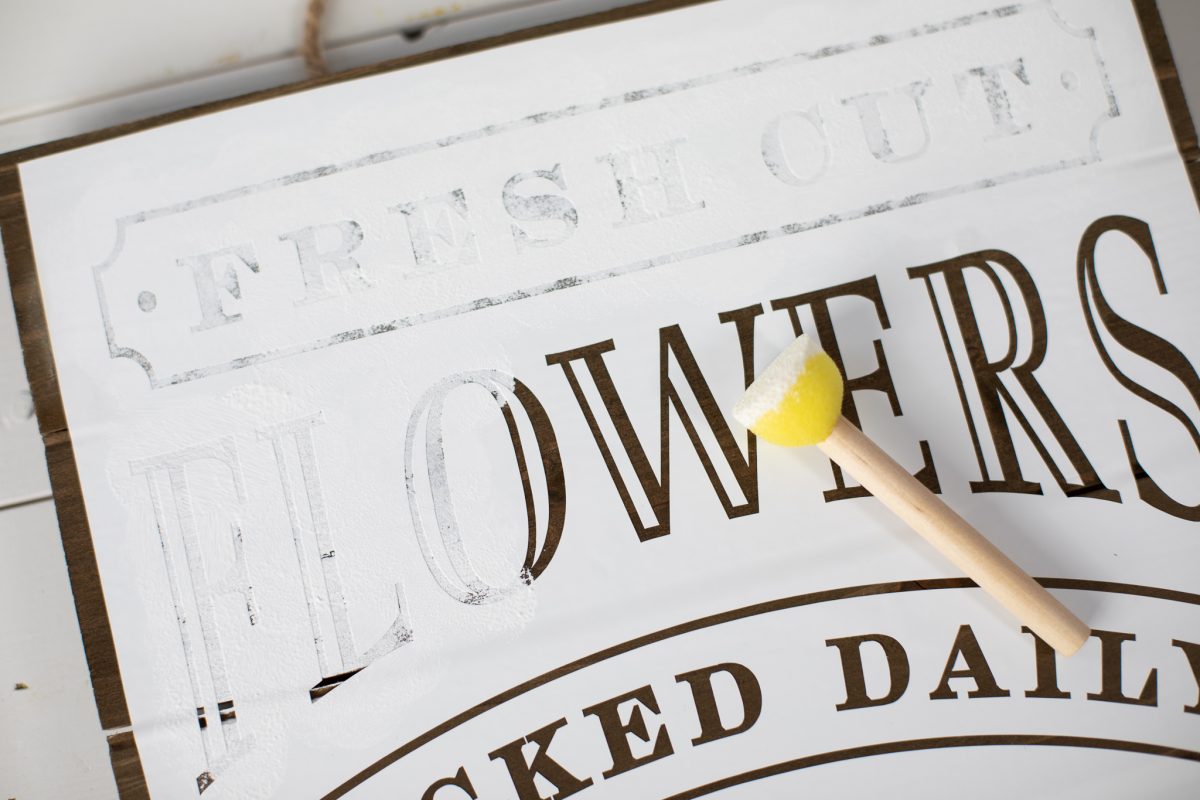
1. Using a sponge brush, dab the brush in paint and blot over the stencil. We wanted a more rustic look, so we like the inconsistency in the paint.
If you want a more solid look, brush over the stencil with multiple layers.
2. Peel away the stencil material after the paint has dried.