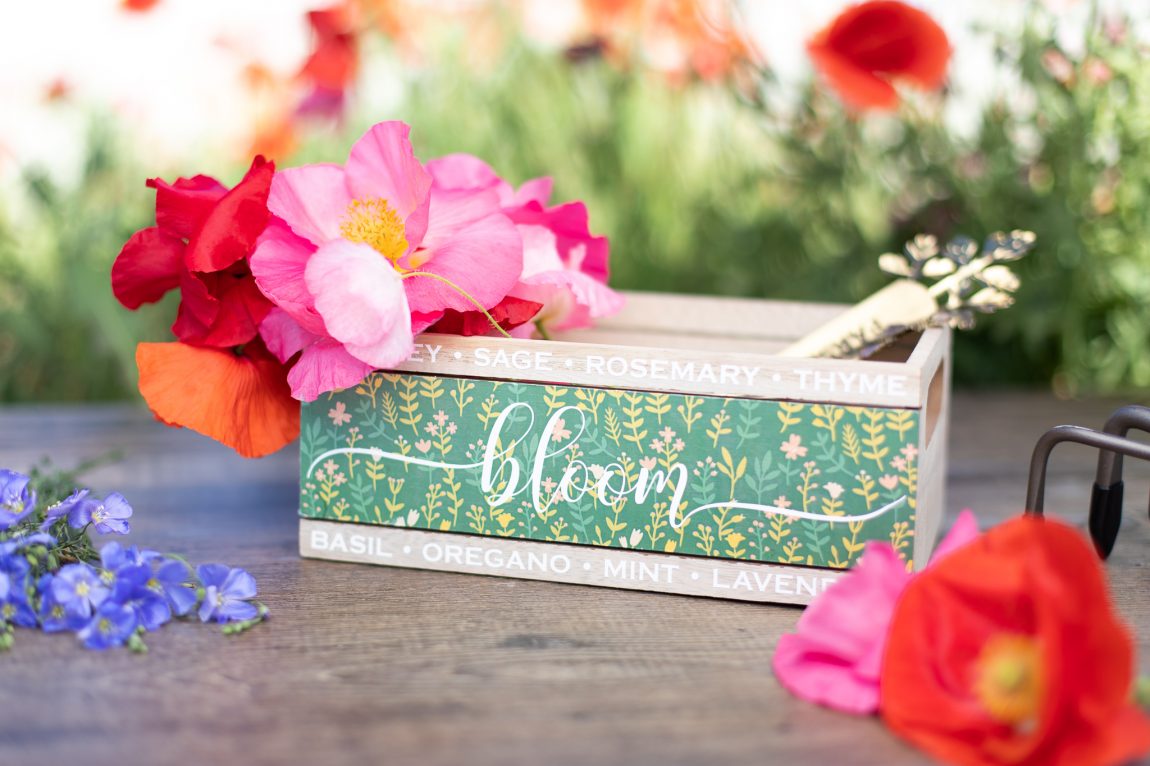
If you can make a temporary tattoo, you can use Silhouette’s Image Transfer sheets. Seriously, it’s like using a temporary tattoo anywhere you want! Today we are going to show you how to use Image Transfer Paper and vinyl to make a custom garden box.
Supplies needed:
- Silhouette CAMEO® or Silhouette Portrait®
- Silhouette Studio®
- Silhouette Cutting Mat
- Silhouette Cutting Blade
- Silhouette Image Transfer Sheet
- Silhouette Vinyl – White
- LaserJet Printer (not an inkjet printer)
- Wood Crate
- Wet paper towel or cloth
- Design ID #295180
- Design ID #284045
Step One: Open the Design in Silhouette Studio®
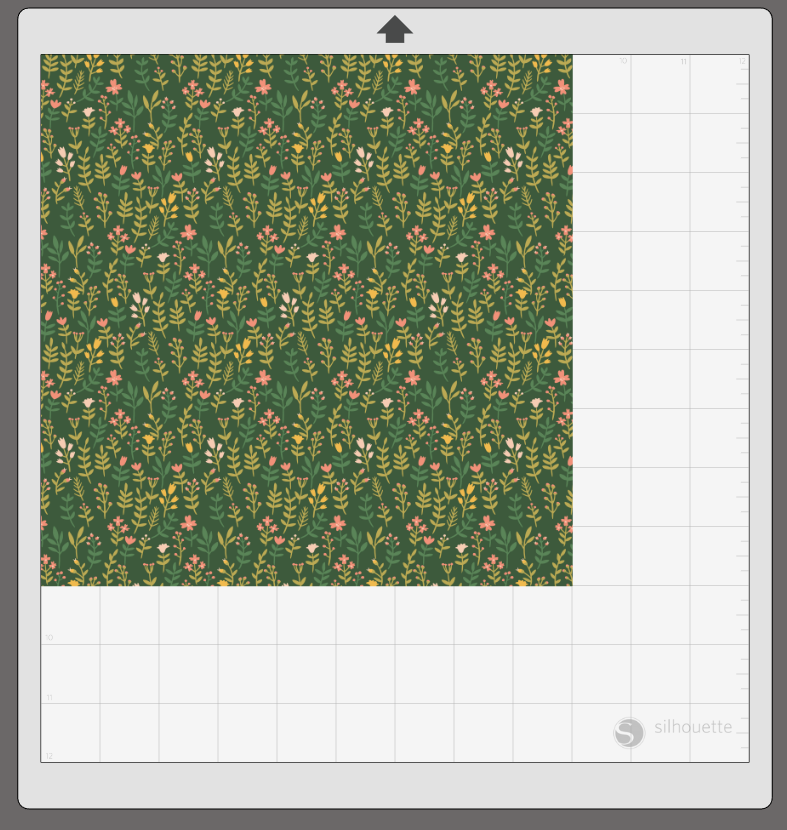
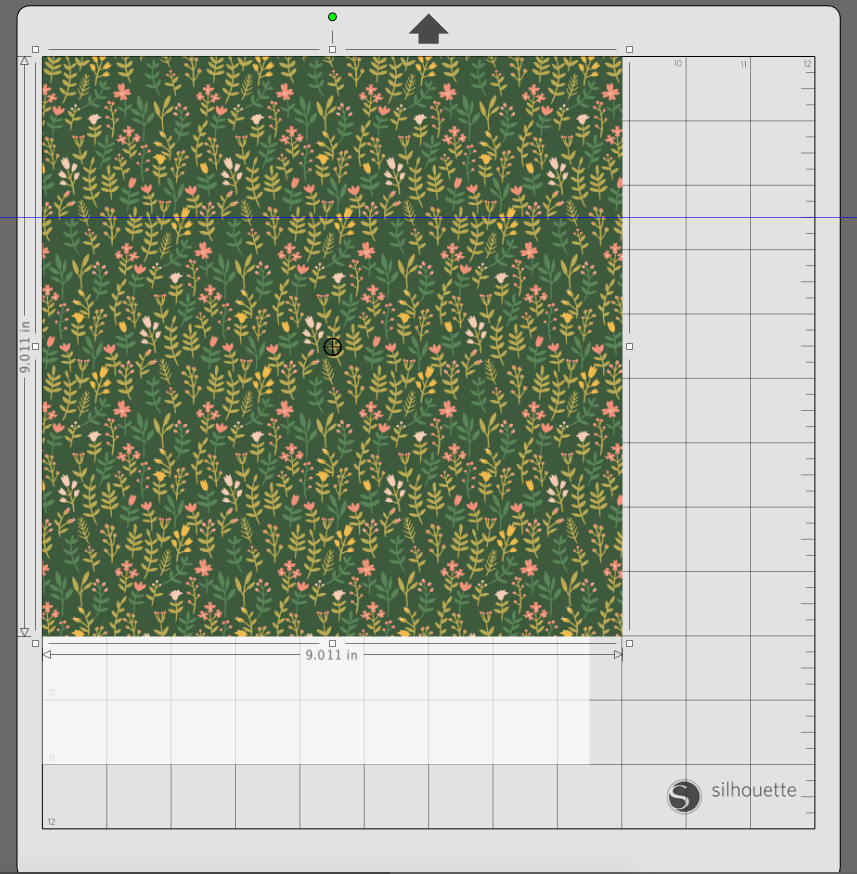
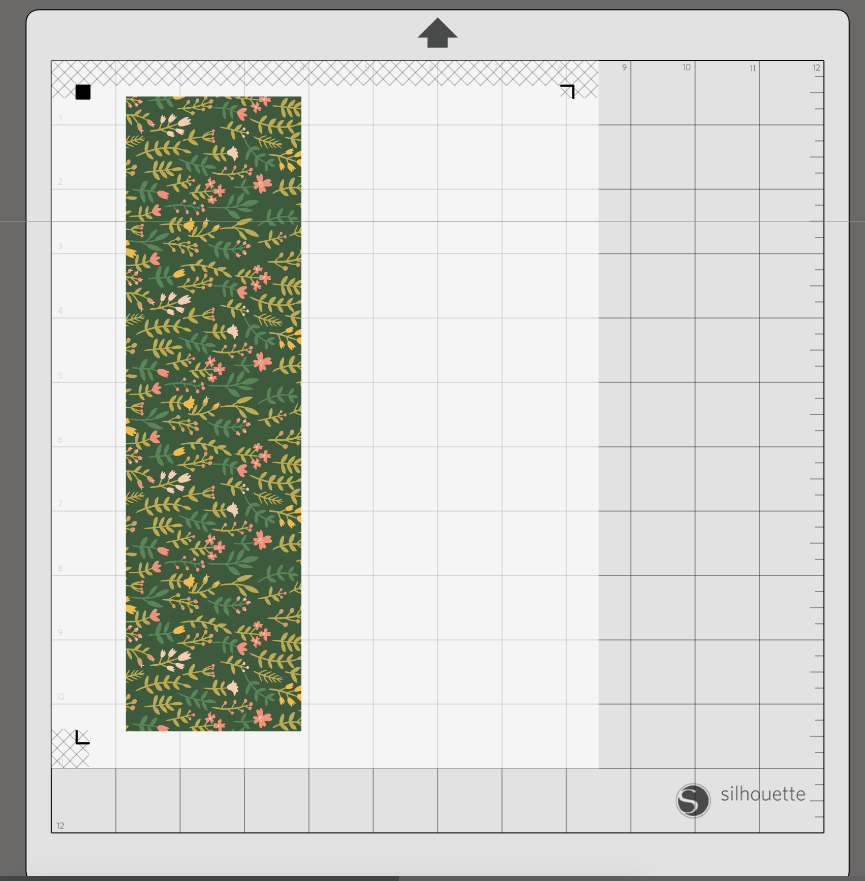
1. Open up the Green Floral Pattern (Design ID #295180) in Silhouette Studio® and enlarge using the scale handles in the corner.
2. Grabbing a guide from the top ruler, snap a line on 2.5 inches.
3. Take the knife tool and slice across the entire design. Delete the excess design.
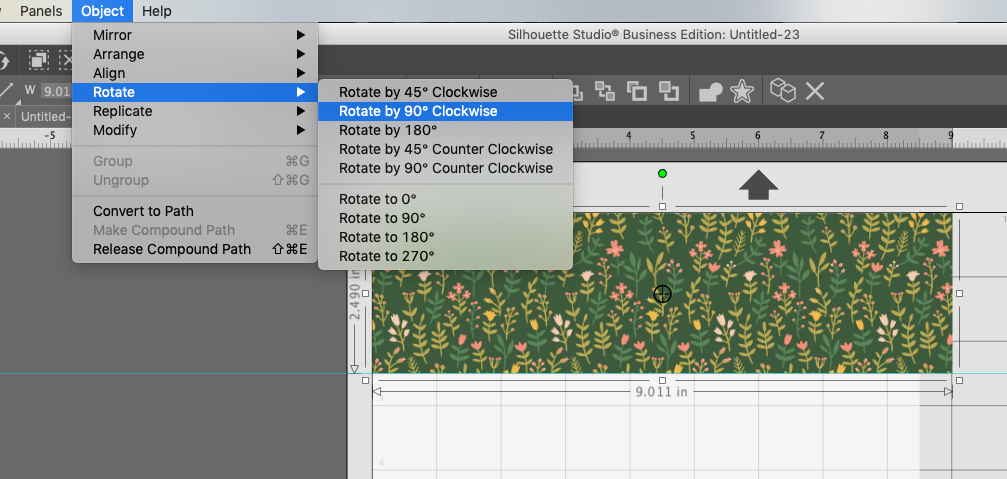
4. Rotate the image 90 degrees clockwise by going to Object > Rotate > 90 degrees.
5. From the Page Setup panel, turn on the Registration Marks.
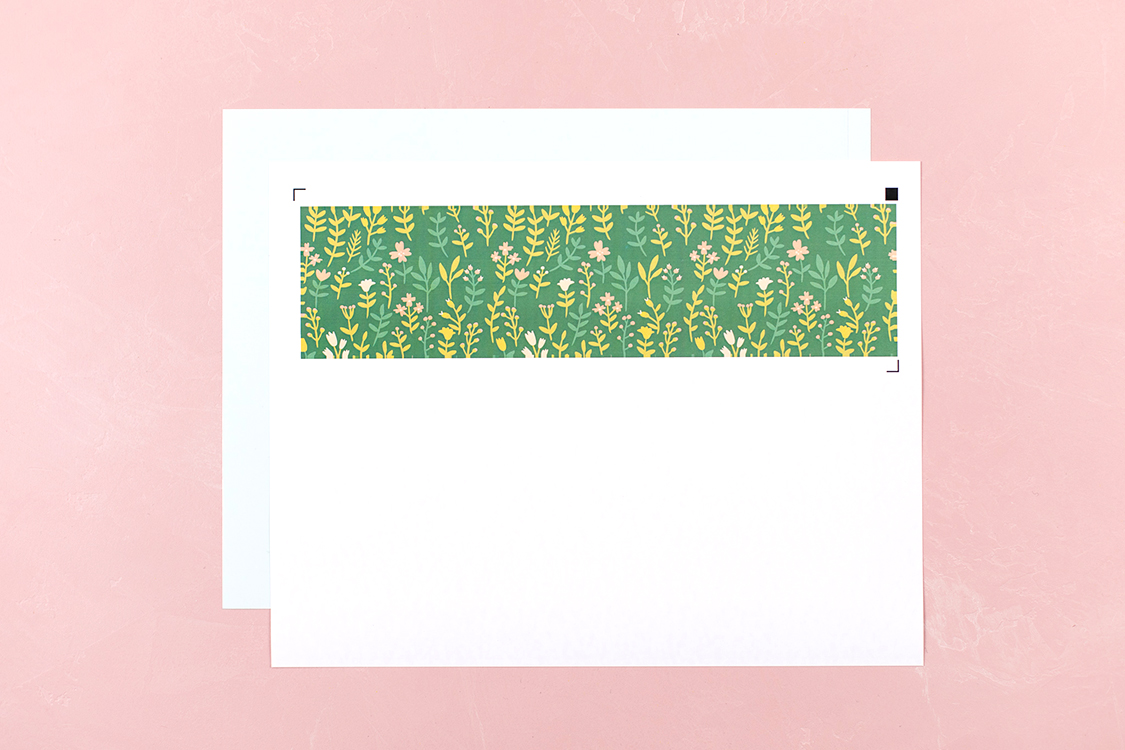
6. Print this design onto an Image Transfer Sheet using a Laserjet printer.
Step Three: Print & Cut
1. When the design is done printing, take the clear plastic sheet and apply it to the design. Smooth out the plastic and apply pressure with scraper tool.
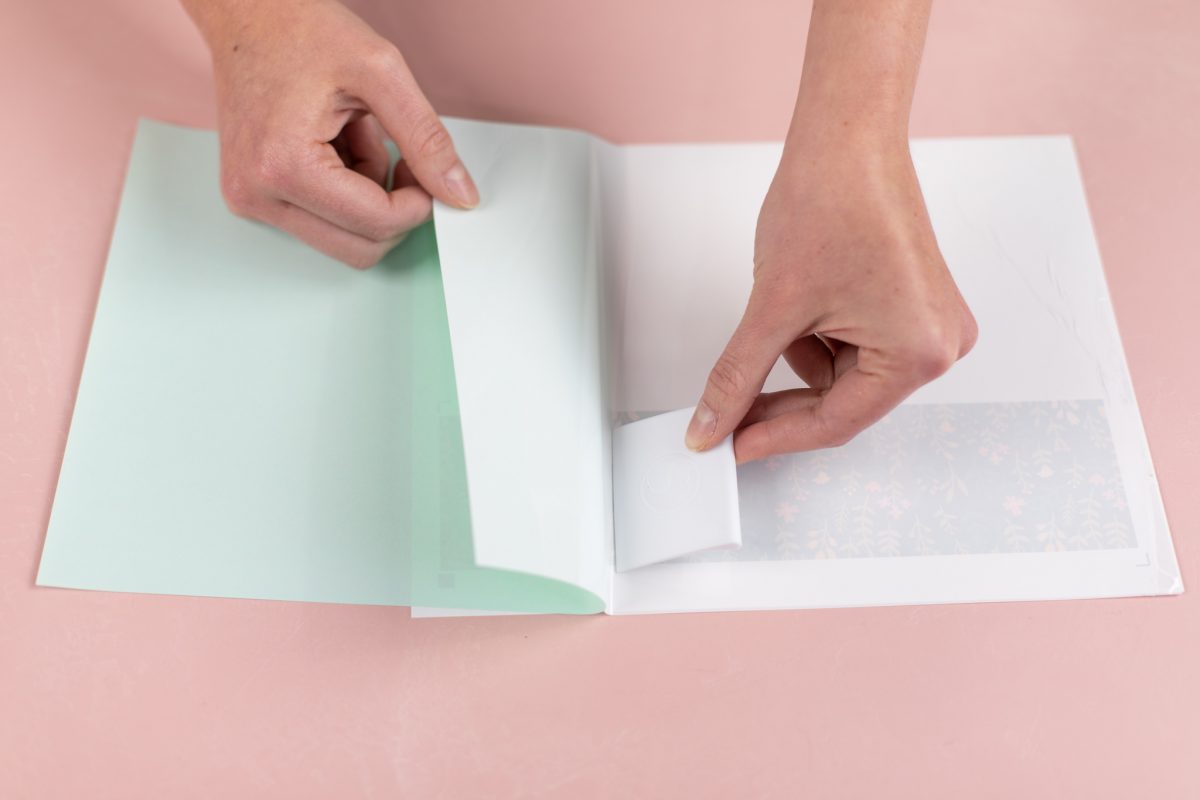
2. Carefully remove the clear plastic back. Making sure not to touch the design as the material is delicate.
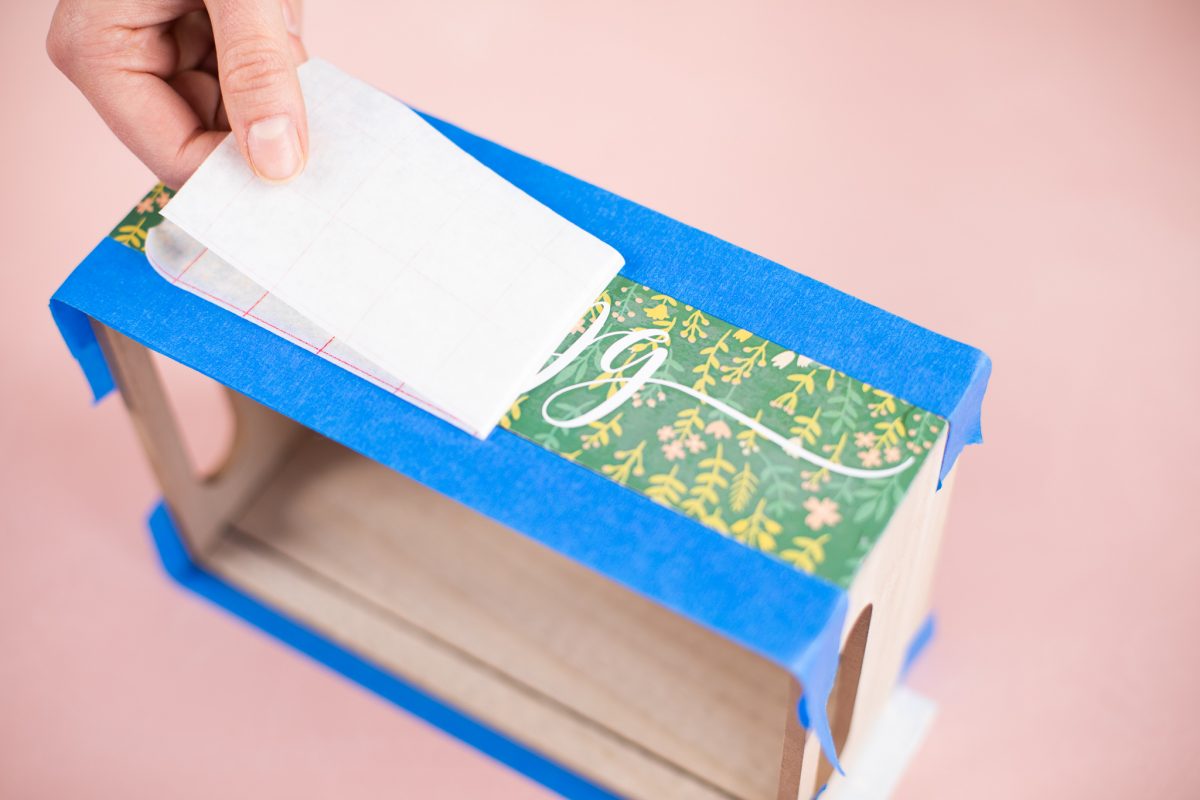
Step Four: Apply the Transfer Sheet
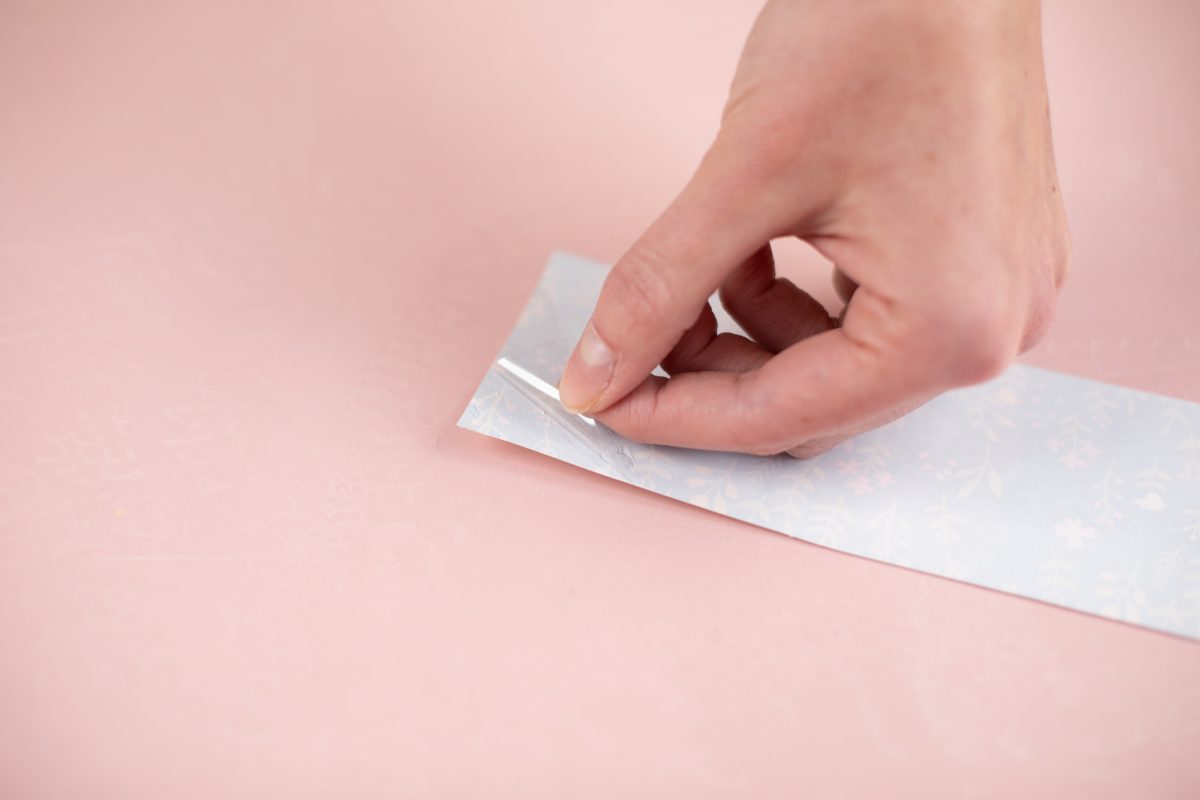
1. Place the design sticky side down onto surface.
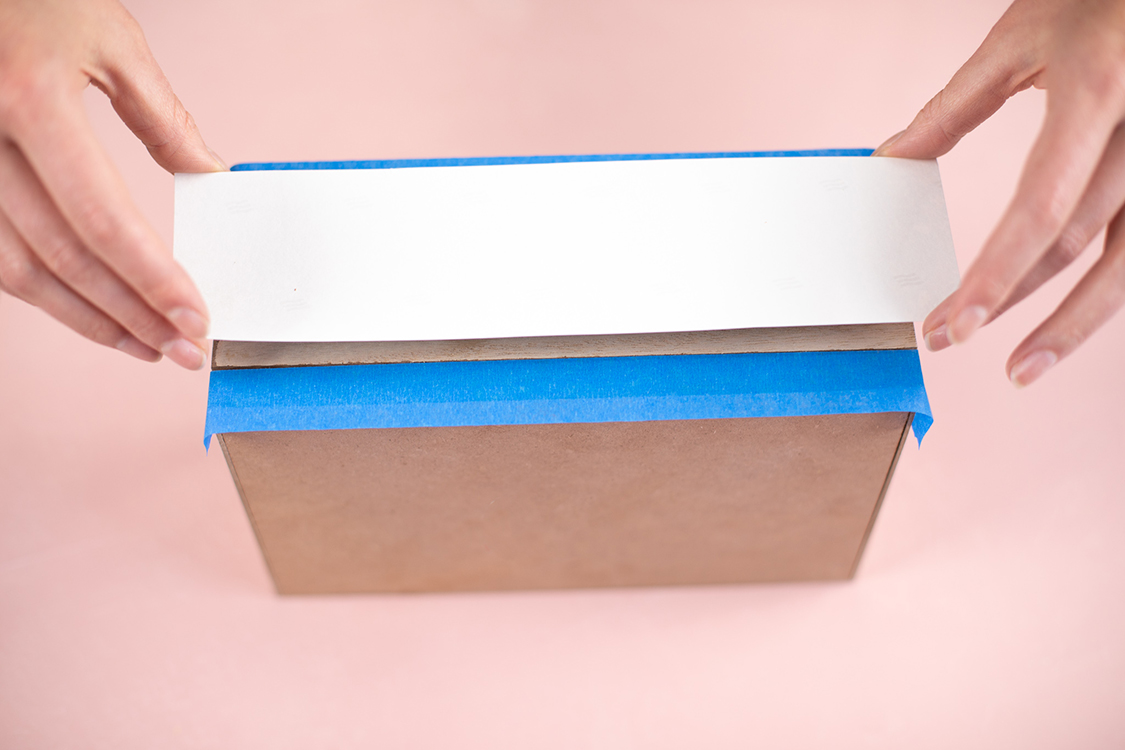
2. Wet the design with a wet cloth.
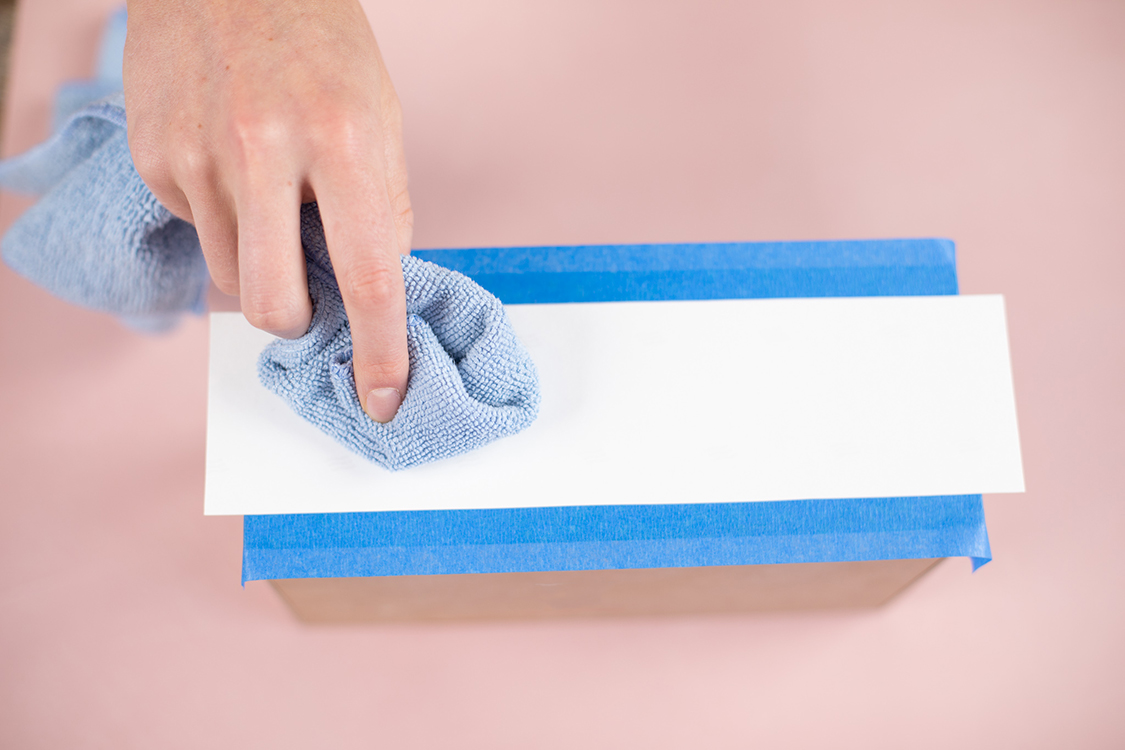
3. When the image is ready, carefully peel away the white paper. If any of the design doesn’t stick, lay down the white paper and rewet it.
Step Five: Create Vinyl Designs
1. Back in Silhouette Studio® we are going to open up the Font Tool and Font Style window. We used the font Copperplate Gothic Bold and typed out our herbs.
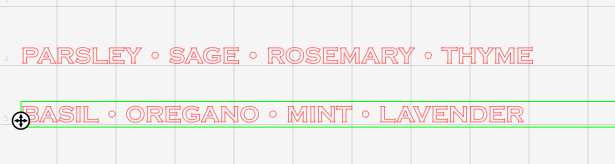
2. Scale them to size using the size handles in the corner of the text box.
3. For the “bloom” text, we are going to add some glyphs to the first and last letters. (Note: The glyphs feature is available only in Silhouette Studio® Designer Edition and higher.)
4. For this word we used the Leisha Font (Design ID #284045) found in the Silhouette Design Store.
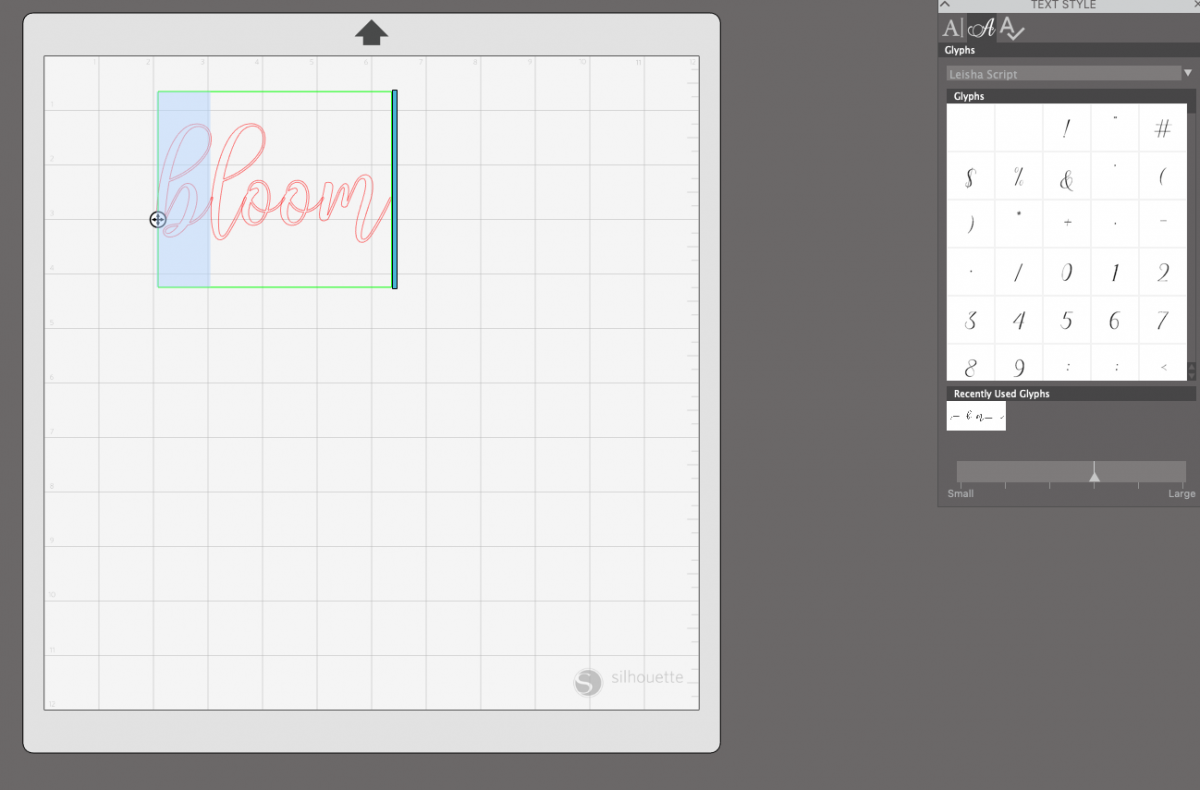
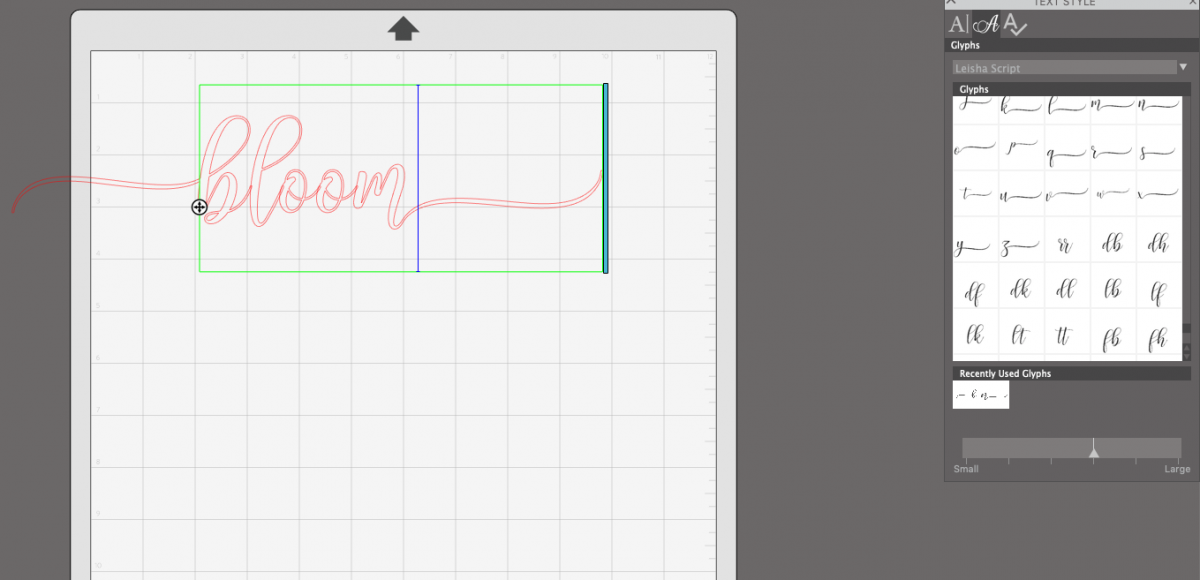
6. Type in the word “bloom” and then select the “b.” Now go to your text style box and select the Glyph tab at the top. Scroll down until you see the “b” with the embellishments in the front.
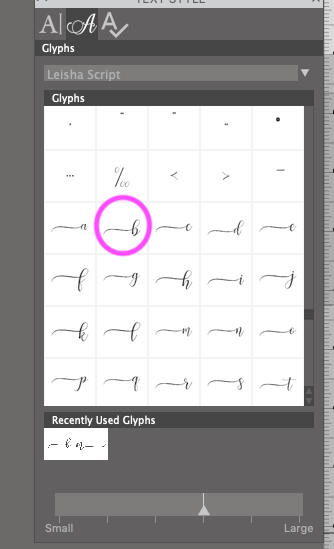
7. Next highlight the “m” and go back to the glyph menu and scroll until you find the “m” with an embellishment on the end.
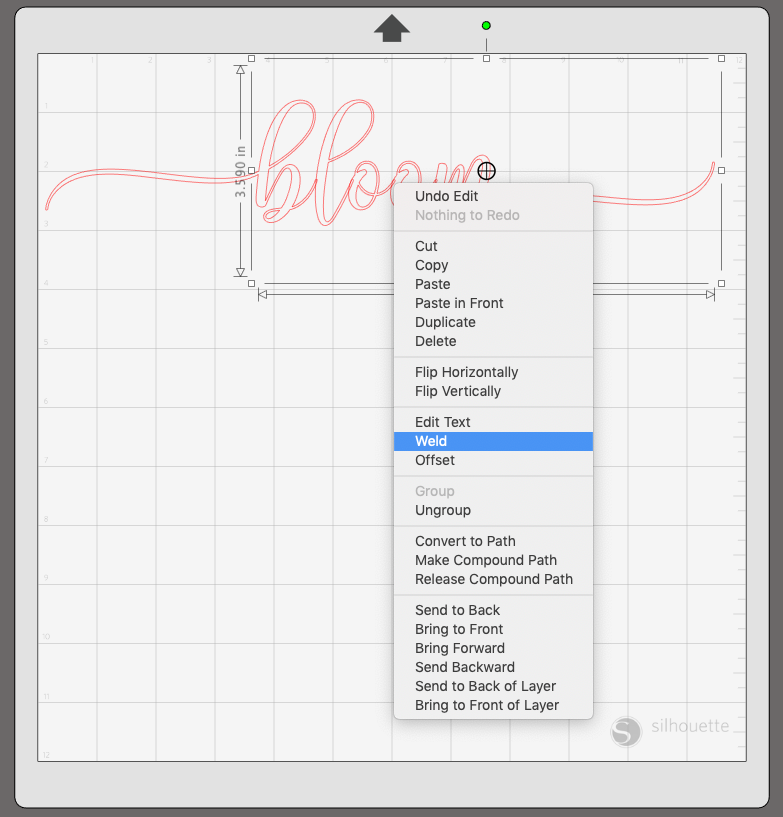
8. Select the word, right-click, and choose Weld from the drop-down menu. This will make the design a single group as opposed to individual letters.
9. Send to your machine using the matte vinyl cut settings.
Step Six: Apply Vinyl
1. When the vinyl is finished cutting, weed away the excess vinyl and apply transfer tape to the image.
2. Remove the transfer tape from the vinyl backing and place the vinyl on top of the Image Transfer design on your crate.
3. Remove the transfer tape.
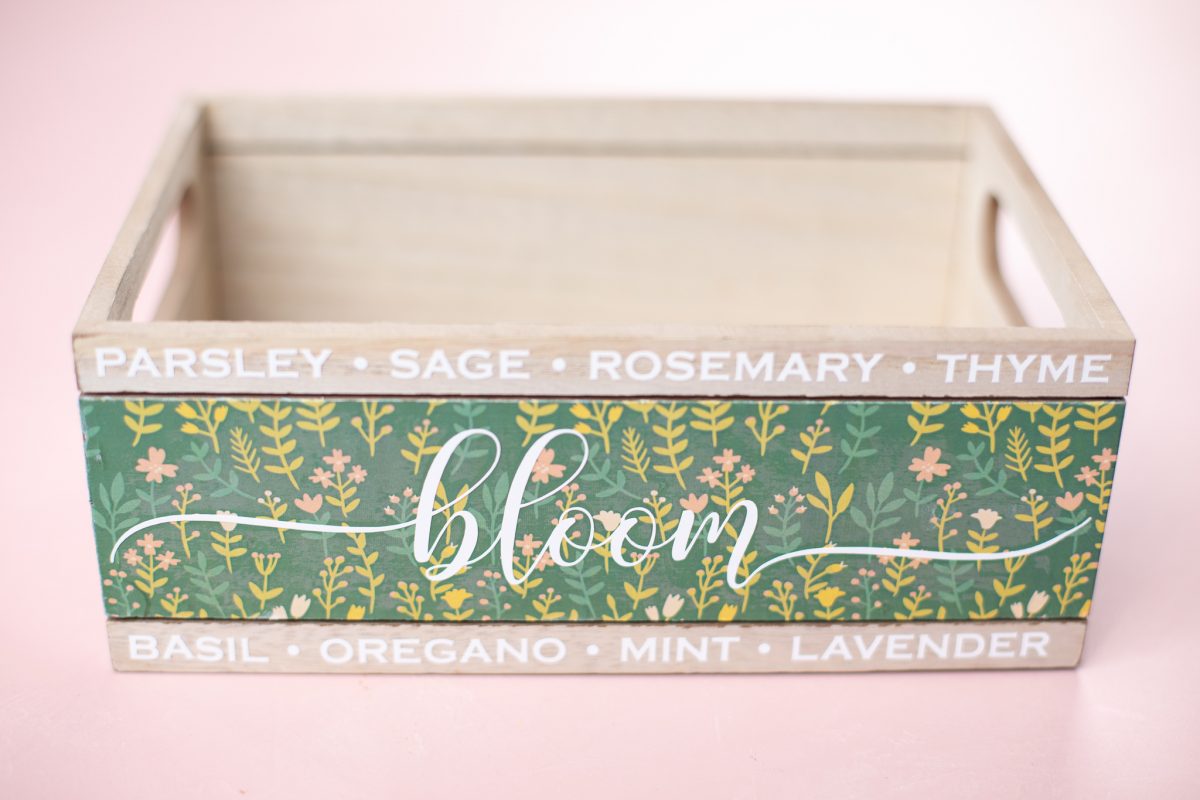
Image transfer has so many fun possibilities! Where have you used image transfer?