
Hey guys, I am so excited about this post because I got to try something new, something cool, something completely outside my crafting box. That something is the new Silhouette ModelMaker™ software.
Eek! Can you believe it? You can finally design your own 3D model. Now, I just want to remind you that I am not an expert on this software (yet). But I do want to tell you what I have liked about it so far and show you the cute spring geometric garland I made for my home using ModelMaker.
My fellow design team member Kelly Wayment really gives you an in depth beginner’s guide into the software on her post Take A Look At Silhouette ModelMaker. So if you have the software I recommend you checking out her post. However, if you don’t have the software and just want a quick overview, then by all means, sit back, relax, and continue reading.
Multiple Shapes
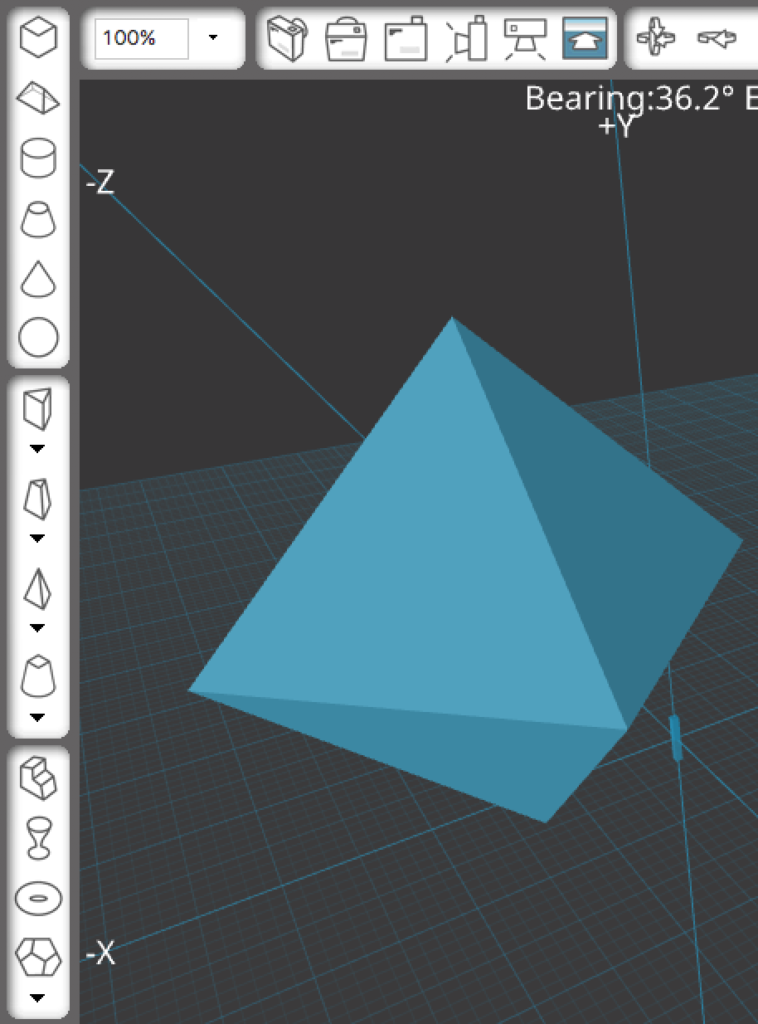
As you can see on the left side tool bar you are already provided with an array of pre-designed shapes. This gives you an easy starting point. Once you have chosen your shape–whether it’s a square, triangle, or even a donut–you have the tools to customize the hight, width, and angle (if the shape allows).
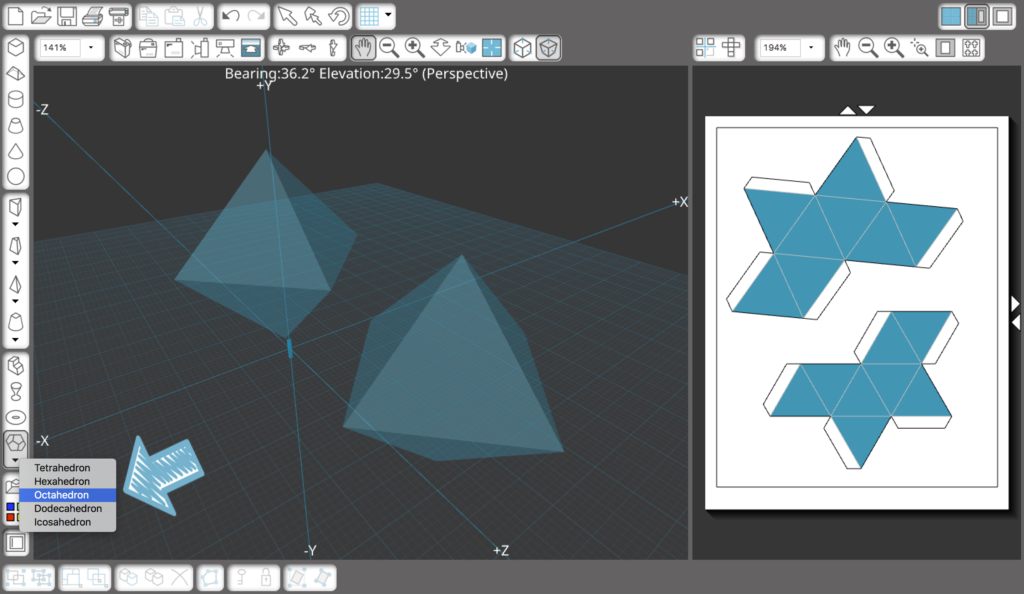
For my mini project I just used Platonic Solid > Octahedron. They are each a different size and perfectly fits on one page which is what I wanted so that I didn’t have to waste a lot of paper.
Multiple Views
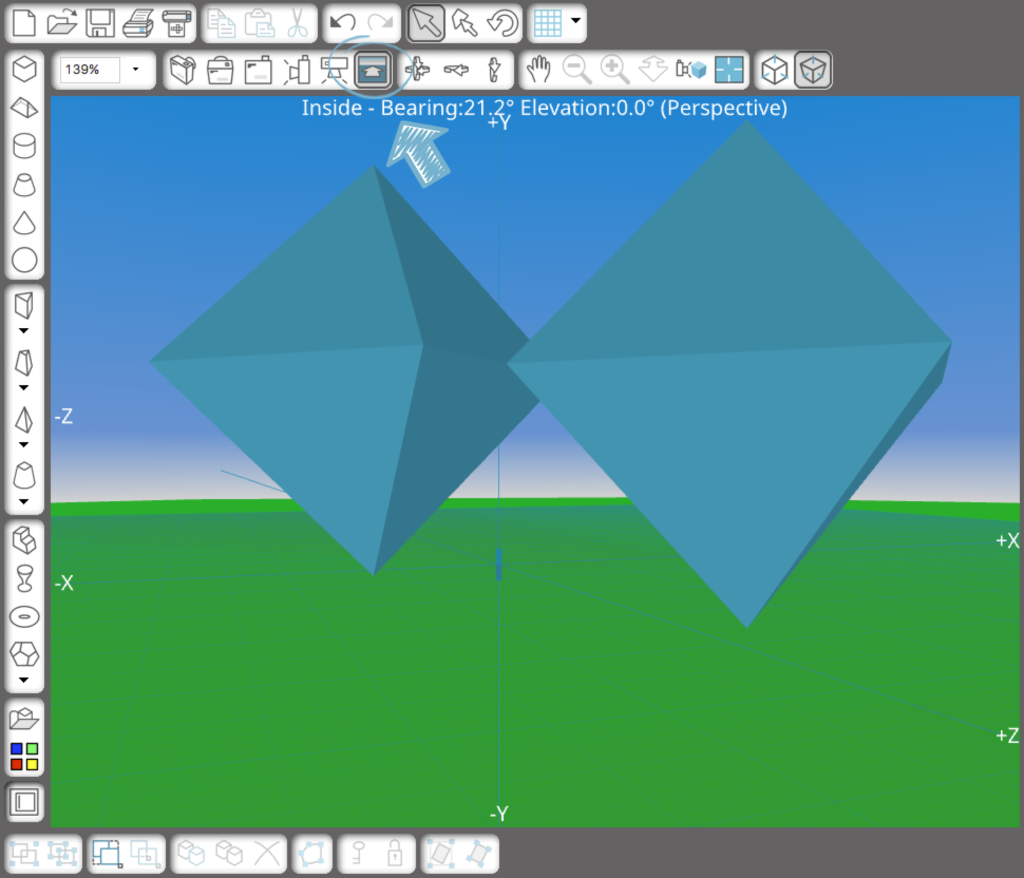
I took a shot of this view because it’s one of my favorites to use and it is called a “Go In” view. You get that “Honey, I Shrank the Kids” moment and you actually are able to walk around the shape for some up close inspections just by using the arrow keys on your keyboard. Pretty neat, right?
However, you also have tools to view your shape from the sides, top, and bottom by clicking on the icons that look like a camera.
I can honestly tell you I’m loving playing around with Silhouette ModelMaker™ so far. I’m sure I will learn something new every time I open up this software and I’ll definitely be sharing any tips and how-tos with all of you.
As promised, here is my mini Spring geometric garland that I made with ModelMaker.
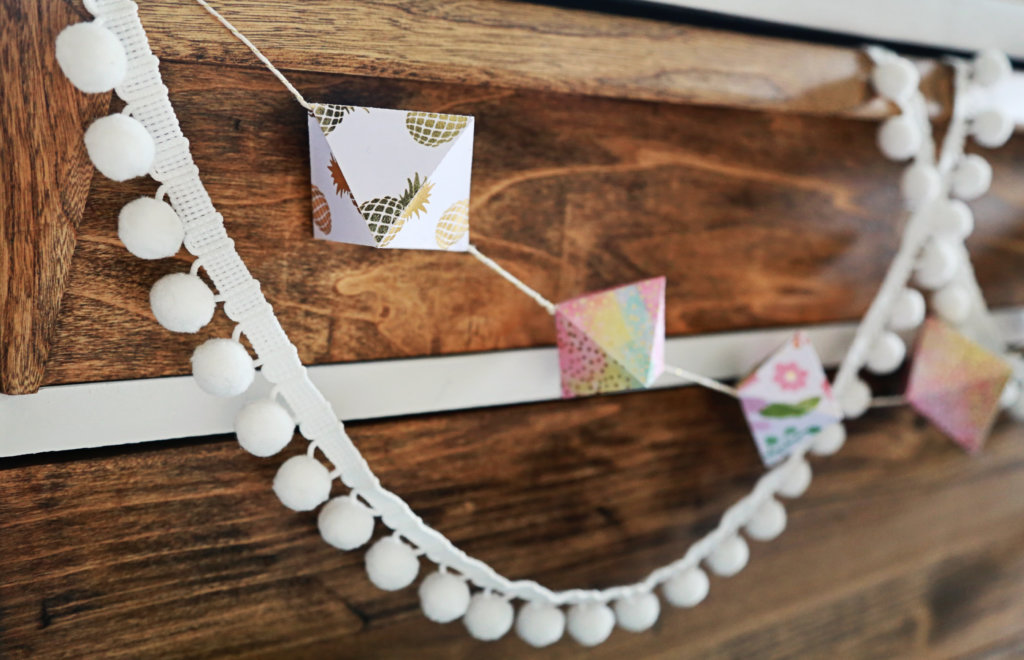
I don’t know about you but spring time means pineapples in my book.

Till next month, wonderful crafters! Remember when you learn more, you create more. Don’t be afraid to try something new and get out of your comfort zone…once in a while.
Nasze Naturalne
September 3, 2025
Your authentic voice really shines through in everything you create and share
Naszenaturalne
September 2, 2025
Really love your style
Kelly Wayment
June 28, 2024
You can use it with vinyl as long as it is smooth and flat to allow the static charge to hold on to it. Rolled vinyl that wants to go back to its rolled shape will not necessarily work well, and it would need to be trimmed to fit the ES mat cutting area.
Kelly Wayment
June 28, 2024
Yes, you can use the heat pen while using the ES mat. 🙂
Yurii
March 2, 2024
Hello. May it be used with heat pen?
Thanks
Jerome
February 24, 2024
Hi, works this with the normal vinyl foils or only with printer papter etc?