
Are you looking for an alternative to paper tags? Look no further. Today we’re going to show you how you can make a 3D gift tag using the Silhouette Alta®. Keep reading to find out how you can make your own!
Supplies Needed:
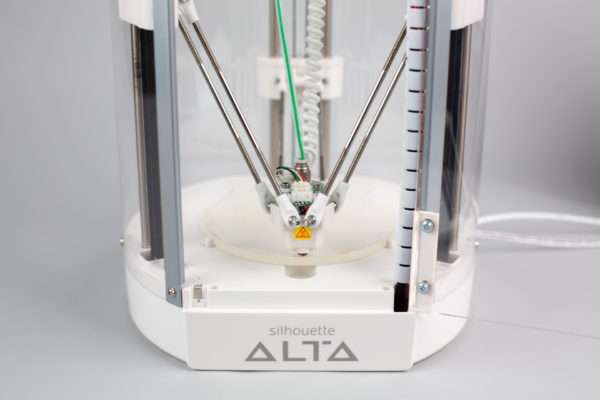
- Silhouette Alta®
- Silhouette 3D™
- Alta Platform
- Alta Platform Tape
- Alta Filament – green
- Abrasive Sanding Sheet
- Metallic Acrylic Paint
- Design ID #282053
Step One: Preparing the Design
1. Open the Basic Christmas Tree design (Design ID #282053) by locating it in your Silhouette Studio® library. Type the name of the person using the Text tool, which is located on the tool panel on left side of your screen. Place the name on the Christmas tree base. 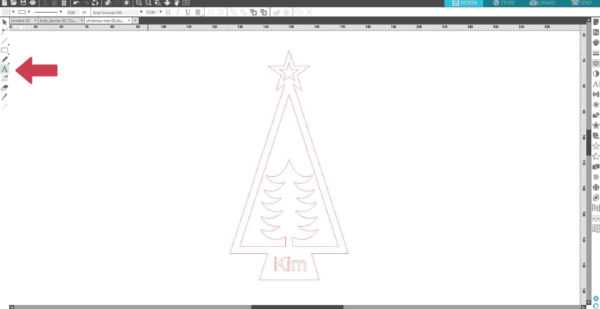
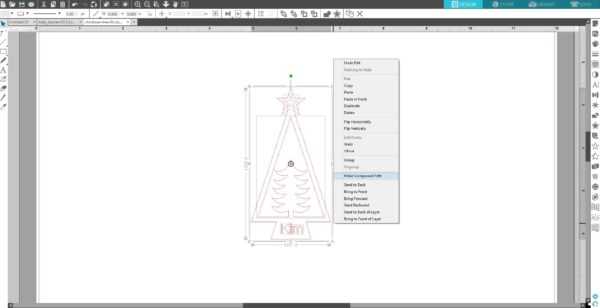
2. Next, select all the designs, right-click, and select “Make Compound Path.” Resize the design and save the design file on your computer.
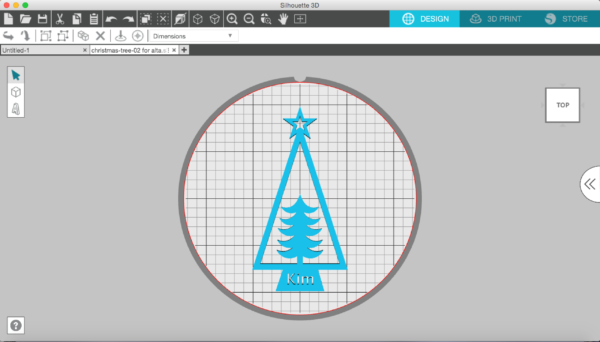
3. Open the saved Christmas tree Silhouette Studio® file in Silhouette 3D™ by locating it on your computer. Choose the Extrusion import option.
Step Two: Printing the Design
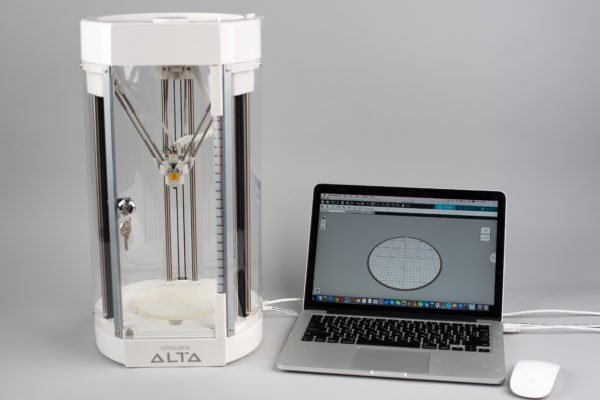
1. Connect the Silhouette Alta® to the power supply. Then connect the Alta to your computer with the included USB cable. Turn the machine on by pressing the power button.
2. Apply platform tape on the platform and place the platform under the print nozzle with the tape side facing up. Make sure the notch of the platform lines up with the notch at the bottom of the machine.

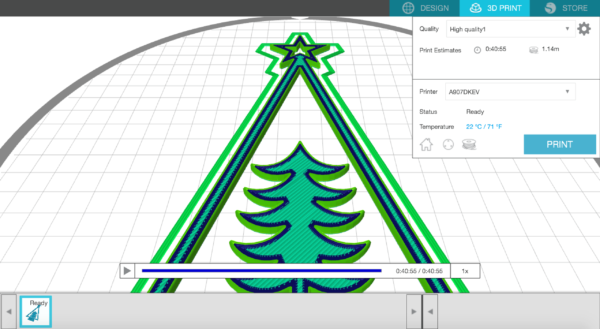
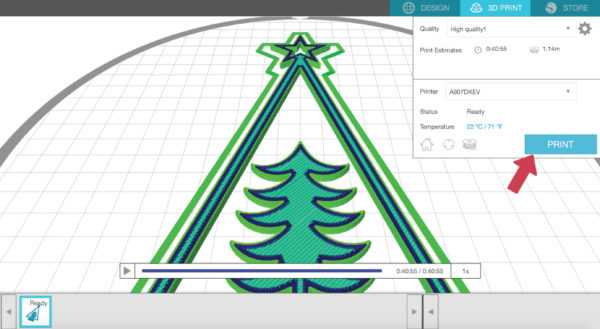
3. Go to the 3D Print tab, and for your Print Quality, chose “High Quality.” In this tab, you also can see the status of the Silhouette Alta® as well as the estimate of the filament length in meters needed to print your object and an estimate of the total printing time.
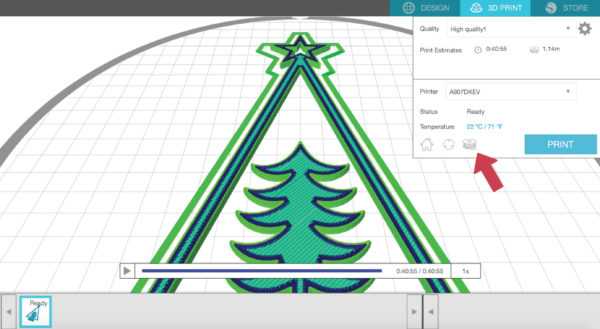
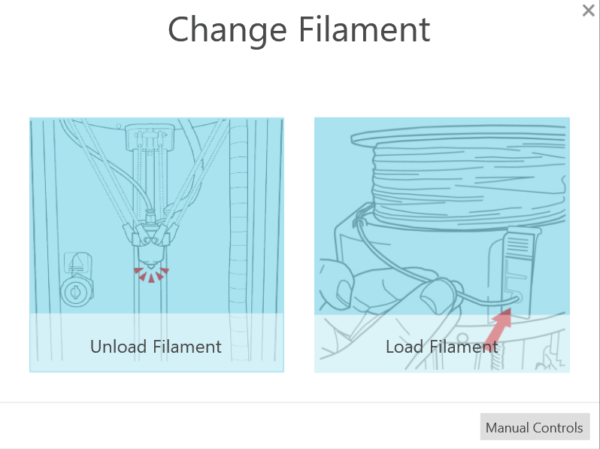
4. Load the filament in your Alta 3D printer. In Silhouette 3D™, click on the Filament button.
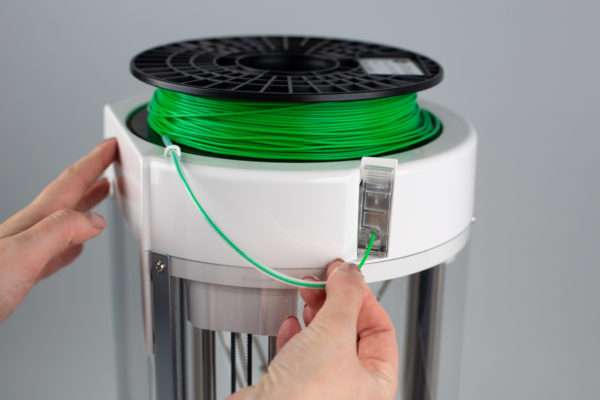
Go through the following steps to load your filament properly: place your filament roll on top of your machine, feed the filament through the eye and then the filament tube, insert the filament through the opening in the filament loading lever using light pressure until you feel it stop as it comes to the motor gear.
Keep hold of the filament and click “Load” in Silhouette 3D™. Continue applying light pressure as you push the filament farther into the hole.
Once the gear grabs the filament, release your hold of the filament. The Alta will continue to feed the filament through the machine.
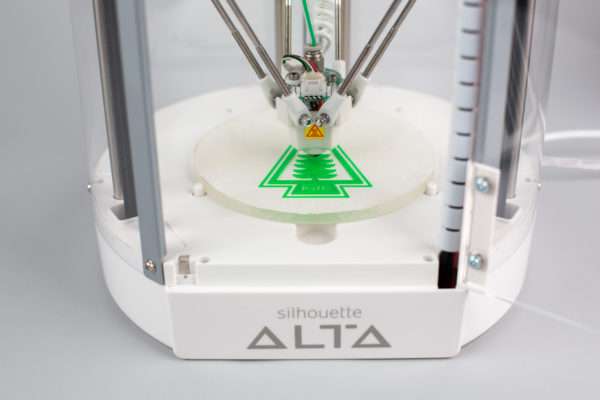
6. When you’re ready to start your 3D print, click Print.
When the machine has heated the filament to the indicated temperature set in the print settings, the machine will begin to print the design.
After your machine is done printing the design, give the design a few minutes to cool.
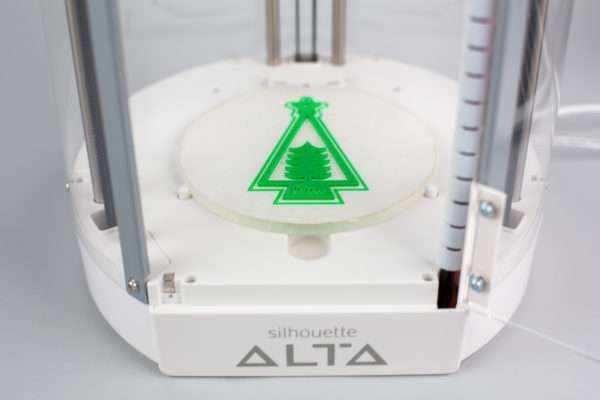
7. Then gently remove the design from the platform. Begin to break away the first layer to reveal your printed design.
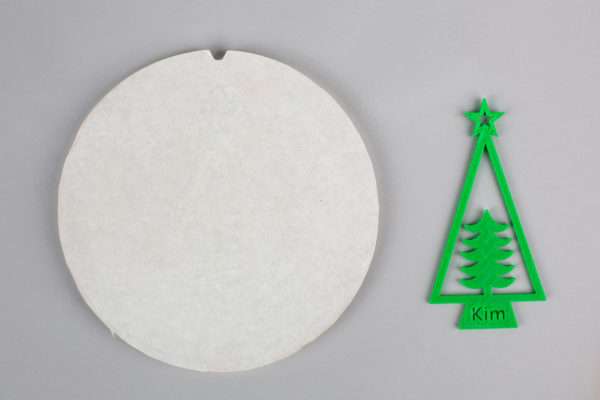
Step Three: Painting the Tag
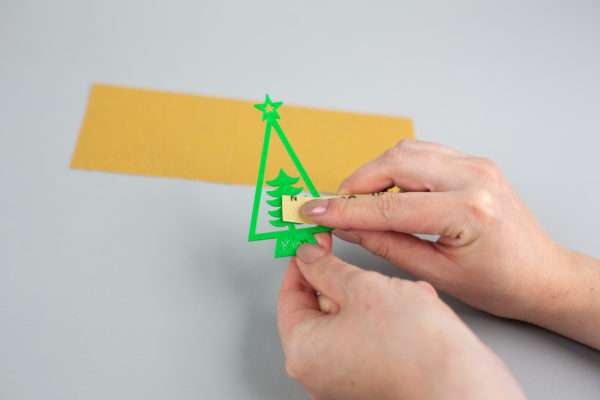
1. Sand the tag using a sanding sheet to make the surface of the 3D print more smooth.
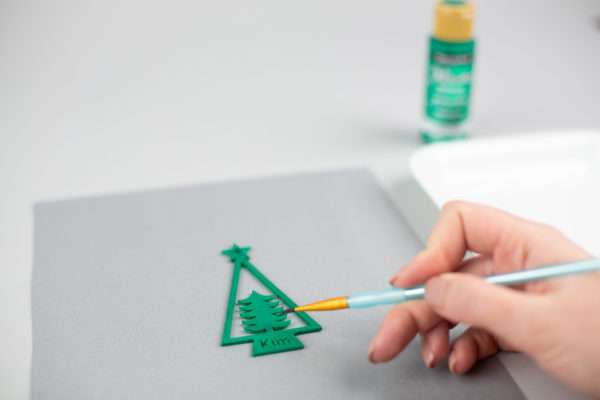
2. Paint the tag with green metallic acrylic paint.
3. Let the paint dry and our tag is ready!
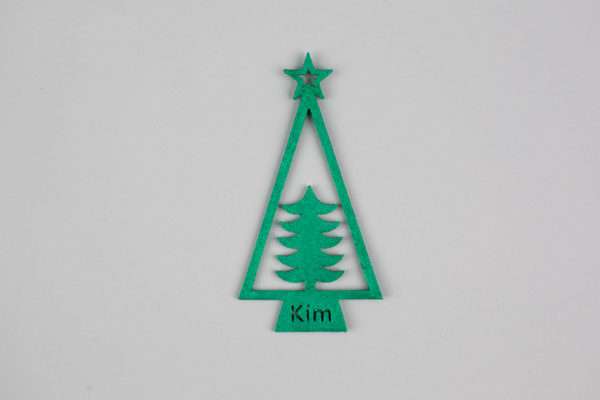
That’s all there is to it. These tags are great because they are so easy to customize. Play around with your fo