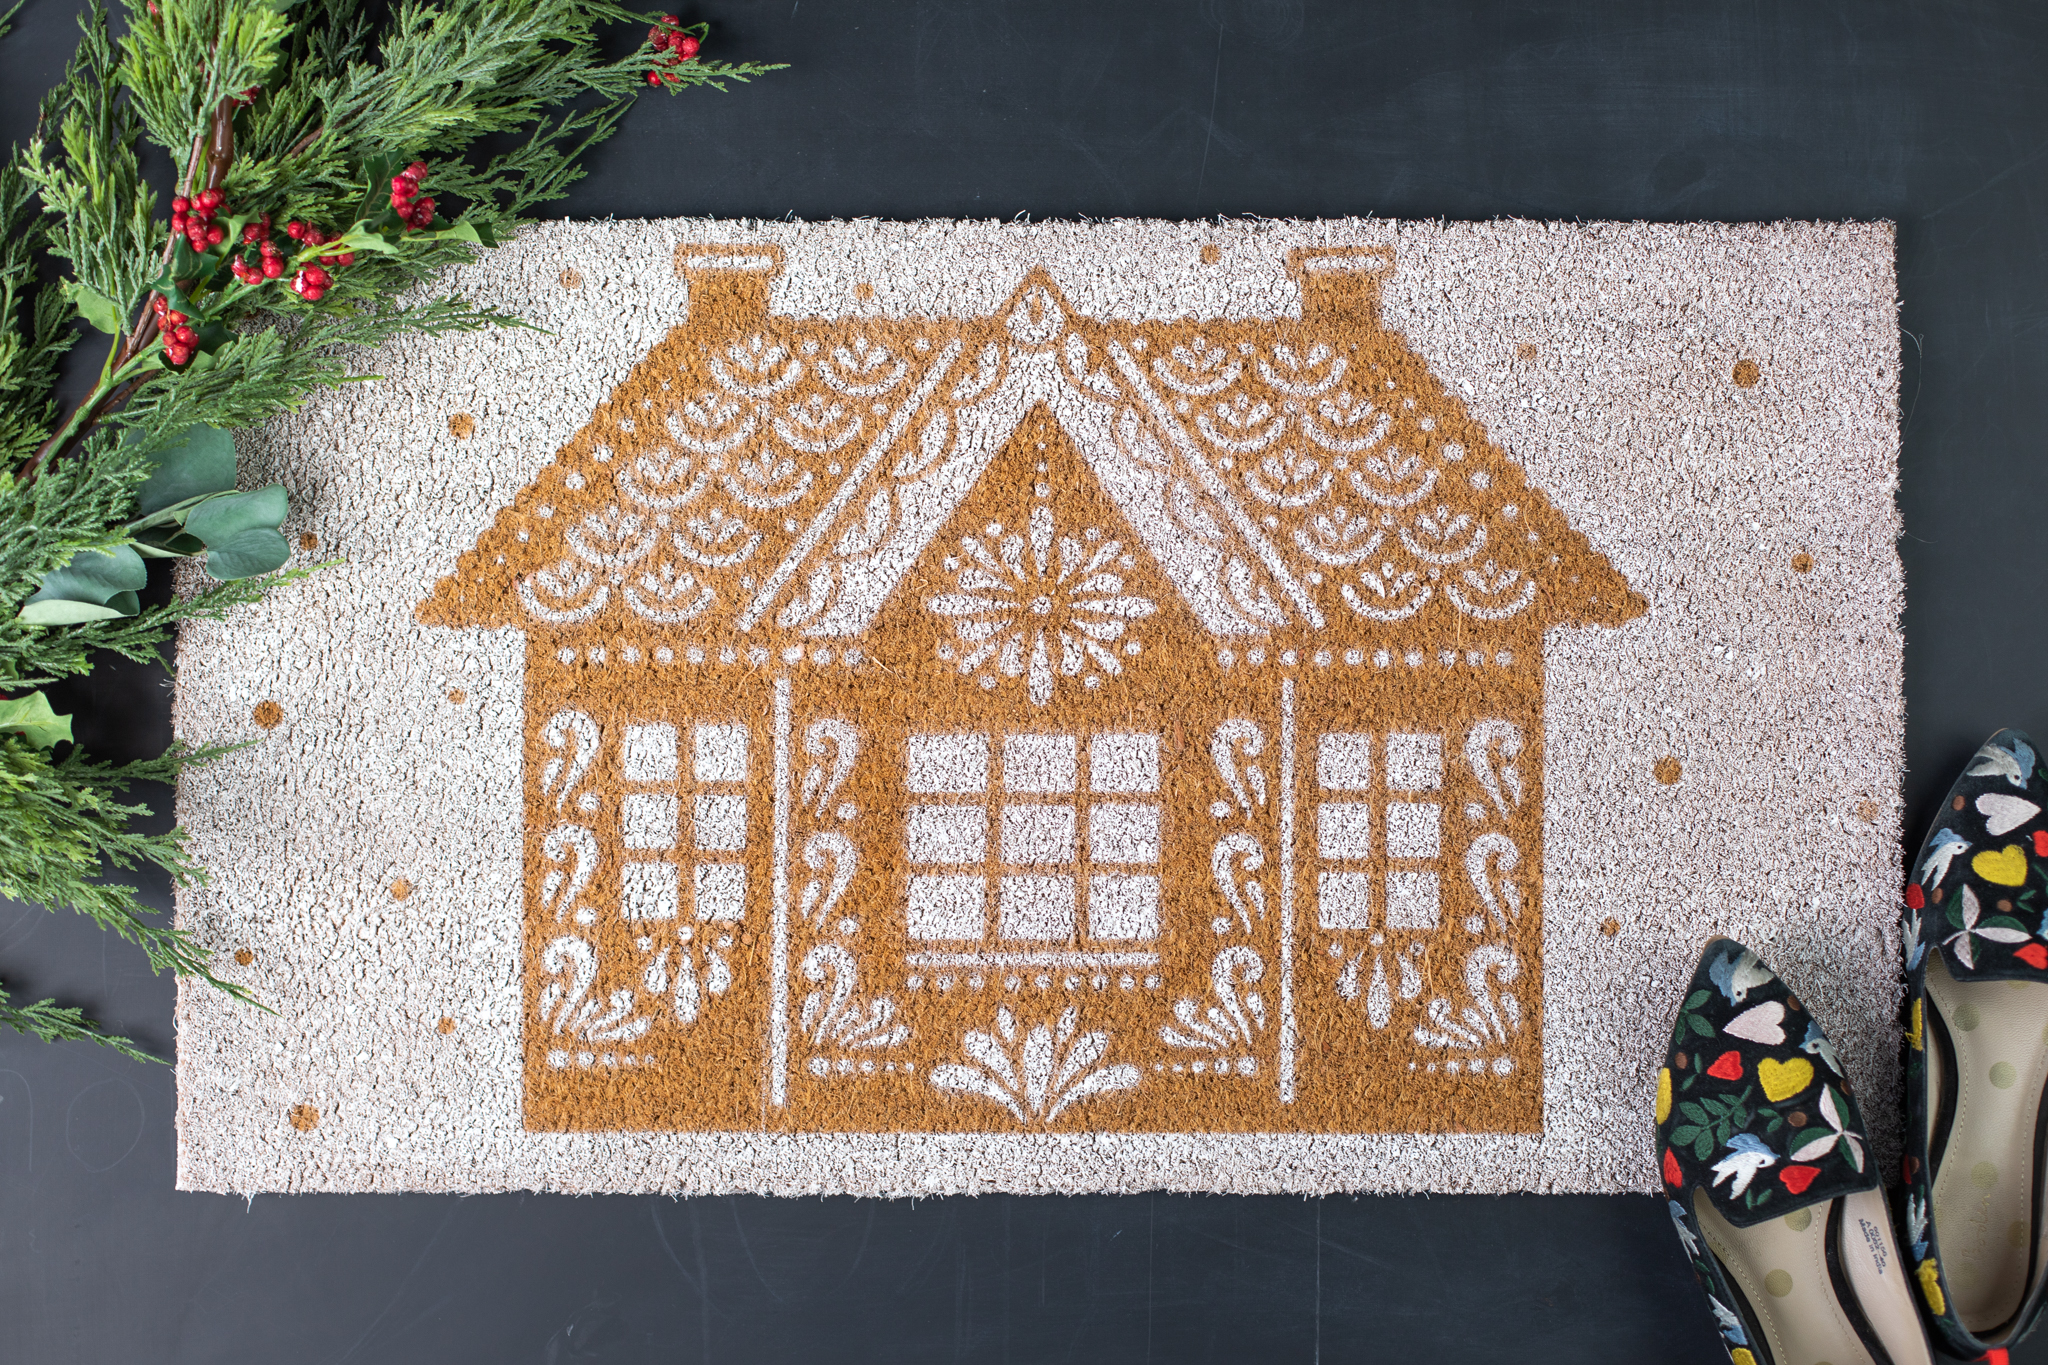
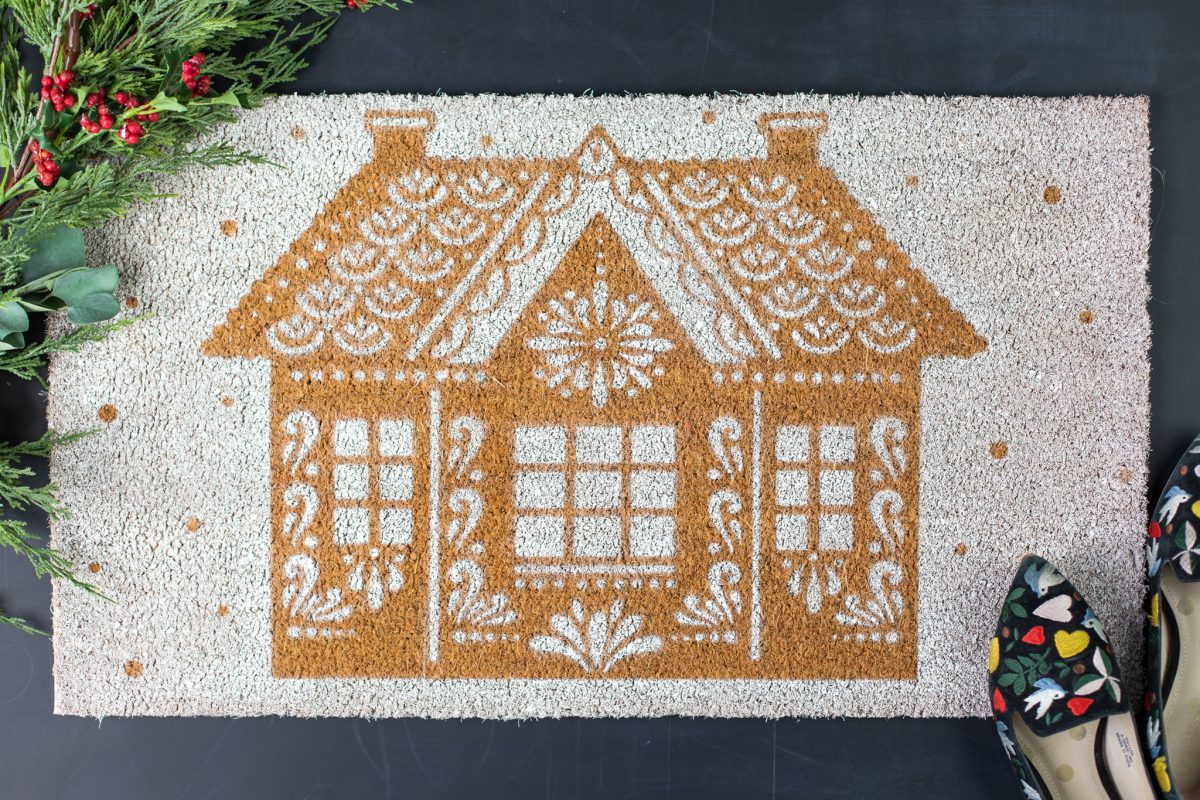
What better way to welcome guests into your home for the holidays than with a Gingerbread House Doormat?! For this project we’re using cardstock as a stencil and the tiling feature in Silhouette Studio Business Edition, which allows you to create large scale projects. Since a standard doormat typically measures around 18 inches by 30 inches, this is a perfect project to utilize the tiling feature!
Supplies Needed:
- Silhouette Cameo® or Silhouette Portrait®
- Silhouette Studio®
- Silhouette Cutting Mat, not necessary if you use the roll-feeder
- Silhouette Cutting Blade
- 6 sheets of 12 by 12-inch Cardstock
- Spray Adhesive
- Tape, optional but helpful
- Outdoor Spray Paint
- Rug
- Design ID #305035 by Tommy and Tilly Paper Design
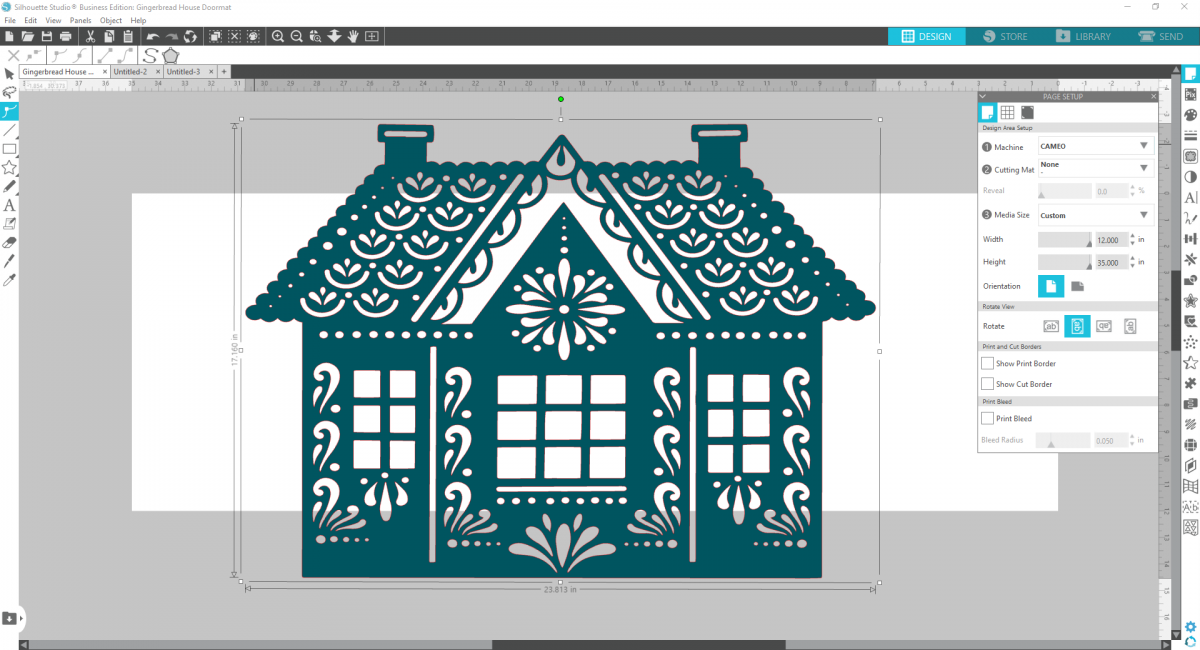
Step One: Formatting the Design
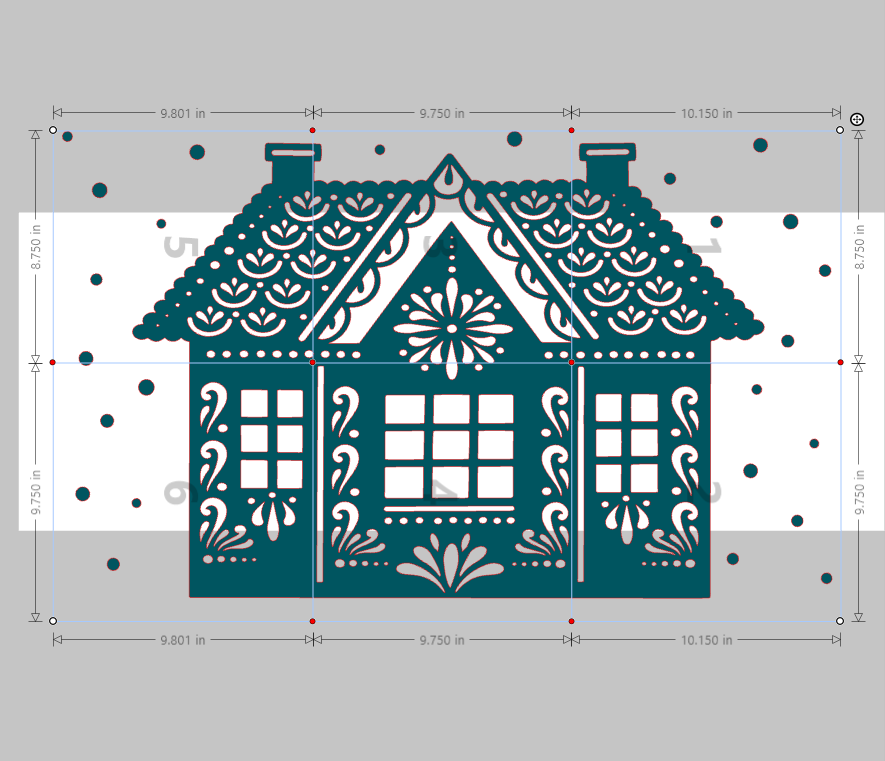
1. Open the design in Silhouette Studio. Our mats dimensions measure 30 inches wide by 16.5 inches tall. Increase the width of the house to approximately 22 inches and the height of the house to 15.5 inches. *Adjust the dimensions to fit your mat of choice! This is going to distort the original dimensions of the house a bit, but the design still looks great and the scale is better suited for a doormat.
2. Now using the Drawing Tools, create small circles around the house to look like snowflakes! The sizes can be irregular and the placement random. Press and hold down the shift key to make perfect circles.
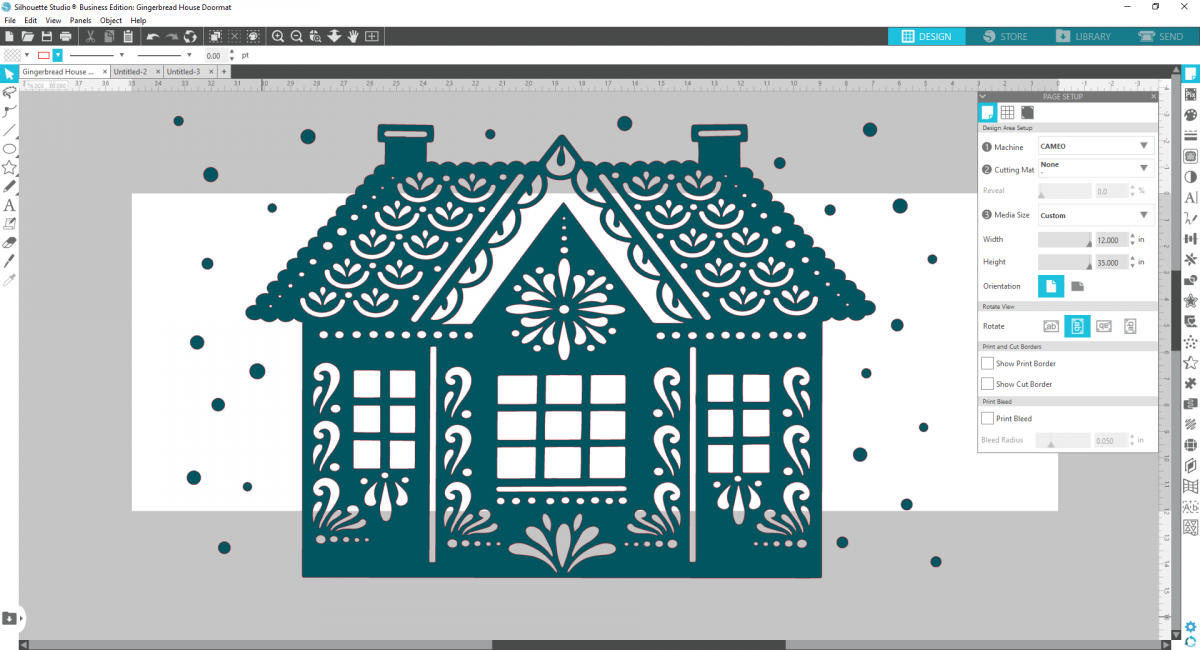
3. Now select all the design elements and group them by right-clicking and selecting “group.”
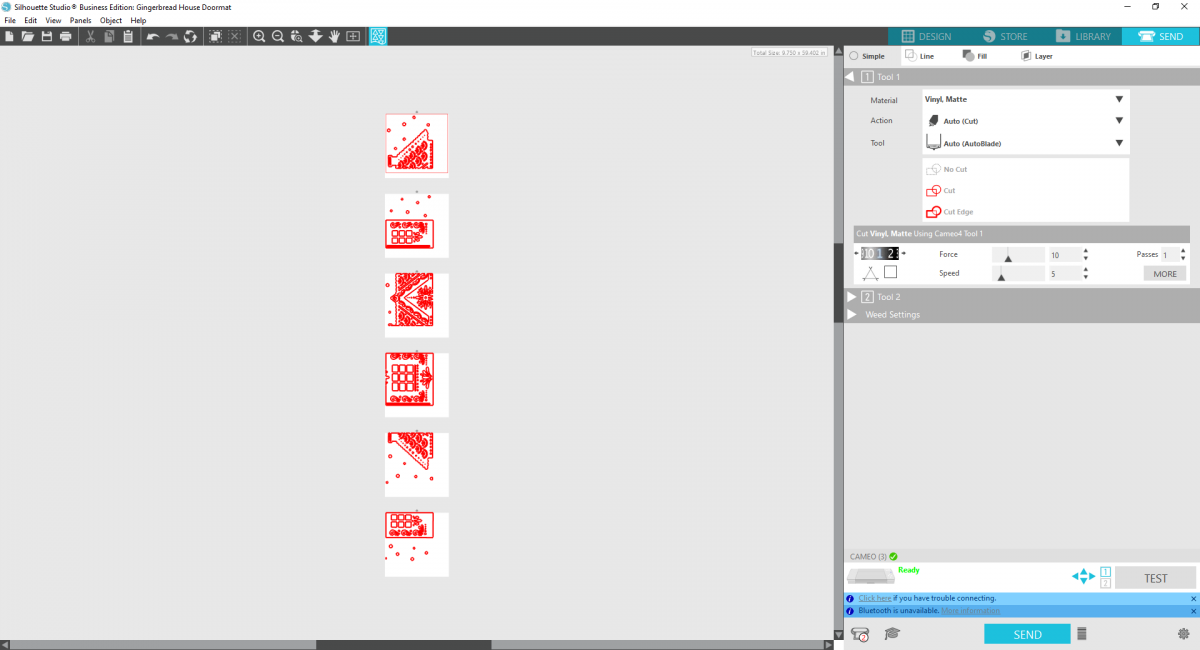
4. Open up the Media Layout Set Up Menu. (The icon is located at the bottom of the Silhouette Tools bar on the right-hand side. It looks like a square with and uneven bottom and a few triangles are within the square.)
5. Check the Show Media Layout Split Screen Option at the top of the menu window.
6. Check Tiling Active box.
7. The default will automatically separate the design into tiles.
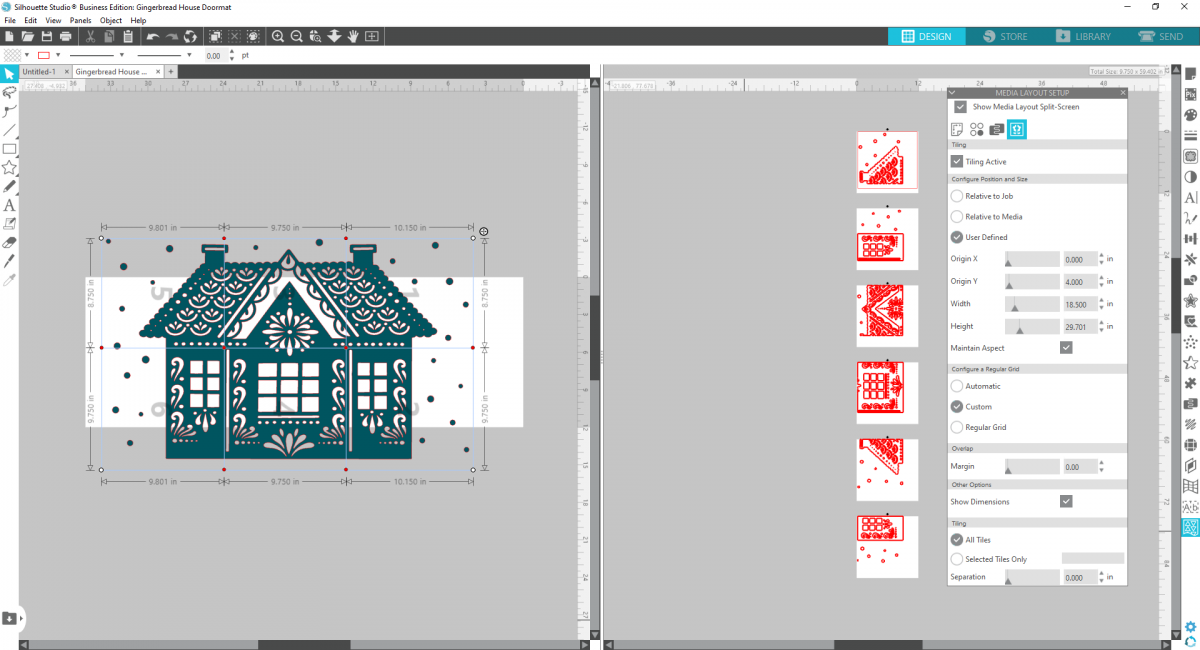
8. With this design, it will cut it into 6 different pieces.
9. With your design ready to go, send to your machine. Place a sheet of cardstock onto your cutting mat and load into the machine. Repeat this process for each of the 6 tiles.
Step Two: Creating your Doormat
1. When the design has been cut, Weed the negative space so you’re just left with the house portions and the small “snowflake” circles.
2. Using spray adhesive, spray the back of each house piece and stick to your doormat. I started with the top center piece and worked my way out.
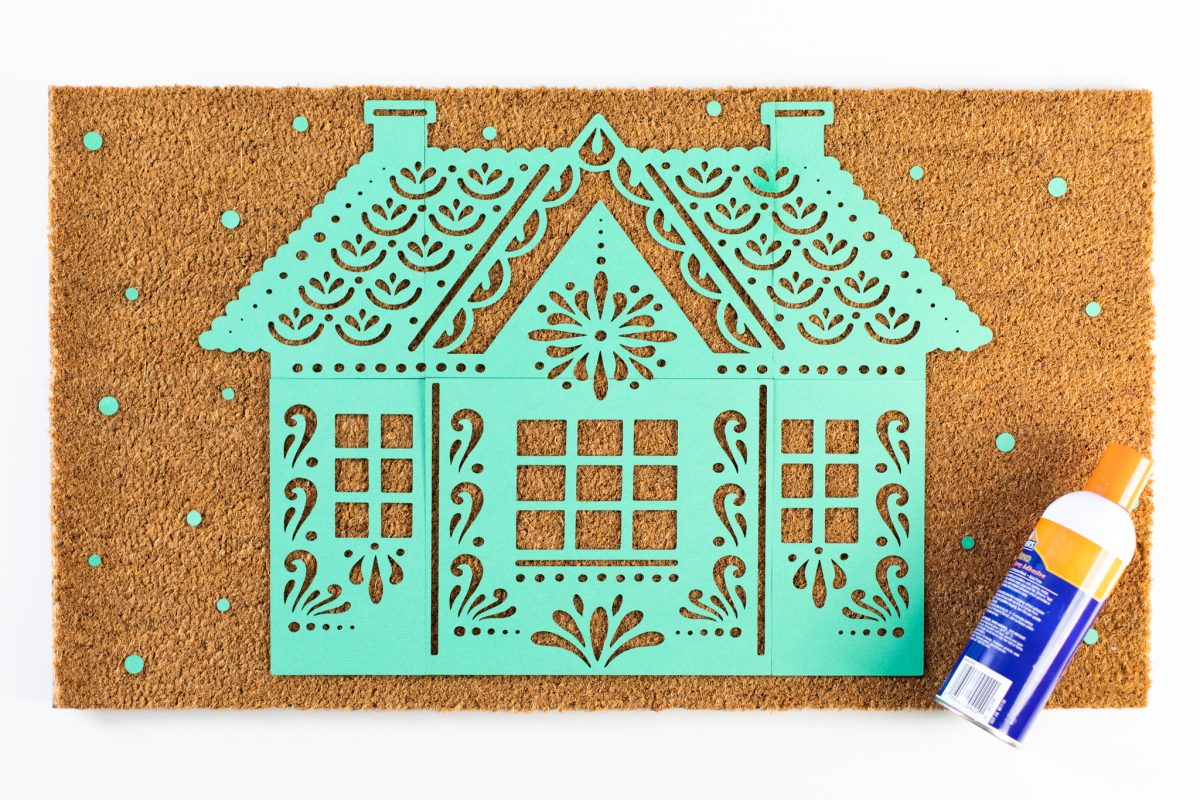
* You may want to reinforce some of the seams with tape.

4. Now that your stencil is adhered to the rug you’re ready to apply the spray paint! We’re using a special kind of paint that is suited for outdoor wear and tear. You can use any paint, but we’d recommend sealing it with a coating of some sort to avoid any fading or using Flex Seal.
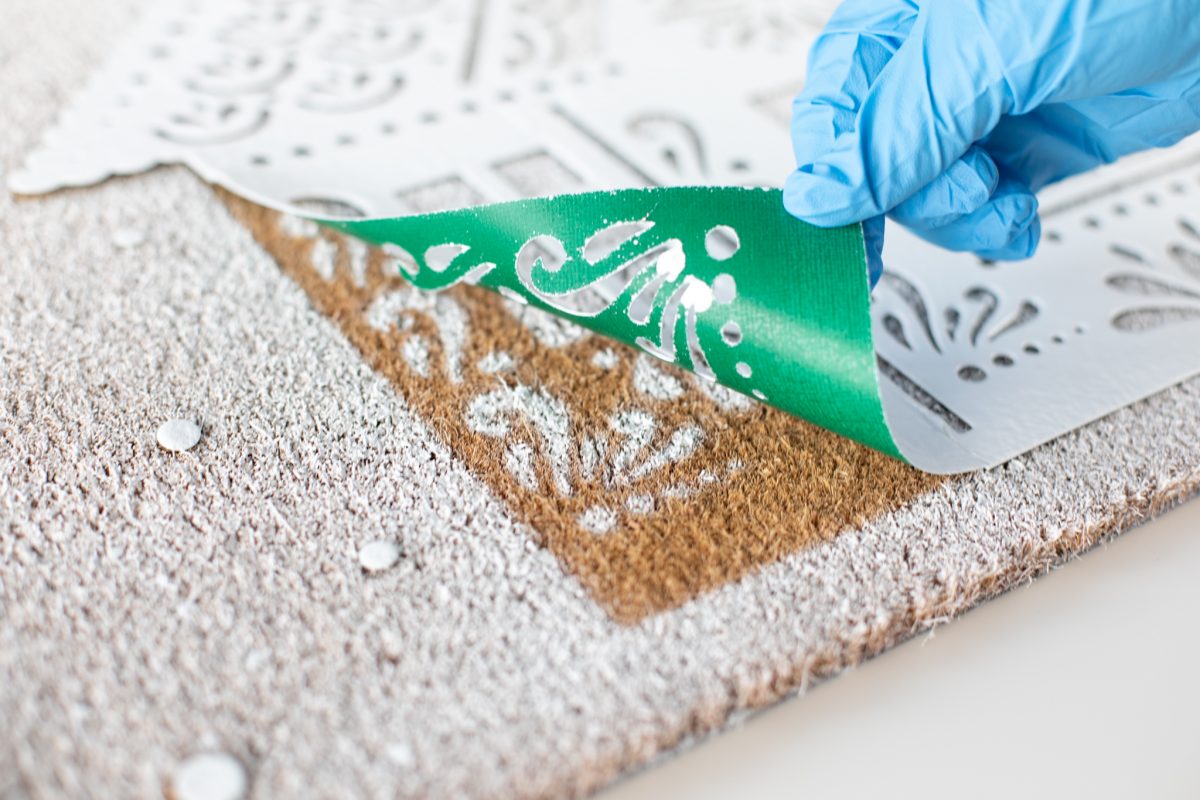
5. Remove the cardstock to reveal your cozy Gingerbread House Doormat!
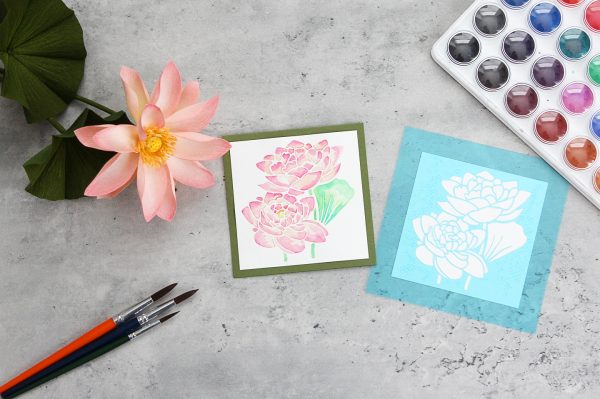 Free Class - Stenciled Lotus Card
  Free Class - Foiled Gift Tags with the Heat Pen
Kelly Wayment
June 28, 2024
You can use it with vinyl as long as it is smooth and flat to allow the static charge to hold on to it. Rolled vinyl that wants to go back to its rolled shape will not necessarily work well, and it would need to be trimmed to fit the ES mat cutting area.
Kelly Wayment
June 28, 2024
Yes, you can use the heat pen while using the ES mat. 🙂
Yurii
March 2, 2024
Hello. May it be used with heat pen?
Thanks
Jerome
February 24, 2024
Hi, works this with the normal vinyl foils or only with printer papter etc?
Kelly Wayment
February 16, 2024
Once you’ve pushed the mat up against the rollers, just press the “Load” arrow button (bottom right on the display). Does a regular sticky mat load into the machine for you?
Michelle a goodall
January 24, 2024
Hello! I just got my new electrostatic mat and have watched every video i can find on it. However, what i can t find is why it wont feed into my cameo 5/ it slides right up the rollers but wont go any further. and yes- iam pushing the into button. help!